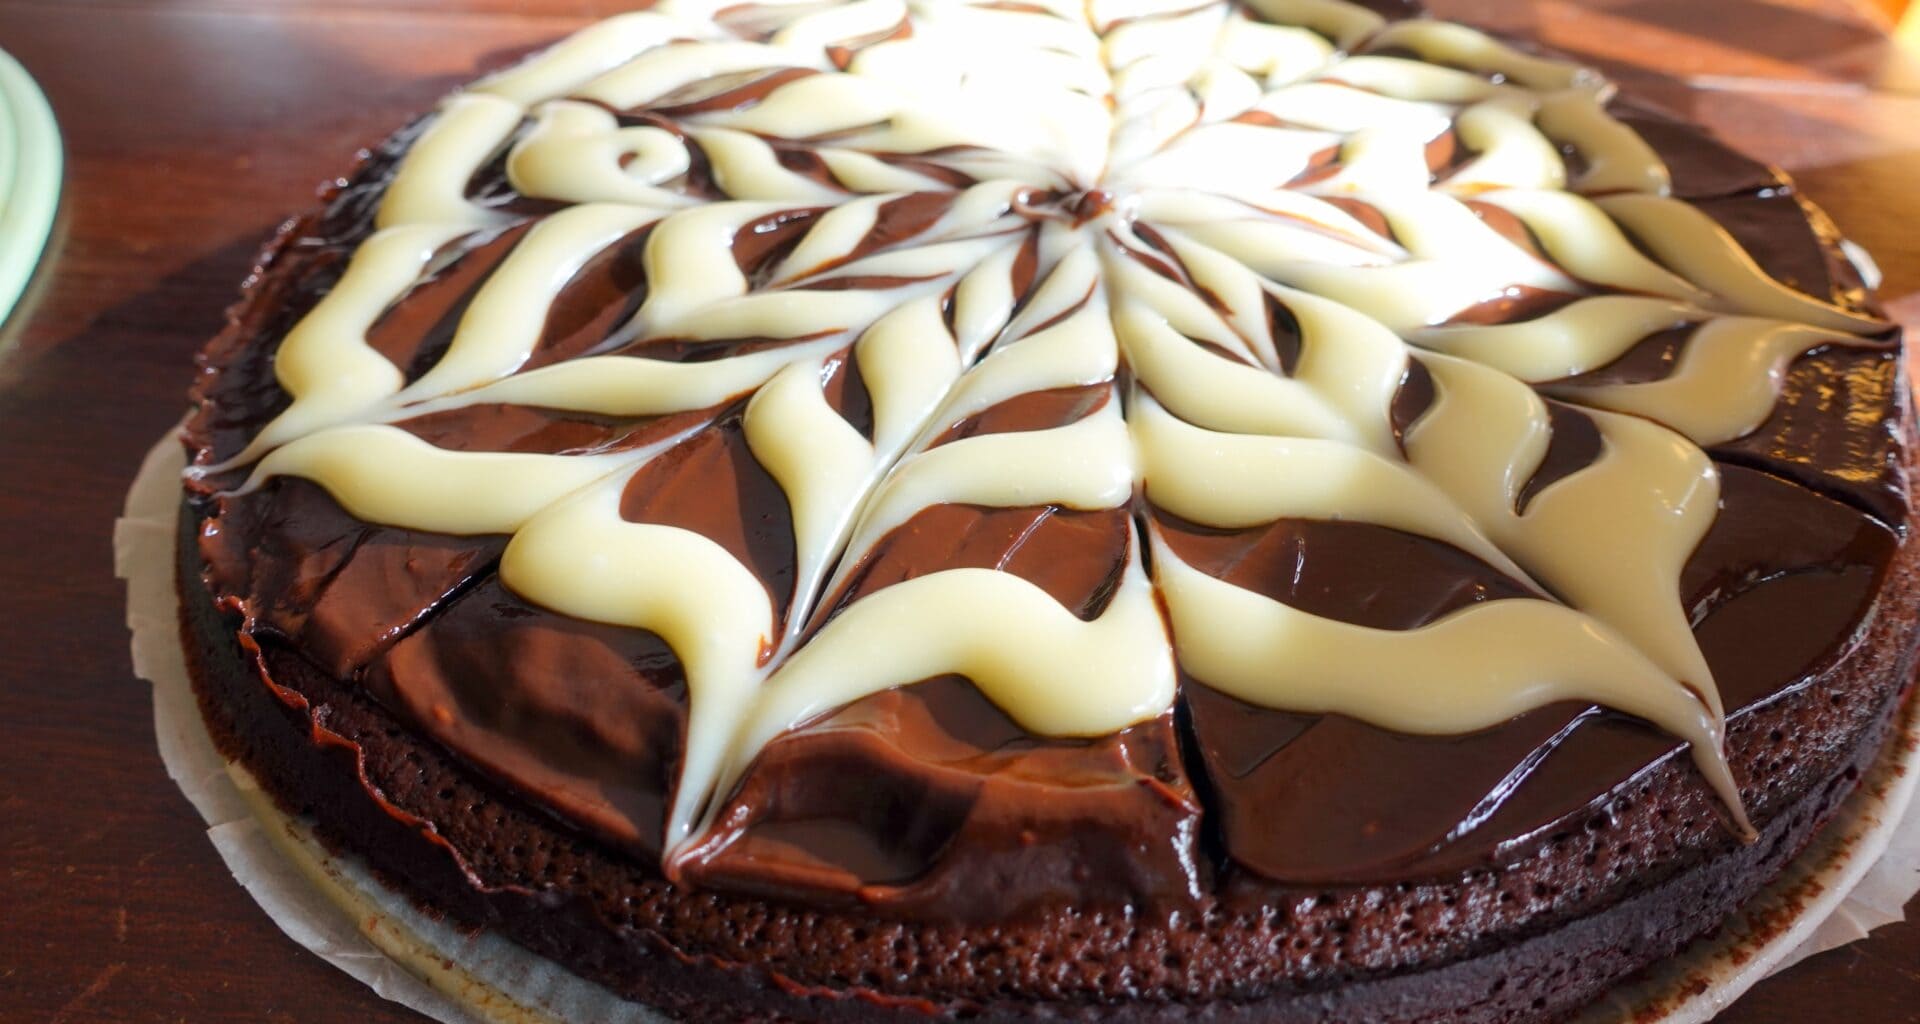

Look, there are chocolate cakes and then there’s THIS chocolate cake. It’s the kind of cake that fills your whole kitchen with the most amazing chocolate aroma the second it leaves the oven, to the point where waiting for it to cool is a real test of willpower 🙂 I made this one for my friend Inês, and she gave me her “trademark pending” stoic nod and a thumbs up, like a Roman arena emperor. That’s her highest level of approval! I almost shed a tear…
This is a dense, fluffy, judgy, moist cocoa cake with a really strong chocolate flavor. I know, chocolate cake with chocolate on top usually means sickly sweet, but not this one. The cake on its own isn’t overly sweet, which is a big plus for me. The ganache on top is a little sweeter, so it brings the right dose of sweetness at the right moment. The contrast is absolutely delicious and makes all the difference. Kids will like it, but adults are going to love it!
And since I’m sharing this for Halloween, here’s the fun part. The ganache technique is a lot of fun and you don’t need to be a professional pastry chef to get a “professional” result spiderweb chocolate design on the top. With a piping bag and a toothpick, you can create this spooky design. This is absolutely a Halloween show stopper of a cake, spooky enough for the party, but still pretty enough for the dessert table. Let’s get to the recipe!
Spooky Spiderweb Black and White Chocolate Ganache Fudgy Cocoa Cake
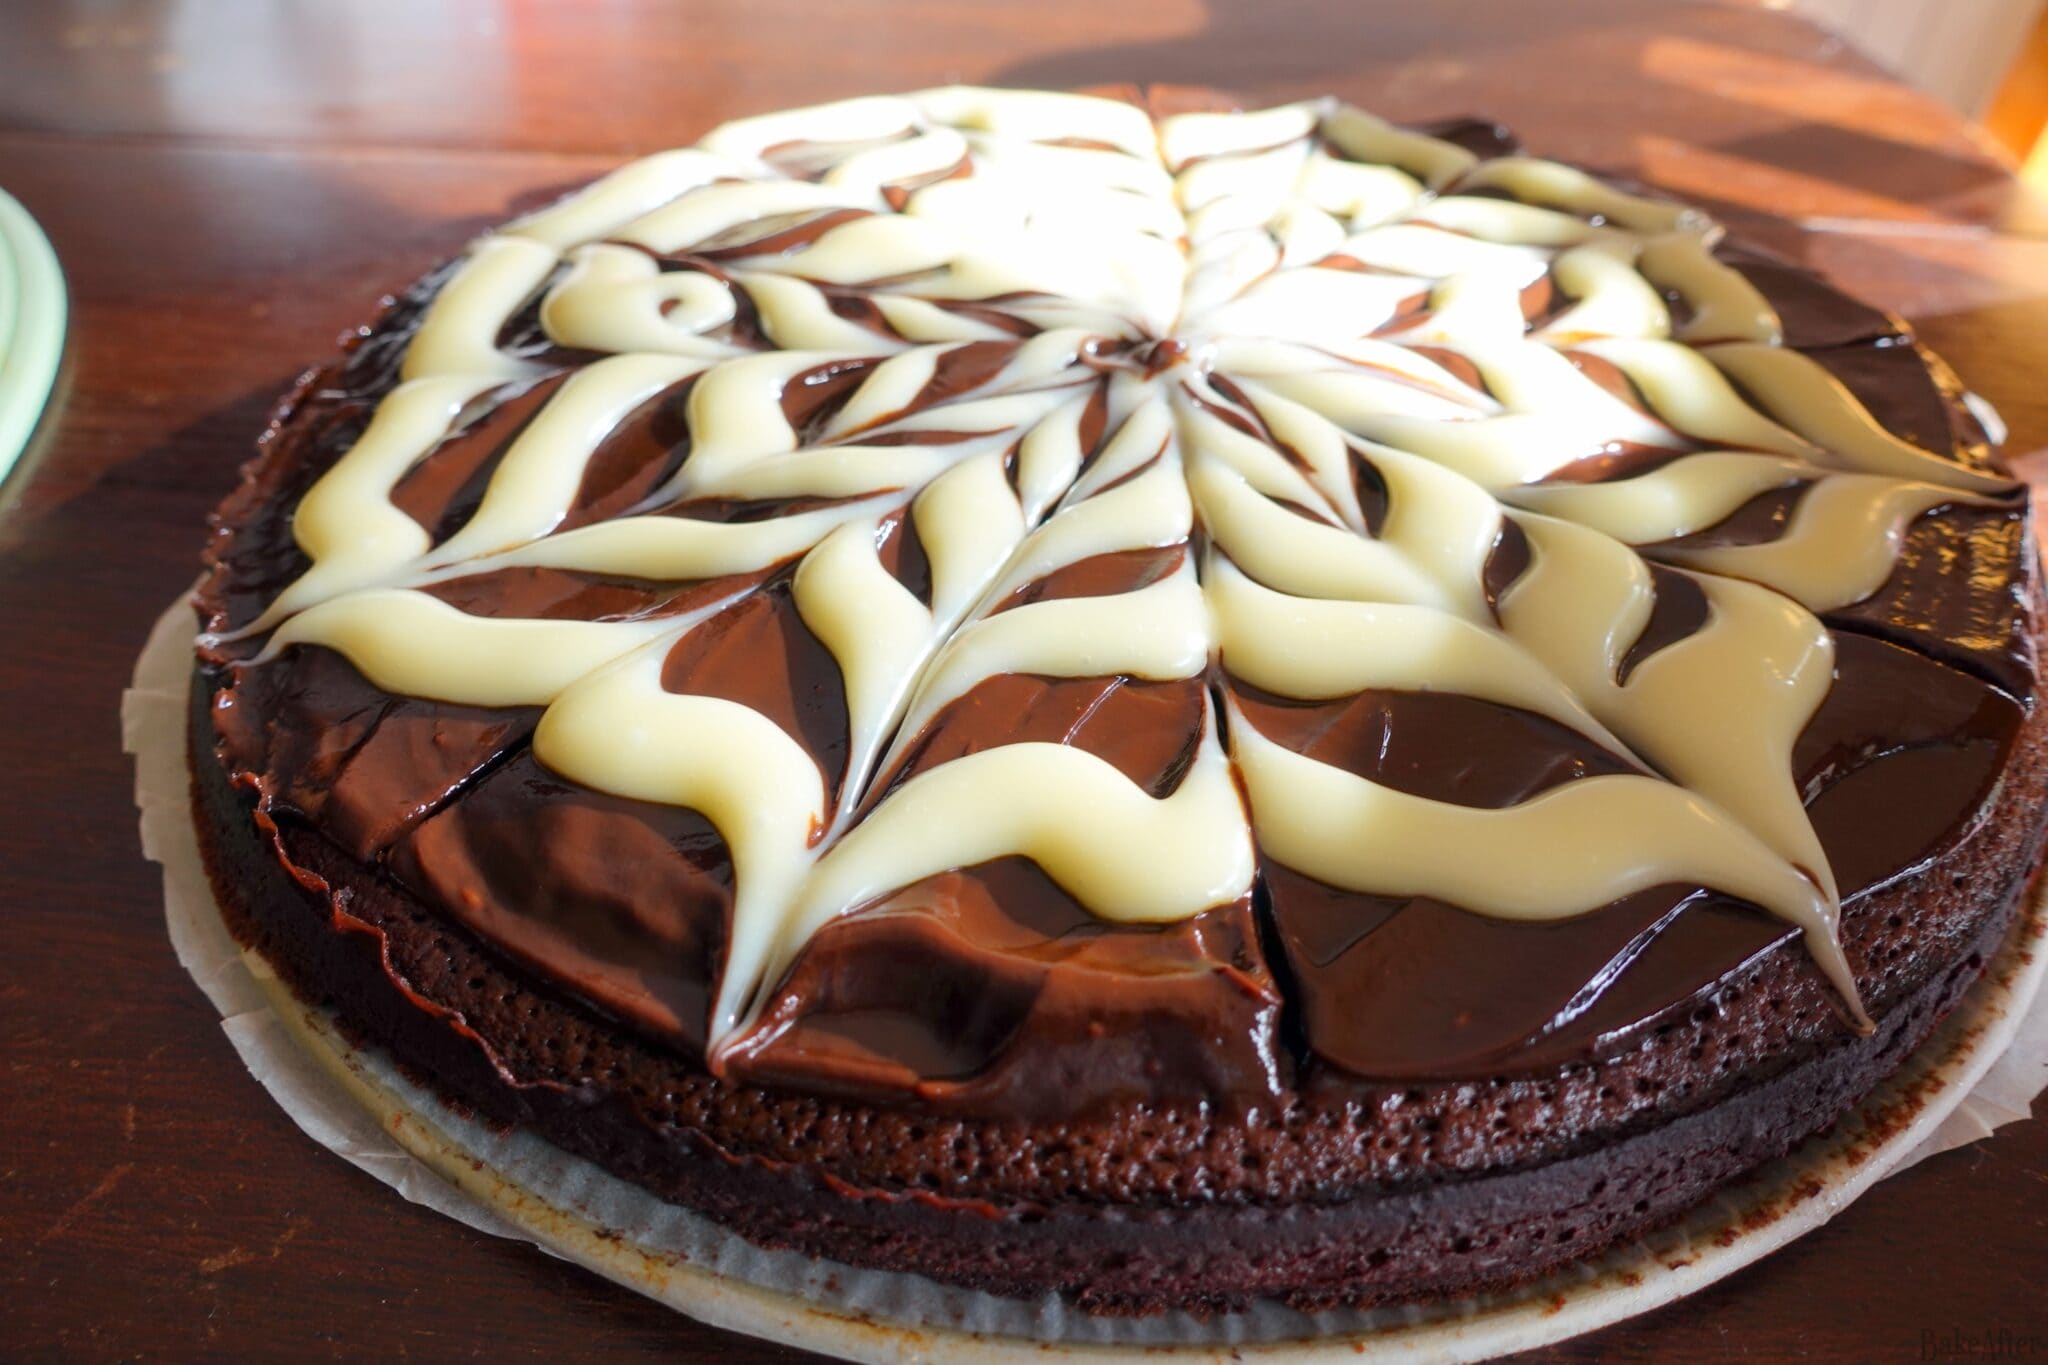
For those times when you want to impress and delight (and maybe scare a few guests), this is the chocolate cake for you! ;D Trademark Pending (and if a spider shows up on top of your cake, don't panic. It's just more chocolate hehehe)
Ingredients
- Cocoa Powder – 40 g
- Butter – 66 g
- Sunflower Oil – 80 ml
- Water – 166 ml
- Flour – 150 g
- Sugar – 200 g
- Light Brown Sugar – 33 g
- Eggs – 2 (Large)
- Milk – 80 ml
- Vanilla – 1 Teaspoon Extract
- Baking Powder – 1 Teaspoon
- Baking Soda – 1/2 Teaspoon
- Salt – A Pinch
- Cocoa Powder – For Dusting The Pan
- Butter – For Greasing The Pan
- Dark Chocolate – 100 g (60%)
- White Chocolate – 80 g
- Heavy Cream – 90 ml
Directions
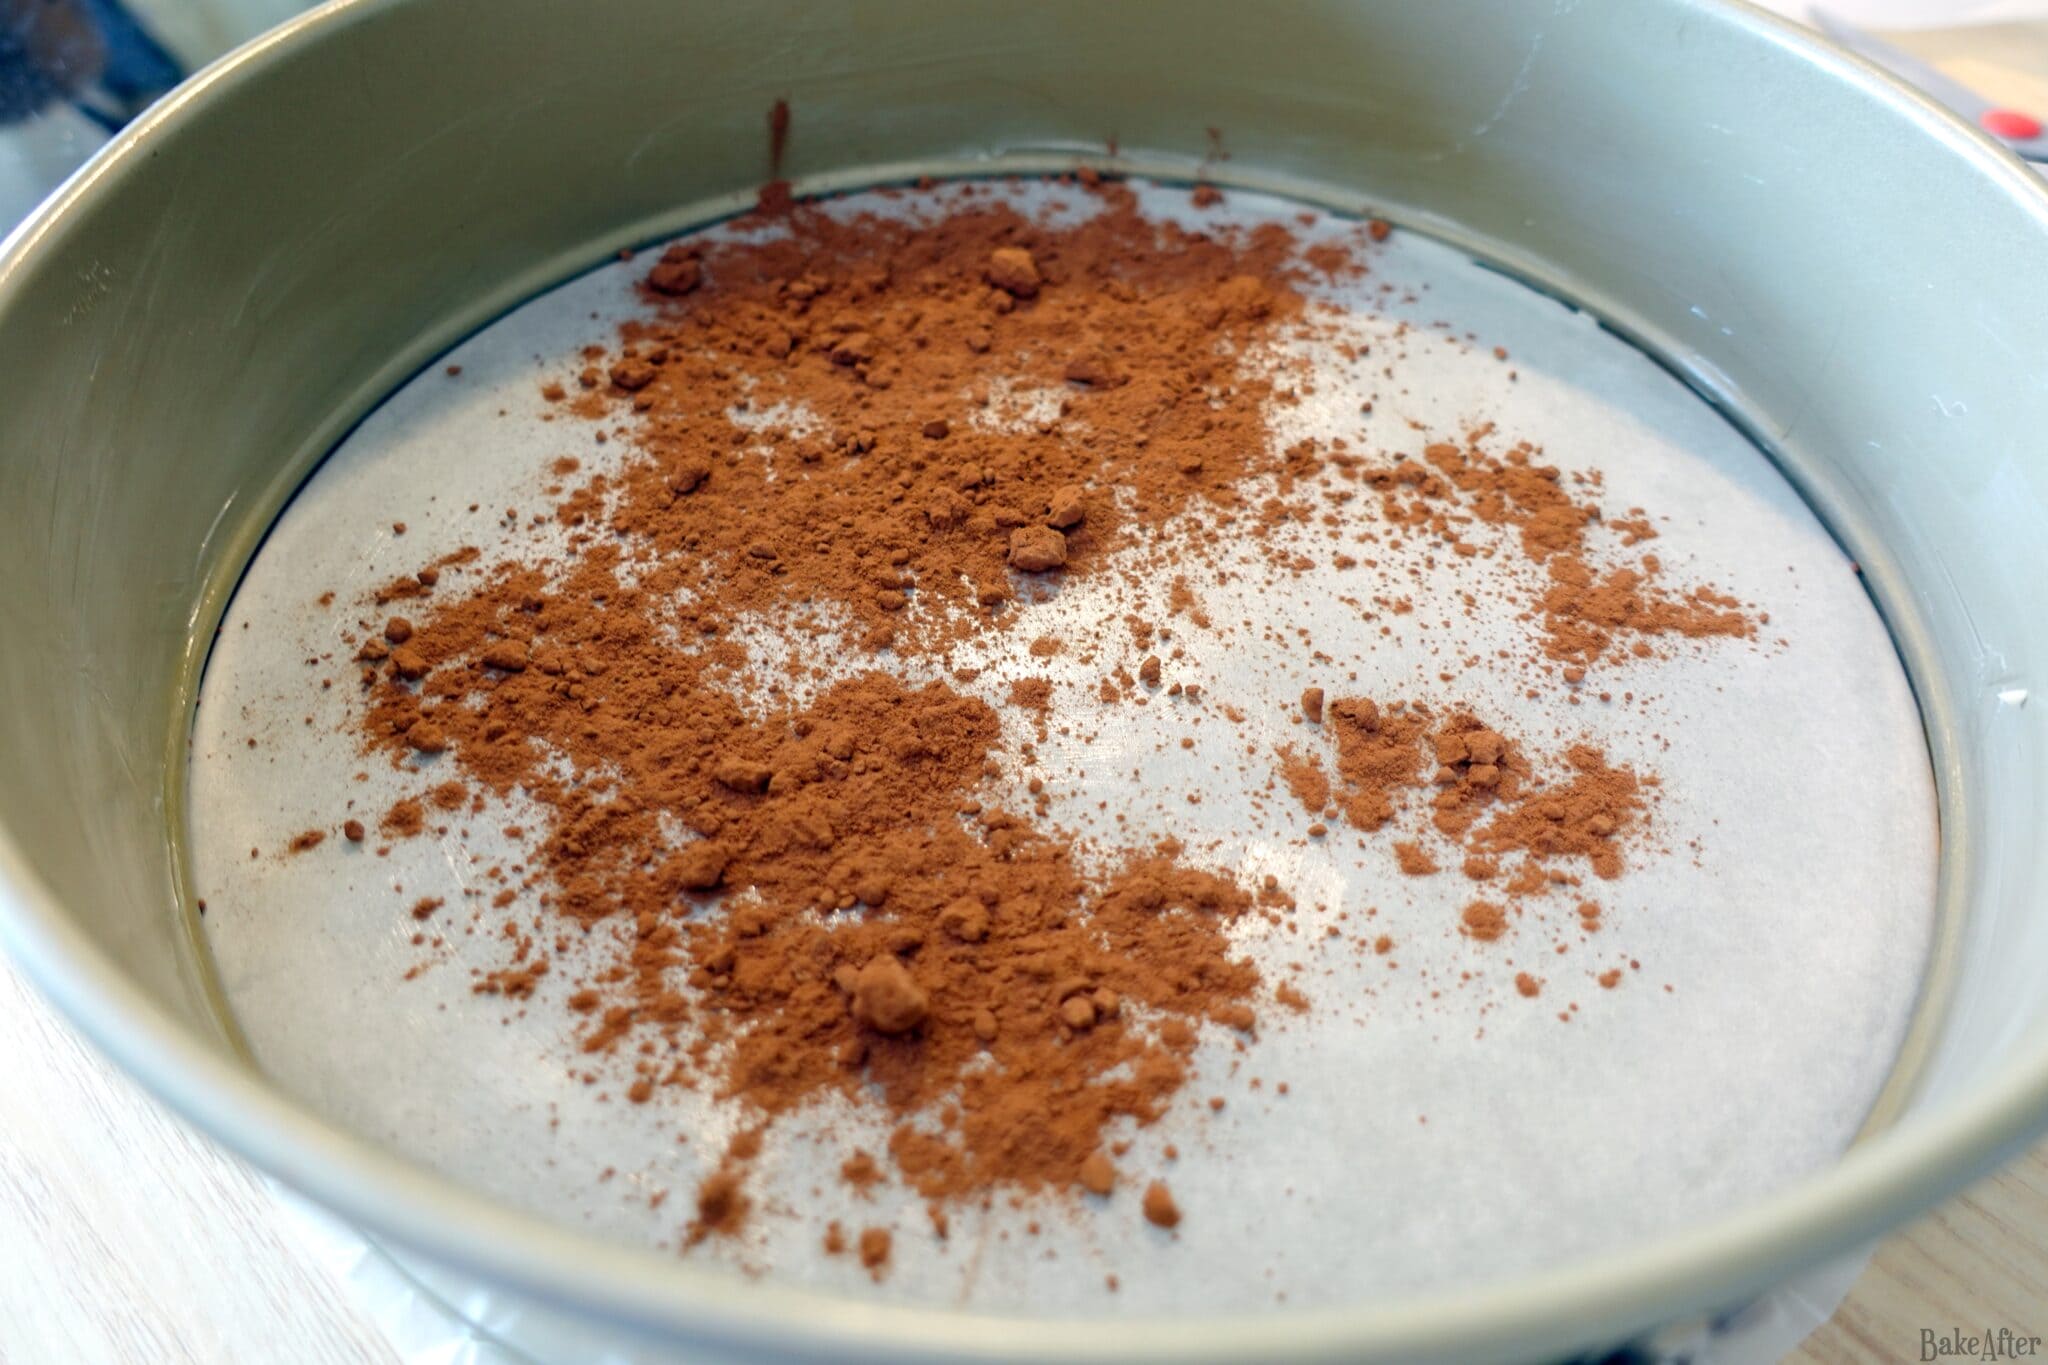
- Preheat your oven to 180ºC (356ºF) and prepare the baking pan, grease it with butter, line the bottom and sides with parchment paper, then coat the paper with a little more butter and sift cocoa powder over it to ensure everything is well covered (the cocoa enhances the flavor and helps the cake release perfectly from the pan).
- In a small saucepan, combine the cocoa, butter, sunflower oil, and water. Place over medium-high heat and bring to a boil. Once it begins to boil, the oil will separate from the water, stir well and remove from the heat.
- In a large bowl, combine the sifted flour and baking powder, followed by the granulated sugar, light brown sugar, and a pinch of salt. Add the hot cocoa mixture and whisk thoroughly until everything is well incorporated and the batter is smooth and homogeneous.
- In a separate bowl, add the eggs one by one, whisking well after each addition, then stir in the vanilla extract, milk, and baking soda. Once combined, add this mixture to the cocoa and flour base and whisk everything together.
- Pour the batter into the prepared pan and bake for about 25 minutes. To check if the cake is done, insert a toothpick into the center, if it comes out clean, the cake is ready and can be removed from the oven.
- Allow the cake to cool in the pan for at least 10 minutes before unmolding. Then, wait another 45 to 50 minutes before applying the frosting (the cake must be completely at room temperature so the ganache sets properly without melting).
- Once the cake has cooled, prepare the ganaches. Start with the dark chocolate ganache, break the 100g of dark chocolate into small pieces and set aside in a bowl. Heat 45ml of cream until it just begins to simmer (do not let it come to a full boil). Pour it immediately over the chocolate and let it sit for 1 minute without stirring. Then, using a spatula, gently stir from the center outward until you have a smooth, glossy cream. Set aside at room temperature.
- Repeat the same process for the 80g of white chocolate ganache, break the white chocolate into pieces, heat the 45ml of cream until it is nearly simmering, and pour it over the chocolate. Let it rest for 1 minute, then stir until you achieve a smooth, uniform cream. Set aside at room temperature as well.
- Next, cover the top of the cake with the dark chocolate ganache, spreading it with a spatula to create an even layer.
- Transfer the white chocolate ganache into a piping bag fitted with a fine tip (or use a simple plastic bag with a small hole cut in one corner). Pipe concentric circles over the dark chocolate ganache, starting from the outer edge and gradually moving toward the center.
- Finally, make the design if you want the pattern i did (try and keep symmetrical, if you do one one side, to the same on the other), with a toothpick drag from the outside to the center, and then from the center to the outside, if you want a spiderweb design, just do all from the center out and a absolutely beautiful spiderweb like pattern emerge!
- Let the chocolate ganache set for a few minutes before serving, and that’s it, enjoy! 🙂
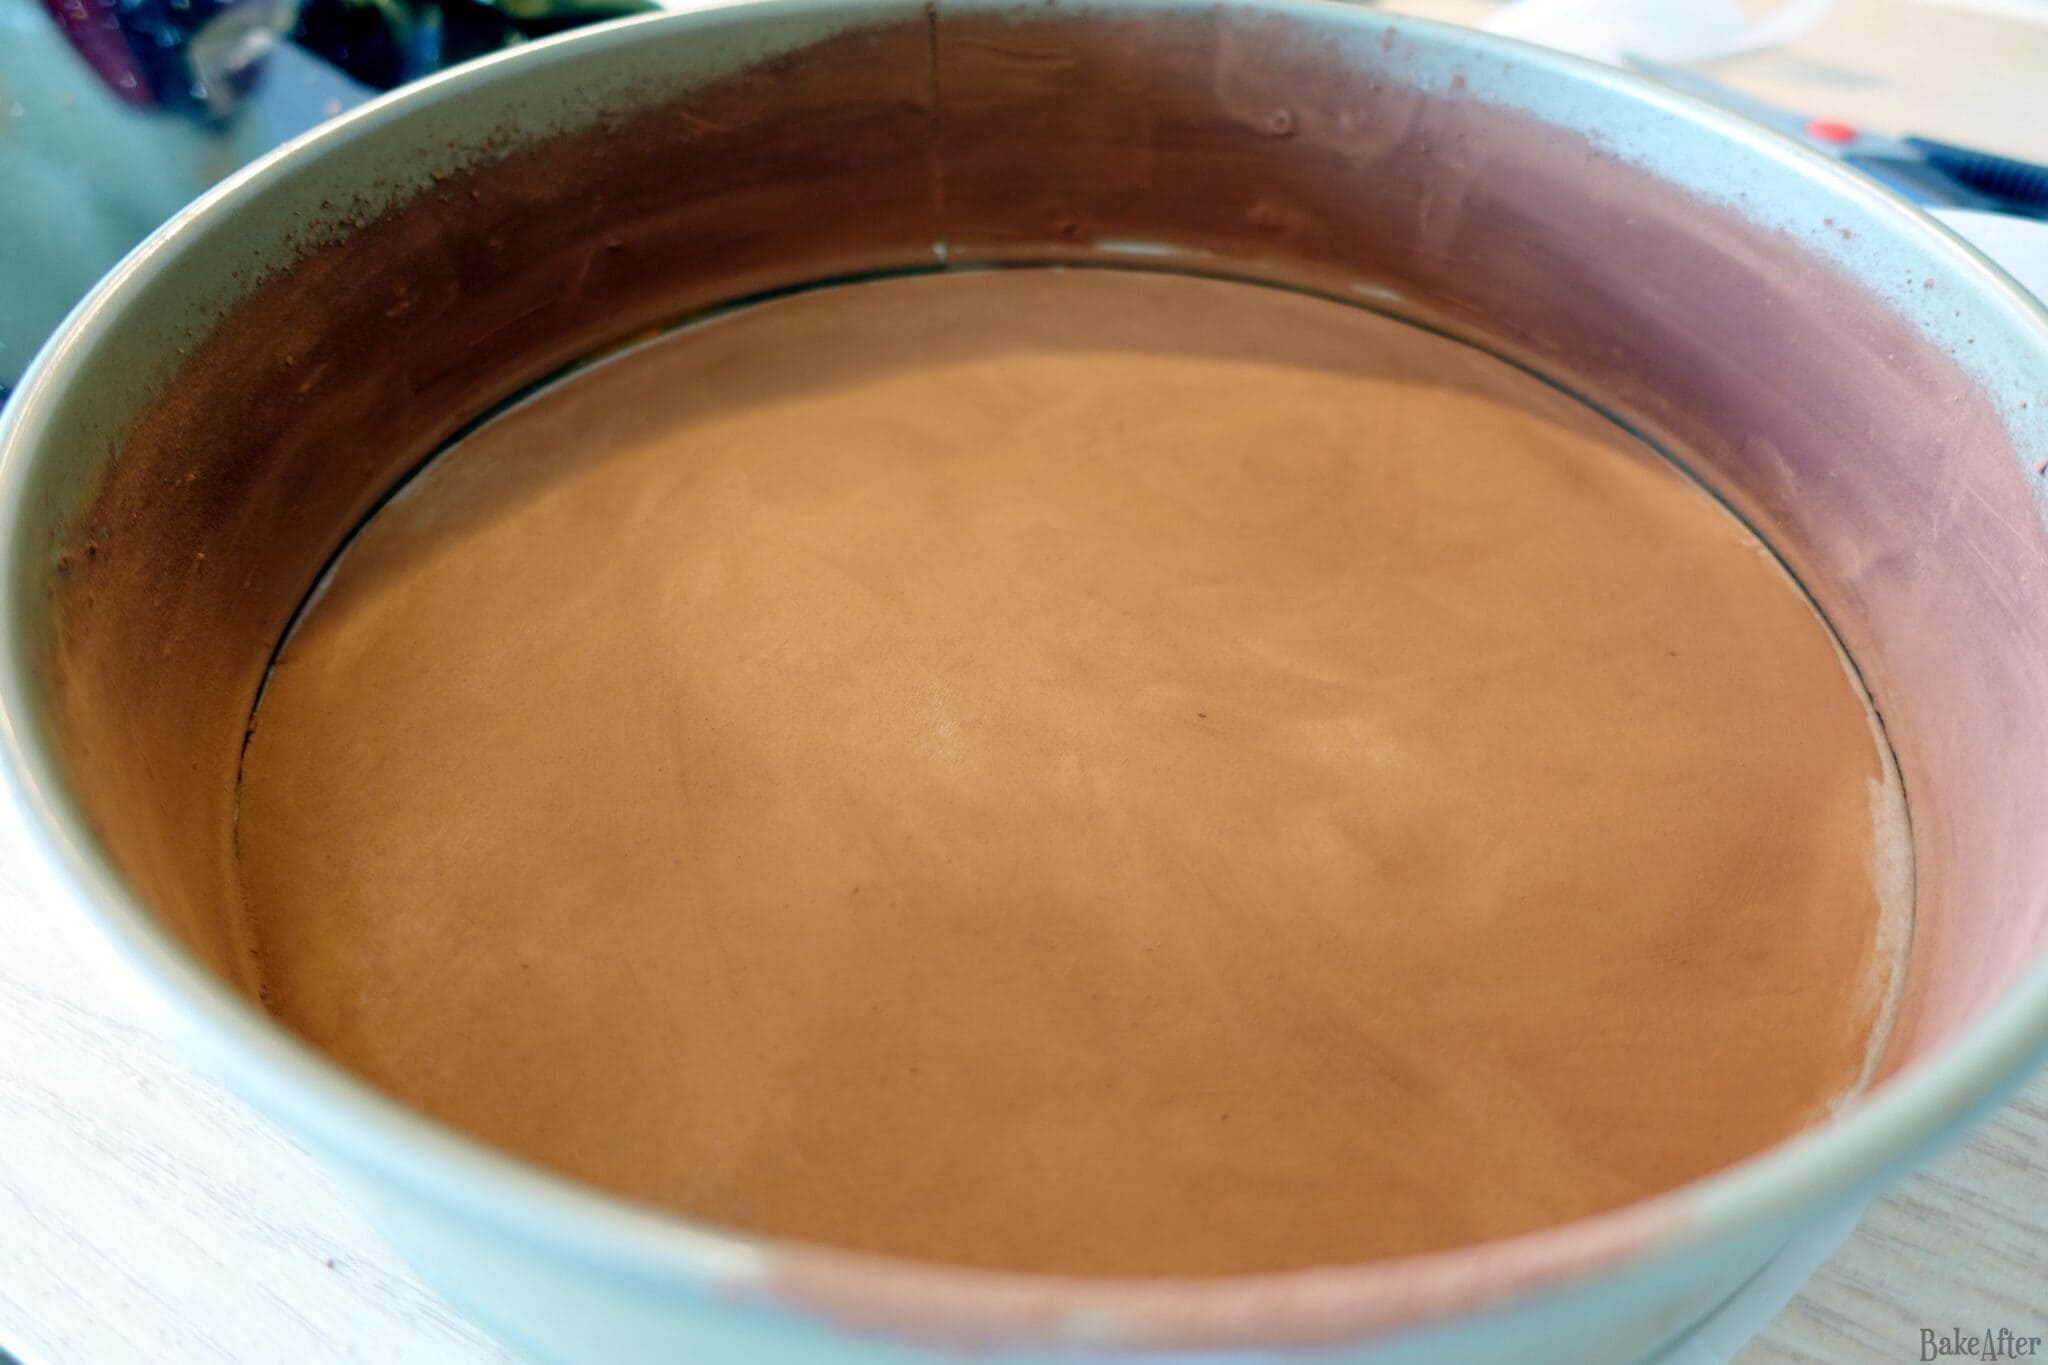
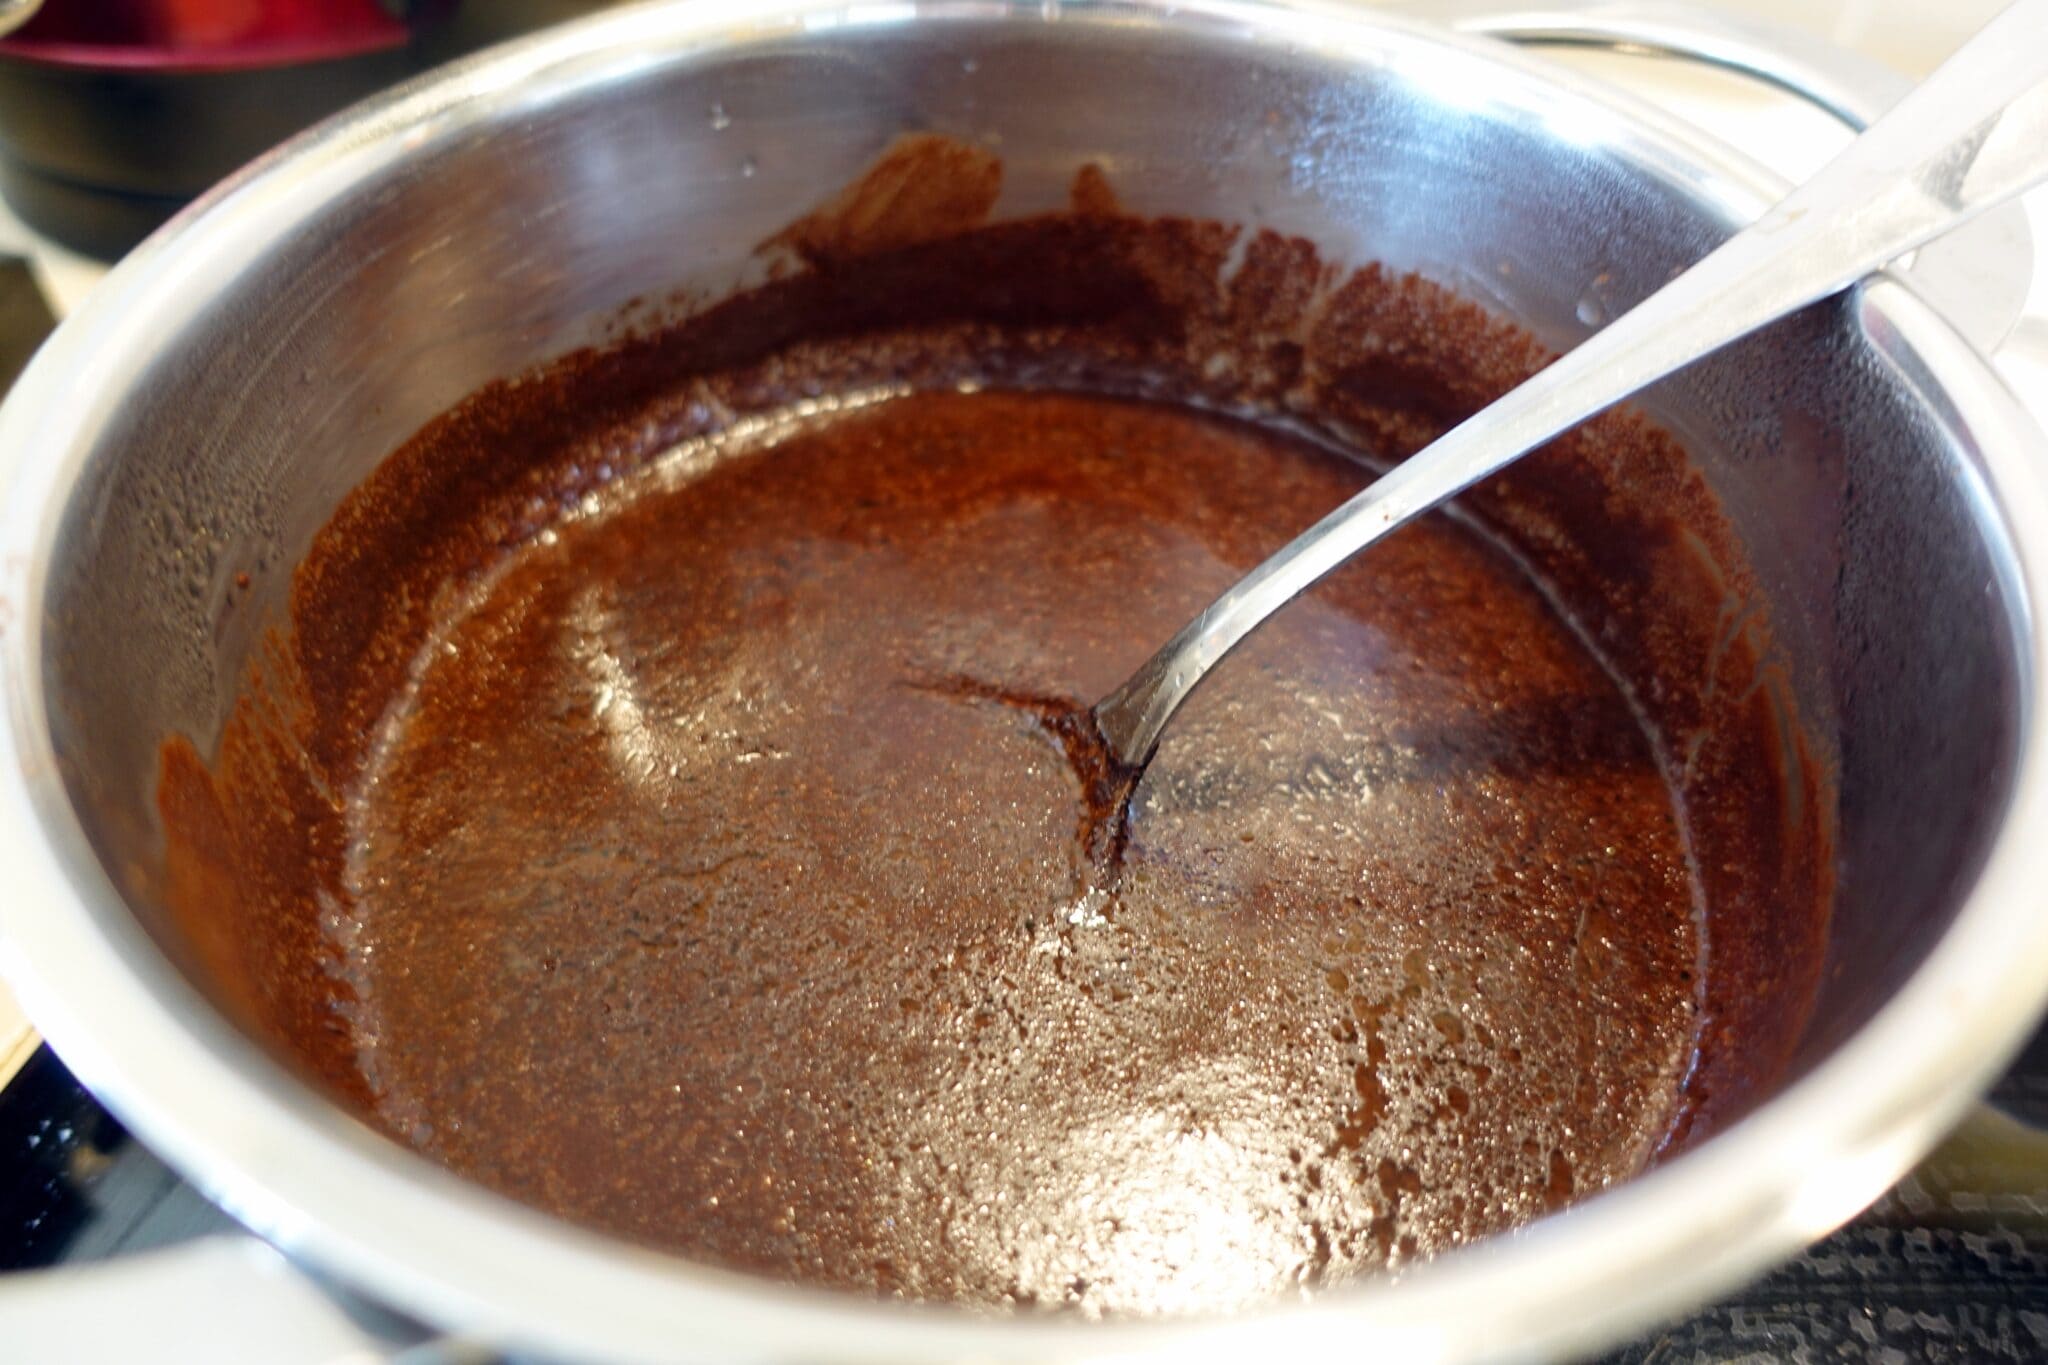
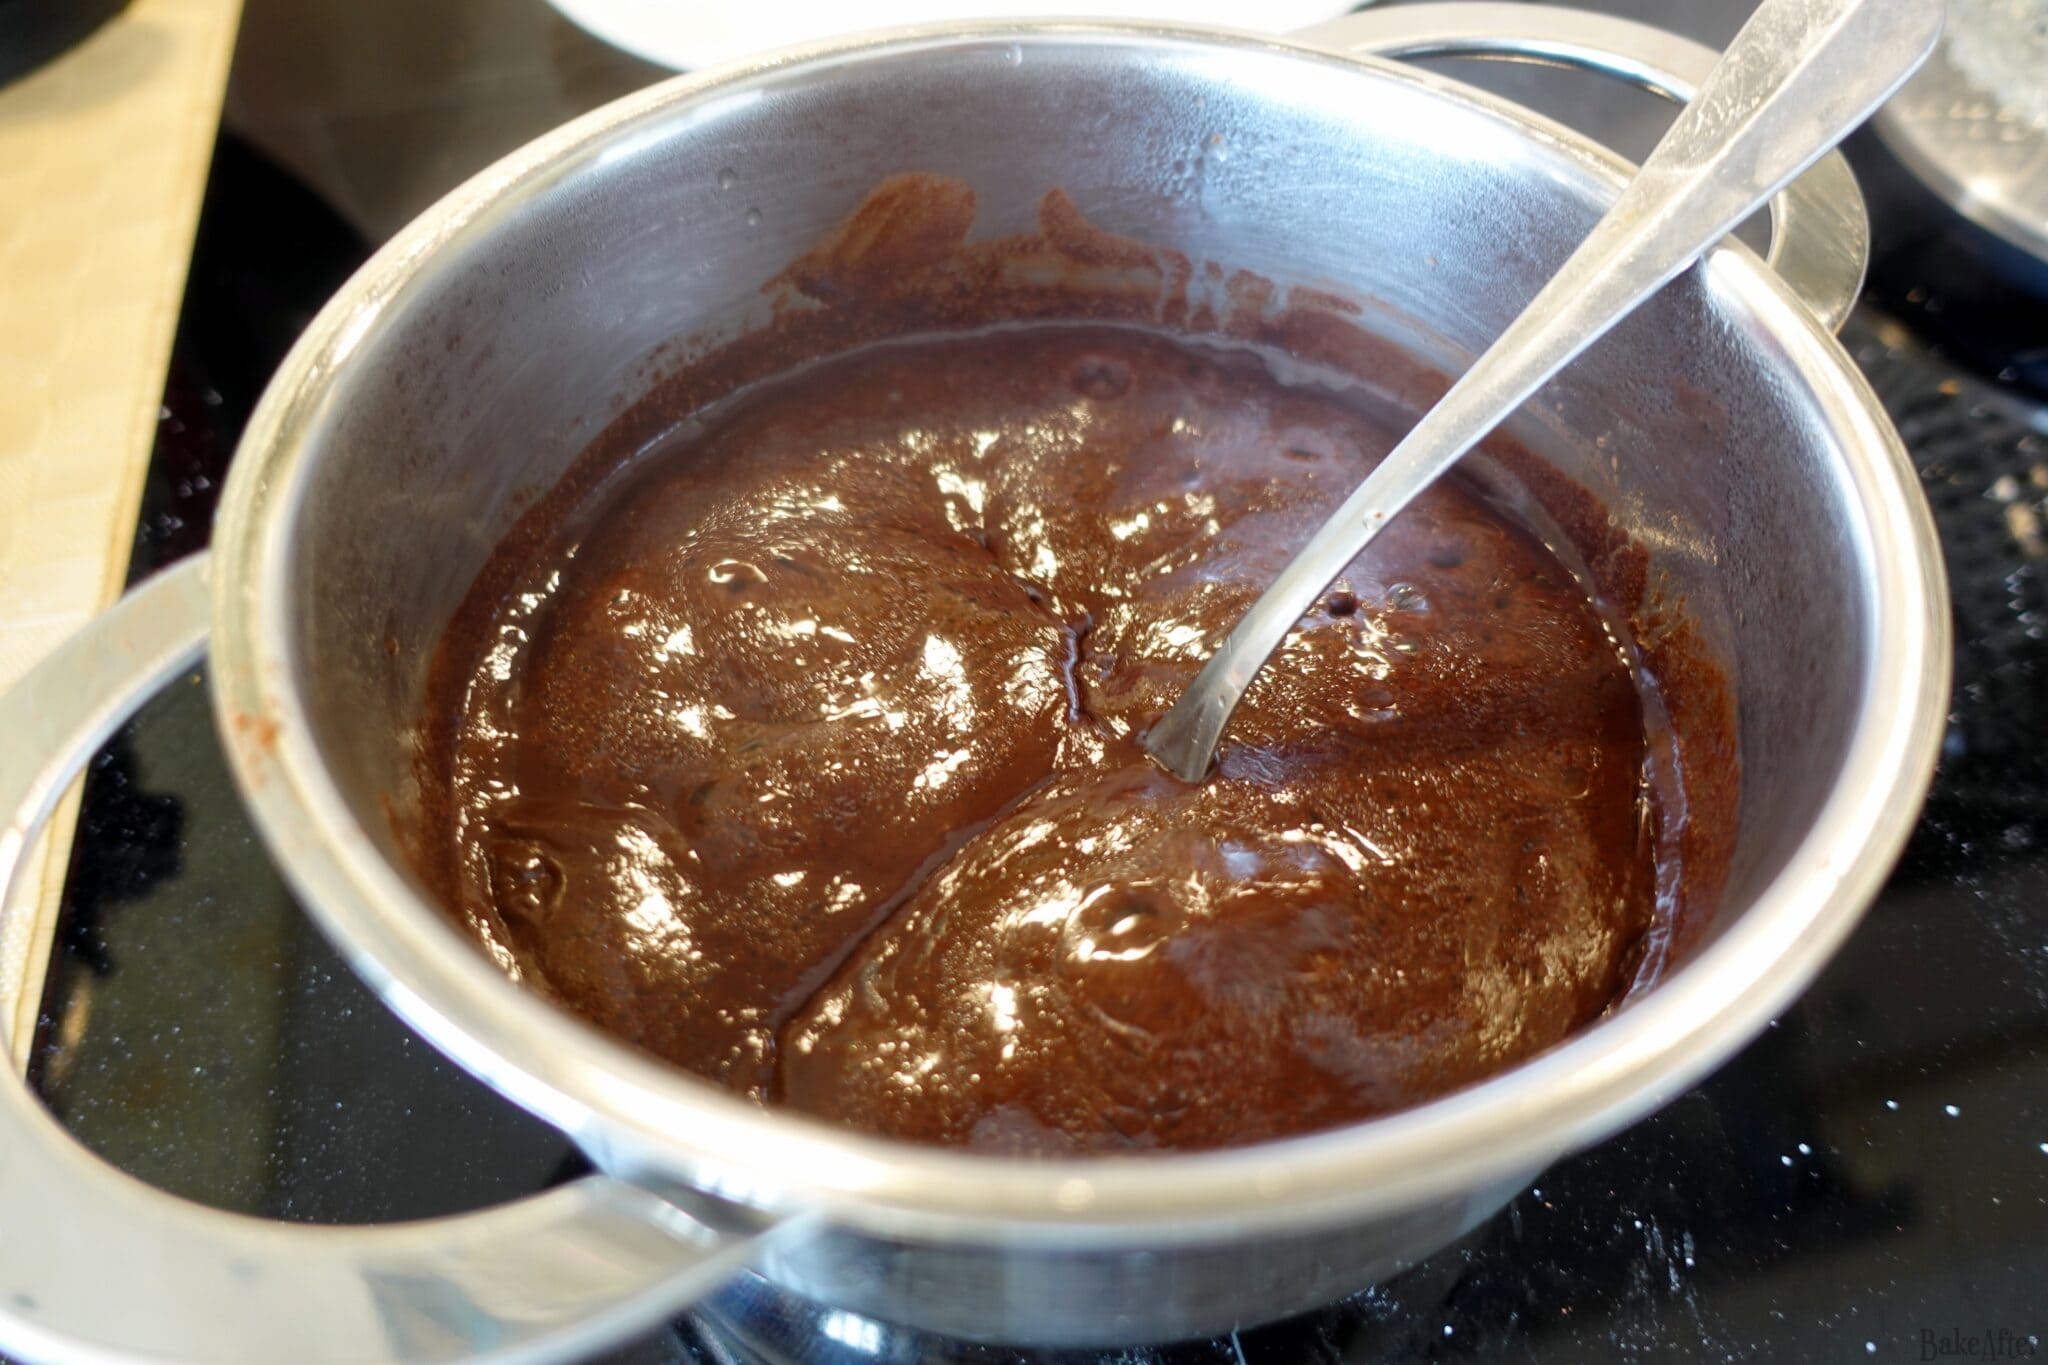
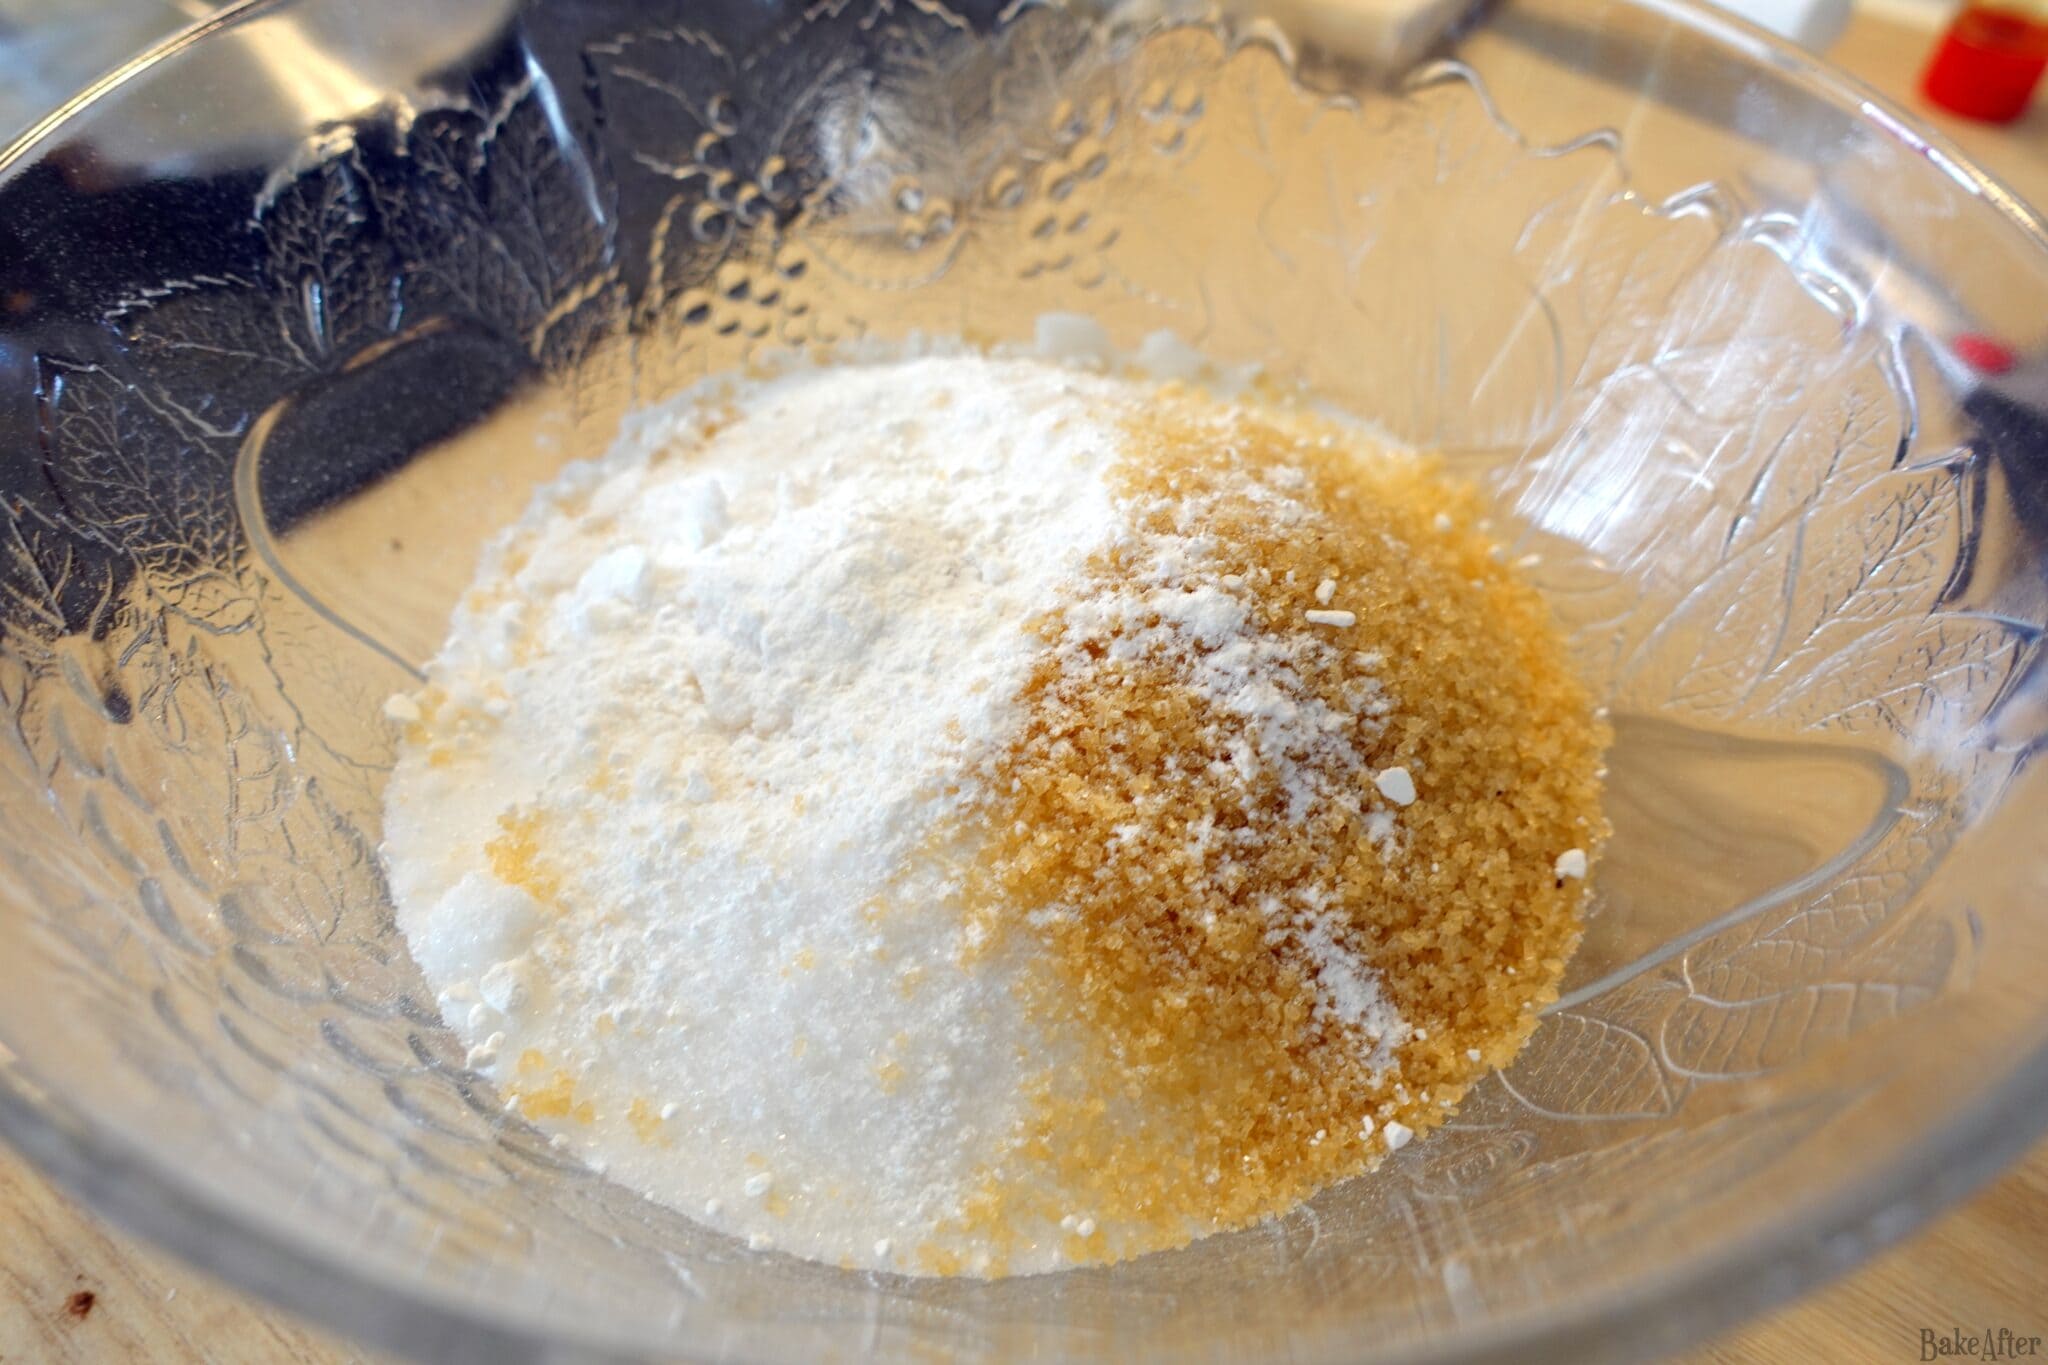
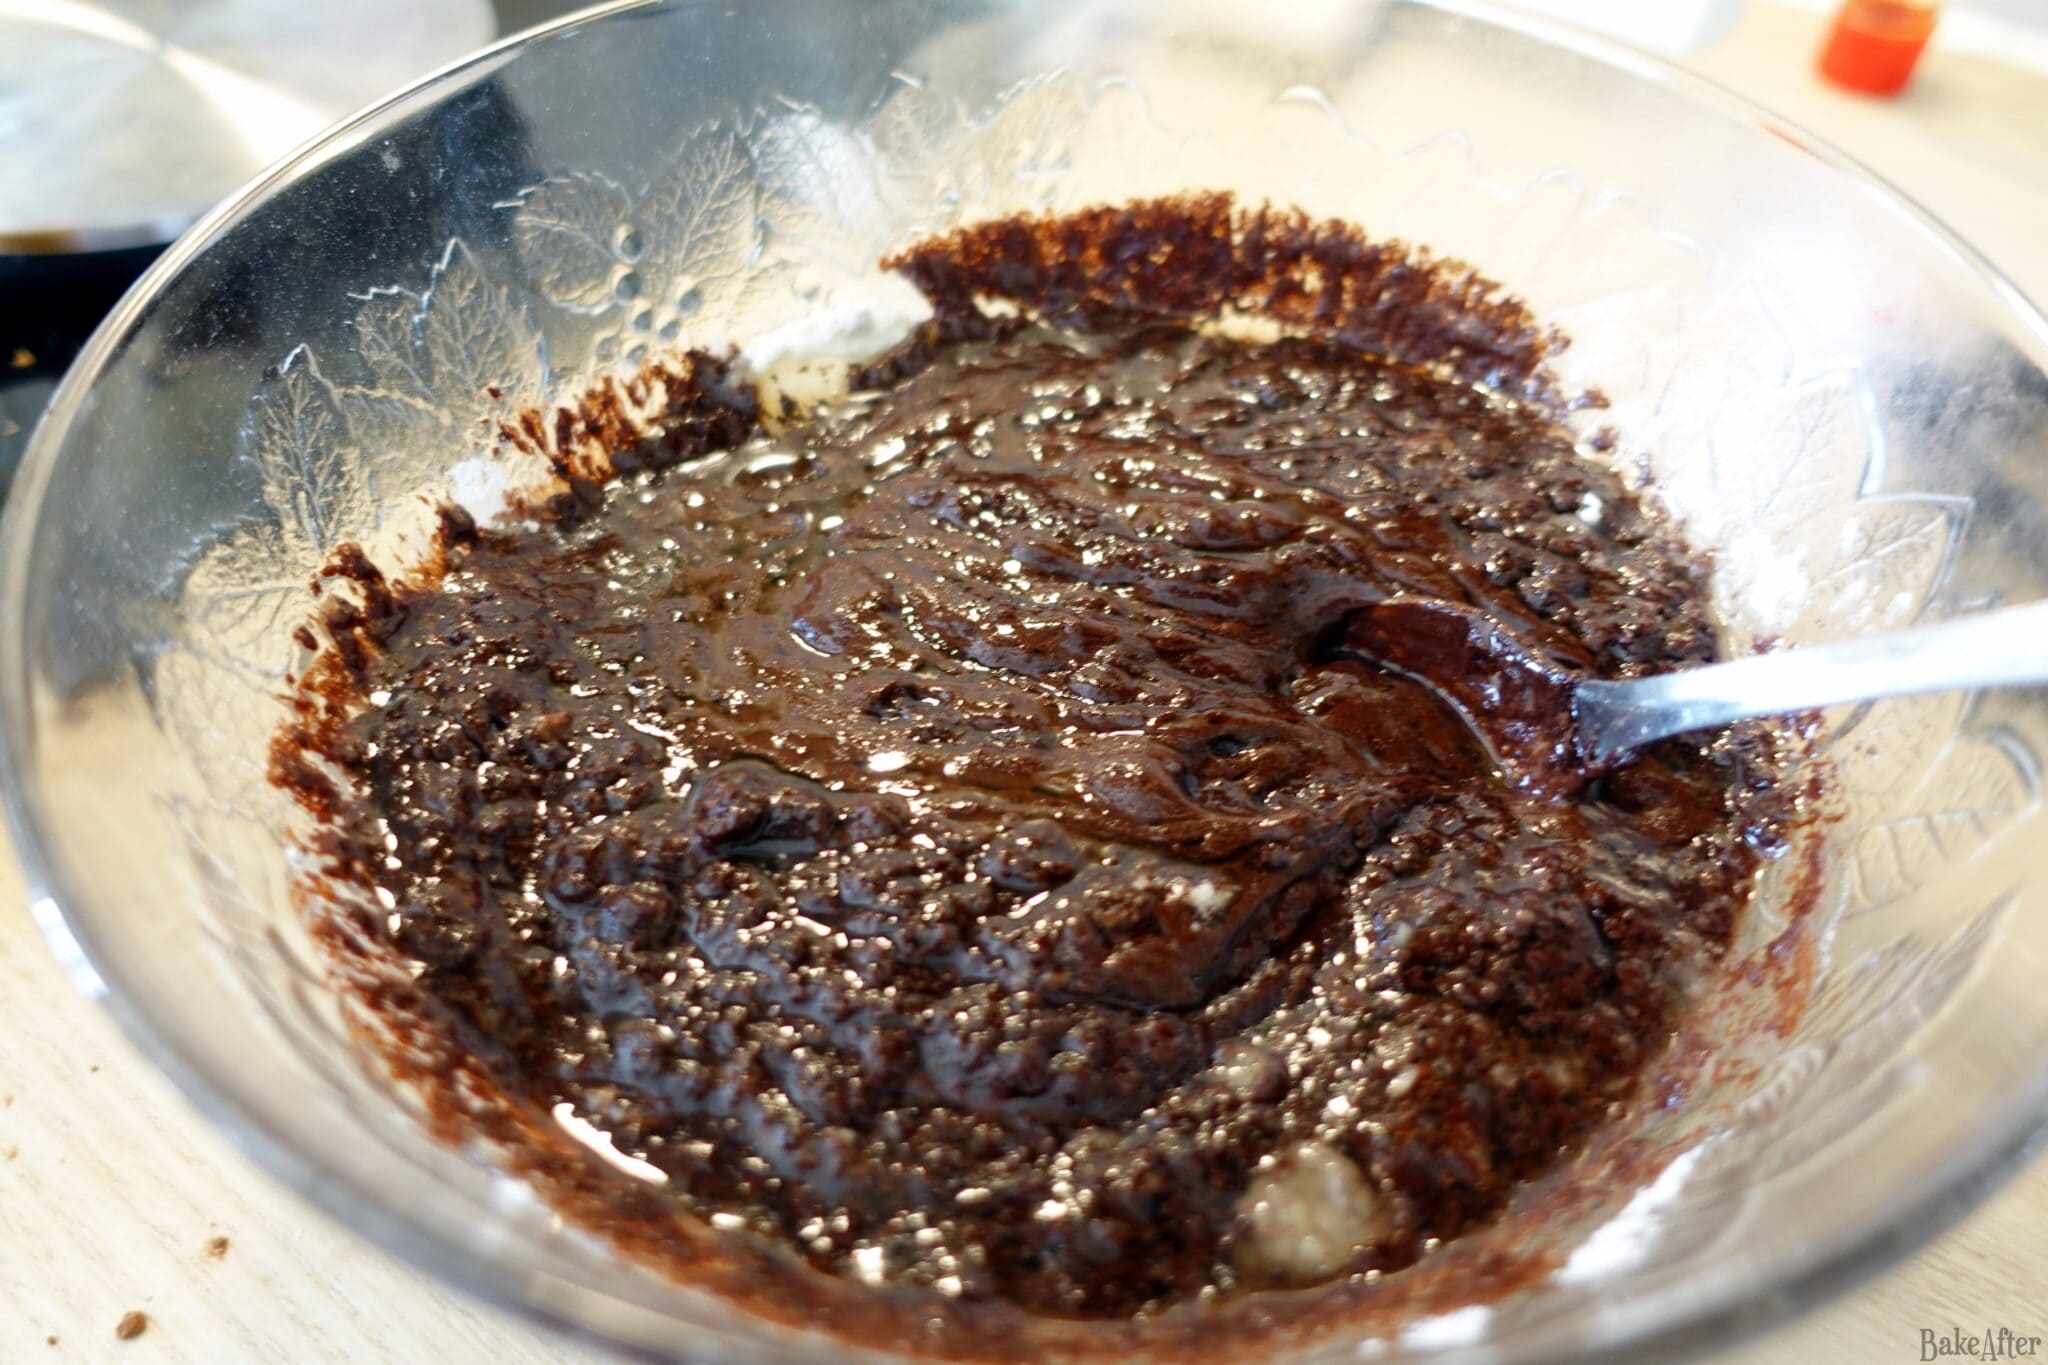
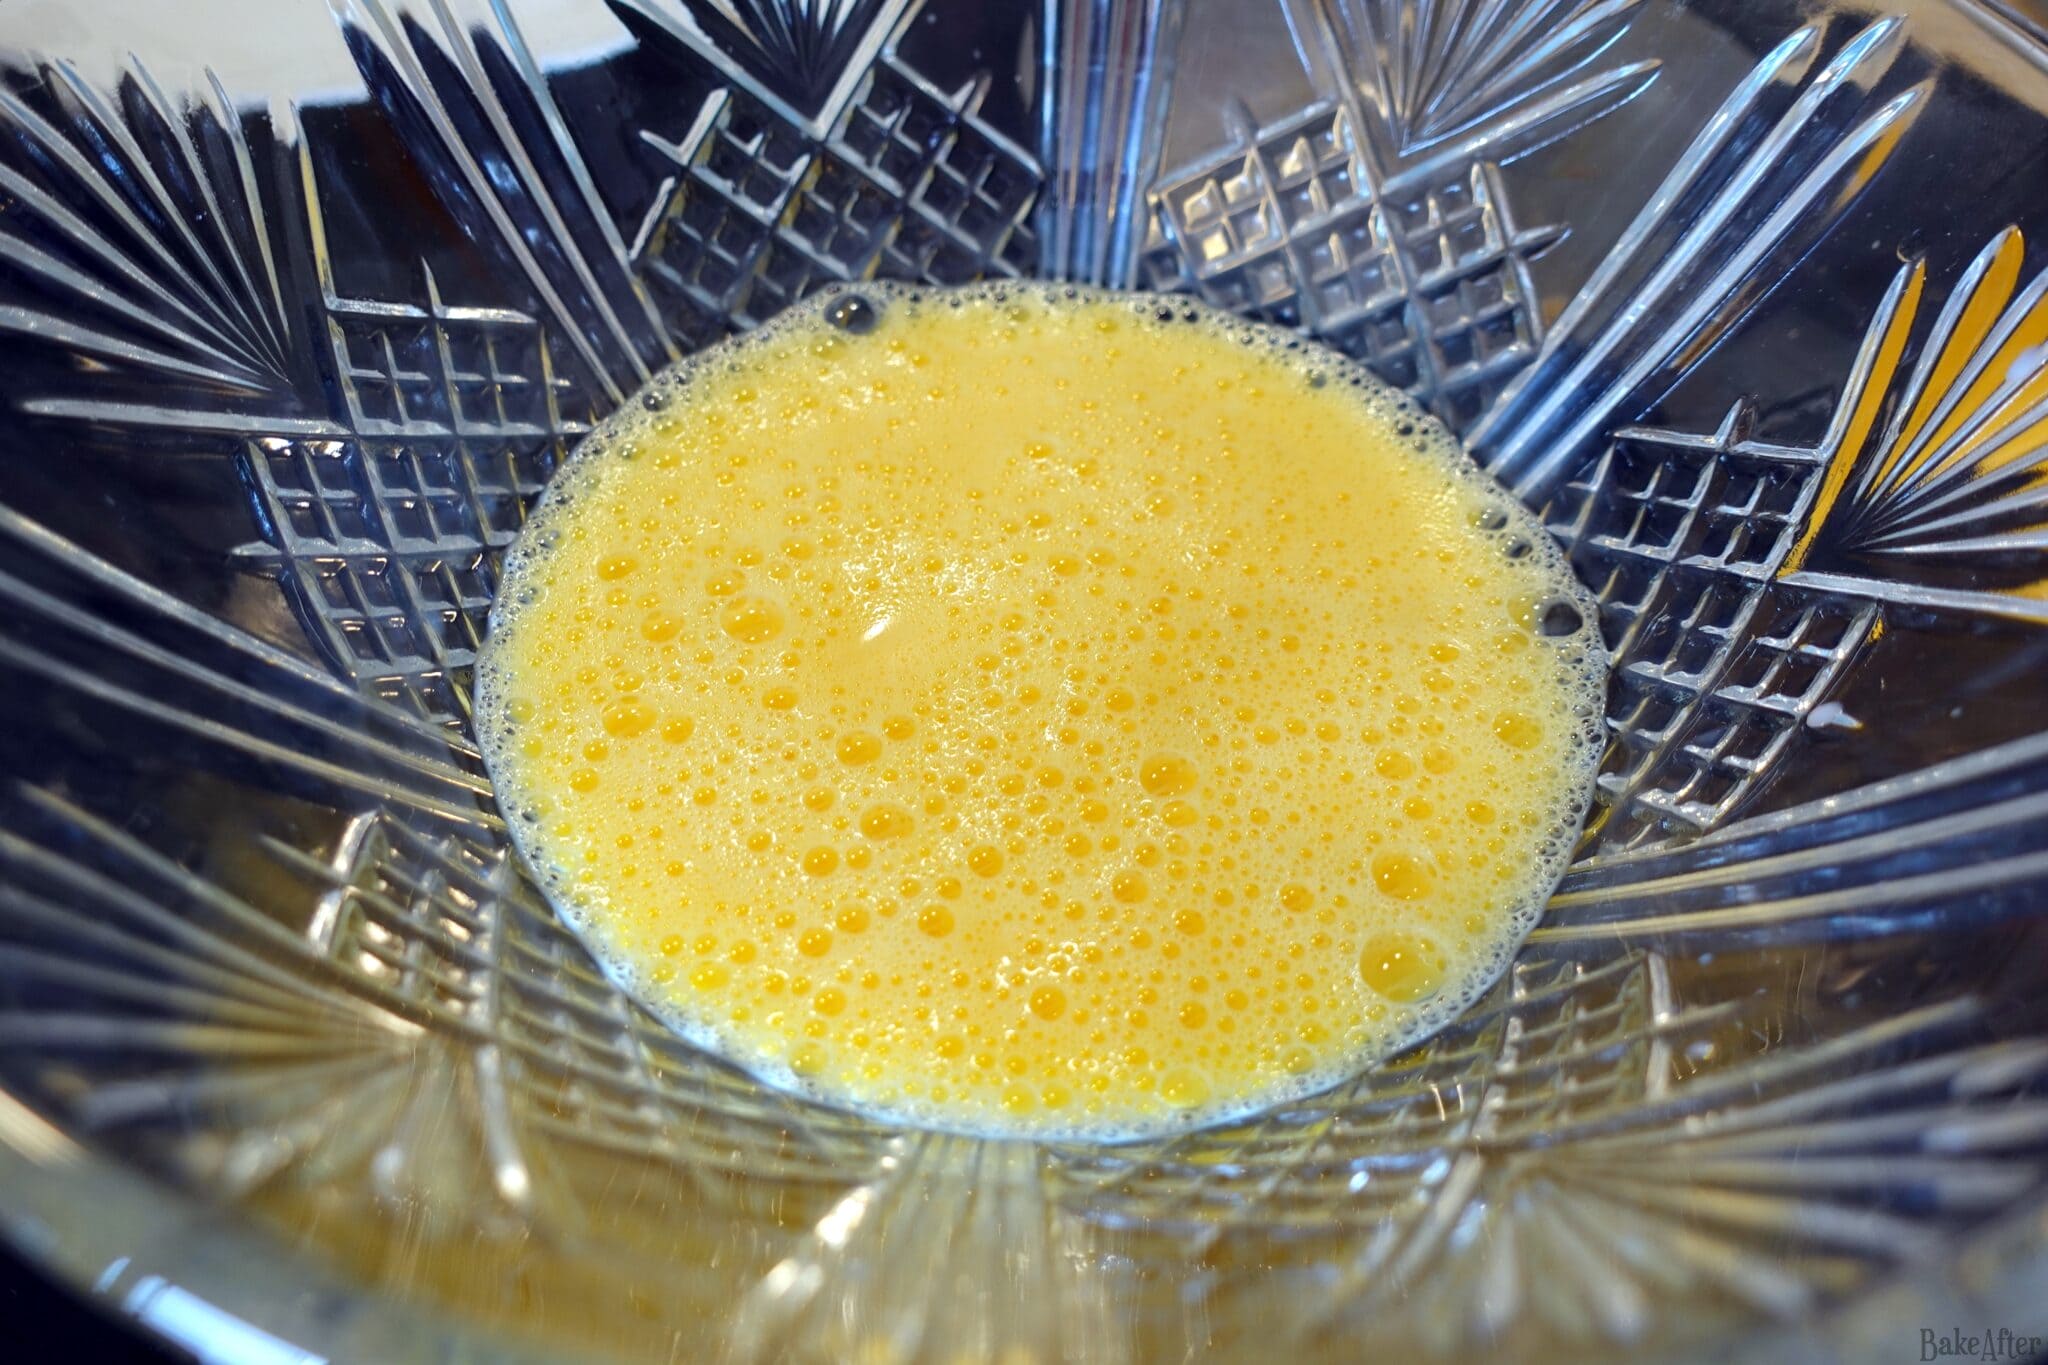
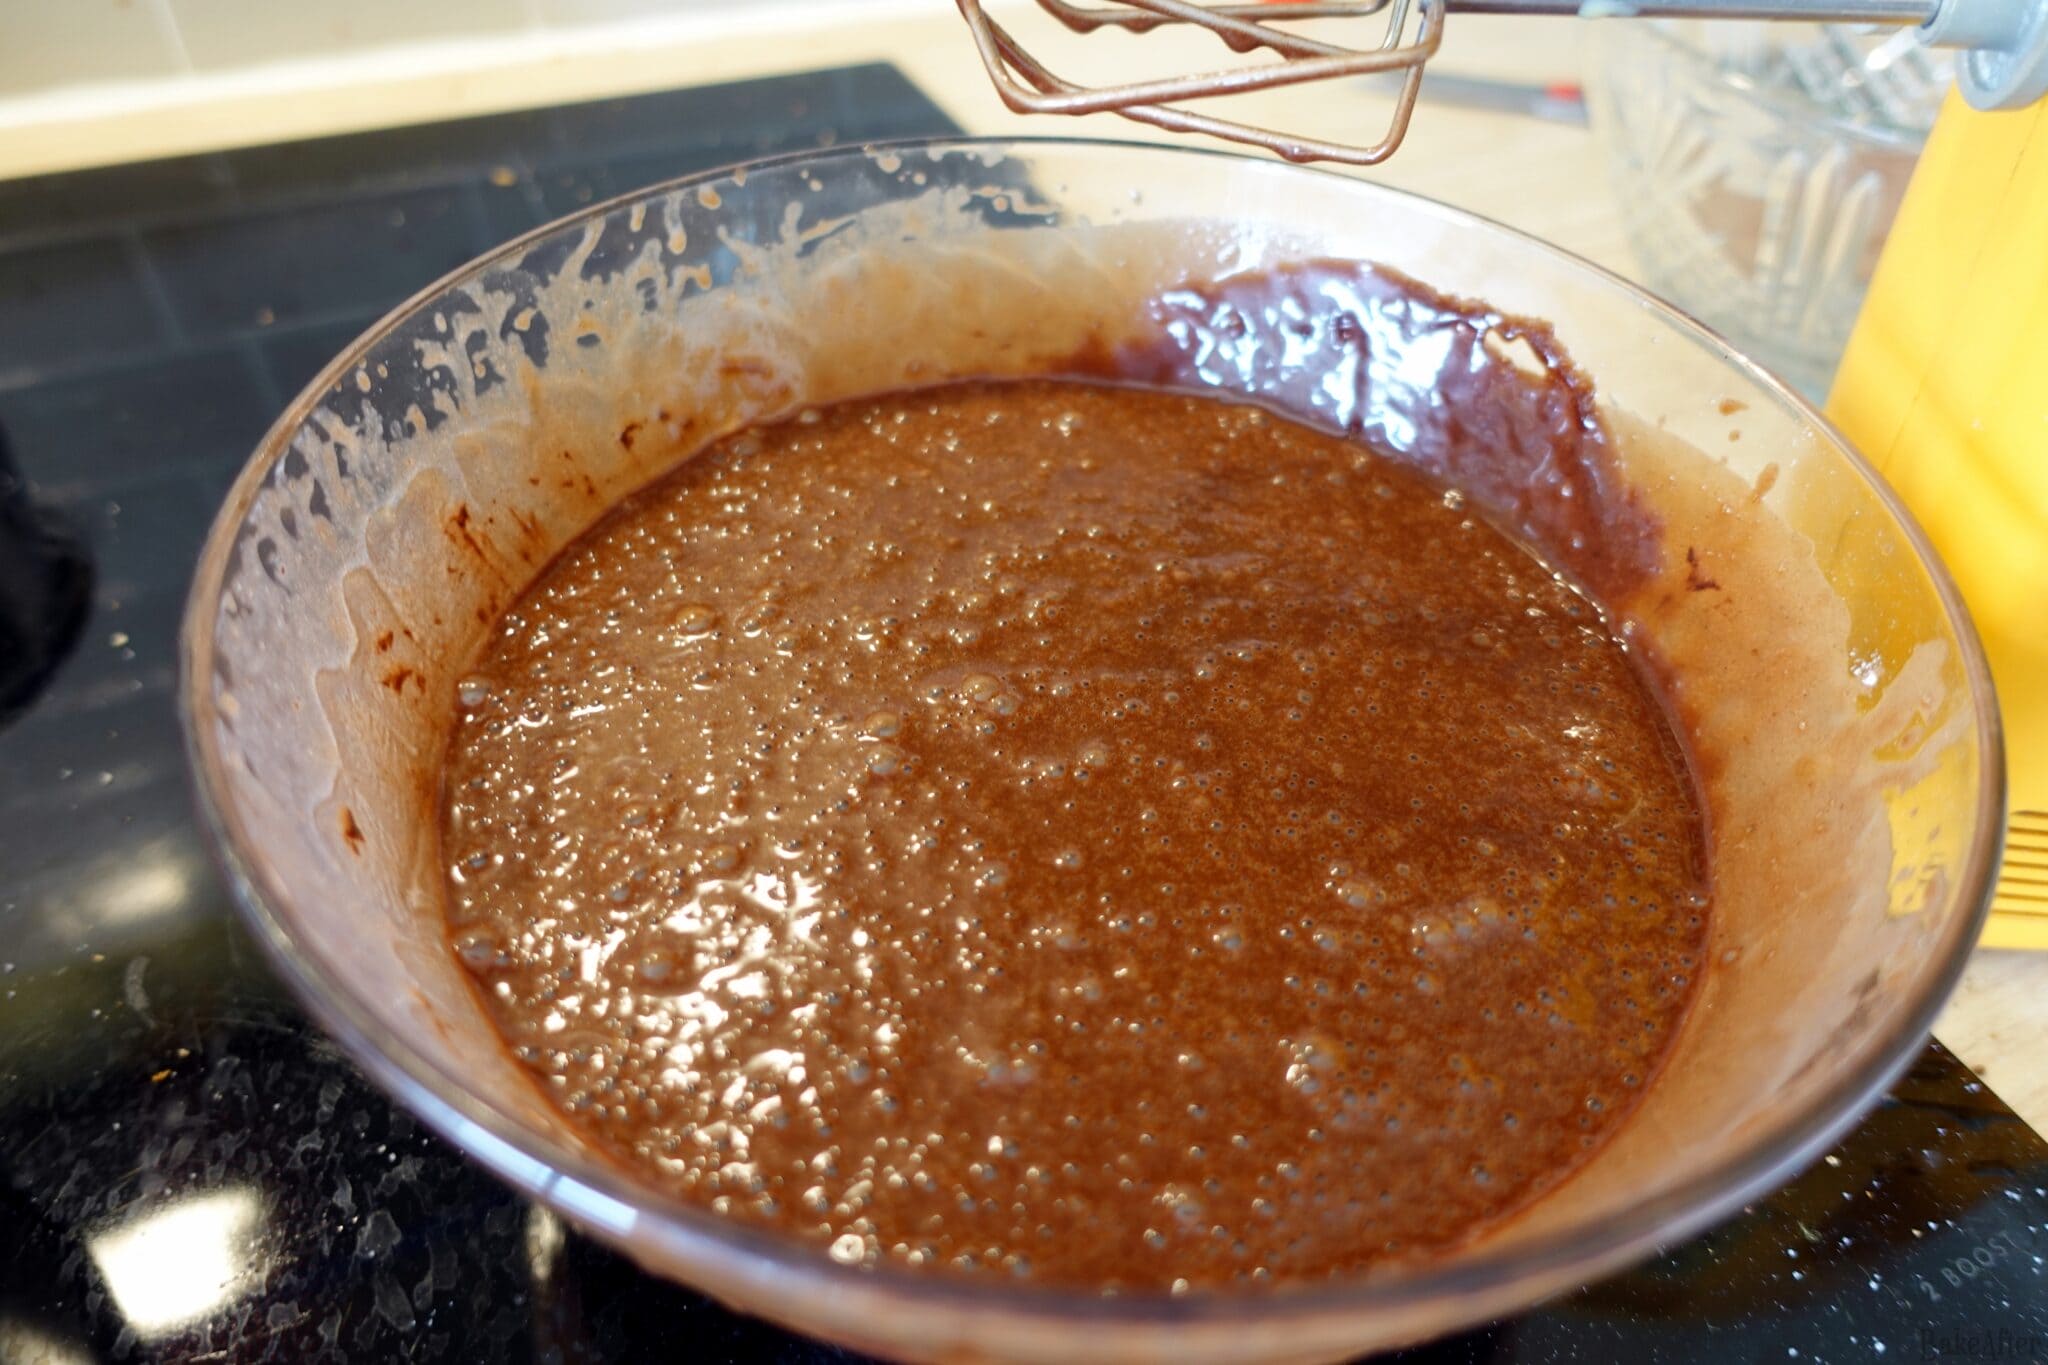
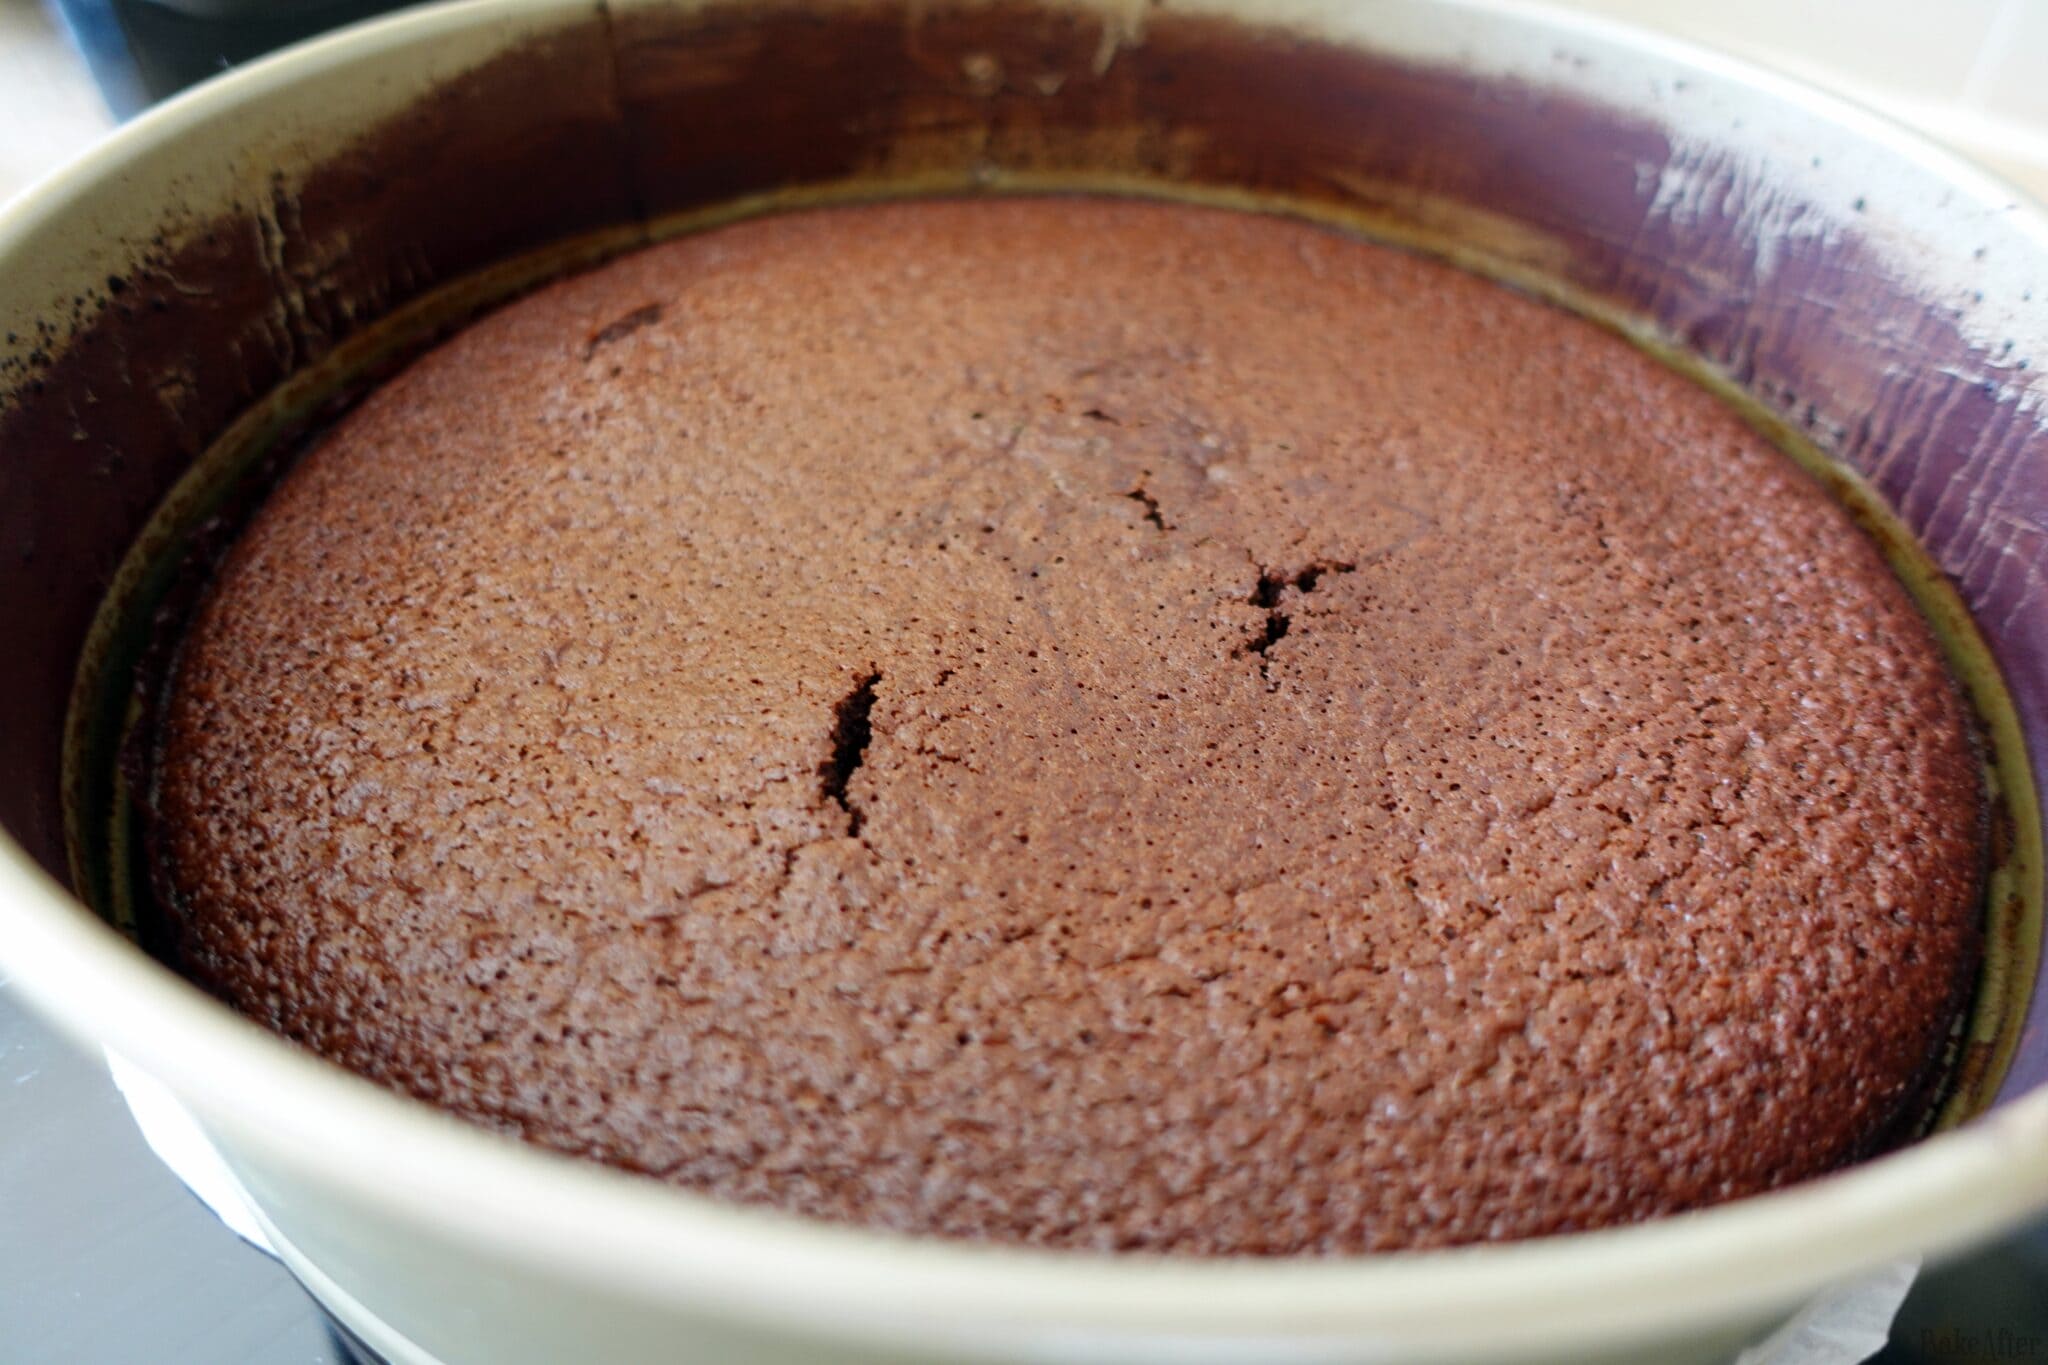
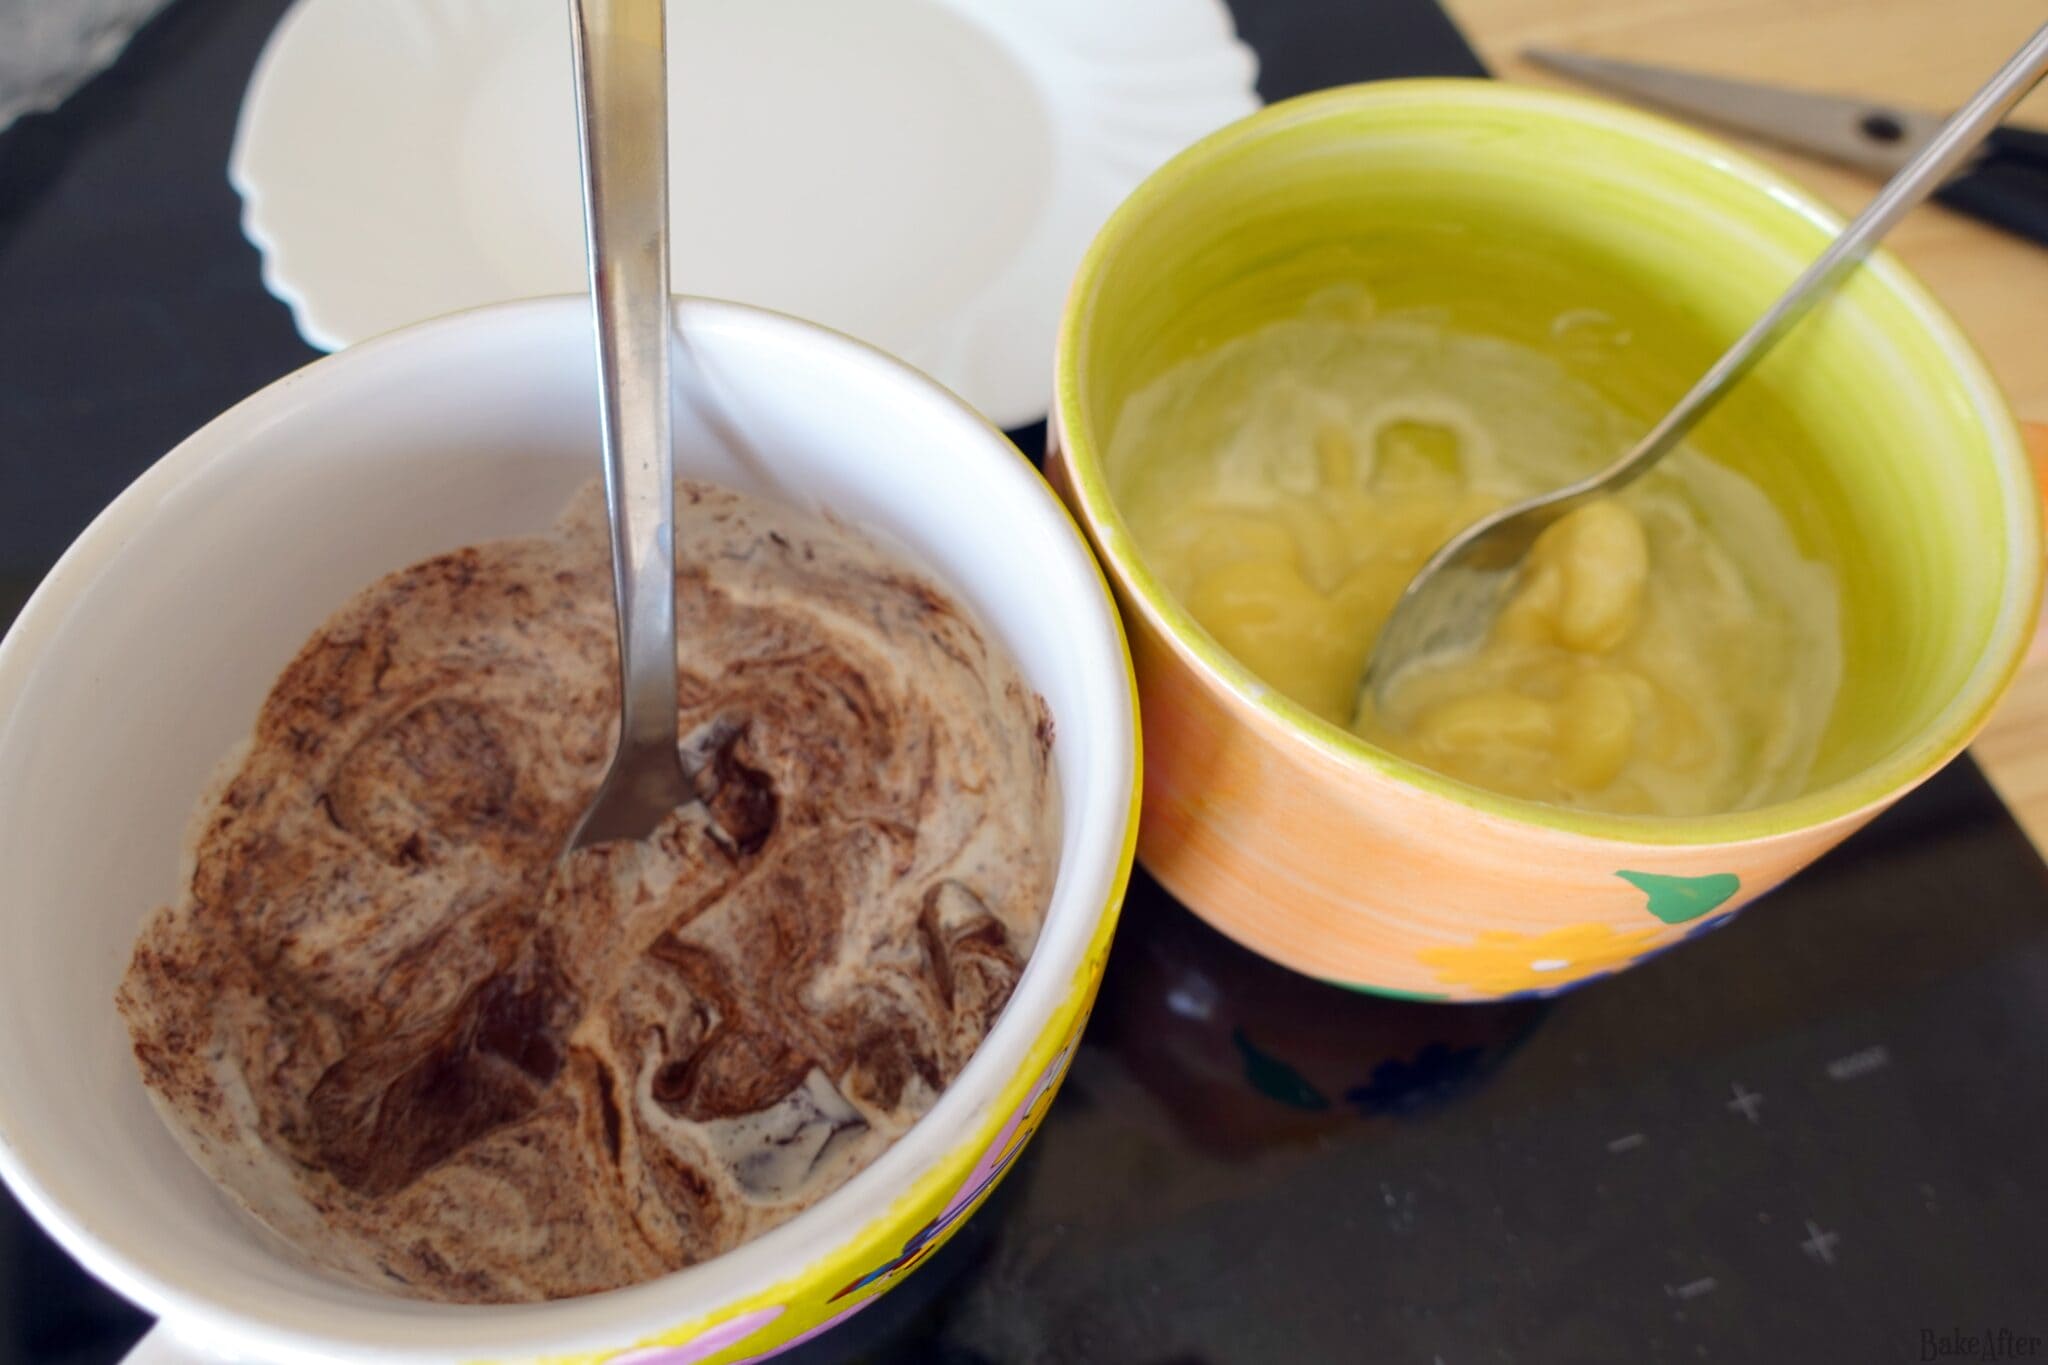
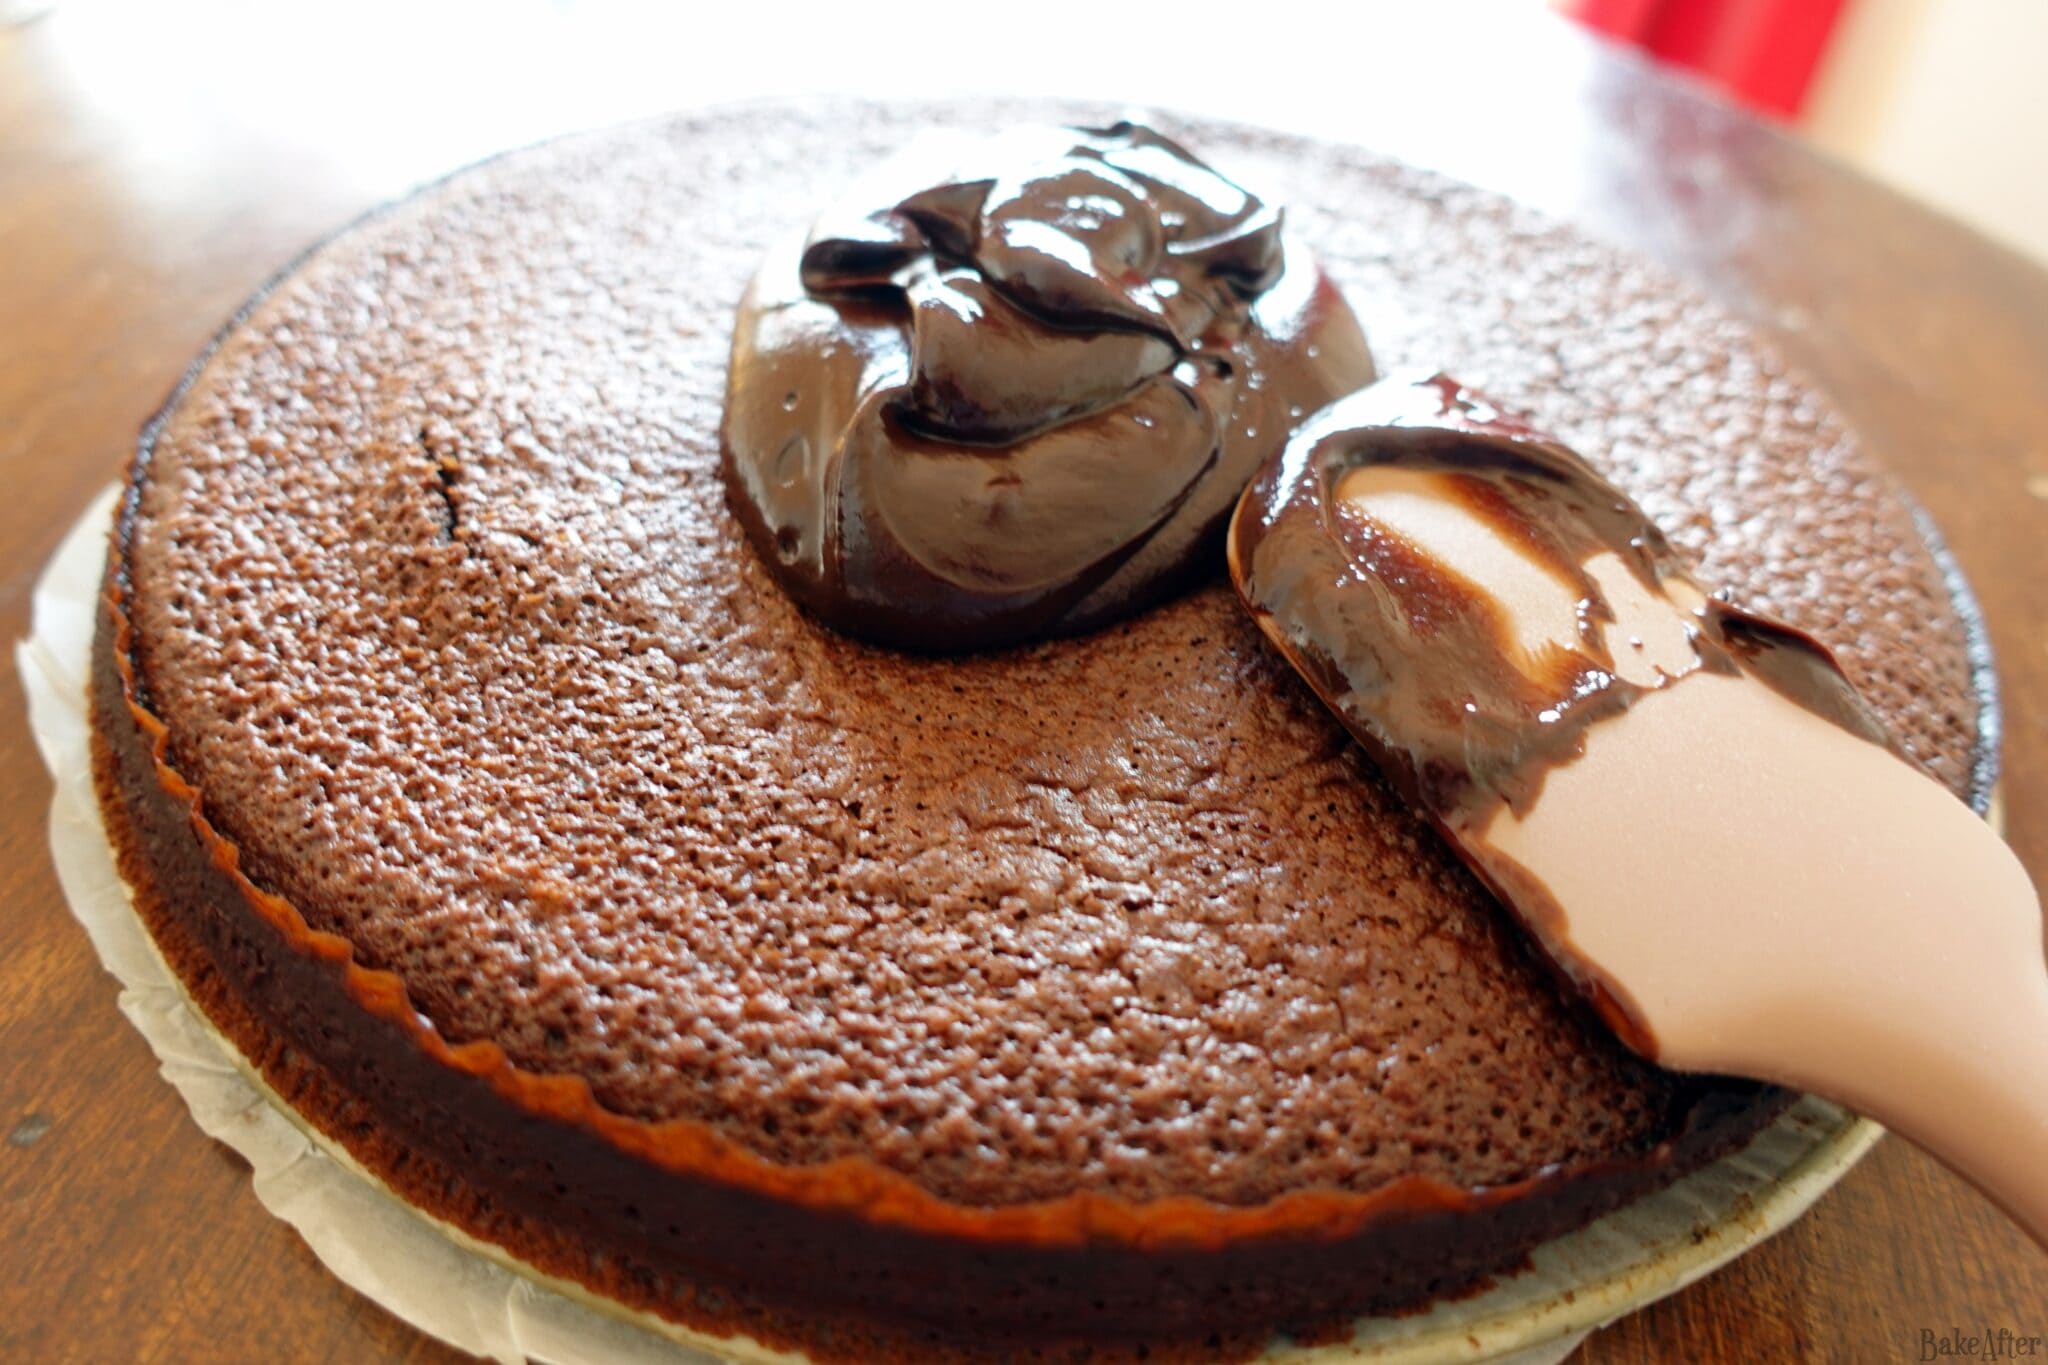
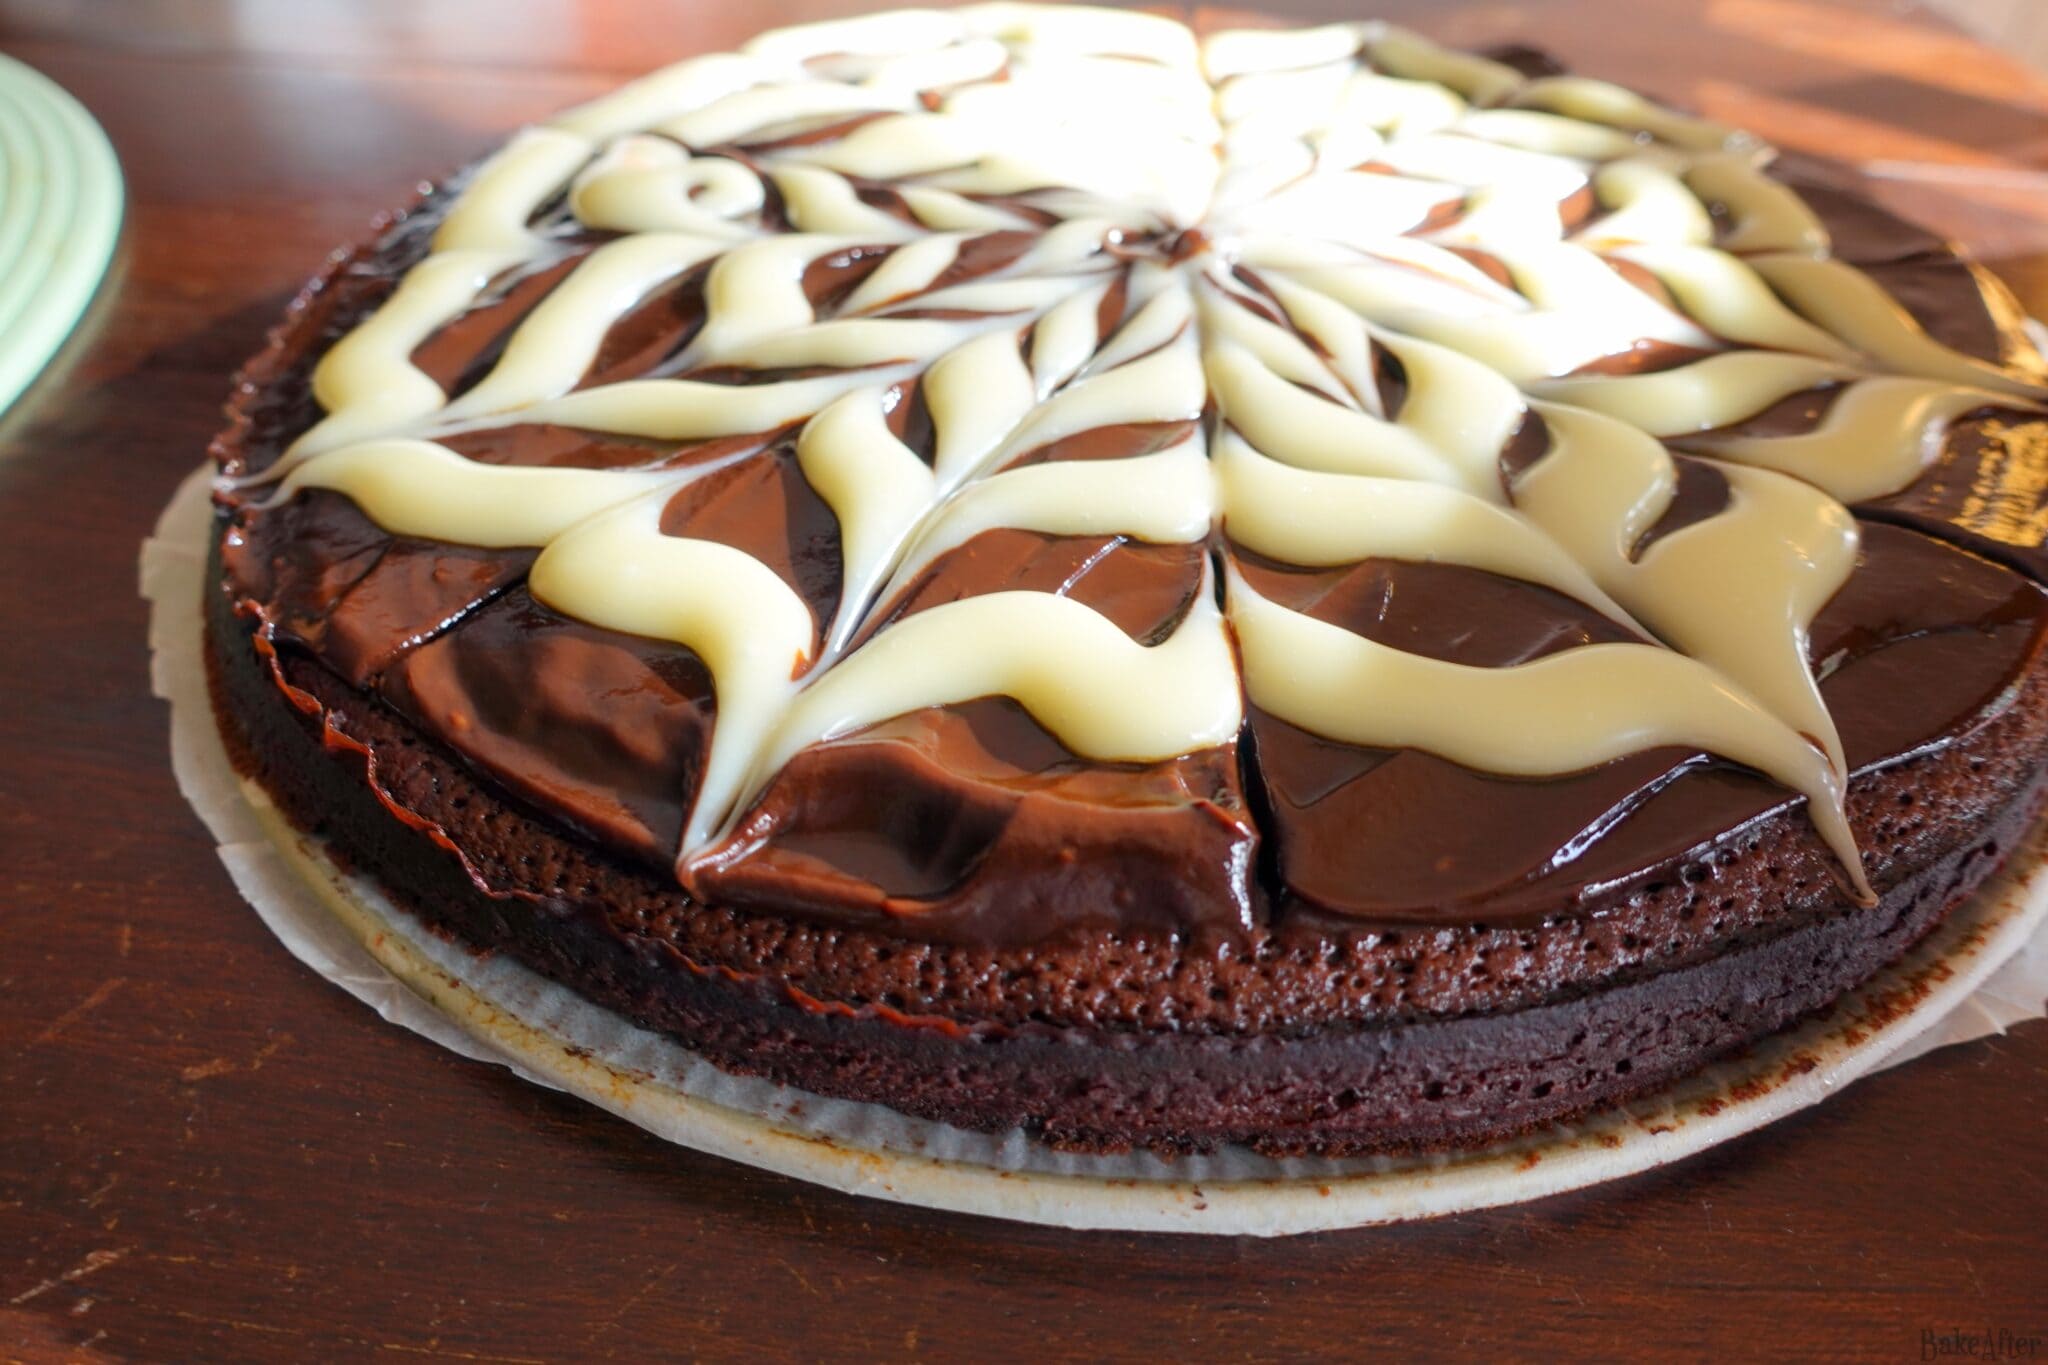
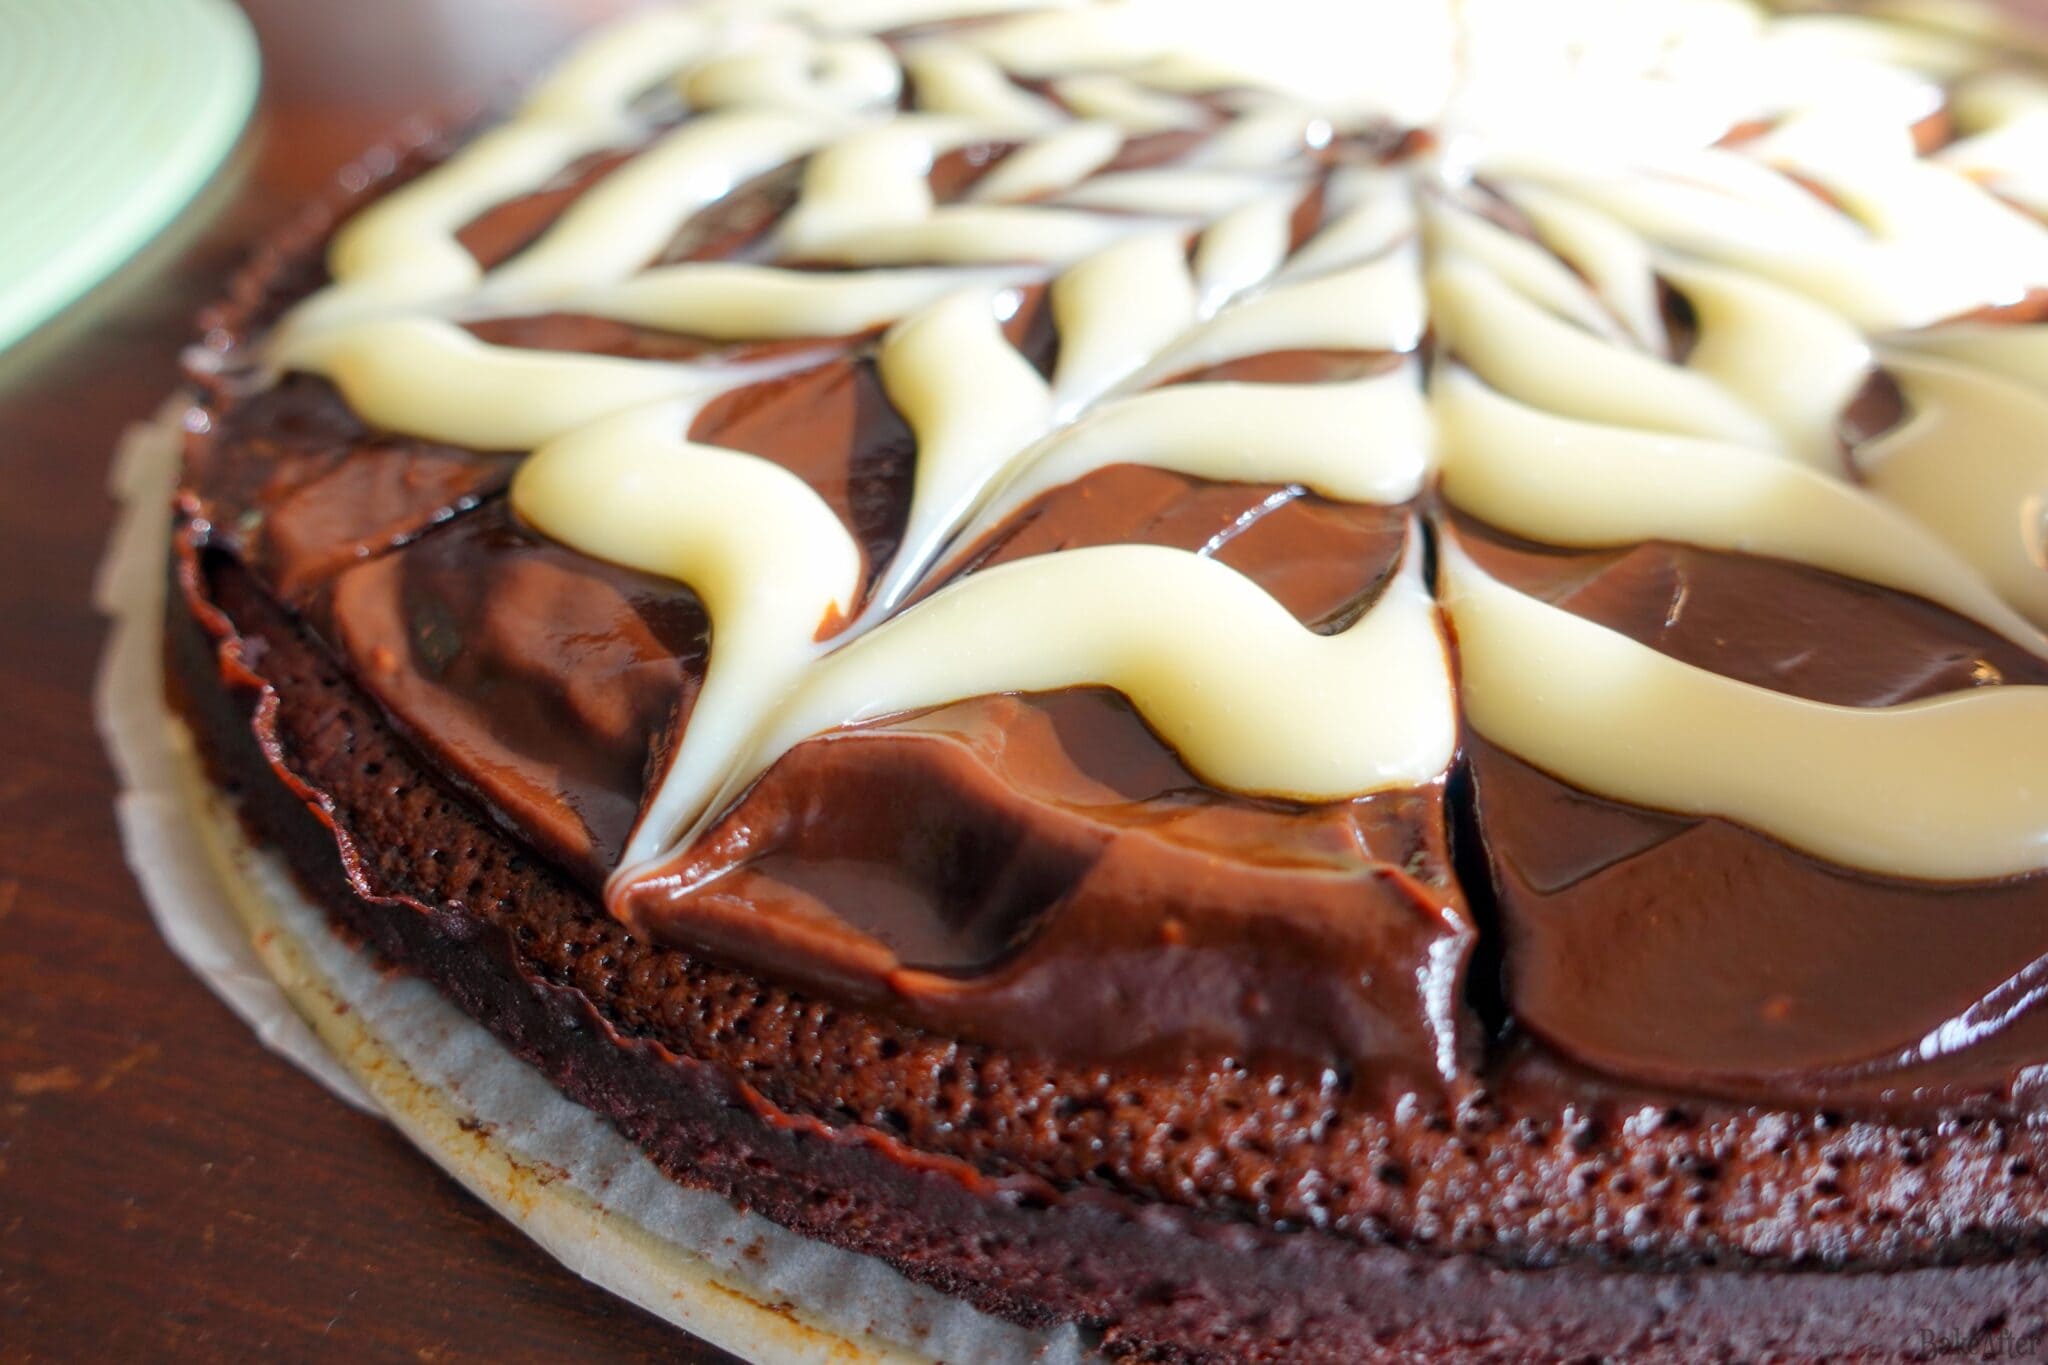
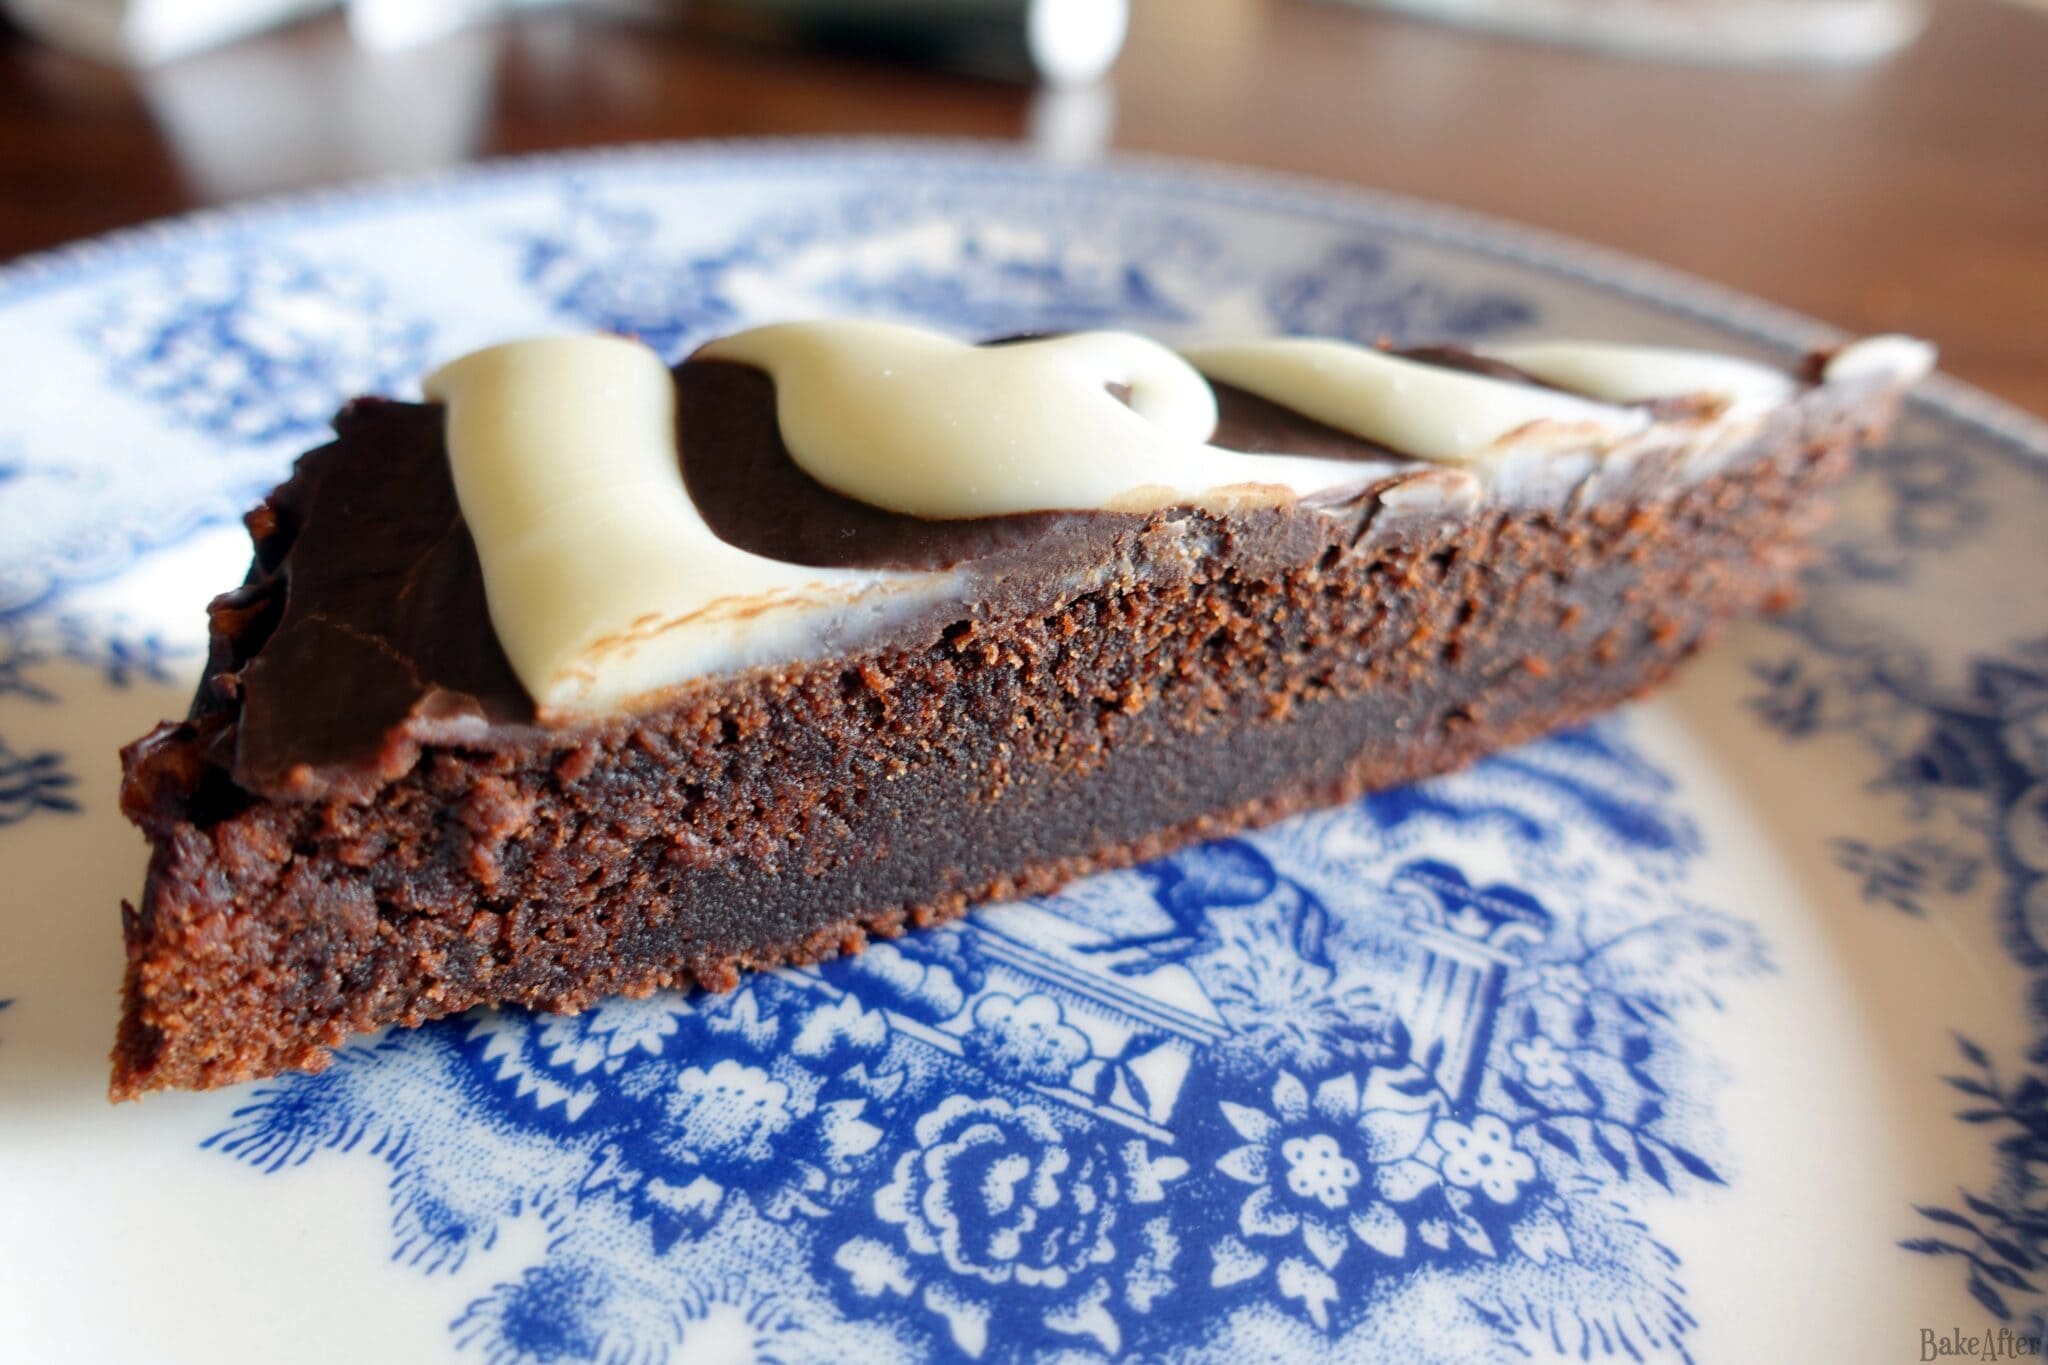
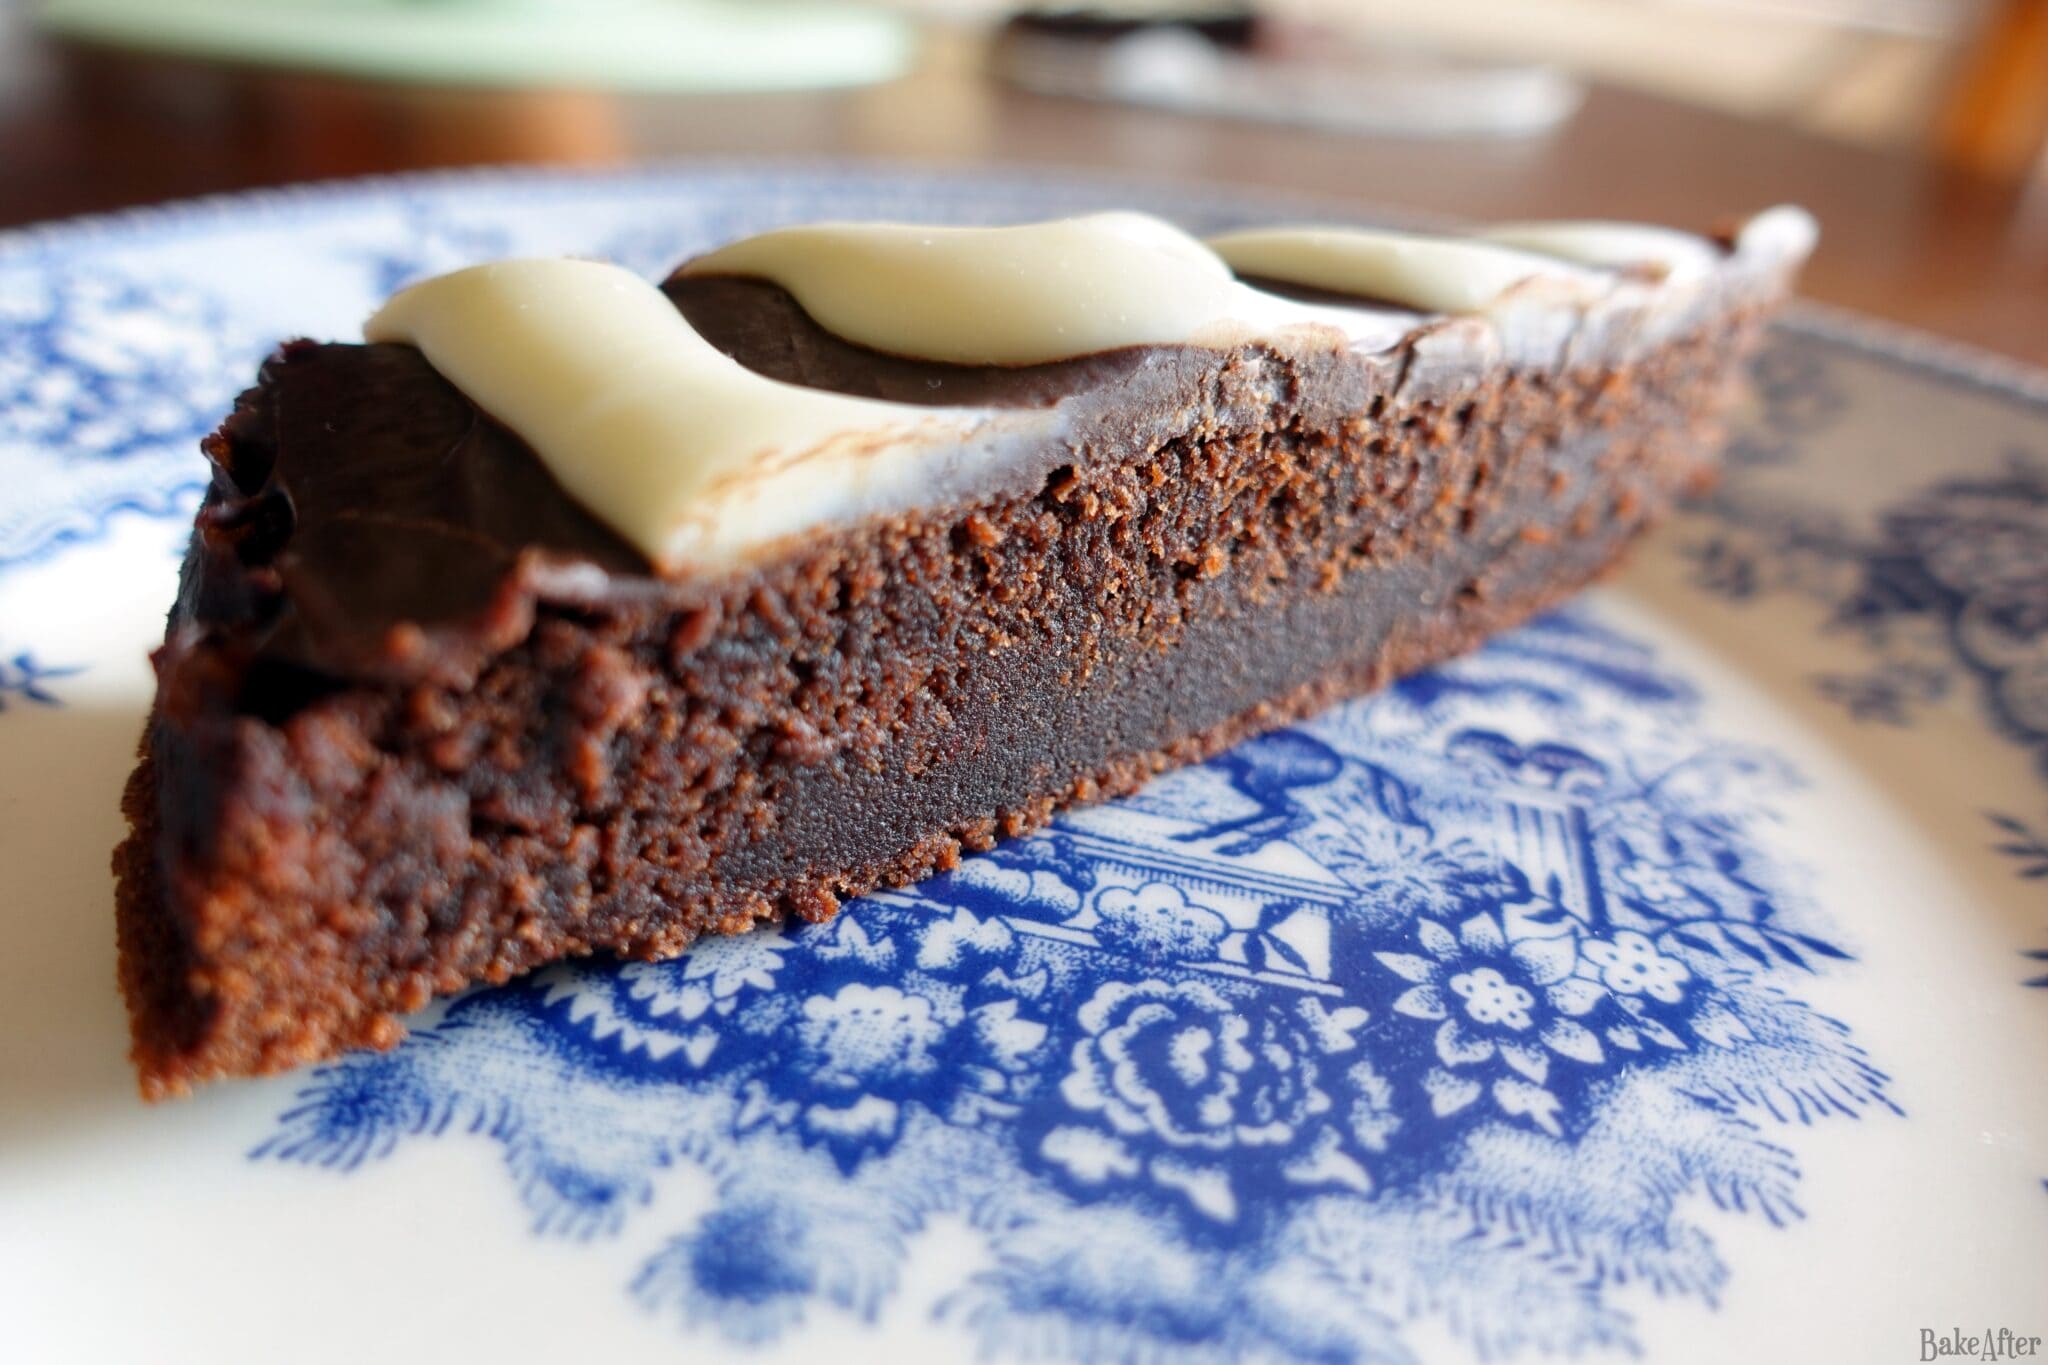
I modified the recipe to be a bit simpler to follow. For the ganaches, I heated all the cream at the same time and then used a scale to pour the right amount of cream into each chocolate bowl.
Instead of heating the cream, you can add the cream to the chocolate and microwave it in 10 second intervals, stirring in between, until you get a creamy mixture. If you don’t stop every 10 seconds, you risk burning the chocolate.
Chocolate quality really makes a difference in this recipe, in both the cake and the ganaches. Always use good quality chocolate, at least 60% cocoa for the dark chocolate, and a good baking white chocolate. Avoid regular supermarket white chocolate bars, since these many have too much vegetable fat instead of cocoa butter and the result is much worse.
The cake has to be completely cool before you apply the ganaches. If it’s warm, the ganache melts and runs, and goodbye pretty presentation! Don’t rush this step, it’s worth the wait.
If the ganaches set too much before you use them, warm them for a few seconds in the microwave or in a water bath (bain-marie), stirring well, until they return to the right consistency.
The thickness of the line coming out of the piping bag determines the detail of the final pattern: the thinner the tip, the more delicate and elaborate the web. If you’re not confident, test it on a plate first to check the consistency before moving on to the cake.
The more times you repeat the toothpick motion around the cake, the denser and more elaborate the pattern gets. With 8 to 12 evenly spaced drags, you get a really beautiful, symmetrical result.
The combination of sunflower oil and butter keeps the cake fluffy and moist for days.
Save a spoonful of each ganache before covering the cake. Thicken the dark one in the fridge for 5 to 10 minutes, then pipe a body, a head and eight legs on top of the finished web. Use a dot of white ganache for the eyes.
Pipe the spider on a piece of parchment paper first, chill it until firm, then place it on the cake. That way you can fix mistakes without ruining the web.
This recipe for Spooky Spiderweb Black and White Chocolate Ganache Fudgy Cocoa Cake was originally created on BakeAfter.com. Esta receita de Bolo Húmido de Cacau Coberto de Ganache de Chocolate Preto e Branco foi publicada em português no Iguaria.com.
Nutrition
Per Serving: 350 calories; 20 g fat; 40.8 g carbohydrates; 4.4 g protein.Did you try this recipe?
Let me know how it turned out for you! What are your favorite Halloween cakes? You can leave a comment below ;D
Discover more from BakeAfter
Subscribe to get the latest posts sent to your email.