
I get asked about this one a lot, probably one of the more common chocolate questions and problems that we deal in the kitchen, so i might as well make a super proper answer as a full article! ;D
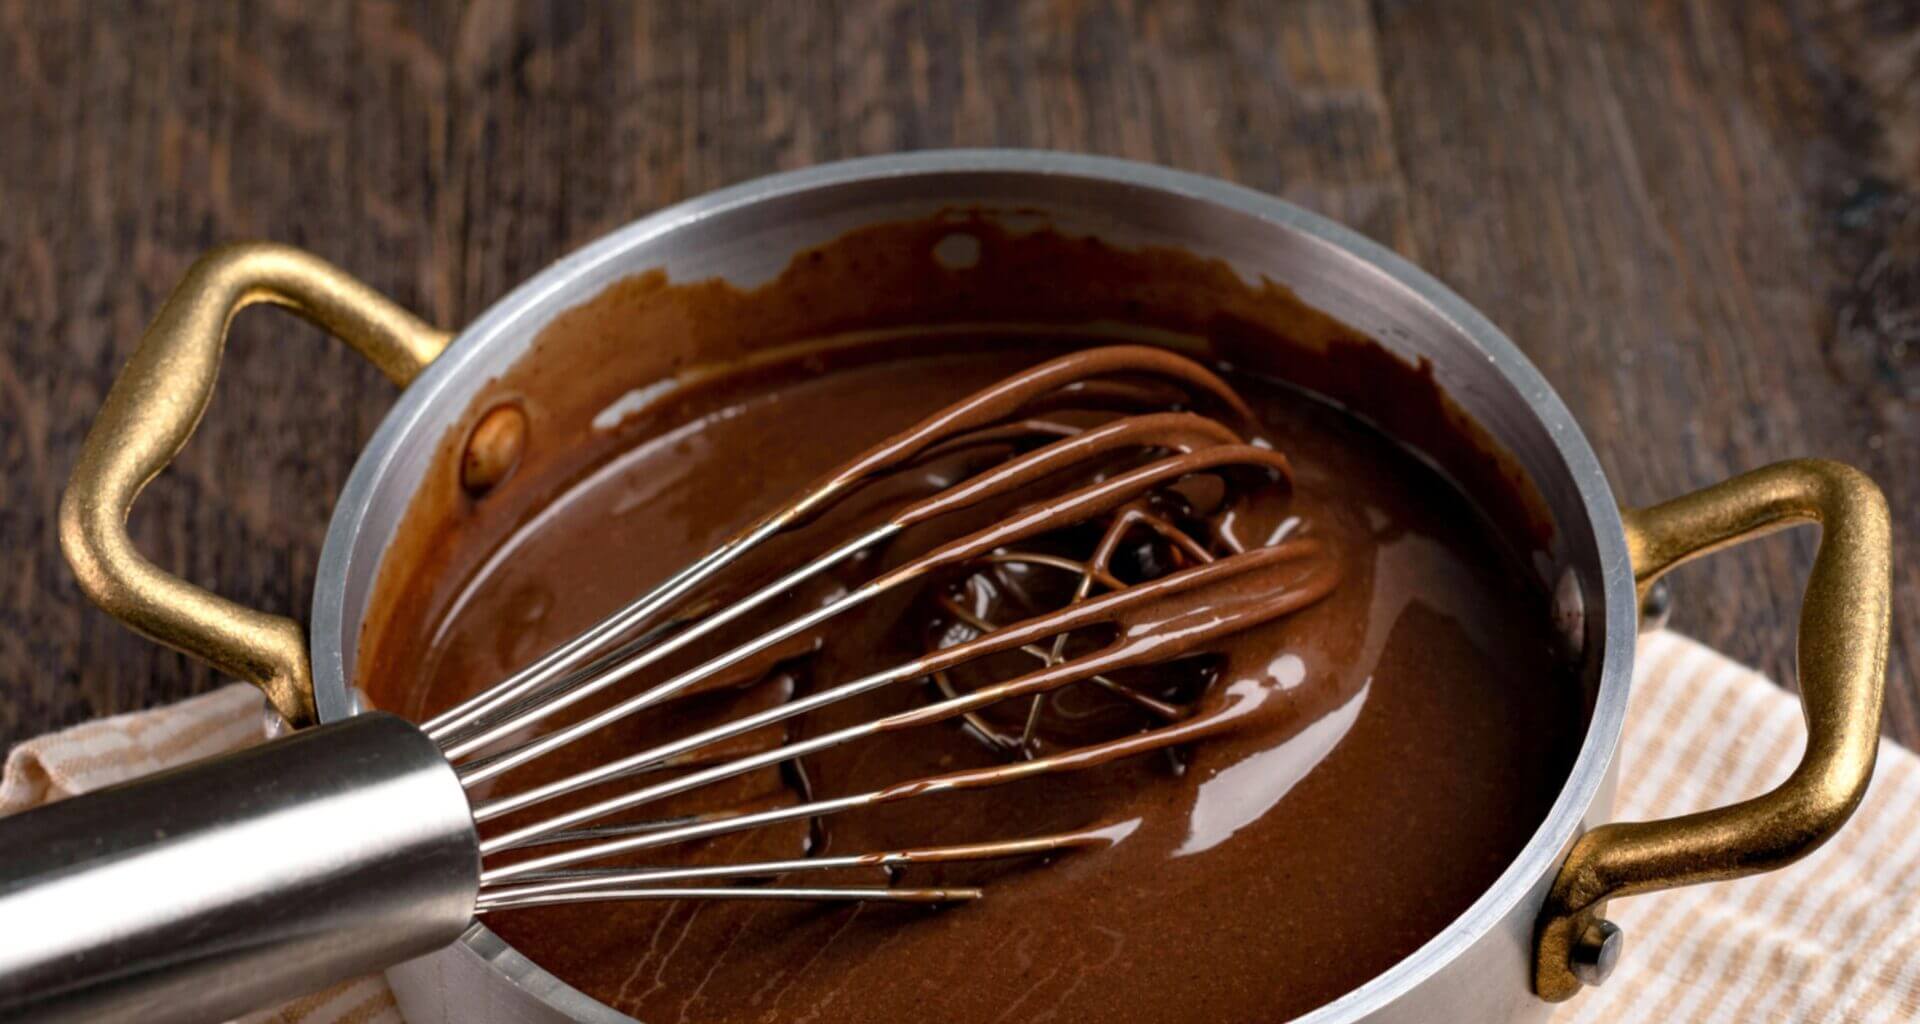
So you’re melting a perfectly good chocolate bar for a recipe, and then out of nowhere…. it turns into this thick, grainy, sad little clump that won’t smooth out no matter how hard you stir. That’s seizing, and it happens to everyone at some point, me included, with me usually because im distracted and trying todo too many things at once. So let’s go through what’s actually happening when chocolate seizes, why it happens, and more importantly, how to melt chocolate at home so its creamy and silky. And if accidents happen, and they do, the best ways to deal with chocolate that has seized.
What Chocolate Actually Is, Quickly
I’ve written a much longer breakdown of this elsewhere, but here’s the fast version for anyone who just wants to melt some chocolate today. Chocolate is basically cocoa solids (the ground up, roasted seeds of the cacao fruit) combined with a fat, ideally cocoa butter, plus sugar. Milk chocolate adds powdered milk on top of that, white chocolate skips the cocoa solids entirely and is just cocoa butter, sugar, and milk. That fat content is the part that matters most for melting, since it’s what makes chocolate flow smoothly when it’s warm and snap cleanly when it’s cool.
I do have to note here that with shrinkflation, these proportions and ingredients have changed in some products, yes even with chocolate, and yes even with like 60% cocoa chocolate, you might think its like 4 ingredients, but no, they add other cheaper or more that create a more stable final product, some of these can make the product better, but most times, not really, so do check the ingredient list!
Why Chocolate Seizes
Melted chocolate is really just a suspension of tiny sugar and cocoa particles floating around in liquid cocoa butter, or whatever fat it’s made with. All that fat is what keeps melted chocolate glossy and pourable. Sugar and cocoa particles, on the other hand, love water. They’re hydrophilic, meaning they’d much rather stick to water than float around loose in fat.
So here’s the problem. If even a small amount of water sneaks into your melted chocolate, whether it’s a drop of condensation from a lid, a splash from a wet spoon, or steam drifting up from a double boiler, those sugar and cocoa particles immediately clump together around it, trying to dissolve into that tiny bit of moisture. Since there isn’t nearly enough water there to actually dissolve them, you end up with a grainy, thickened mess that clumps instead of flowing.
Here’s the part that trips a lot of people up, a little water is bad, but a lot of liquid added on purpose is completely fine. If you pour a full cup of warm cream over chopped chocolate to make a ganache, you won’t see any seizing, because there’s enough liquid to properly disperse all that sugar, fat and cocoa into a new, smooth mixture. It’s the tiny, accidental splash that causes trouble, not liquid in general. A decent rule of thumb, no water at all, or plenty of it, never just a little.
There’s also a second, completely different way to ruin melted chocolate, and that’s simply burning it. This isn’t seizing, it’s scorching, and it happens when the chocolate gets too hot, especially milk or white chocolate, since the milk solids and sugar in them burn far more easily than plain dark chocolate does. Burnt chocolate turns thick, dull, and sometimes a bit gritty too, so it can look a lot like seized chocolate at first glance even though the cause is heat, not water.
Chocolate Comes in a Lot of Forms, and They Don’t All Melt the Same Way
Drinking chocolate powder or hot cocoa mix is mostly sugar, with barely any real fat in it. You can warm it up in milk for a cup of cocoa, but you’re not going to get a smooth, glossy melted chocolate out of it, there just isn’t enough cocoa or fat there for that. Skip it whenever a recipe calls for melted chocolate.
Cocoa powder, on its own, has very little fat and won’t melt into anything pourable no matter how gently you heat it. Mixed with butter or oil, like in a lot of brownie or fudge recipes, it can turn into something saucy and rich, but it will never set with that clean chocolate snap.
Chocolate chips are made to hold their shape in the oven, so manufacturers add stabilizers, less cocoa butter and more lecitin, that keep them from melting into a puddle inside a cookie. Great for baking, but it means chips can come out thicker and stiffer than bar chocolate once melted, and in my experience they’re a bit more prone to seizing too. They’ll work fine for dipping or drizzling in a pinch, just don’t expect the same silky result you’d get from a good chocolate bar.
Baking chocolate, couverture, or any chocolate sold specifically for melting is the good stuff. High in cocoa butter, already tempered from the factory, and made to be melted down and used again without a fuss. This is what you want for dipping, coating, molding, or anything where the chocolate needs to set back up hard and shiny.
Dark chocolate is the easiest to melt at home since there are no milk solids to worry about scorching. Milk and white chocolate both contain milk solids and more sugar, which makes them melt at a slightly lower temperature and burn a lot more easily, so they need gentler heat and a bit more attention while you work.
It Depends on What You’re Melting It For
Before you even turn on the stove or the microwave, it helps to think about what you need that melted chocolate to do once it cools back down, because that changes how careful you actually need to be.
If you’re making a ganache, mousse, or a filling, you’re going to mix that melted chocolate with cream, butter, or eggs anyway, so tempering is a non issue. Melt it, combine it, done. This is also the easiest situation to be in, since you’re adding liquid on purpose from the start, so a small splash barely matters here.
If you’re dipping or coating something, like strawberries, truffles, or a batch of bark, and you want that snap and shine when it firms back up, you need to be more careful. Ideally you’re melting chocolate that was already tempered (any fresh, good bar counts) and keeping it gentle enough that it stays in temper, generally under about 90 to 91°F (32.2 to 32.8 °C) for dark chocolate and a touch lower for milk and white. Get it too hot and it’ll still taste fine, but it’ll set up dull, soft, and sometimes streaky, a problem bakers call bloom, instead of hard and glossy.
Also note that you need to move fast, you have to use the chocolate just as its melted, because if you stay too long melted, even lower than 90ºF(32ºC) it might dissolve all the crystalline structure of the chocolate and when it cools it wont set properly. And if the chocolate goes below 88°F (31°C) for too long it will also not temper correctly and it become cool into a thick dull chocolate.
If you’re just drizzling chocolate over cookies, popcorn, or a cake and you want a bit of crunch once it sets, you don’t need full tempering precision, but you still want to avoid overheating it. Stirring in a little coconut oil or a neutral oil will help it flow better for drizzling, though it’ll set up a touch softer rather than with a true hard snap, me personally i tend to just go with a good (with high cocoa) milk chocolate or dark chocolate and don’t mess with it, just melt and use it right away so it keeps its temper.
And if you’re making a chocolate sauce, for topping ice cream, for example, it doesn’t need to set at all, so you’re free to melt it with cream, butter, or milk right from the start with zero seizing worries whatsoever.
Ways to Melt Chocolate in a Home Kitchen
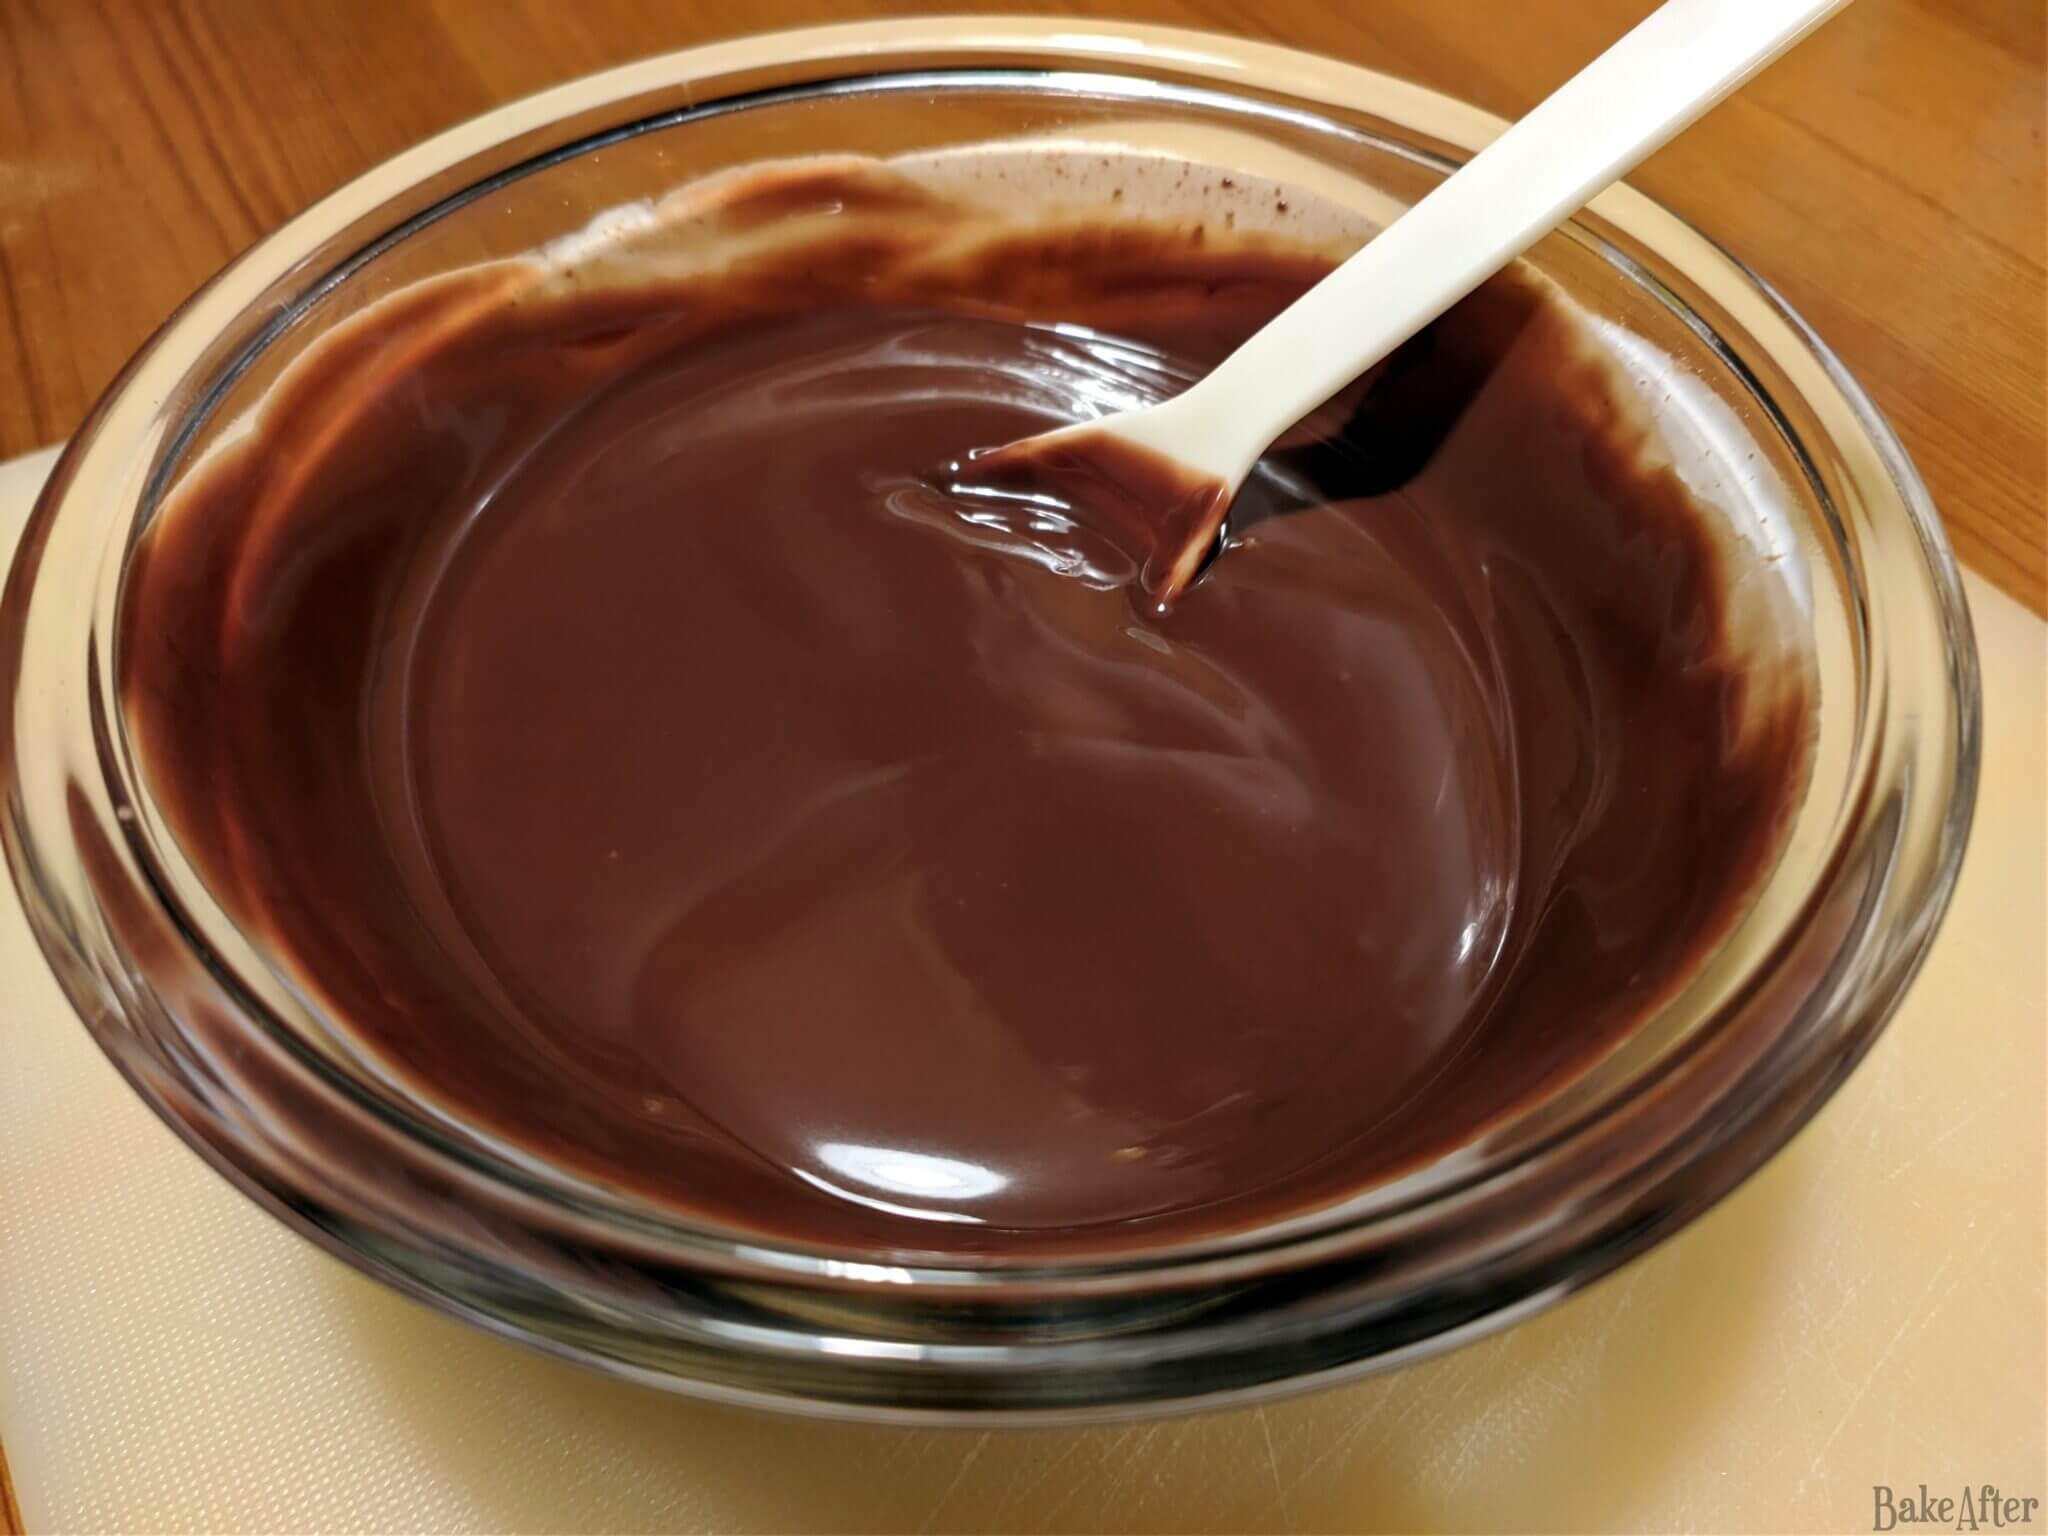
You don’t need a marble counter, a chocolate thermometer, or any fancy equipment to melt chocolate properly. Here’s what actually works in a normal kitchen, i’m ordering these from what i use the most, to what i use the least, its not exactly the best to worst, just saying! ;D
The Microwave Method. This is honestly the one I use most, since it’s fast and pretty foolproof once you get the rhythm down. Chop your chocolate into small, even pieces first so it melts at the same rate, put it in a dry microwave safe bowl (i use a pyrex so its easier to handle), and microwave it in short bursts at 50% setting, about 10 seconds at a time, stirring thoroughly in between each one. The stirring does a lot of the work here, since the residual heat from the melted pieces keeps melting the rest as you mix, so you can stop microwaving while a few small lumps are still visible and let the stirring finish the job. That slow, gradual approach is what keeps you from scorching it, since you never leave it in long enough to overheat before checking on it.
The Double Boiler, or Bain Marie. The classic method, and still a great one, especially for larger amounts or when you want to keep an eye on temperature for tempering. Set a heatproof bowl over a pot with an inch or two of barely simmering water, making sure the bottom of the bowl doesn’t actually touch the water. The gentle, indirect steam heat melts the chocolate slowly and evenly. The one thing to watch here is exactly what this whole article is about, keep the bowl completely dry, don’t let steam sneak up around the edges, and don’t cover it, since condensation dripping back down is one of the most common ways home cooks accidentally seize their chocolate, also when you take the bowl, be sure to wipe the bottom with a kitchen cloth or kitchen paper to remove all the damp around it (especially if you are going to pour the chocolate, you pour the chocolate and you pour a bit of water, and there goes the chocolate).
Melting It Directly Into Liquid, the Ganache Method. If you’re making a ganache or a sauce anyway, you don’t need to melt the chocolate separately at all. Chop it finely, put it in a bowl, and pour hot cream, milk, or melted butter directly over it. Let it sit undisturbed for a minute or two so the heat can spread through evenly, then stir gently from the center outward until it’s completely smooth. Since you’re using a generous amount of liquid right from the start, there’s no seizing risk here at all.
A Low Oven. If you’ve got a big batch of chocolate to melt and don’t want to babysit it on the stove, an oven set to its lowest temperature, or even just turned off but still warm from preheating, works too. Put the chopped chocolate in an oven safe bowl and check on it every few minutes, stirring as it softens. It’s slower than the other methods and needs a bit more attention to avoid overheating, but it’s a decent hands off option if you’re busy with something else in the kitchen at the same time.
A Warm Water Bath, Off the Heat. For small amounts, or for gently rewarming chocolate that’s already started to set up, put your bowl of chopped chocolate into a larger bowl, or even the sink, filled with hot tap water, off the stove entirely. Stir occasionally until it melts. It’s slow and gentle, which makes it pretty hard to mess up, though you do need to make sure no water splashes into the chocolate bowl while you’re at it.
What to Do If Your Chocolate Seizes Anyway
If it happens, and at some point it will happen to all of us, don’t throw it out right away. Seized chocolate is often salvageable, just maybe not for what you originally had planned.
The fix works on the same logic as the seizing itself. If a little liquid caused the problem, a lot more liquid can often fix it. Warm up a bit of cream, milk, or melted butter and whisk it into the seized chocolate a tablespoon at a time, off the heat, until it smooths back out into a glossy, pourable mixture. You’re essentially turning it into a ganache on purpose now, giving the sugar and cocoa enough liquid to fully disperse into instead of clumping around a tiny amount of it.
The catch is that once you’ve added that liquid, the chocolate won’t set back up hard the way tempered chocolate does, so it’s no longer great for dipping or coating. It’s still perfectly good for a chocolate sauce, folded into brownie or cookie batter, or used as a filling, so even a seizing mishap doesn’t have to mean the chocolate goes to waste, it just means adjusting your plans a little.
If your chocolate seized from overheating instead of water, that one’s tougher to bring back, since scorched chocolate has already broken down rather than simply clumped up. Adding liquid might smooth out the texture a bit, but the burnt taste is there to stay, so at that point unfortunately it’s usually best to start over with a fresh batch.
A Few Tips and Tricks Before You Go
- Chop your chocolate into small, even pieces before melting, so it all melts at roughly the same speed instead of some pieces burning while others are still solid (this was a mistake i did for years, just putting the whole bar in, and then you have half melted and half still solid, rookie mistakes).
- Make sure every bowl, spoon, and whisk that touches your melting chocolate is completely dry. Even a few drops of water hiding in a “clean” bowl is enough to cause trouble.
- Skip the lid. Covering a bowl of melting chocolate traps steam, and that steam turns into condensation that drips right back down into the chocolate.
- If you want to thin out melted chocolate for drizzling, add a bit of neutral oil, coconut oil, or butter instead of anything water based. Fat and chocolate get along fine, water is the real enemy here.
- Go low and slow with milk and white chocolate especially, they scorch much faster than dark chocolate because of the added milk solids and sugar.
- If a splash of liquid gets into your chocolate by accident, don’t try to fight it by adding more chocolate or stirring harder. Lean into it instead and add enough extra liquid to bring it back to smooth, the same way you would for a proper fix.
- The easiest way to get chocolate that sets back up hard and glossy is to start with chocolate that’s already tempered, meaning basically any fresh, good quality bar you’d be happy eating on its own. That’s a lot easier than trying to temper chocolate completely from scratch in a home kitchen.
And that’s really it. I once saw my sister melting chocolate with a double-boiler, and not only was the smaller vessel touching the water, it was much smaller, and the water temperature was high like boiling, so lots of steam, and i was thinking… hummm this isn’t going to… and the chocolate seized hahaha, its that fast!
Well melting chocolate isn’t complicated once you know what todo and what to avoid, it mostly comes down to keeping water away from it and not rushing the heat. Ohhh and if you’ve got a favorite trick of your own for melting chocolate at home, or a good seizing disaster story, share it in the comments. Also if you want to know more about chocolate, check this article i made all about chocolate and cocoa! Until next time!
Discover more from BakeAfter
Subscribe to get the latest posts sent to your email.