Nobody can say we don’t make stacks of gyoza around here, and honestly, I couldn’t be prouder! The version I’m sharing today is what I’d call the most common version you’ll find at ramen spots, izakayas (those awesome Japanese bars), and budget-friendly restaurants. These are not the more traditional homemade versions, and not the kind you’d find at a restaurant that’s literally famous for their gyoza. Fun fact: I once visited one of those specialty gyoza only restaurants, and trust me, it’s a completely different dish altogether. ;D
So what’s the difference, you ask? It’s all in the filling. Yes, it’s still the classic ground pork filling, but with way less pork and a whole lot more vegetables and seasoning. The pork basically becomes the seasoning itself, and what you get is this incredibly delicious veggie forward filling with just a hint of that pork flavor. And honestly? It’s amazing. The whole idea is to keep it simple and affordable. If you’re sitting down to a great bowl of ramen or cracking open a cold beer, you don’t need a five-star gyoza. You want something simple, cheap, and delicious. And that is exactly what this recipe is, the budget-friendly version of Japanese gyoza. Let’s get into it! ;D
This recipe is also a combination of a recipe and a how-to. Once you get the hang of making gyoza, it really is pretty simple. You just need a filling with some fat (whether that comes from your protein or a splash of oil), and then it’s fold, fold, fold, fry, steam, and there you go! Honestly, I don’t think I’ve ever had a Japanese gyoza I didn’t like. They’re delicious, pretty easy to make, and absolutely worth every single fold. ;D Let’s check the recipe!
How to Make Japanese Gyoza Dumplings at Home
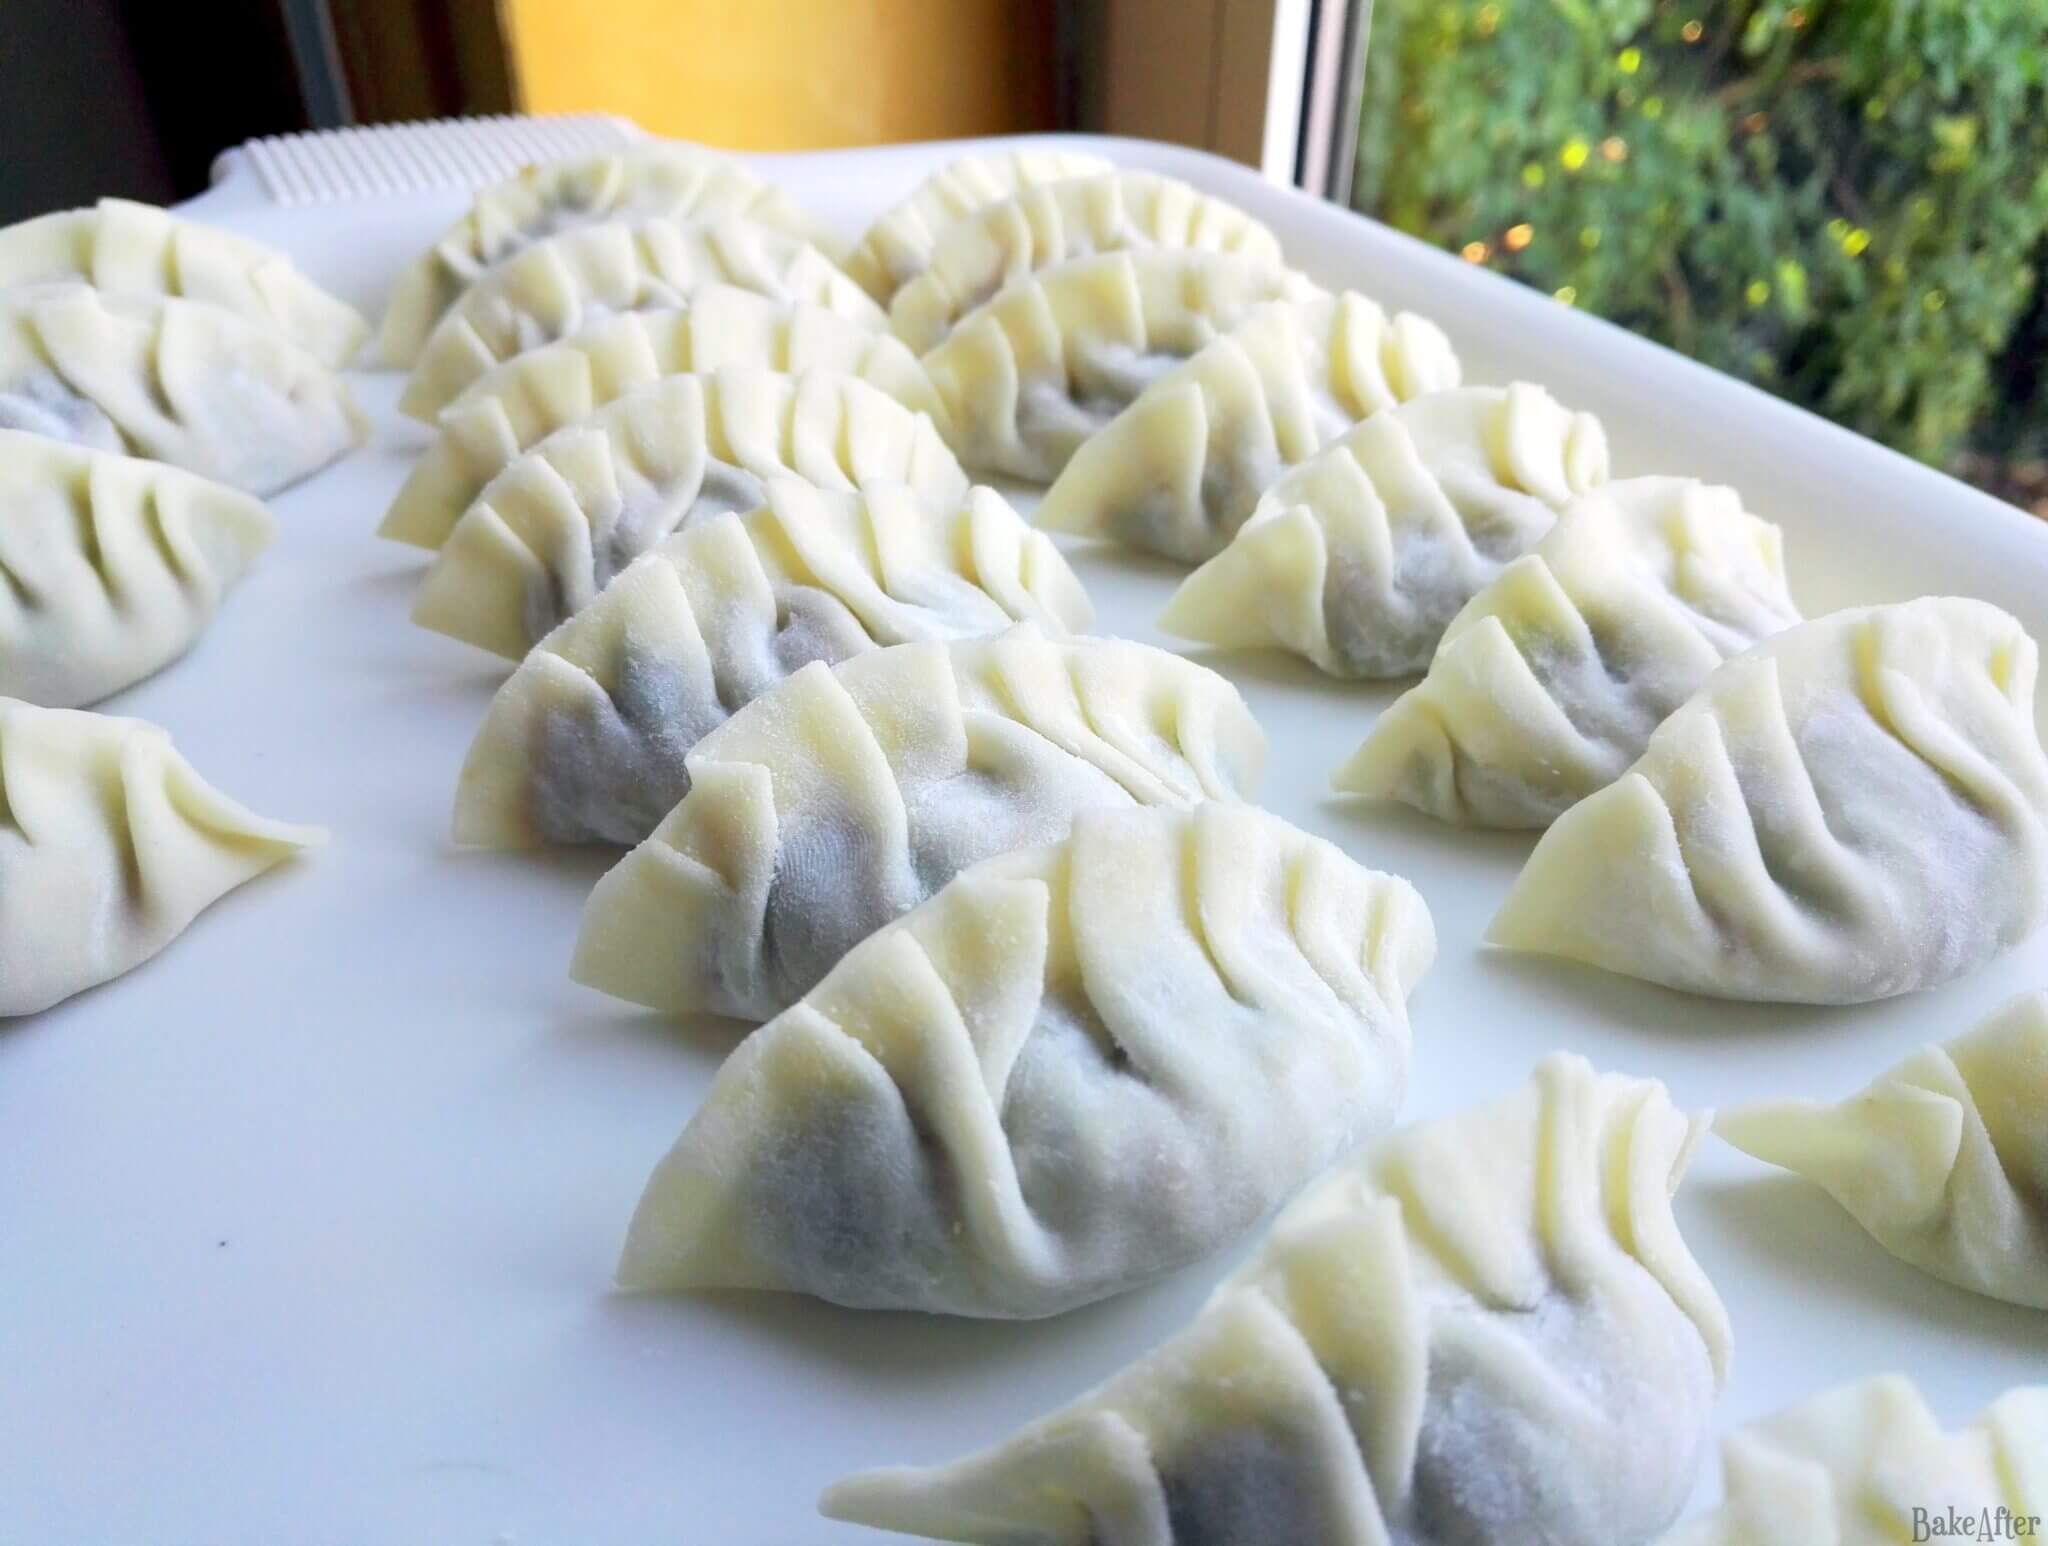
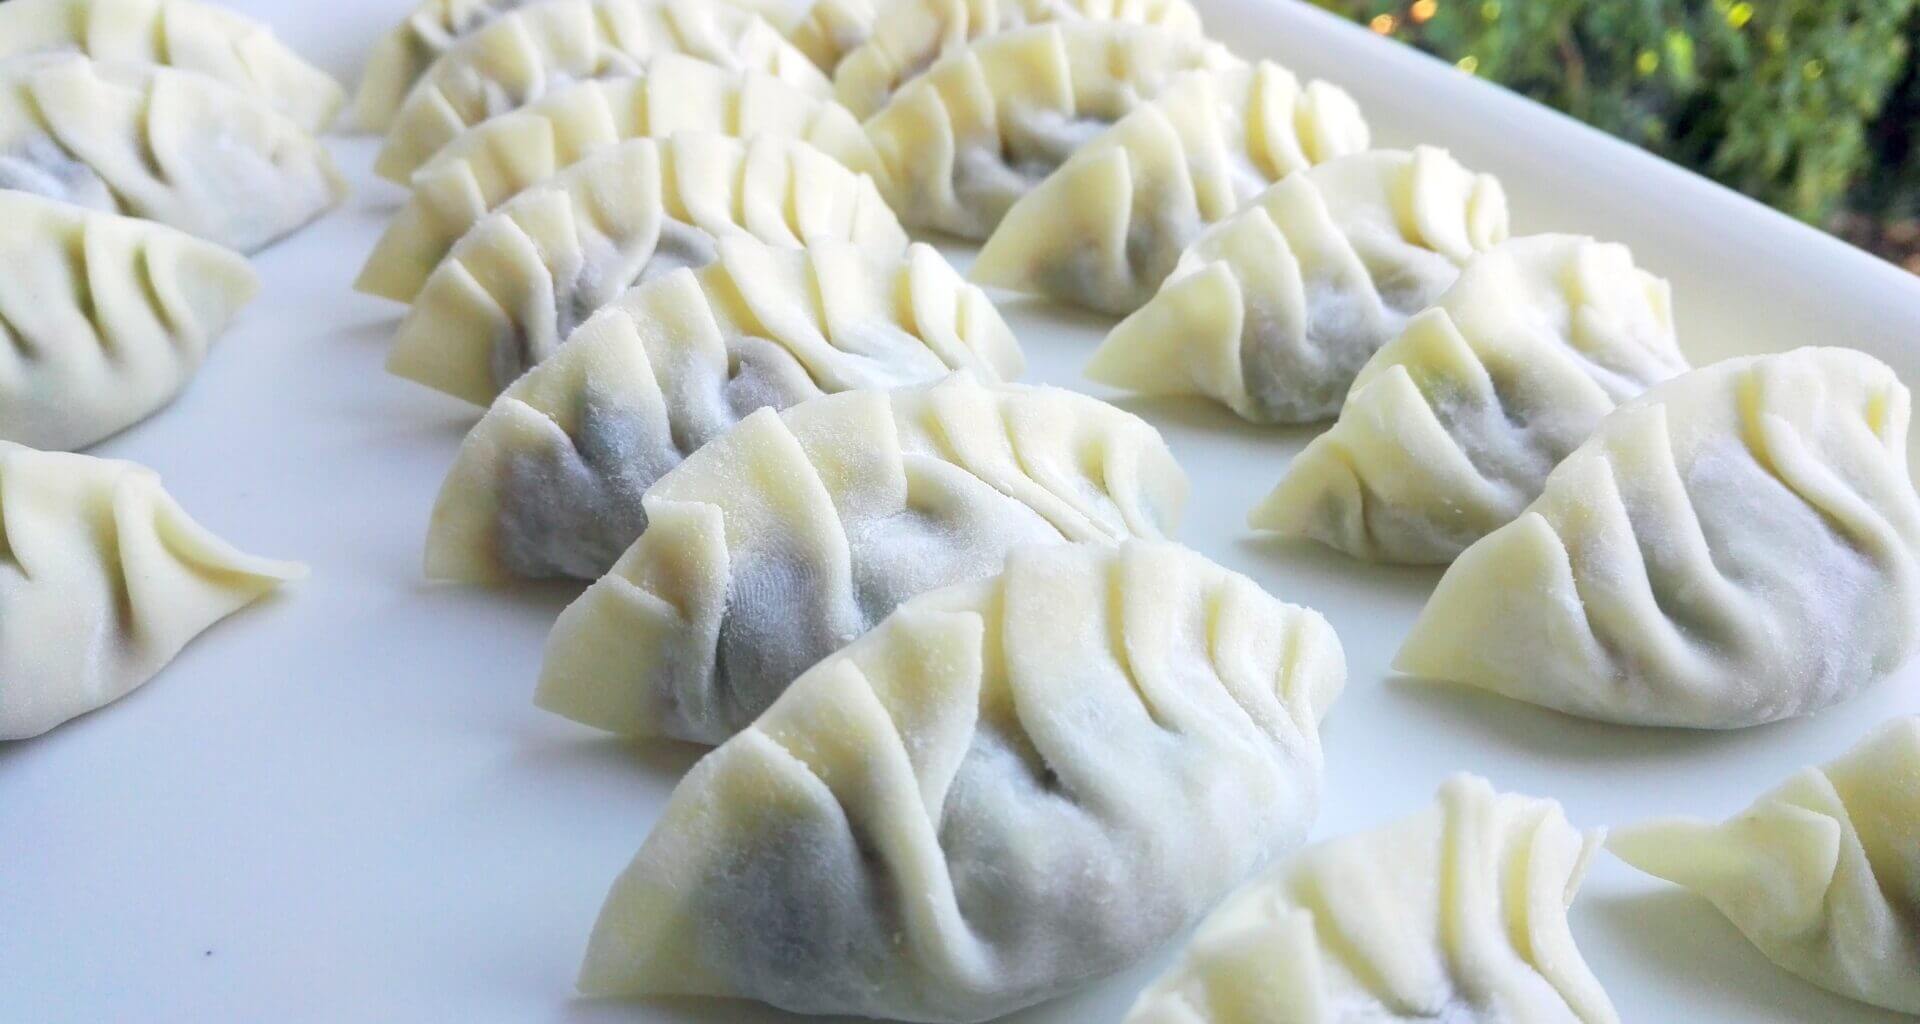
Folding tiny little dumplings one by one might sound like a hassle but trust me when i say the end result makes everything sooooo much better! ;D
Ingredients
- Gyoza Dough – 1 Package (+/- 26/200g)
- Sunflower Oil – As Needed (For Frying)
- Water – 60ml
- Sesame Oil – As Needed (For Frying)
- Pork – 150g (Chopped)
- Kale – 300g (Chopped)
- Chives – 100g (Chopped)
- Garlic – 6 Cloves
- Ginger – 40g
- Sake – 1 Tablespoon
- Sesame Oil – 1 Tablespoon
- Soy Sauce – 1 Tablespoon
- Pepper – A Pinch
- Salt – A Pinch
Directions
- Start by finely julienne the cabbage, sprinkle with a pinch of salt, mix, and set aside for about 20 minutes (this allows the cabbage to release excess water, creating a softer filling).
- Peel and chop the scallions, garlic, and ginger, and place them in a separate bowl.
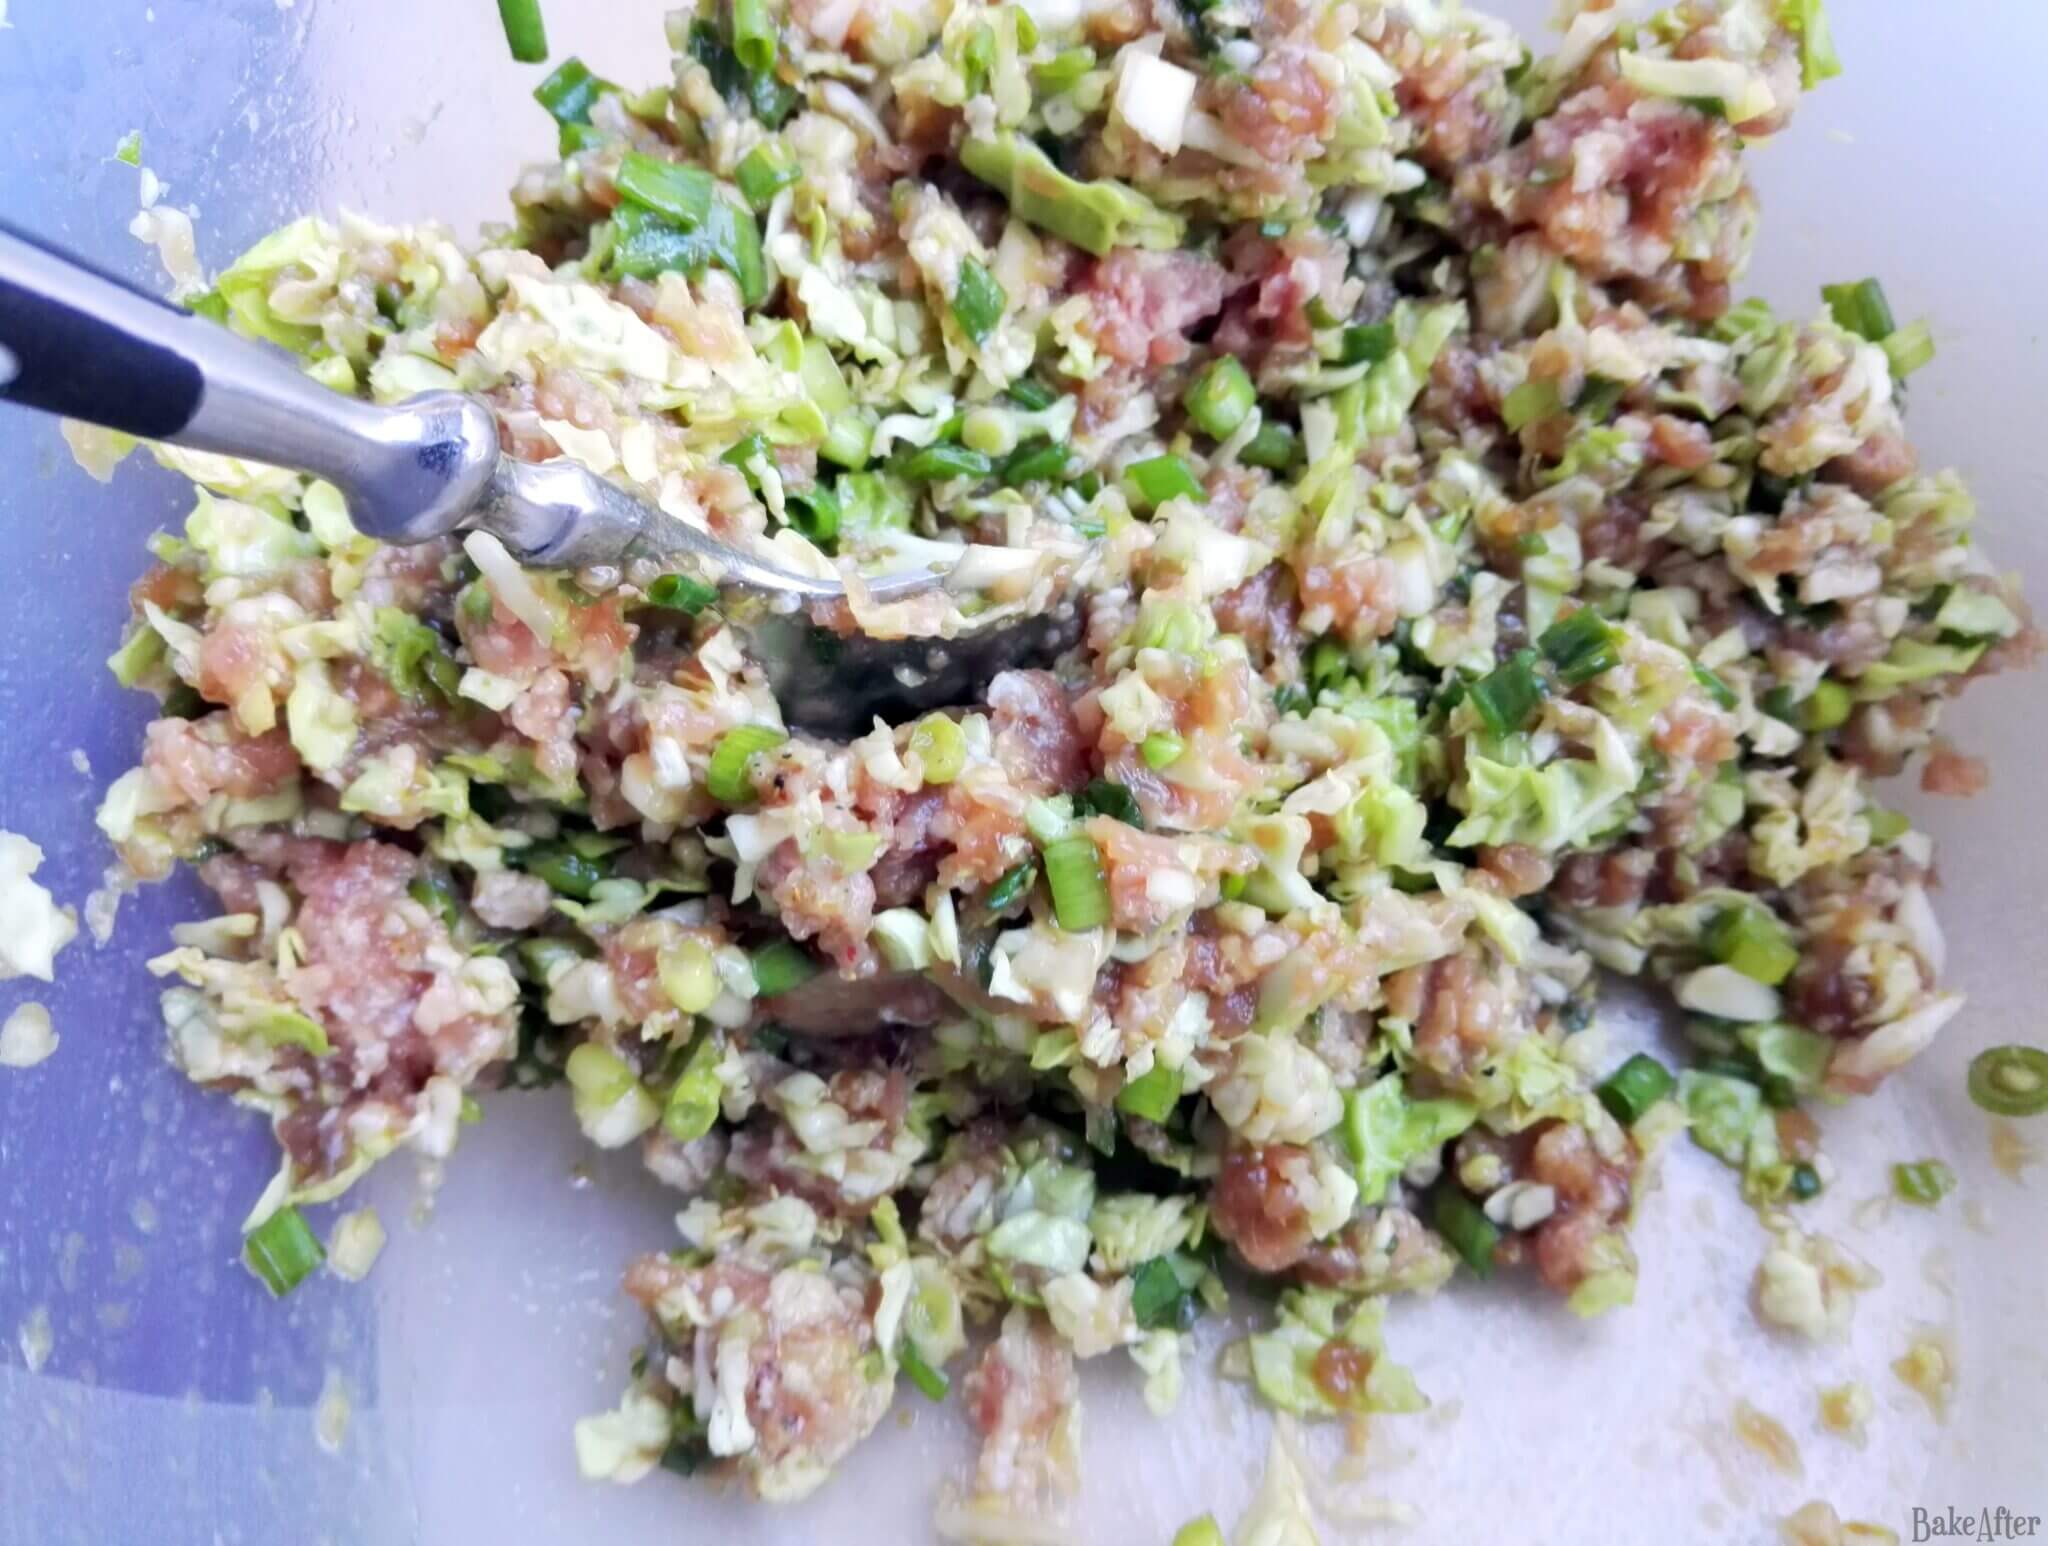
- Squeeze the cabbage well to remove excess water and add it to the bowl with the scallions. Add the ground pok meat, season everything with sake, sesame sauce, soy sauce, salt, and pepper, and mix until a consistent dough forms (consistent but a bit more loose than like a meatball dough).
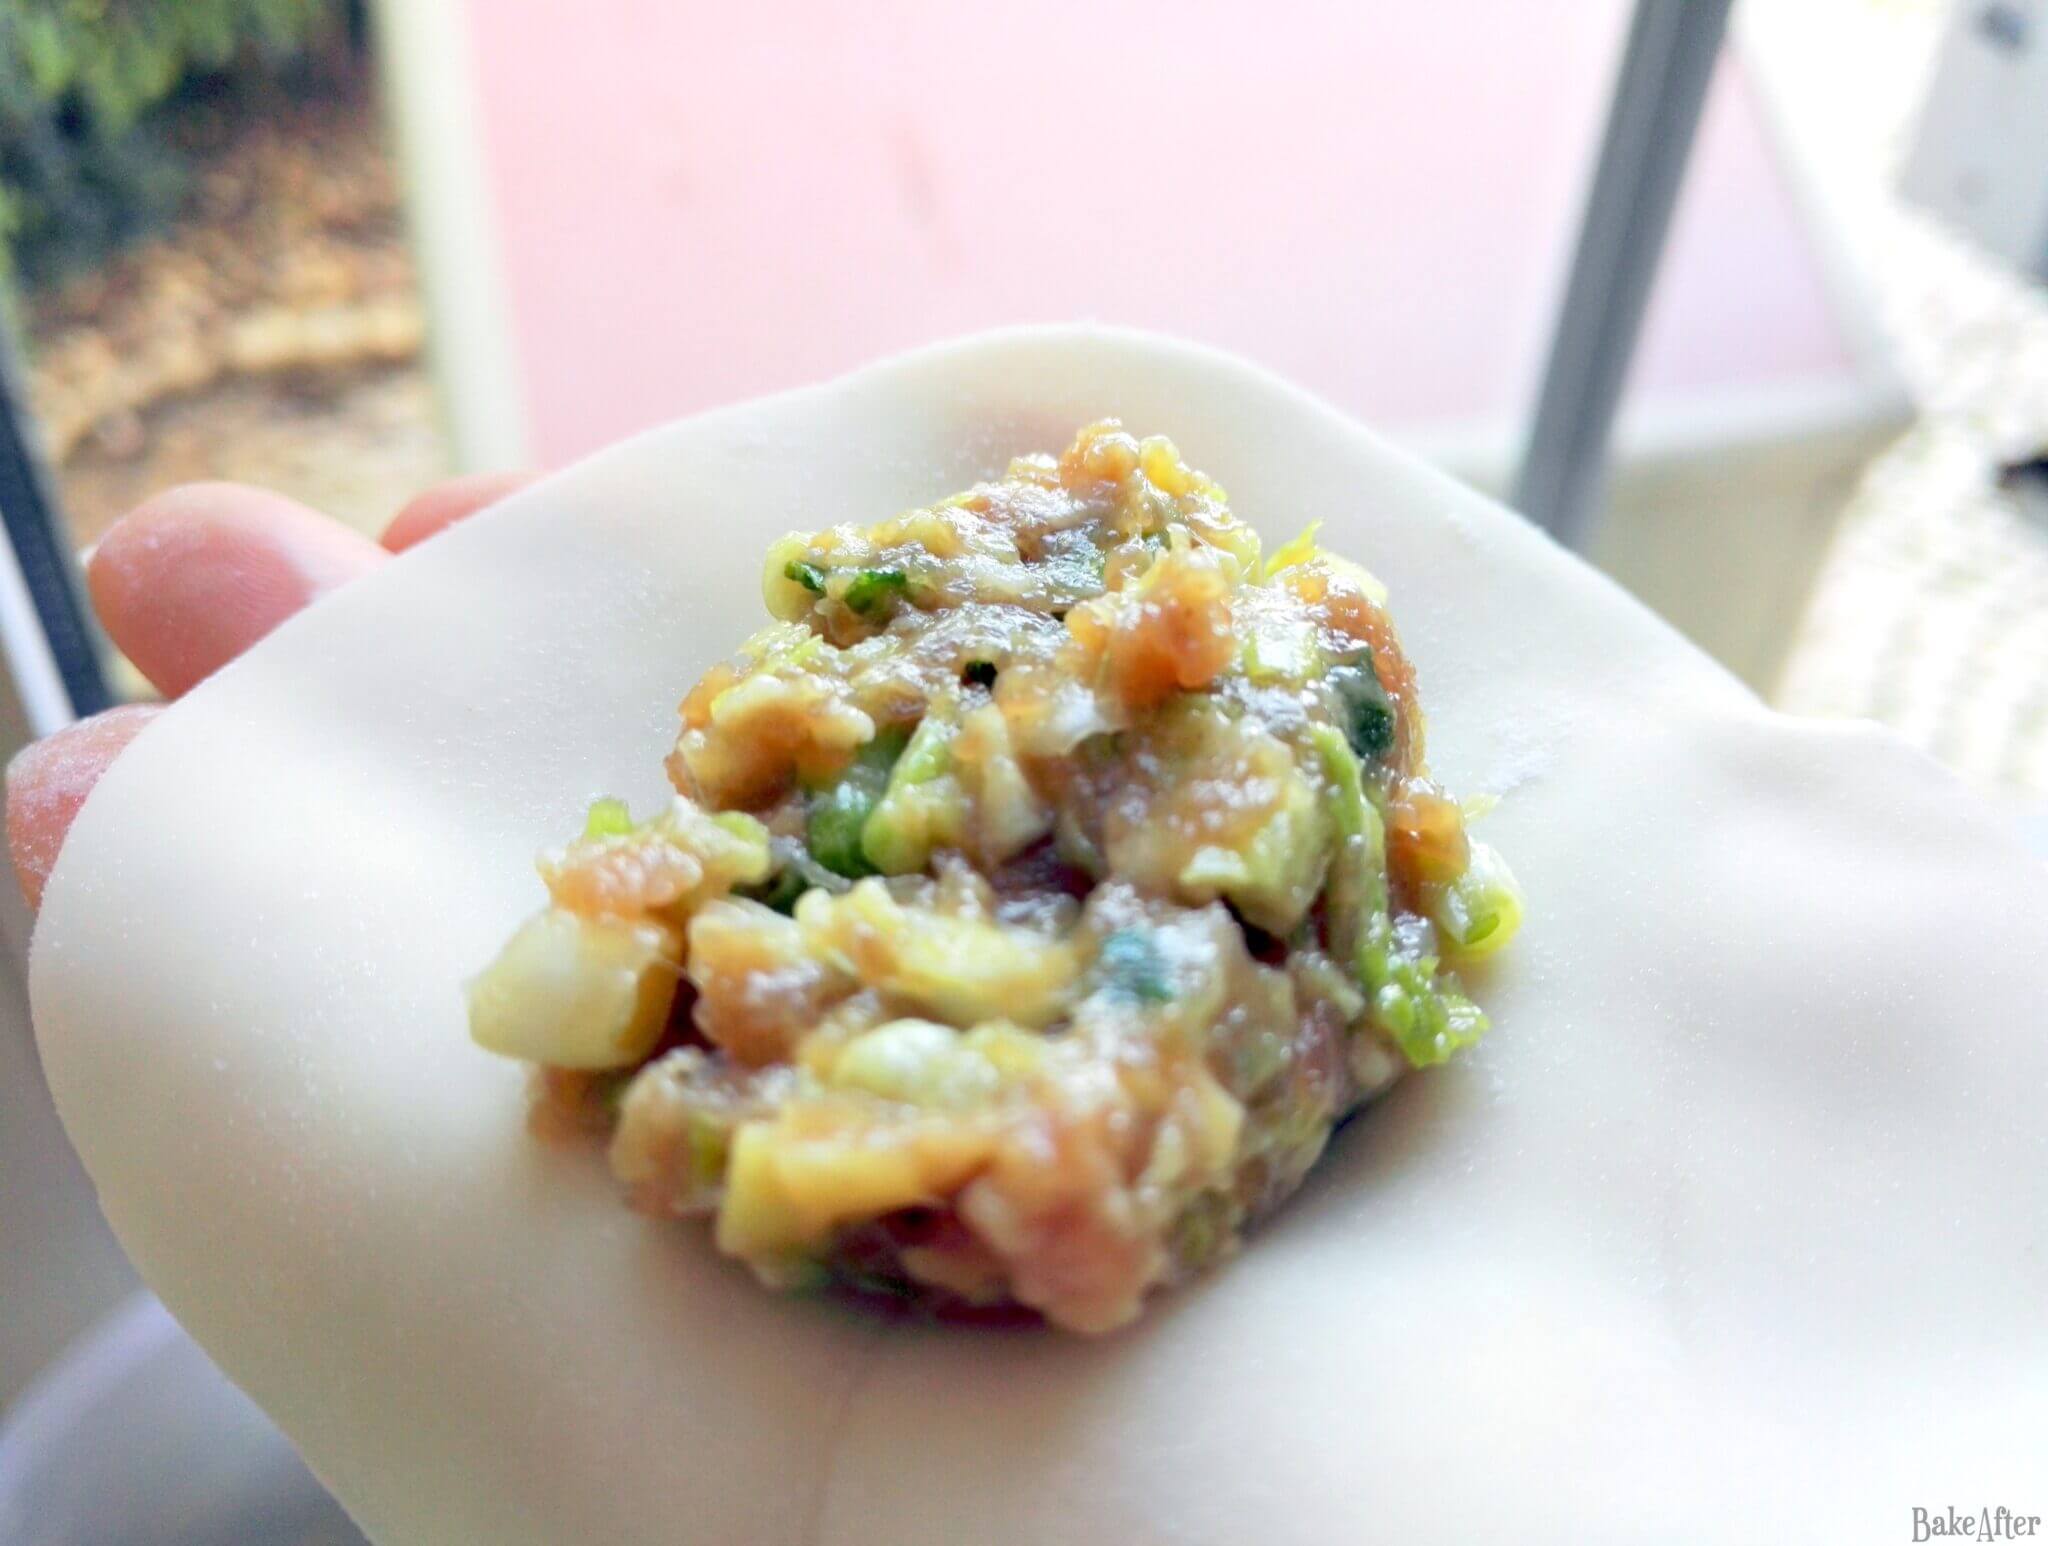
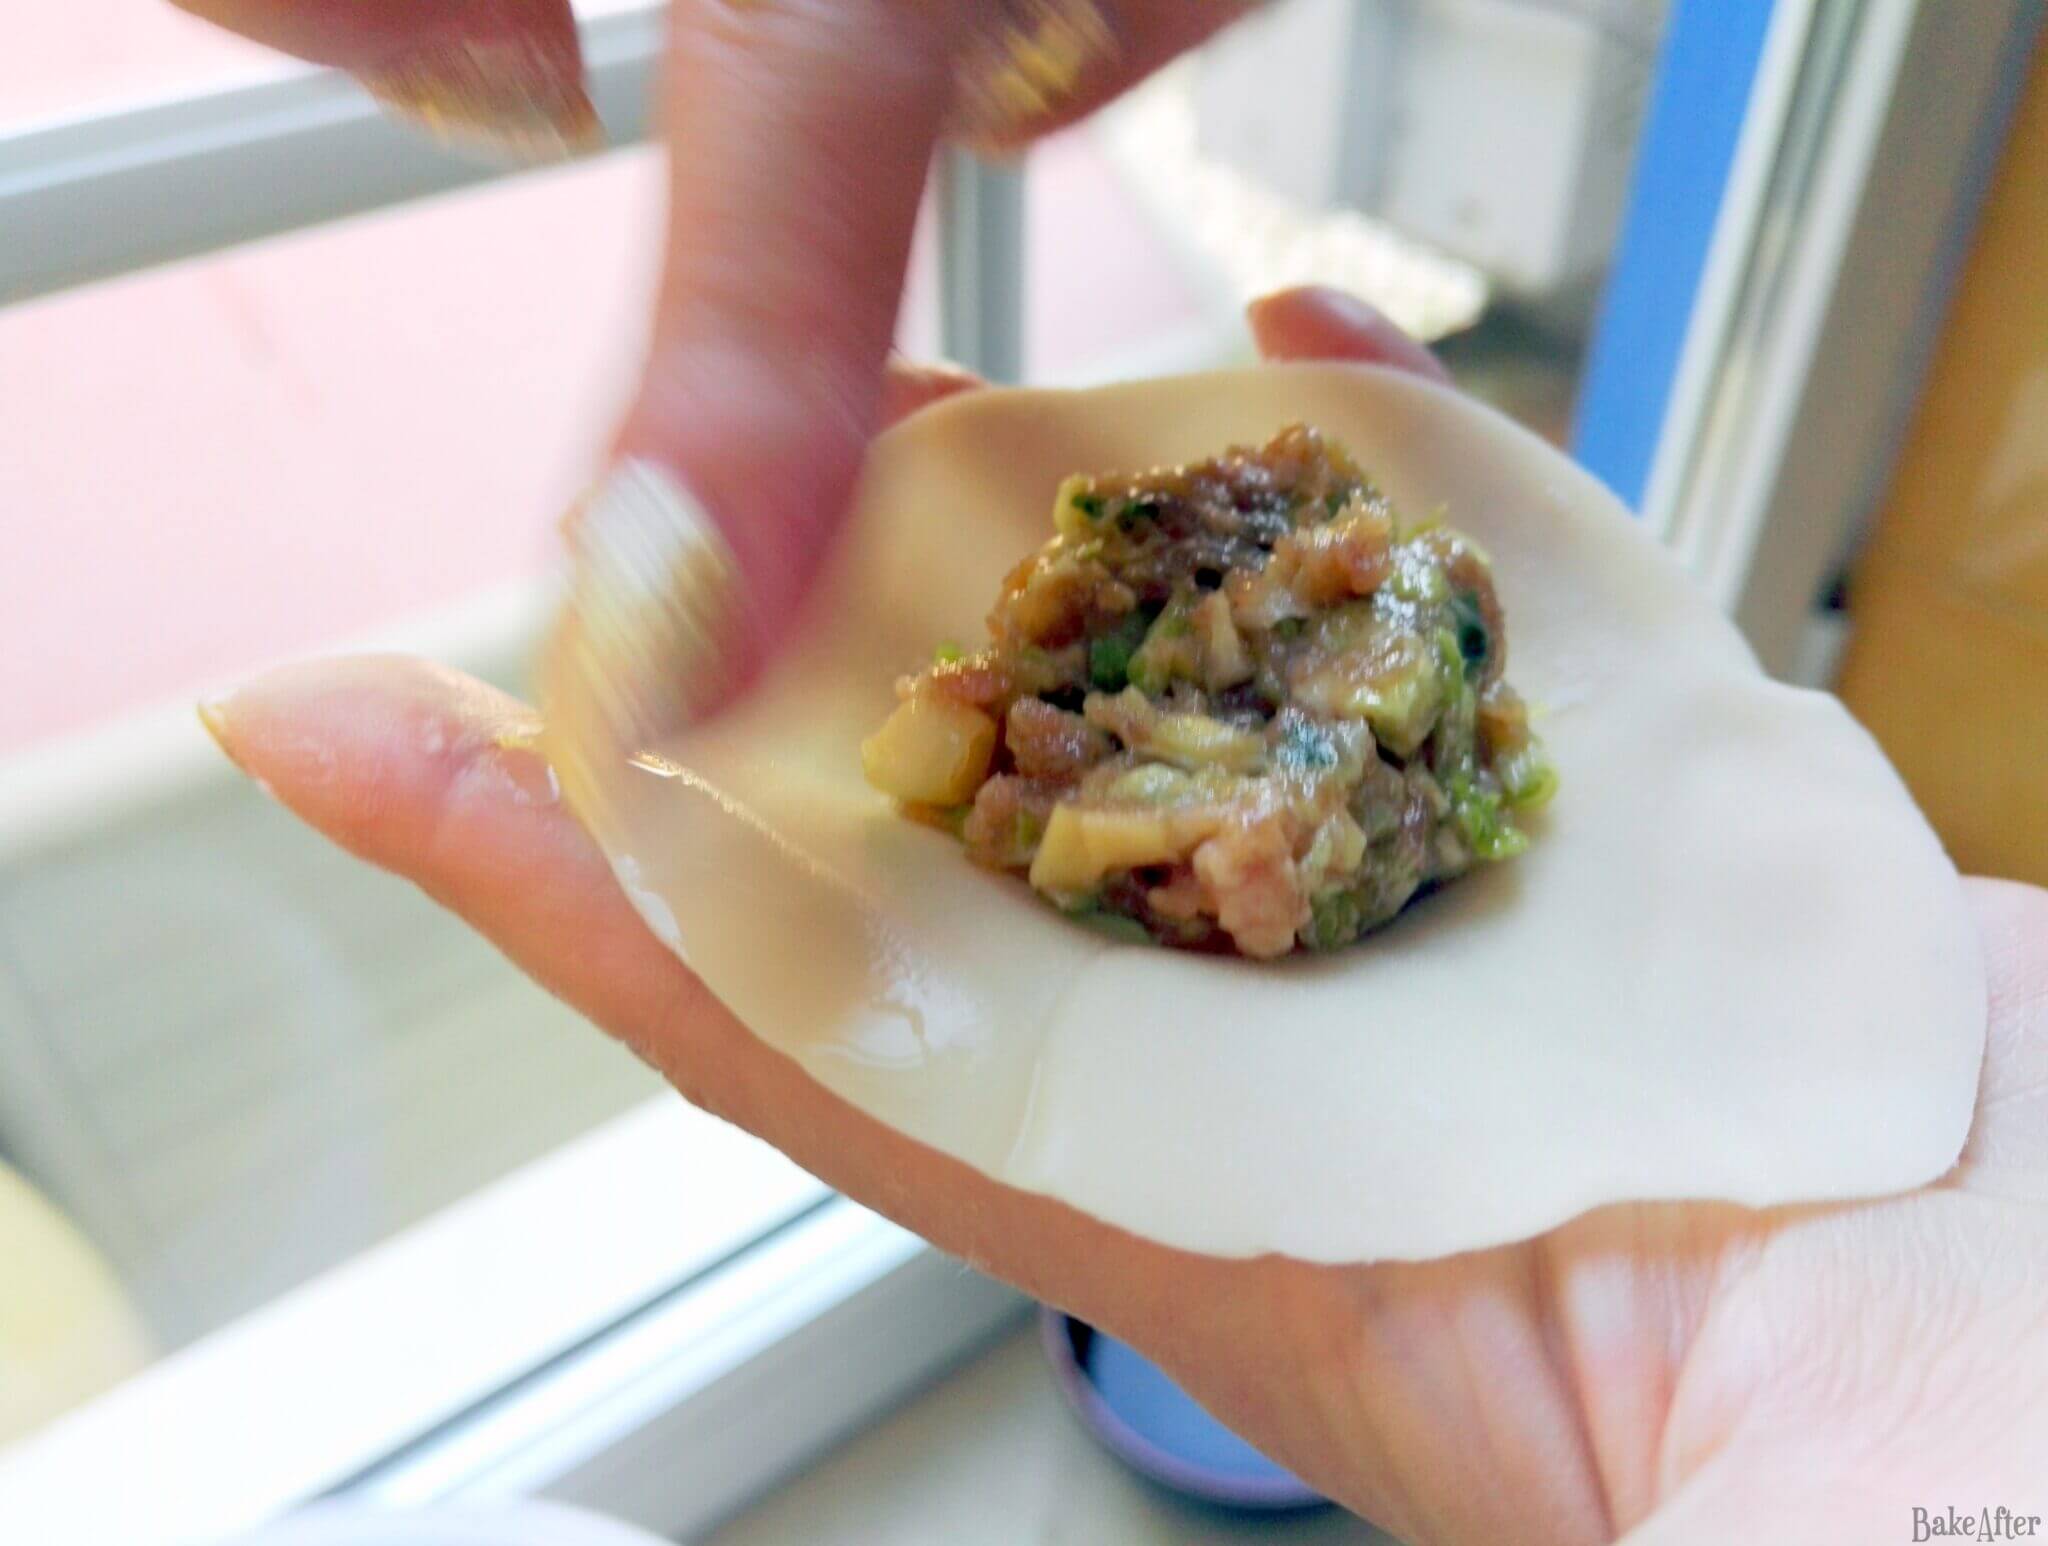
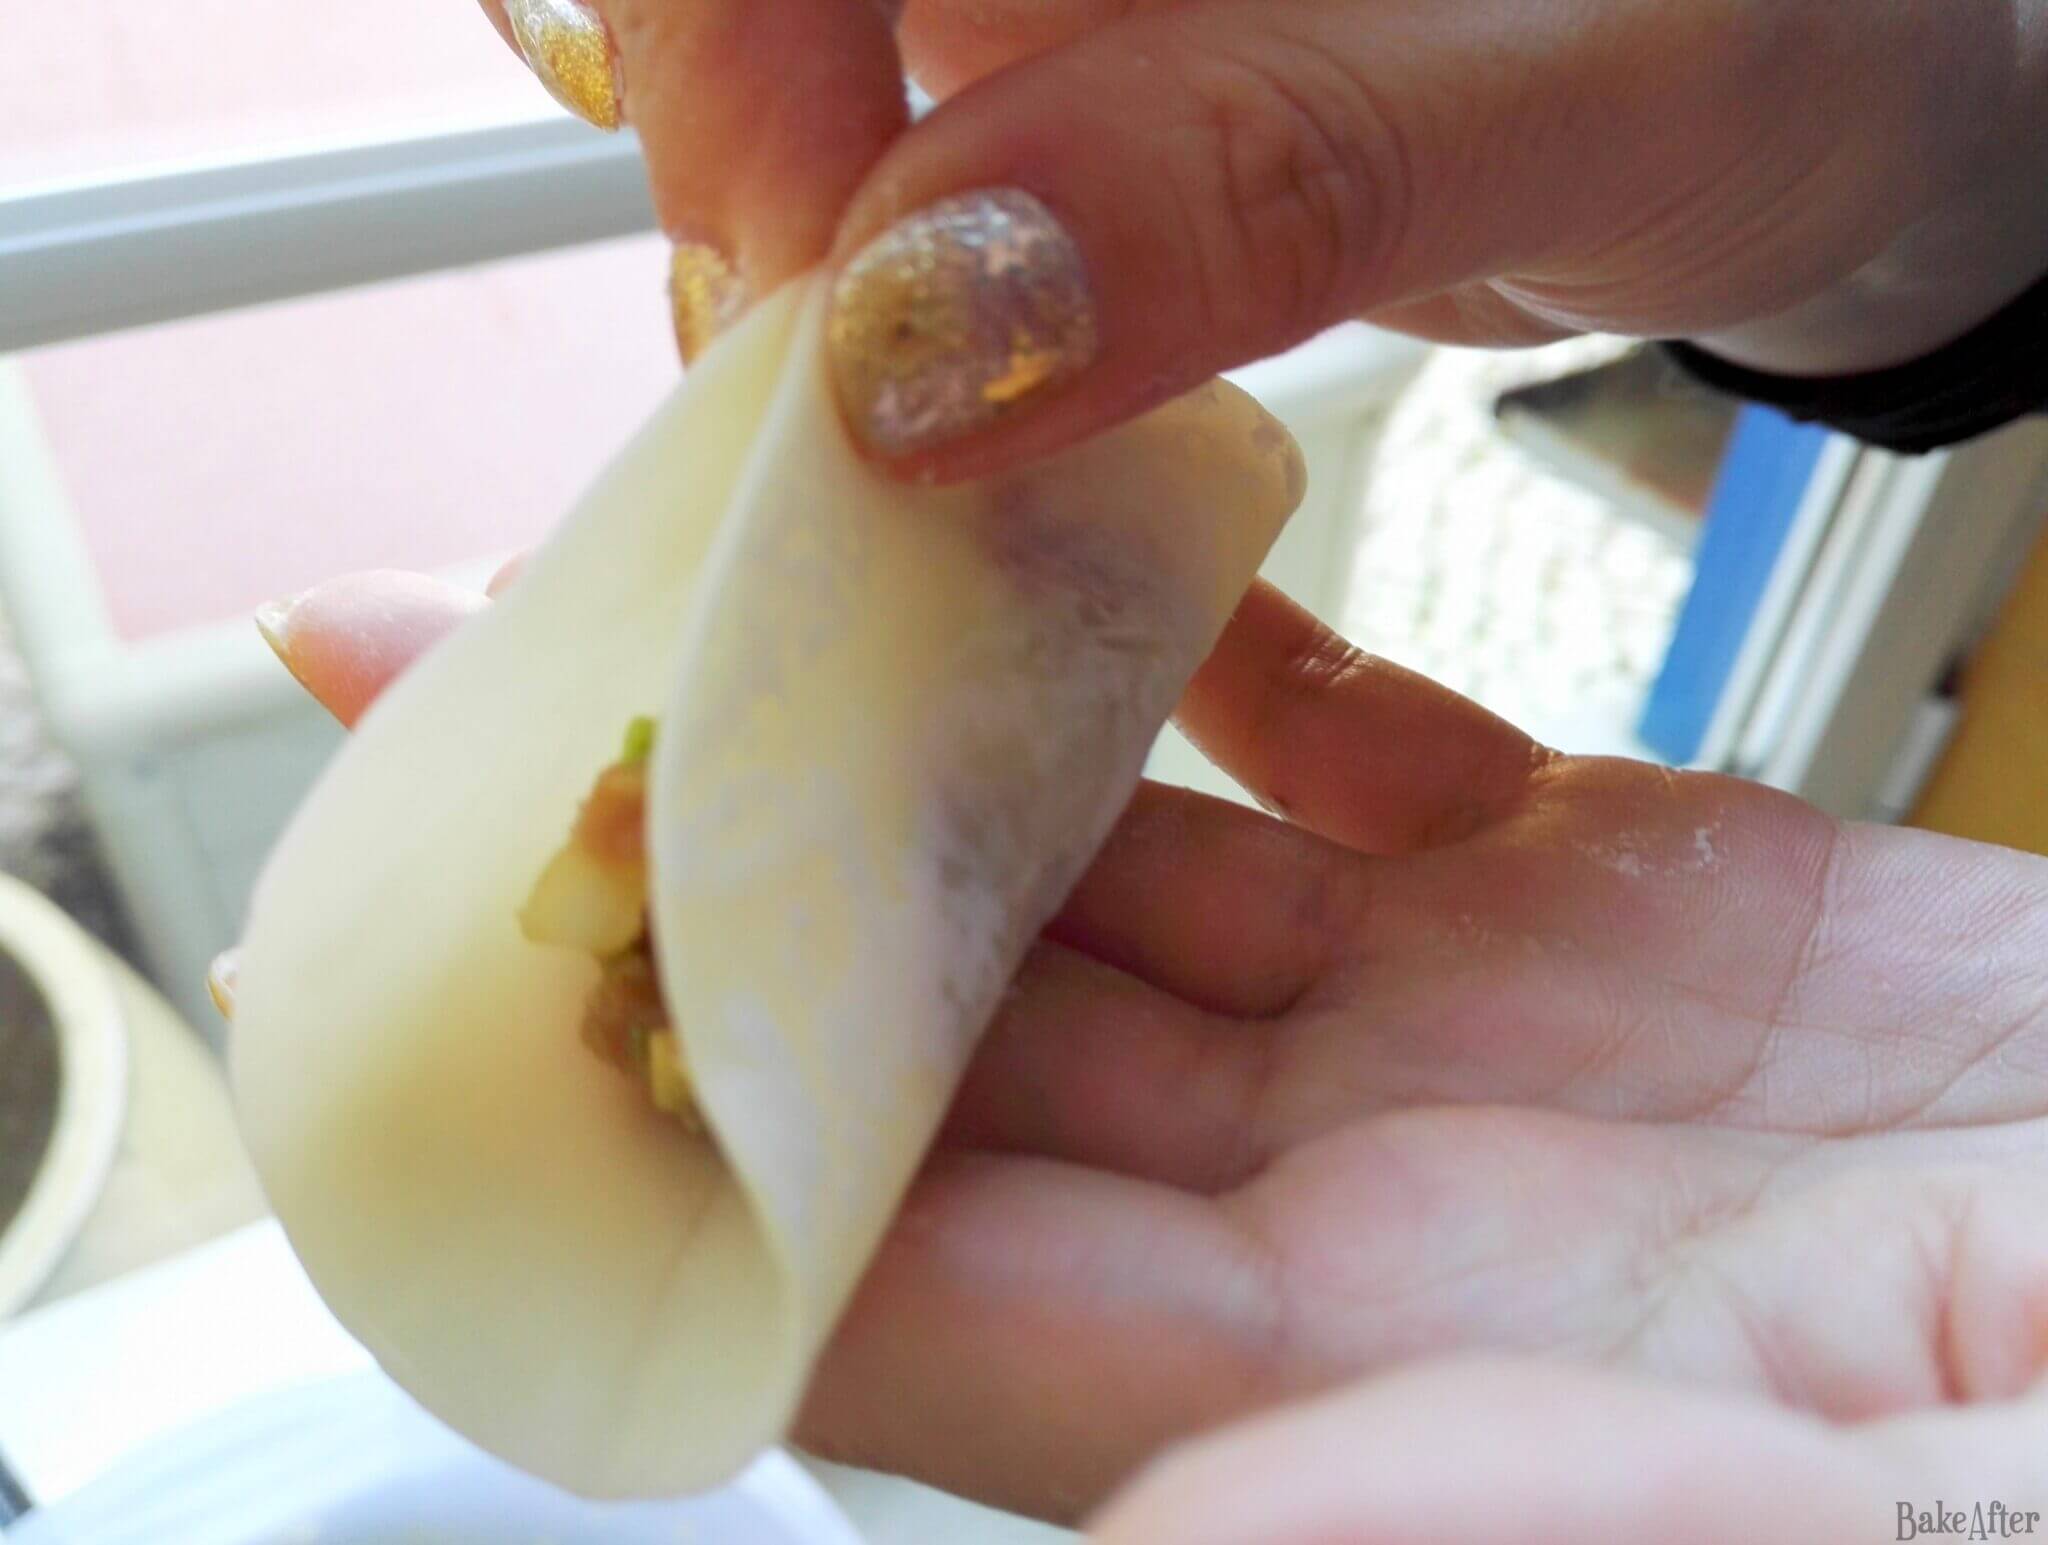
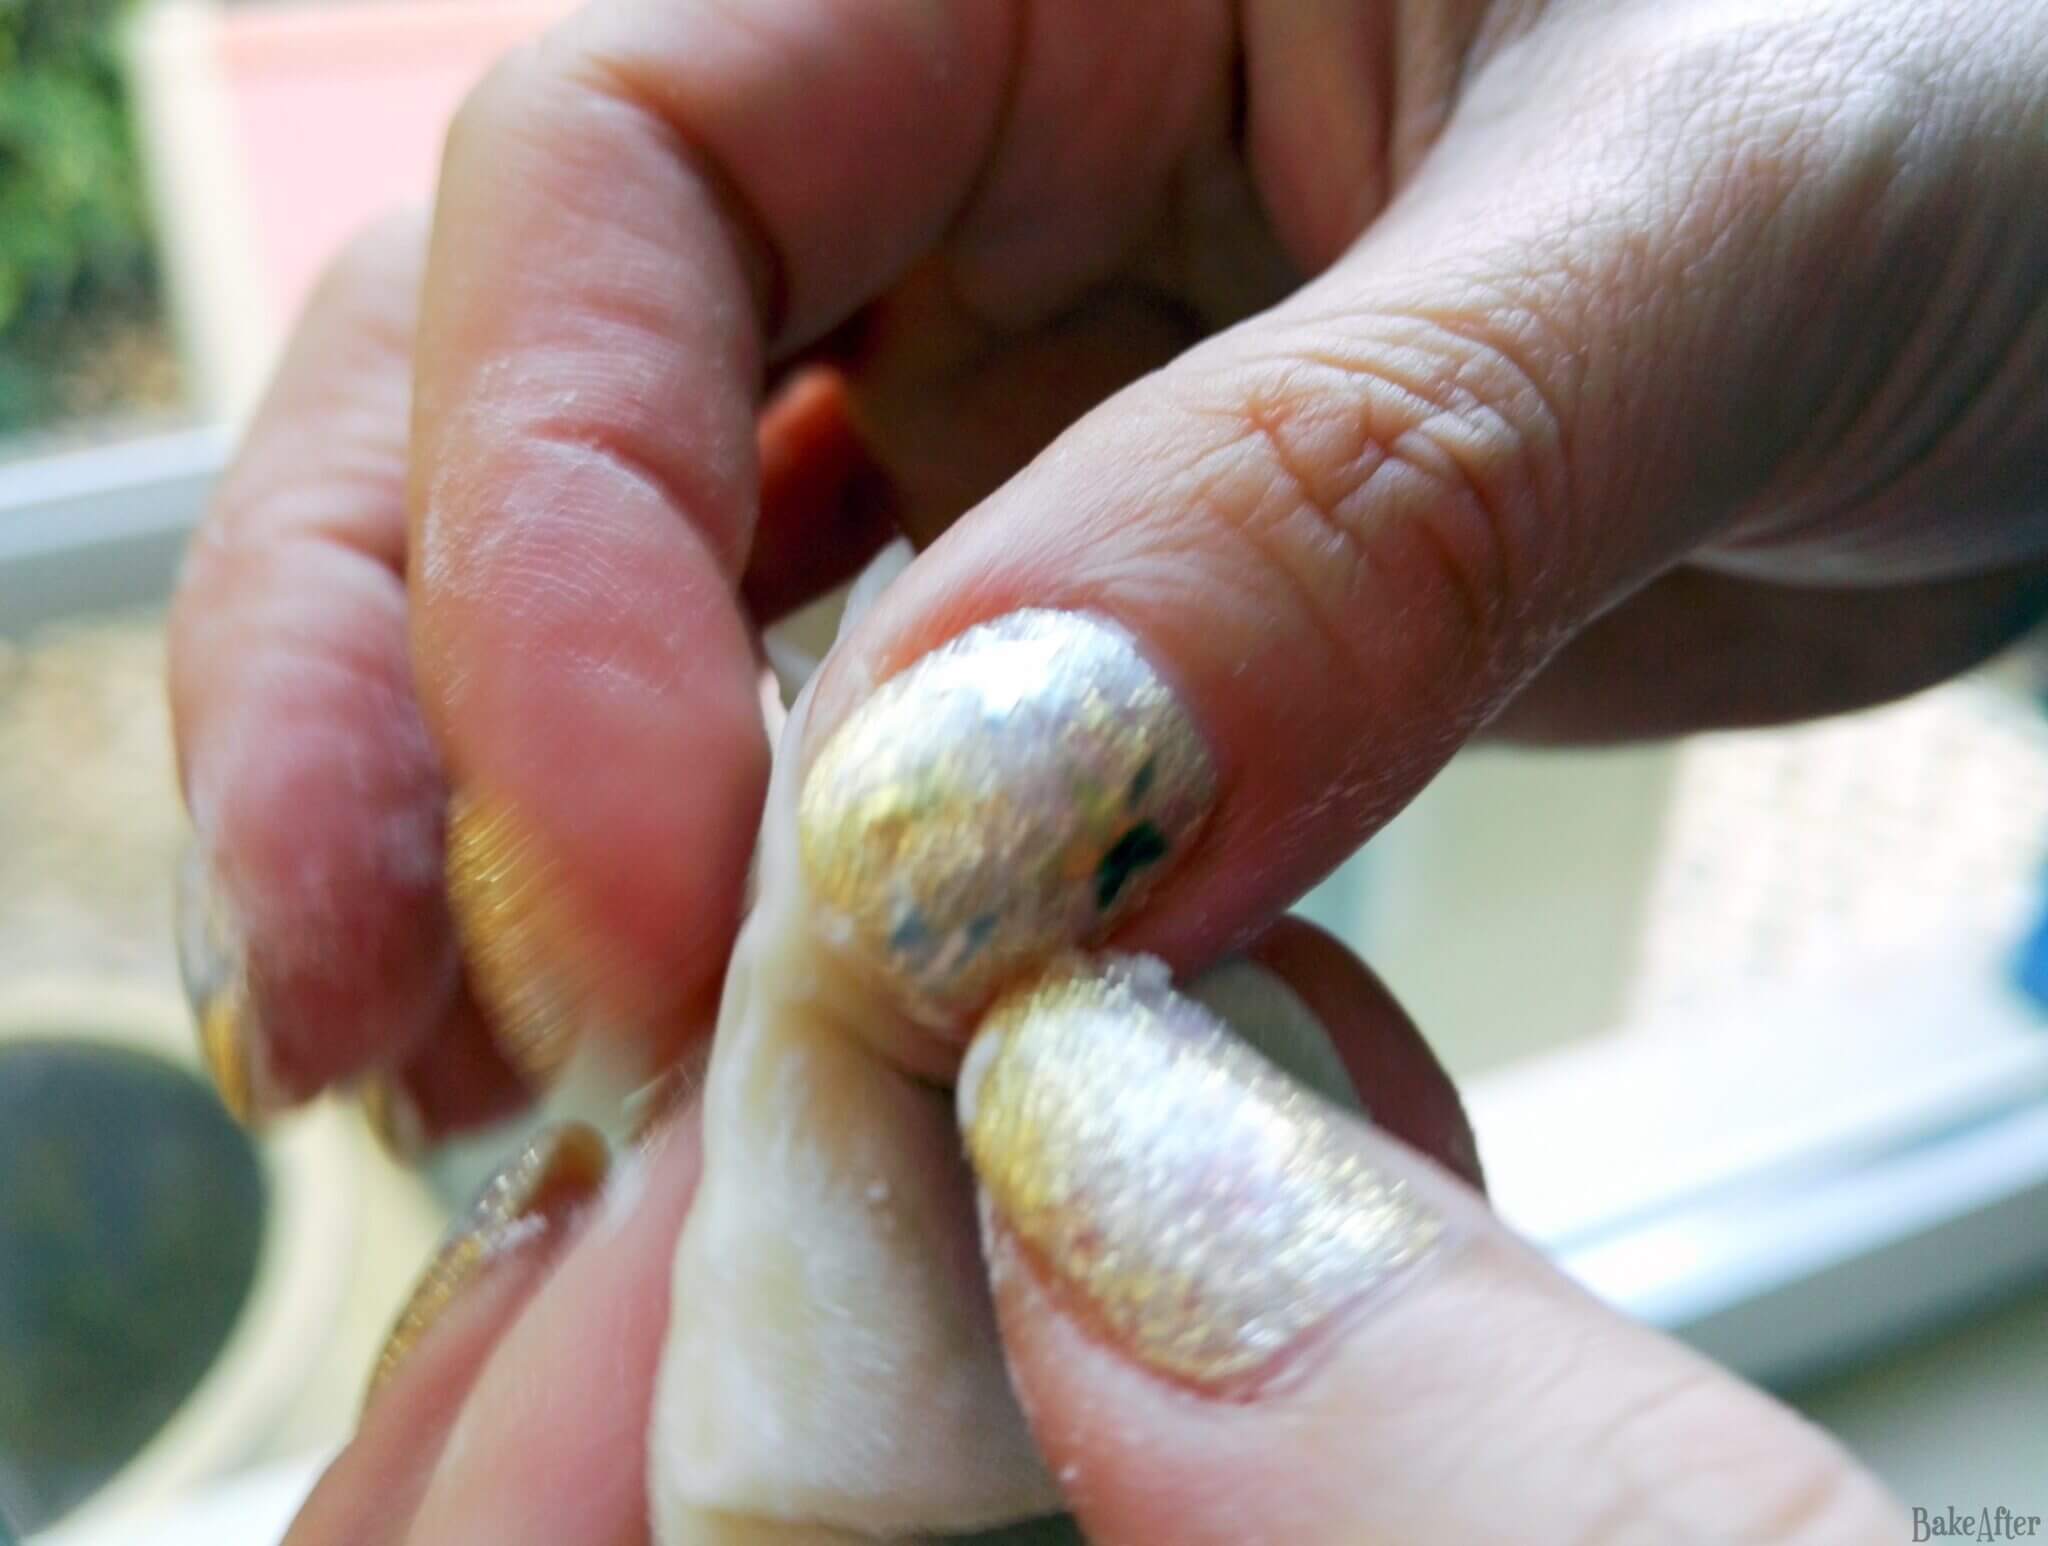
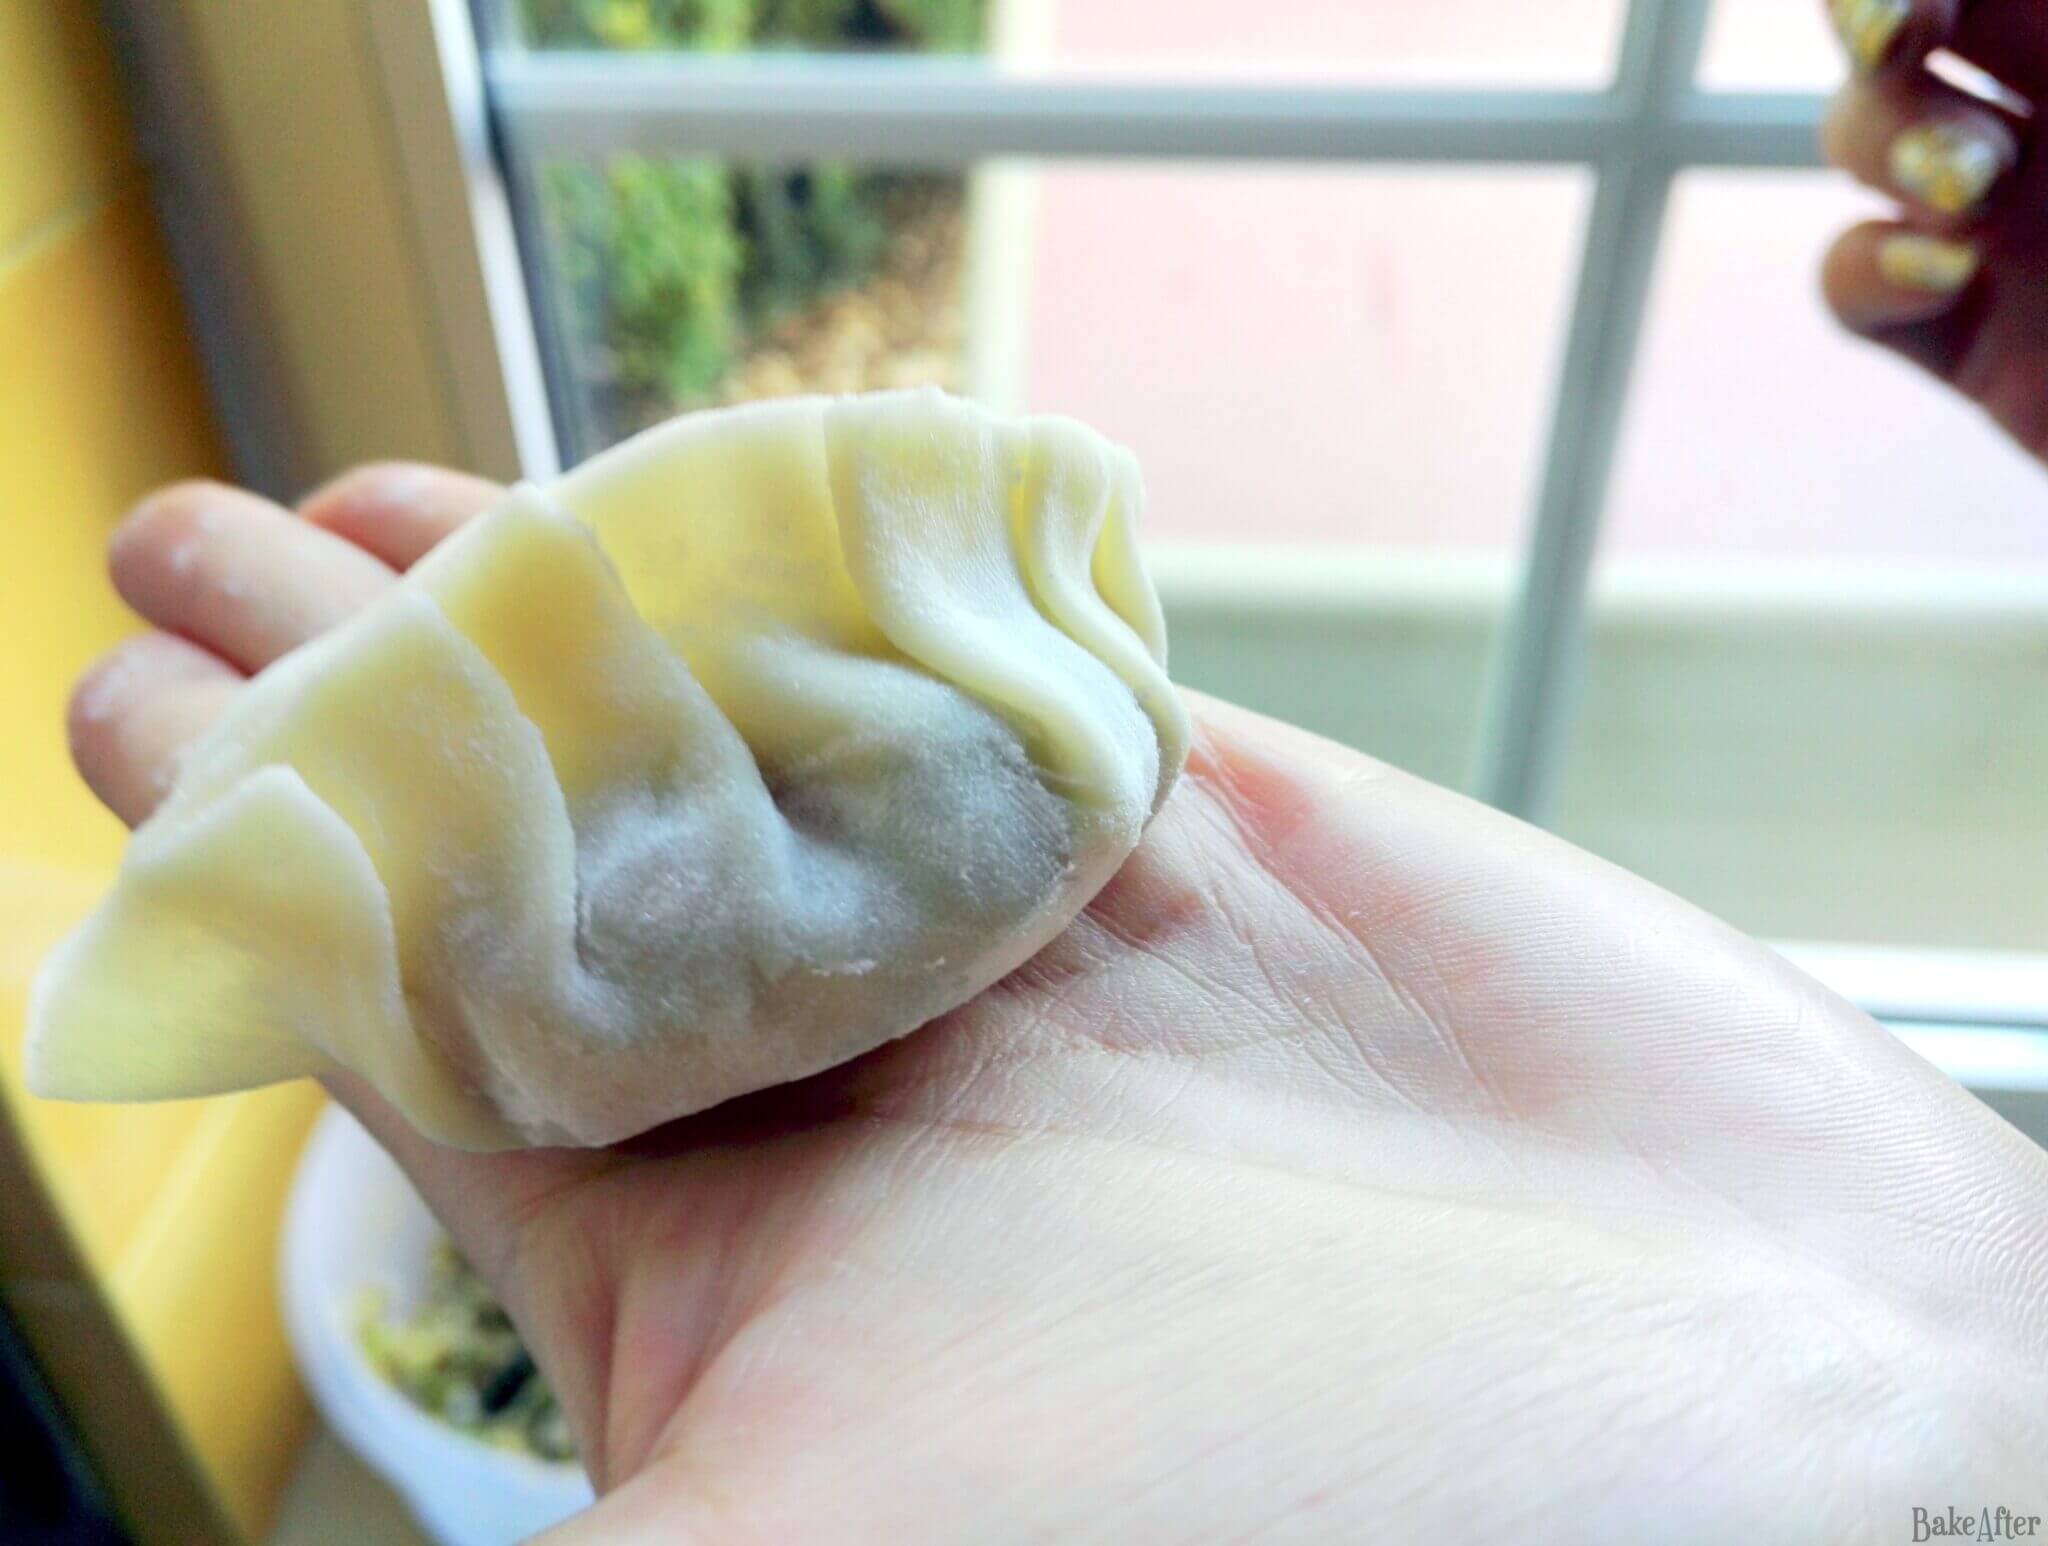
- Remove a gyoza wrapper from the package, pour some water into a small bowl, take a circle of dough in your hand, place a heaping teaspoon of filling in the center of the dough, then, with a finger moistened with the water from the bowl, run it along the edges of the dough, fold it in half and seal the ends of the dumpling with your fingers. Traditionally, each fold is made one by one and secured to achieve the traditional gyoza shape.
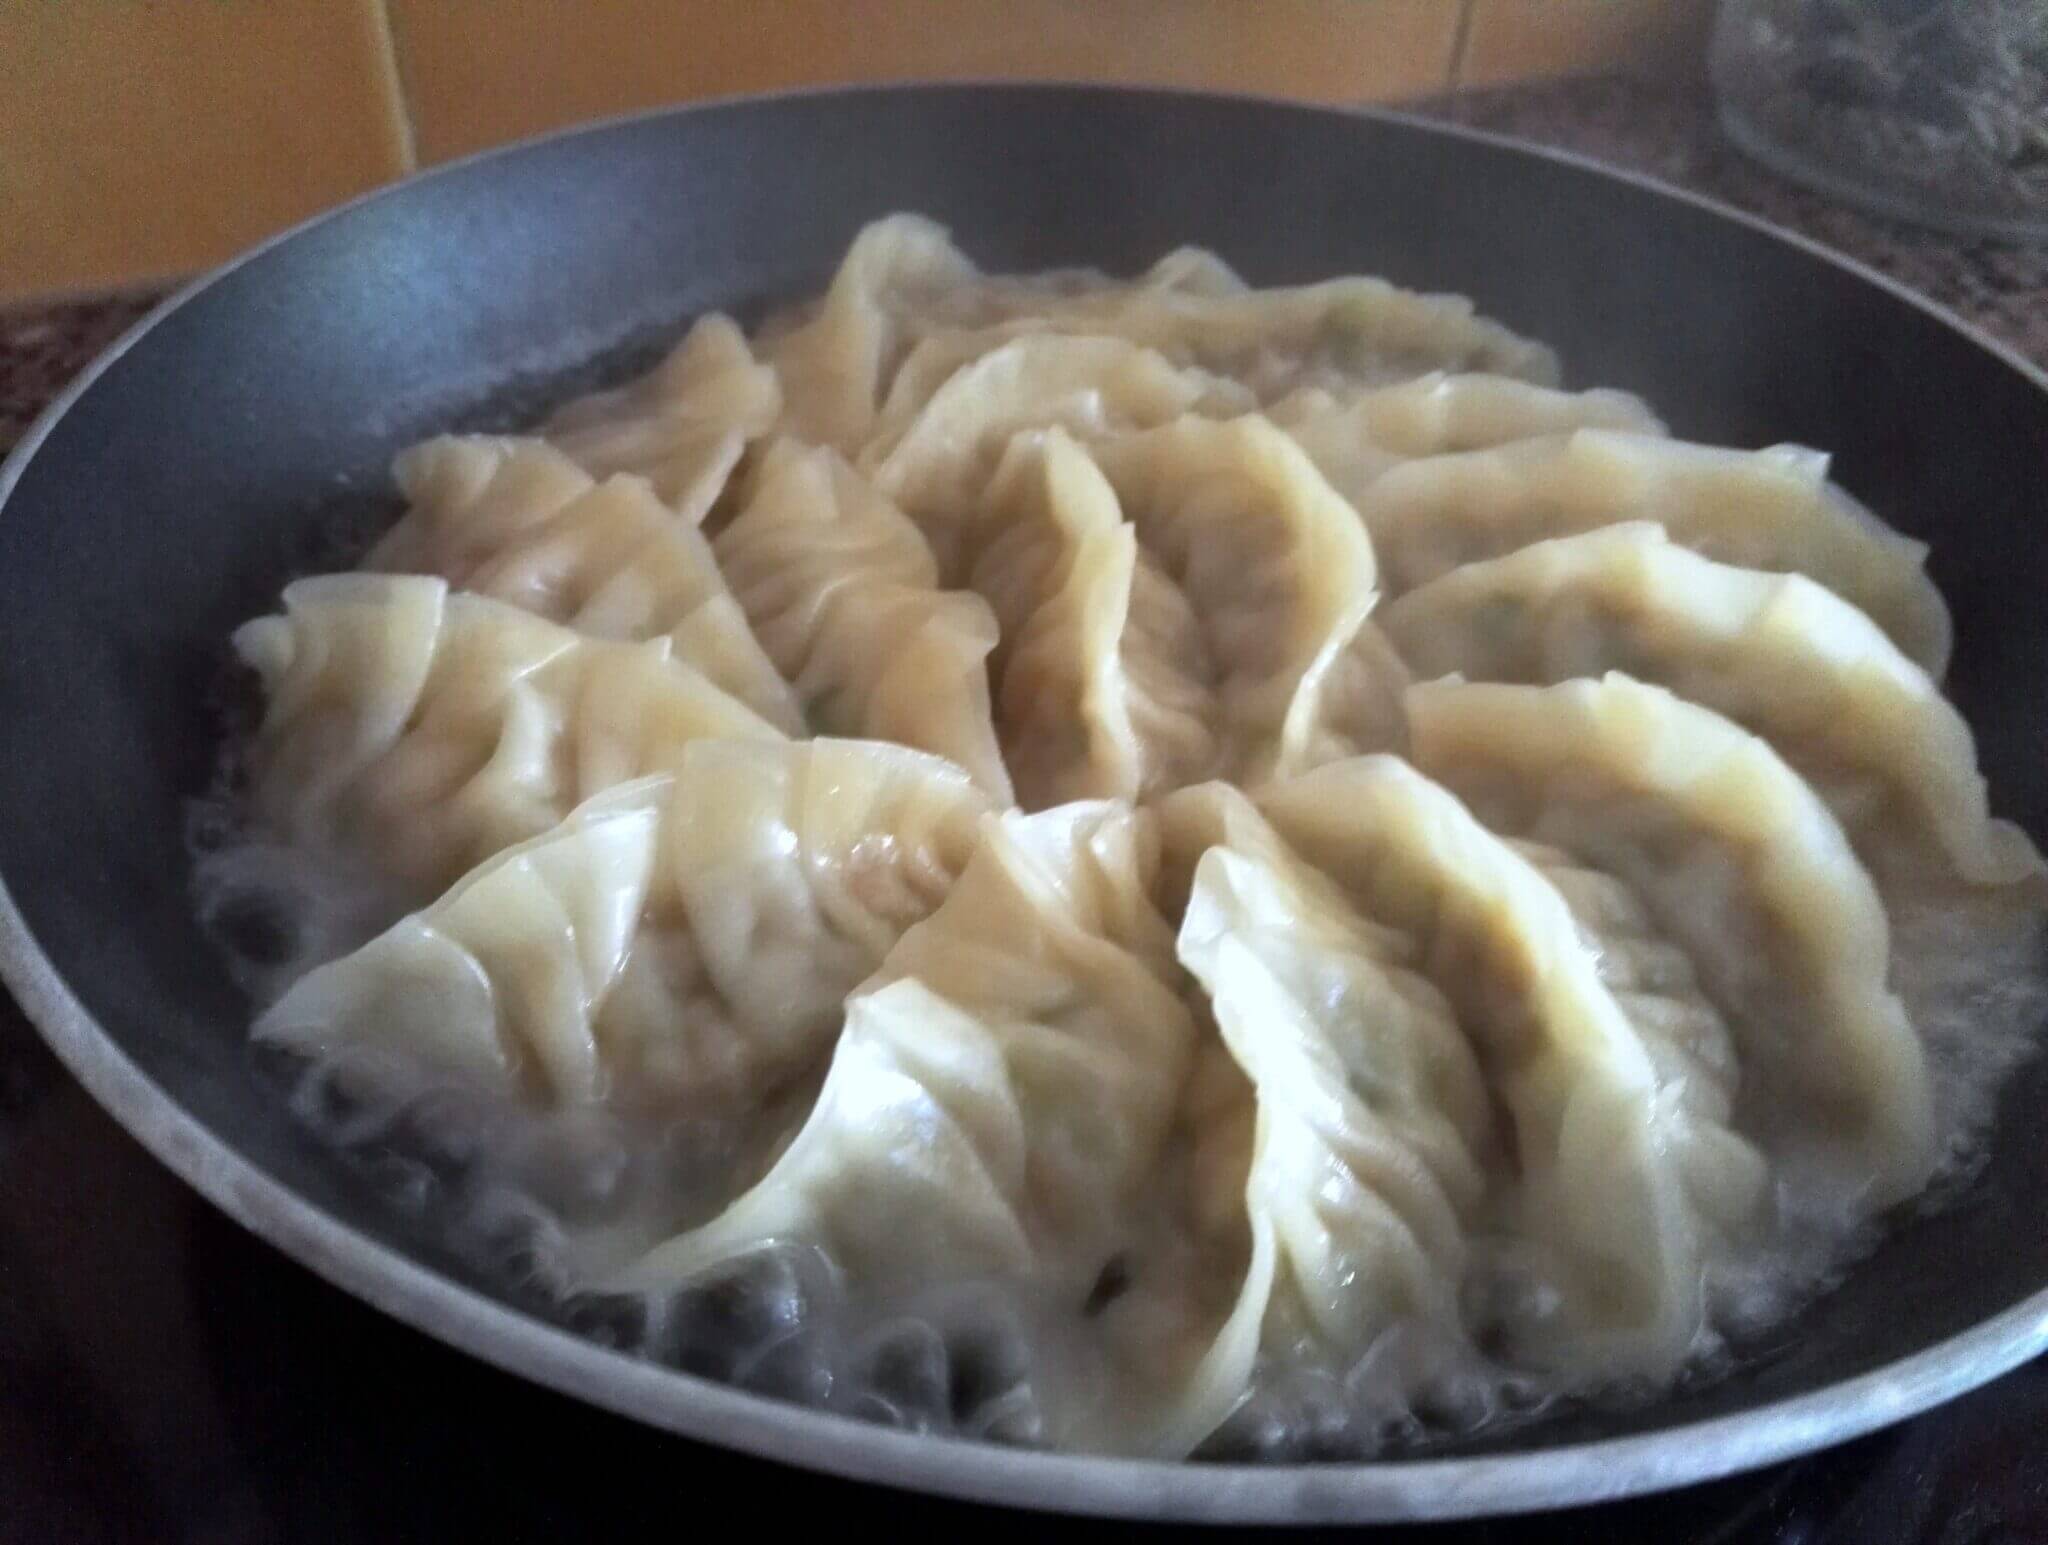
- After you have them all filled, pour a tablespoon of sunflower oil into a frying pan over medium heat with a lid and fill the pan with gyoza until they cover the bottom. Fry for about 3 minutes until they begin to brown on the bottom.
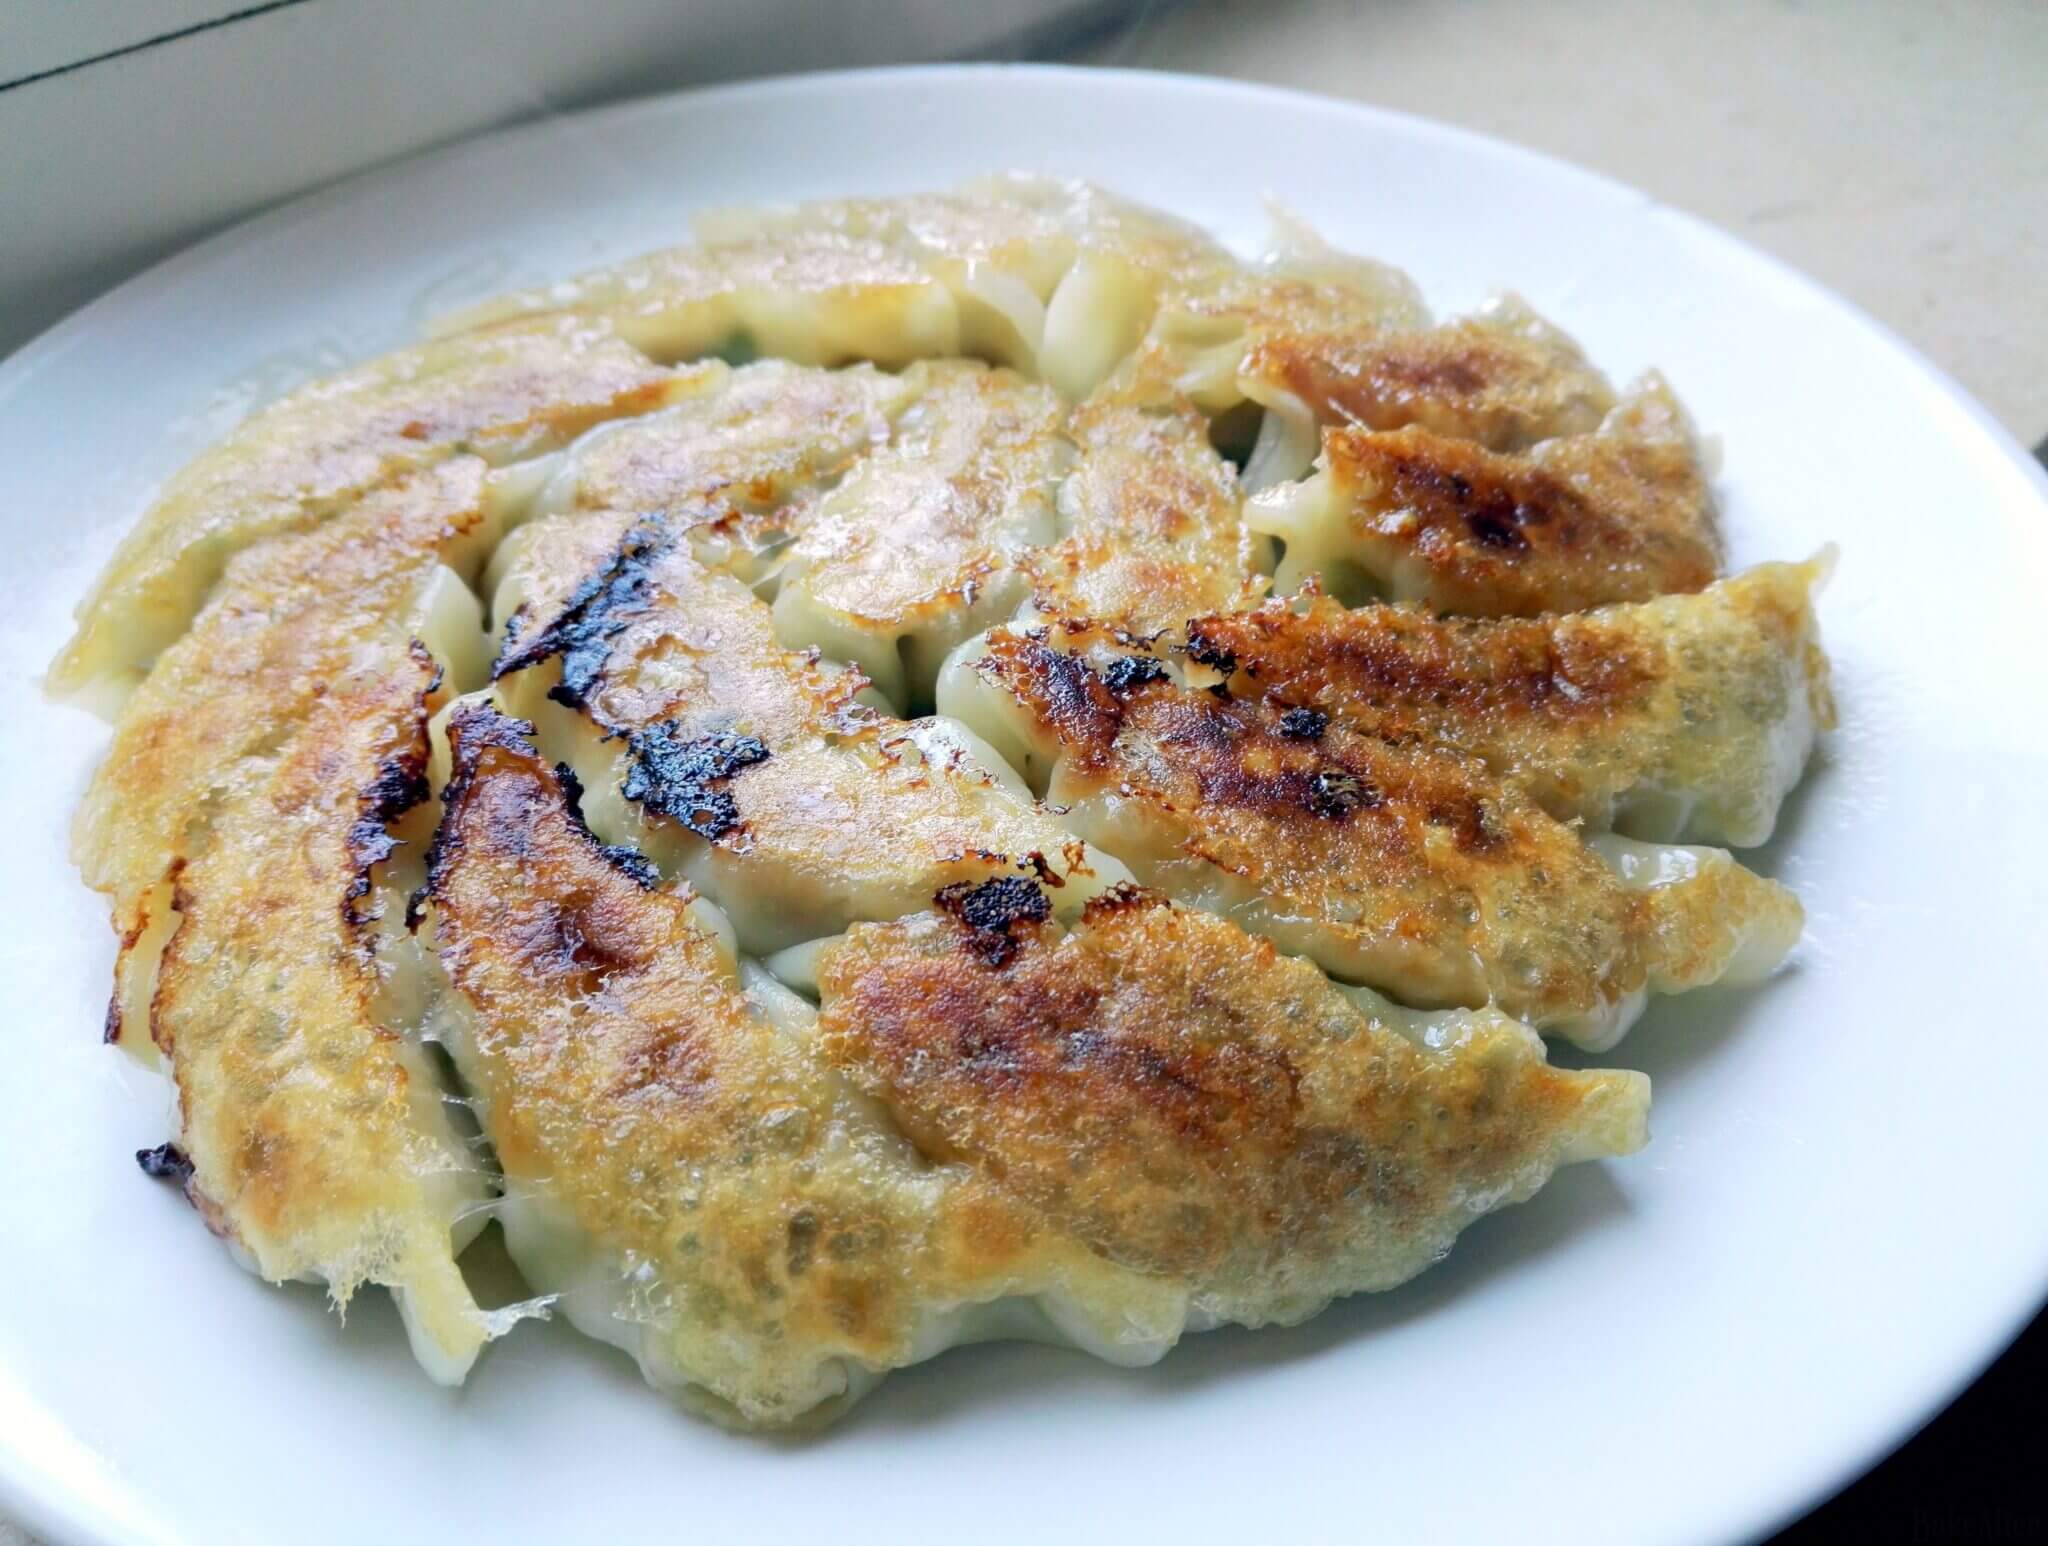
- Add about 60ml of water and cover. Steam for another 3 minutes until the dough starts to become translucent. Remove the lid, add a drizzle of sesame oil, and fry until all the water from the bottom has evaporated and each gyoza has a golden and crispy bottom. Remove the pan from the heat and arrange the gyozas (traditionally they are served upsidenow to show the crispy bottom).
- Repeat the same process until all the gyozas are fried (or freeze them and repeat the process with them straight from the freezer, note that straight from the freezer you will have to cook them for 1 or 2 minutes longer than fresh ones). Enjoy!

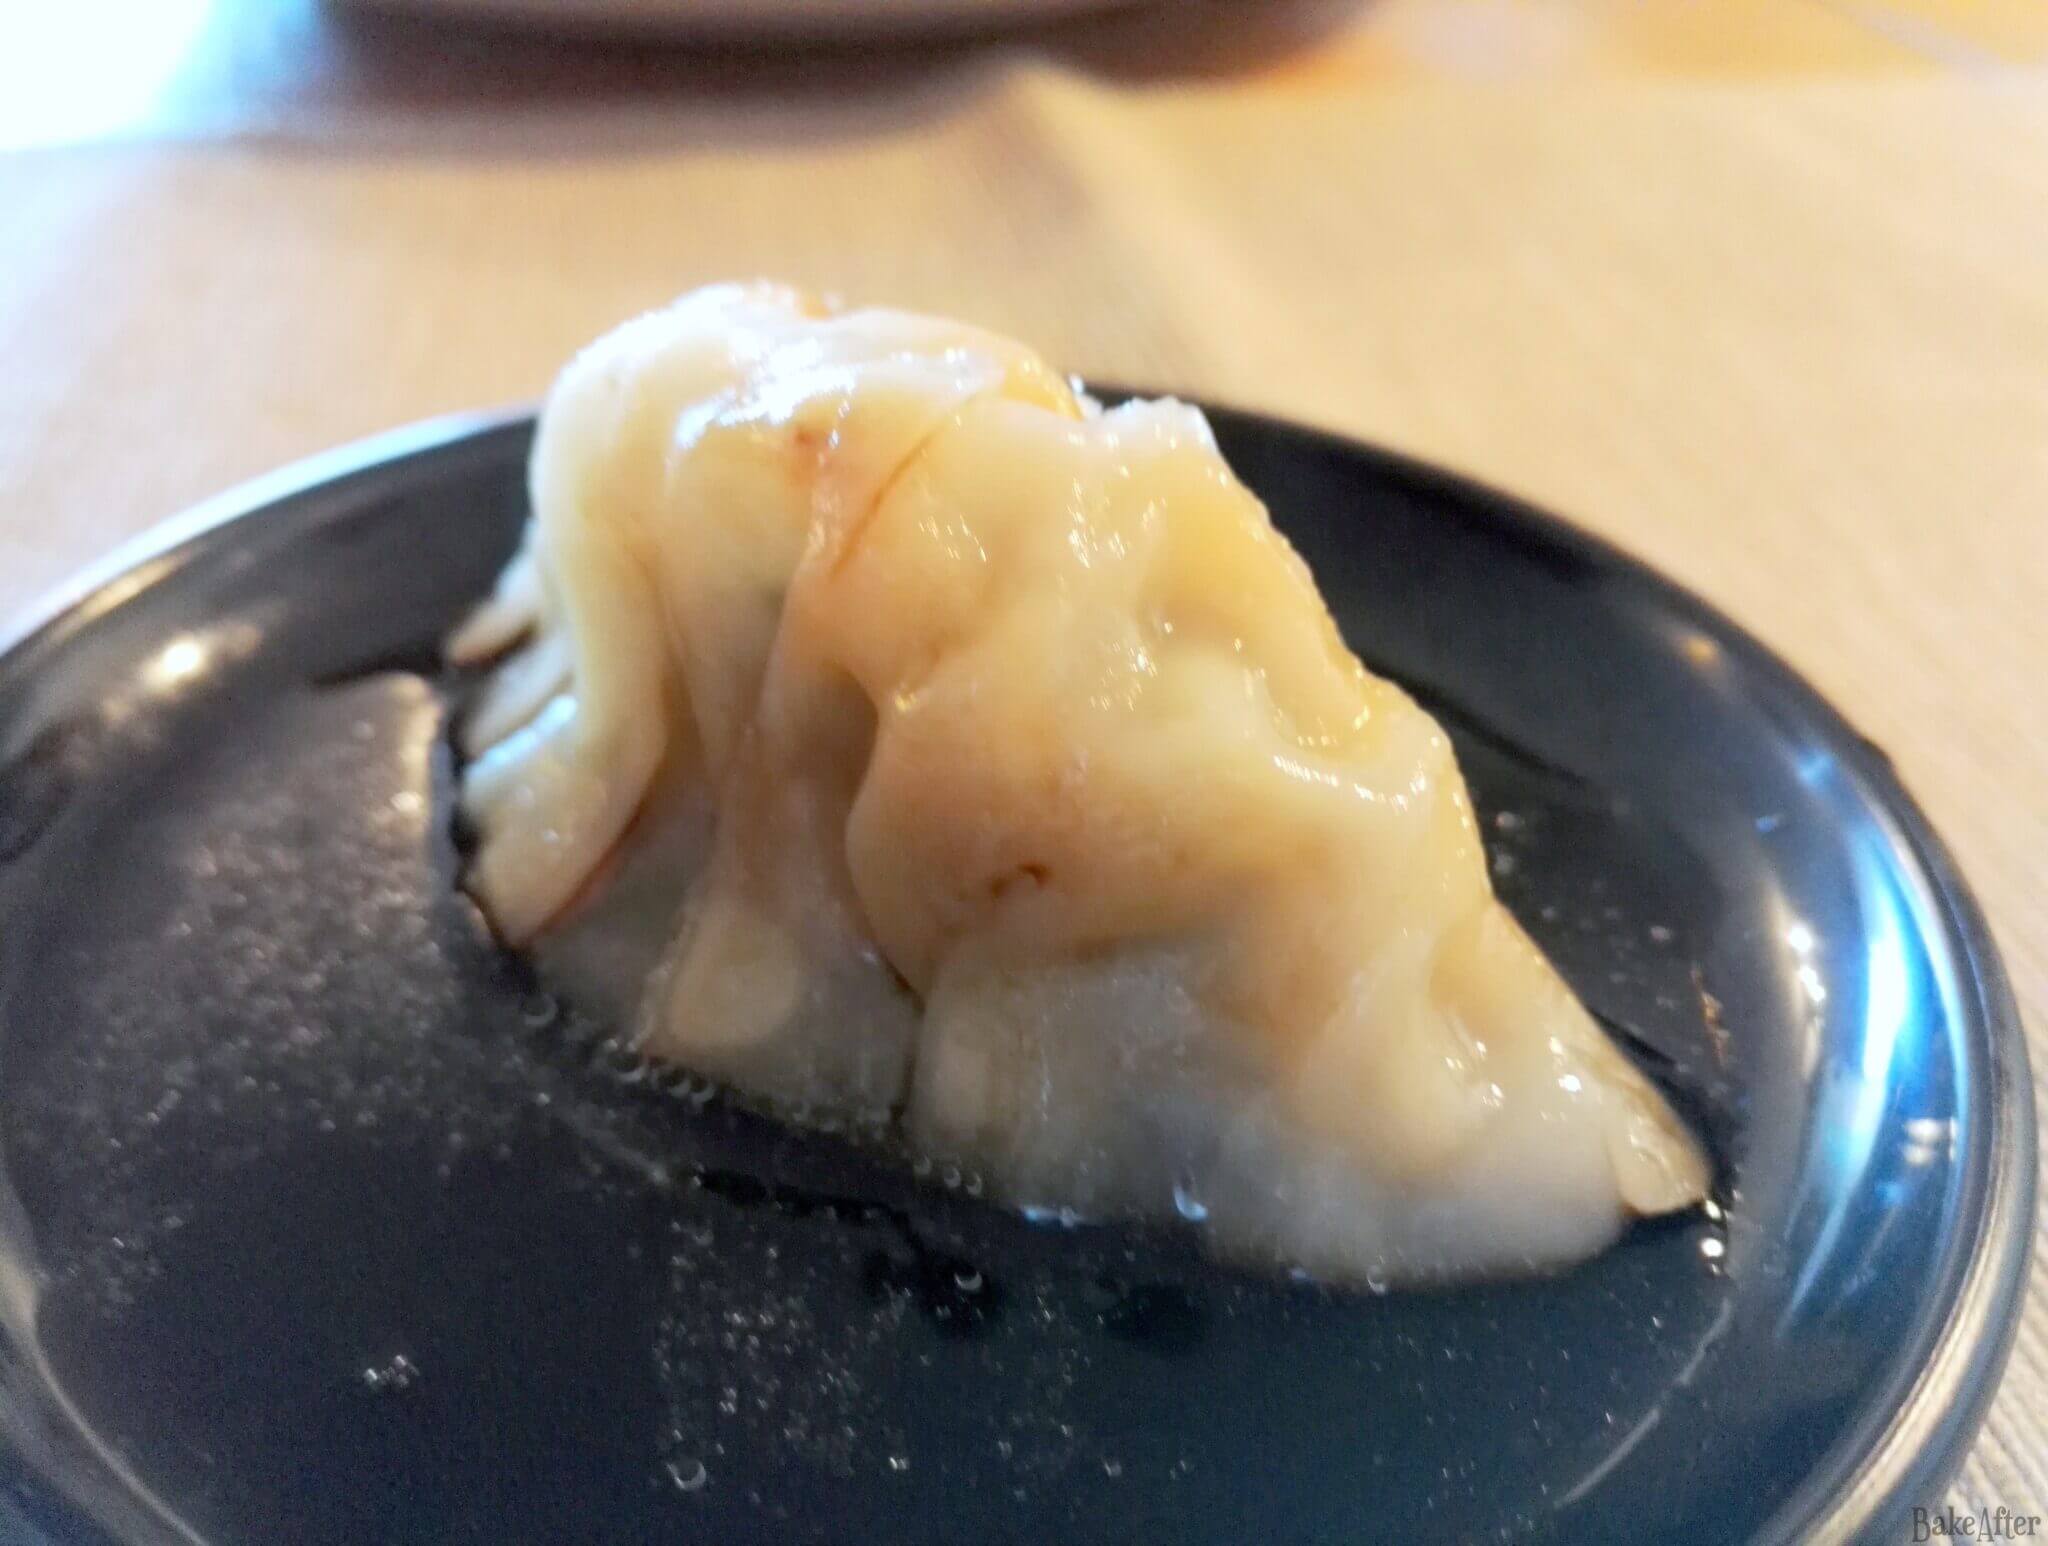
The classic gyoza dipping sauce is dead simple: a 1:1 mix of rice vinegar and soy sauce, with a pinch of shichimi (a Japanese seven-spice blend). That’s it, just three ingredients and it’s perfect.
Other great dipping options? Plain soy sauce, oyster sauce, or even just a light drizzle of sesame oil right on top works beautifully.
If you’re planning to freeze some gyoza for later, lay them flat on a tray first so they don’t stick together, then transfer to a freezer bag once frozen solid. They cook just as well straight from the freezer, just give them that extra minute or two.
Once you understand the basic idea here, you can get creative with the fillings. Any filling with a bit of fat, whether from the protein or a splash of oil, will work great. Shrimp and chive? Yes. Chicken and mushroom? Absolutely. Tofu and cabbage for a veggie version? Also yes. The technique stays the same: fold, fold, fold, fry, steam, crisp up. It’s almost meditative once you get into a rhythm. ;D
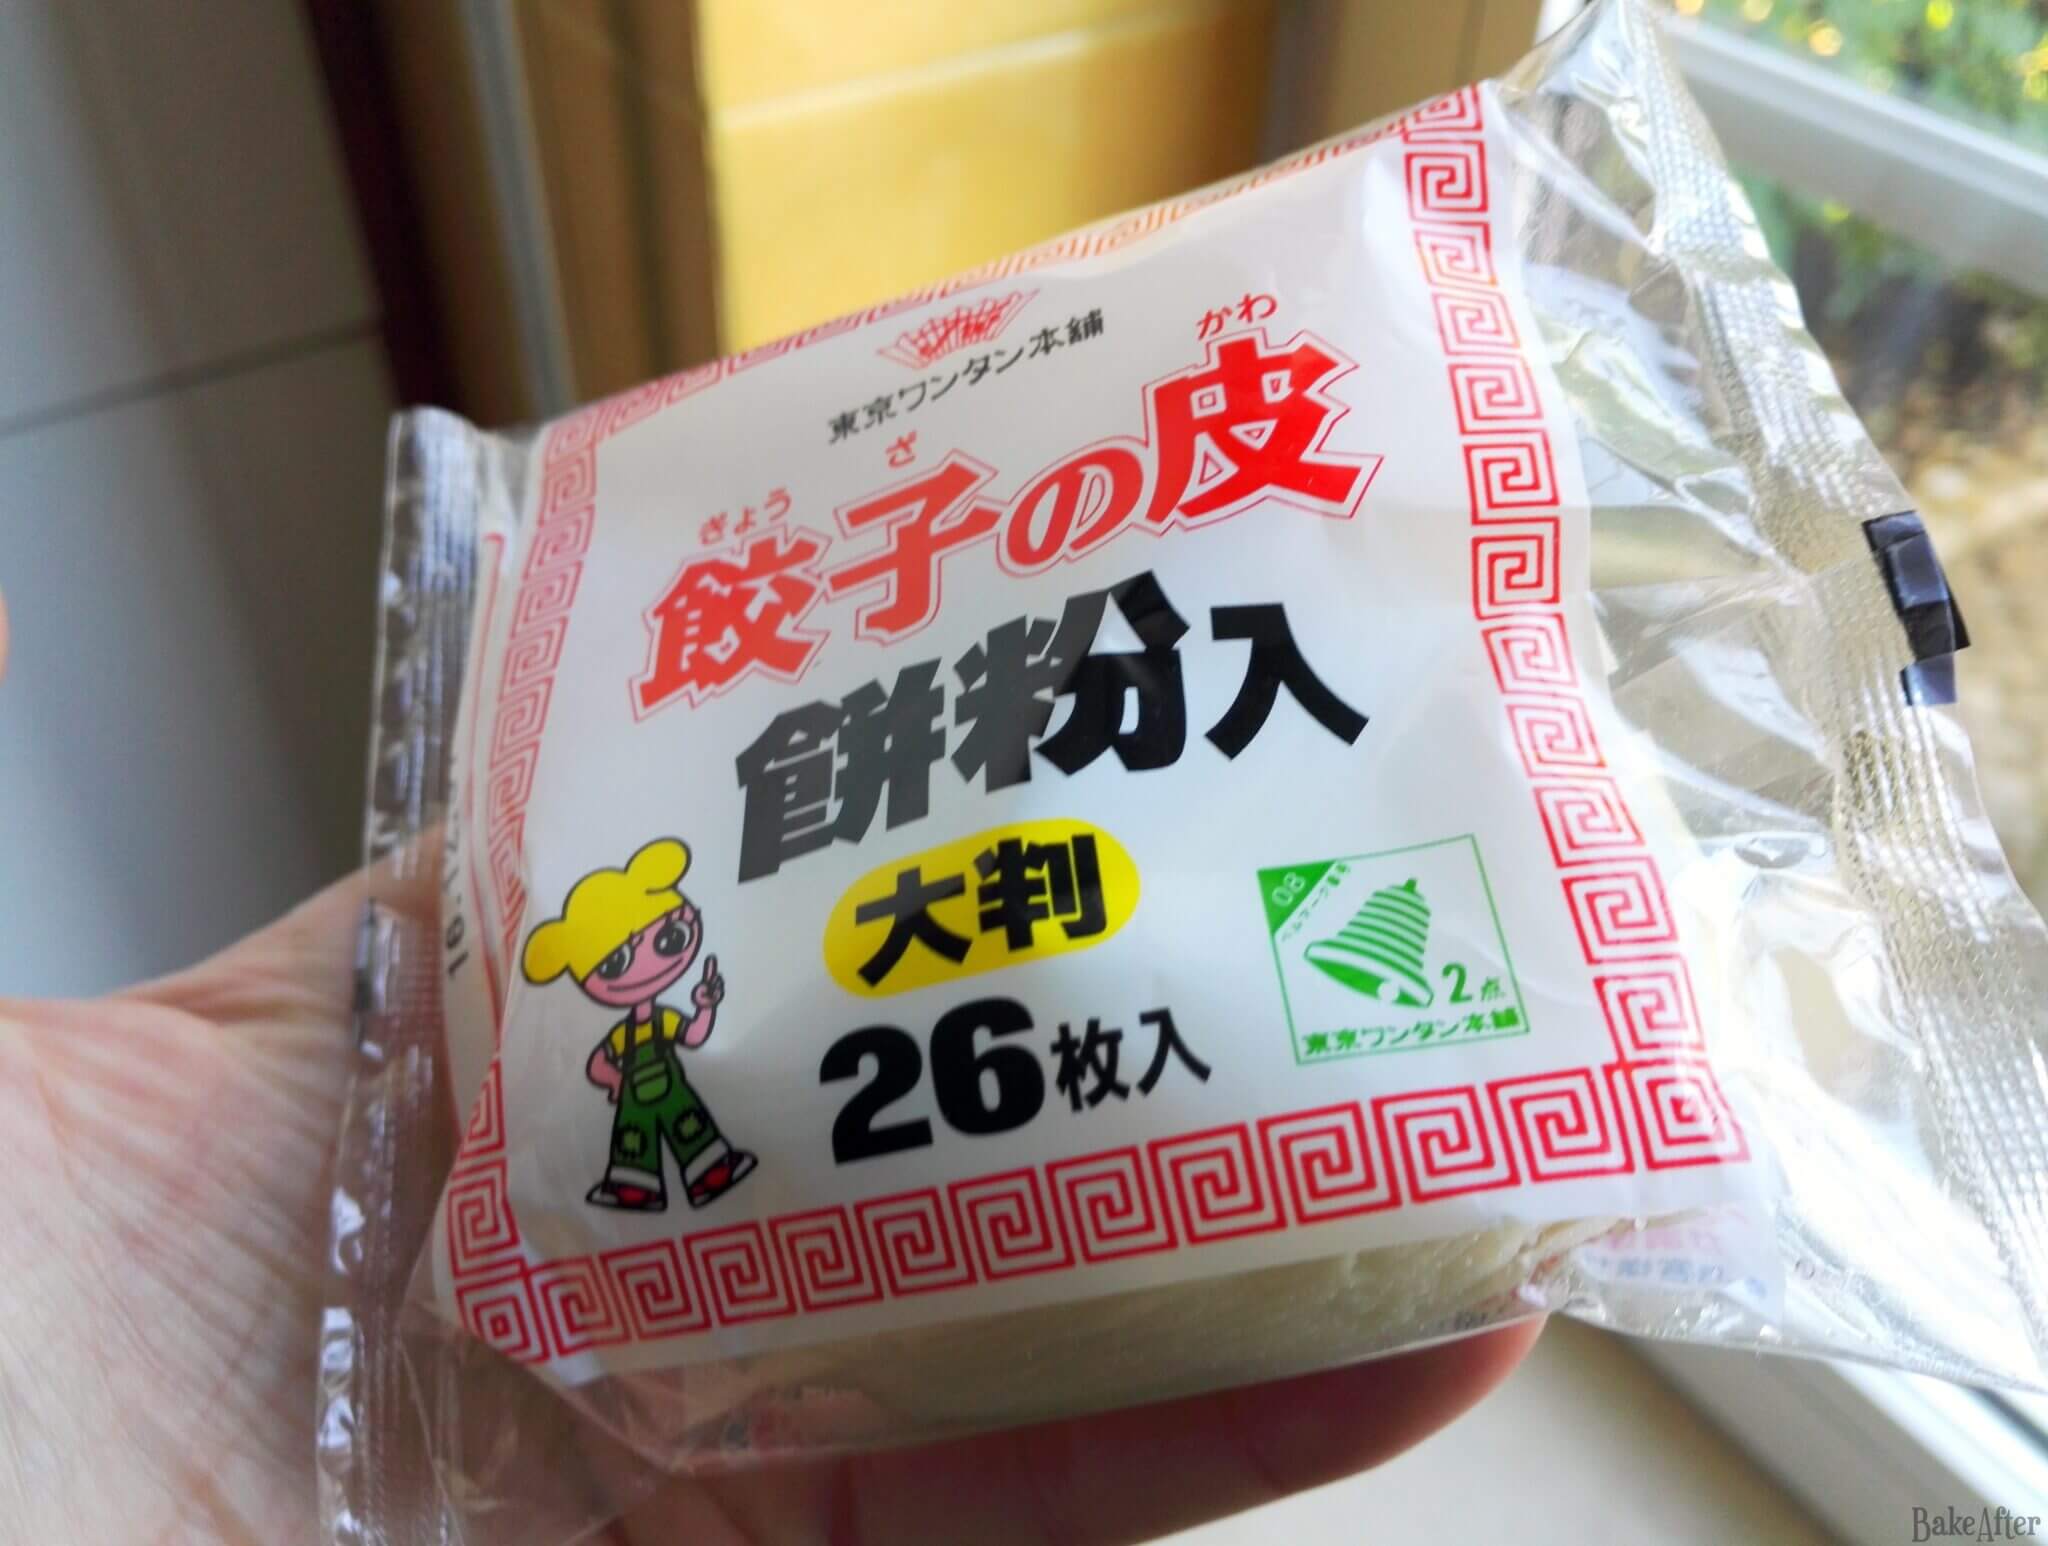
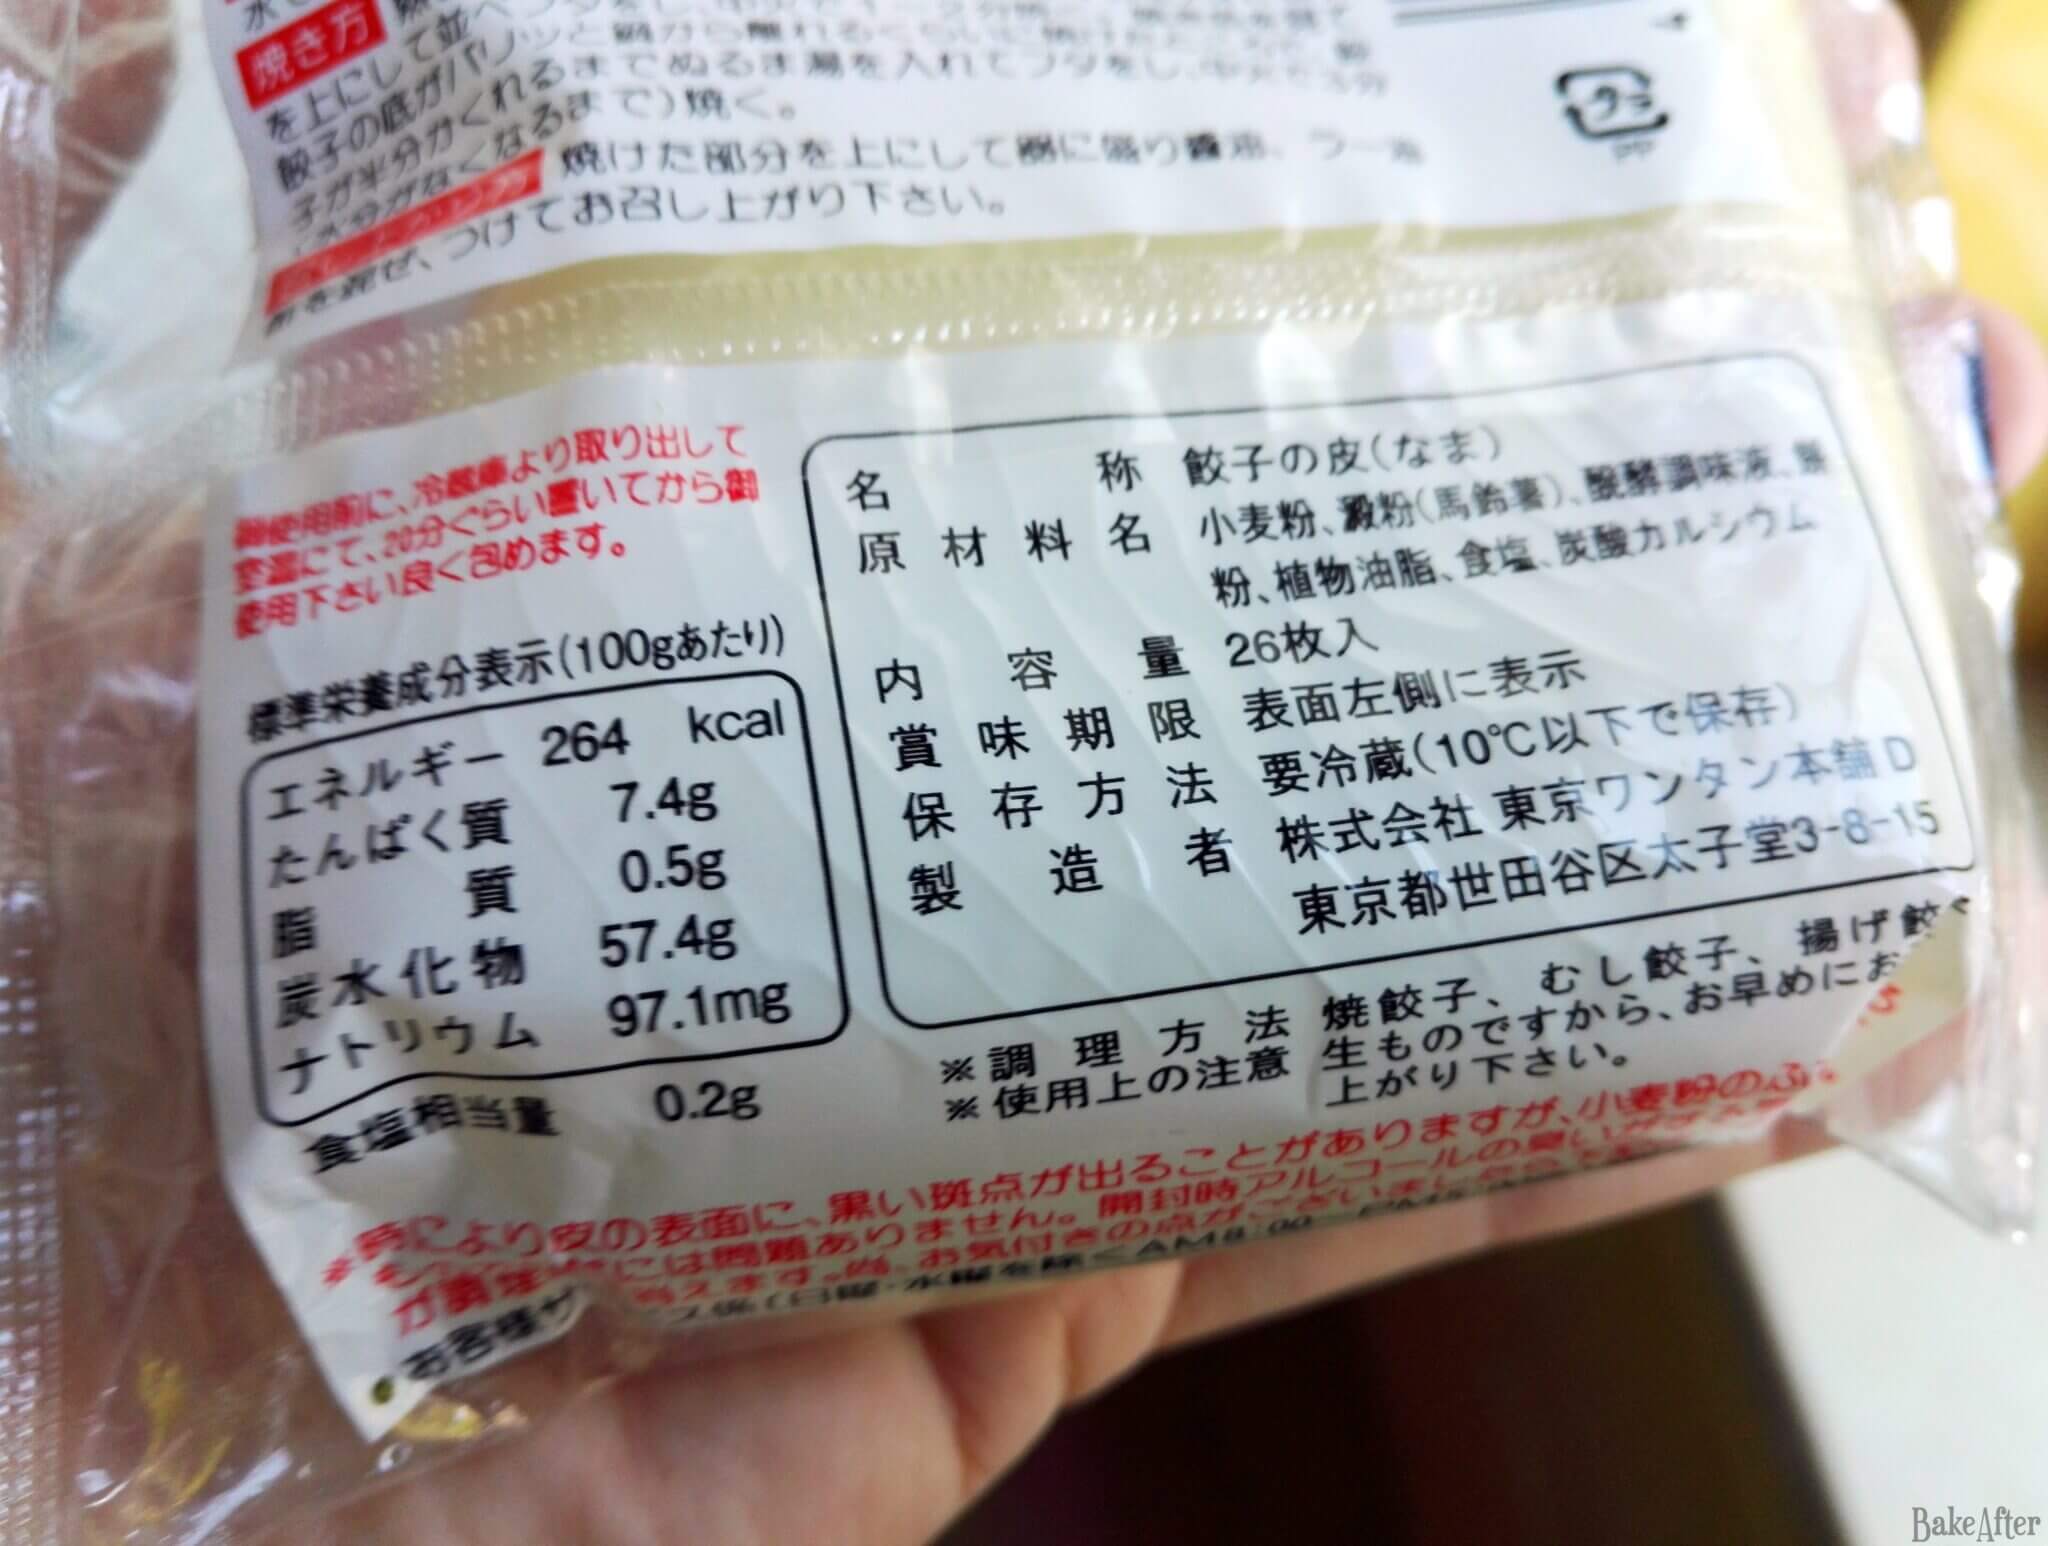
It’s always simpler and better to buy gyoza dough, not that its too complicated to make from scratch, but it’s like puff pastry, it’s a lot more work for little profit.
As a sidenote, if you’re unsure about making gyoza from scratch or even whether you even like them, good news: these days it’s pretty common to find gyoza already filled and ready to cook in the frozen section of most stores. If your regular supermarket doesn’t carry them, any Asian market definitely will. Try cooking a bag of those first to get a feel for it! And if you like them (spoiler: you will), then come back here and follow my recipe. ;D
This recipe for How to Make Japanese Gyoza Dumplings at Home was originally created on BakeAfter.com. Esta receita de Gyozas Japonesas • Pasteis Recheados de Carne e Couve foi publicada em português no Iguaria.com.
Nutrition
Per Serving: 82 calories; 3.9 g fat; 8.4 g carbohydrates; 3.3 g protein.Did you try this recipe?
Let me know how it turned out for you! You can leave a comment below ;D
Discover more from BakeAfter
Subscribe to get the latest posts sent to your email.