Onigiri are Japanese rice balls (also known as sushi rice balls) stuffed, topped, or mixed with a whole variety of flavors, usually leaning salty or sour, because traditionally you want ingredients that help preserve the rice ball. Unlike sushi rice, which gets seasoned with vinegar, sugar, and salt, rice for onigiri has no seasoning at all, or at most just a little bit of salt. The idea is that the filling does the flavoring. The whole concept behind onigiri was to make rice more portable and keep it fresh longer by mixing in salty or sour ingredients, while sushi, on the other hand, was originally all about preserving the fish.
To make truly authentic onigiri, ideally you want sushi rice and ingredients like furikake (rice seasoning), kombu (seaweed), umeboshi (Japanese fermented plums), sesame seeds, bonito flakes (dried tuna), nori (dried seaweed sheets), fish roe, various dried fish, octopus, squid, miso (fermented soybean paste), and so on. That said, the essentials are really just the rice, the nori (which you can easily find in any supermarket in the Asian foods section), and whatever you want to mix into the rice.
Things like canned tuna, mayo, sardine paste, shrimp, cooked and shredded pork, pickles, herbs like cilantro or chives, shredded salt cod, all of that works perfectly and lets you create something totally your own without any hassle. Below I’ll walk you through how to make a basic onigiri, and from there you can build out any variation you feel like. Let’s check the recipe!
Easy Step-by-Step Homemade Japanese Onigiri Rice Balls

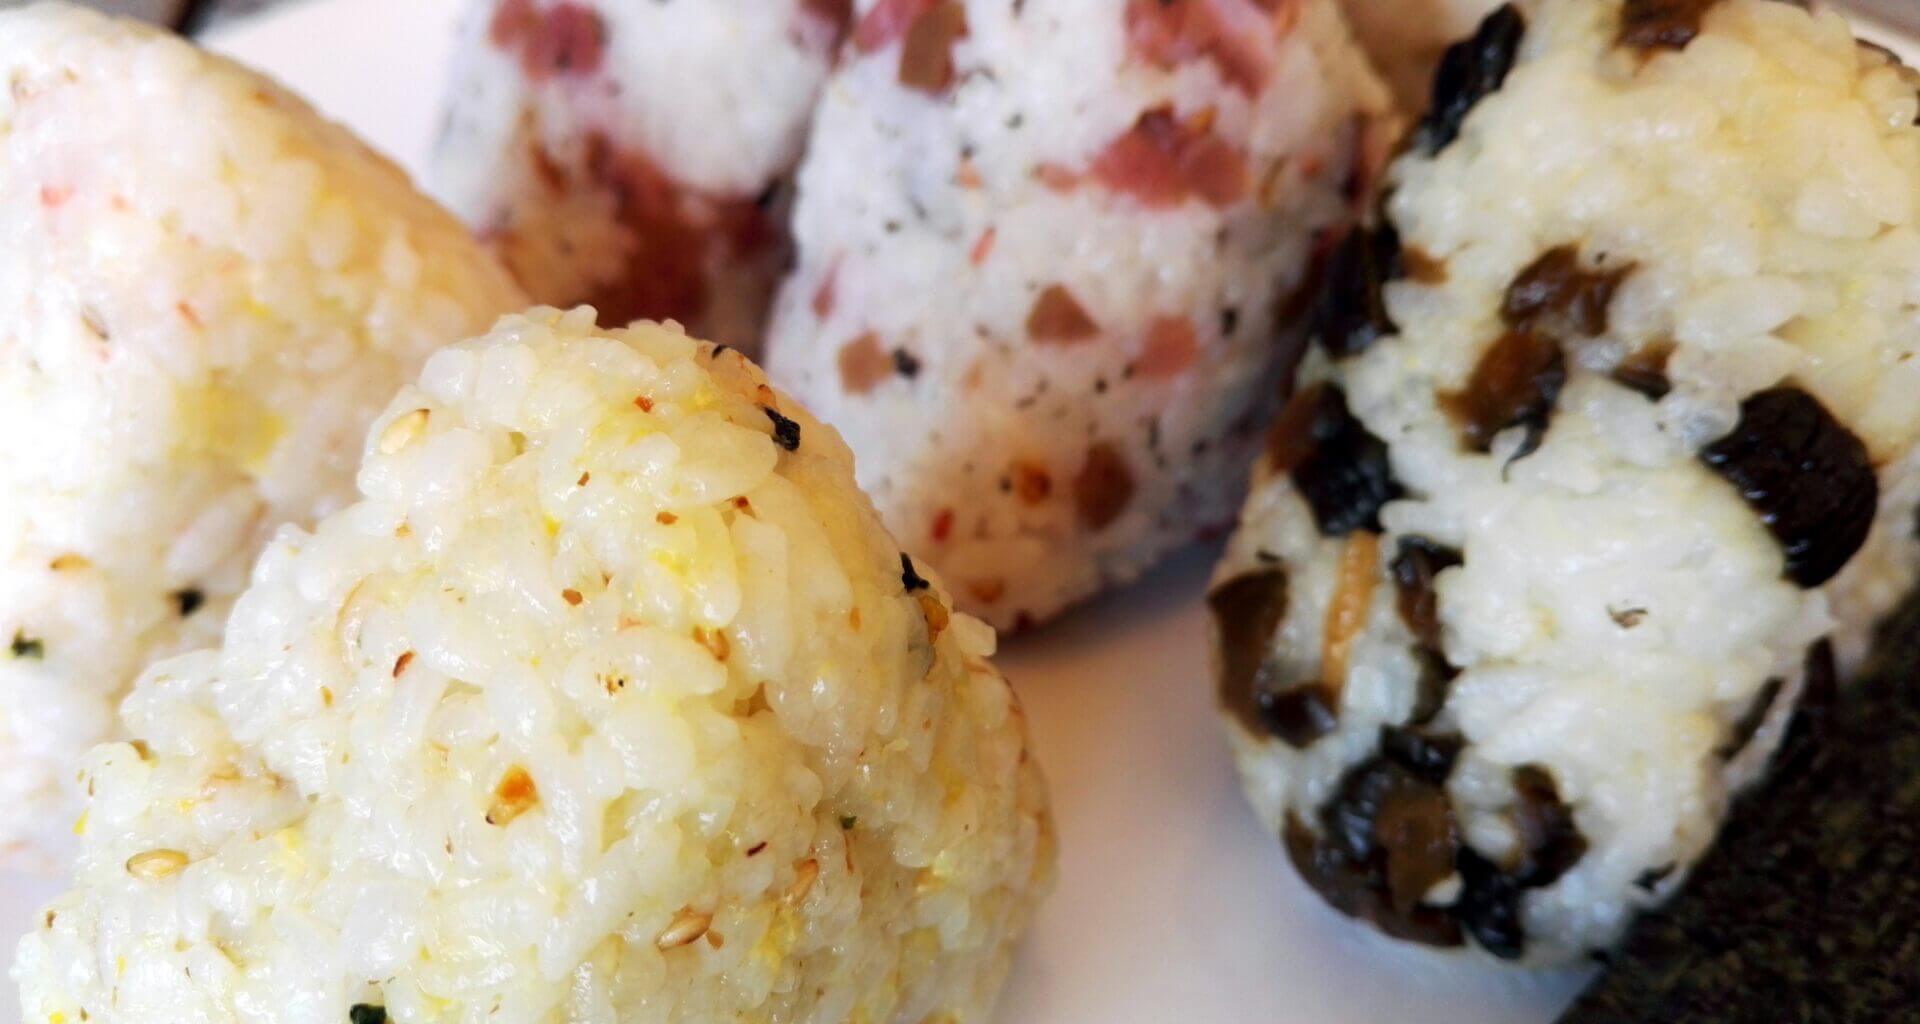
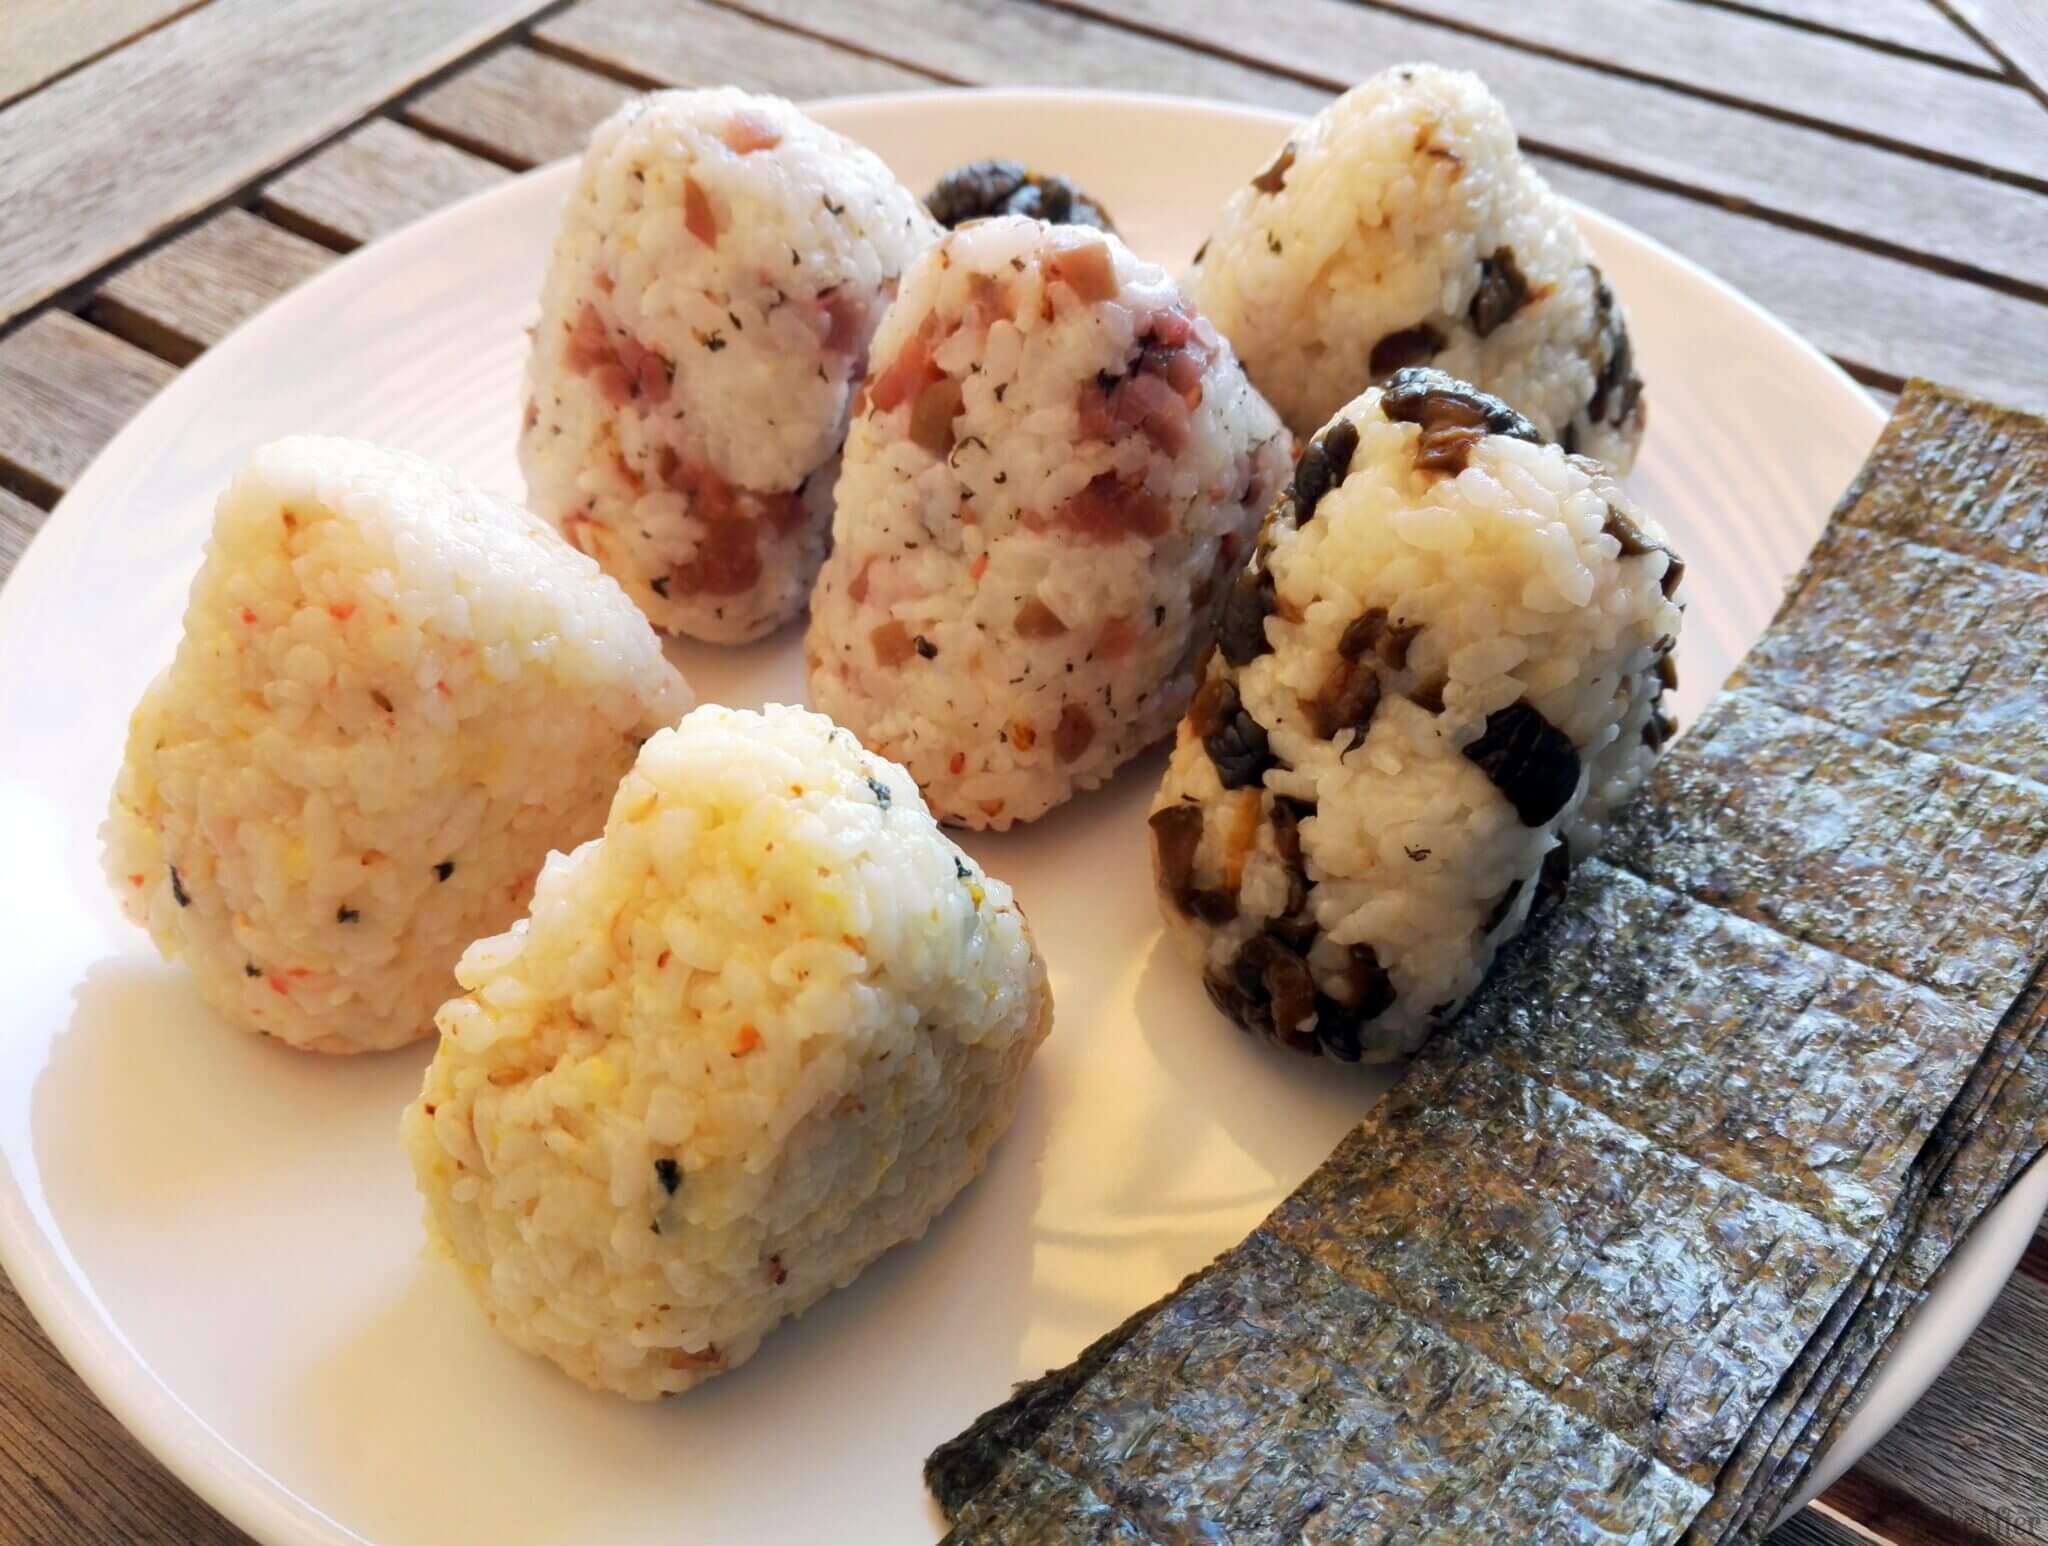
This is a great beginner's recipe. I stuff these rice balls with pickled mushrooms and fermented plums, two very common fillings, but you can stuff or roll them with absolutely whatever you like, from a plain, simple rice ball all the way to fancy fillings and toppings.
Ingredients
- Sushi Rice – 1 Cup
- Water – 1 1/2 Cups
- Salt – If Needed
- Pickled Mushrooms – To Taste
- Furikake (Rice Seasoning) – To Taste
- Fermented Plums – To Taste
Directions
- Start by washing the rice well in cold water. To check how much to wash, submerge it in water; if the water is cloudy or whitish, wash it more; if it’s clear, it’s ready. Drain the rice and let it rest for 10 minutes.
- Then cook the rice with 1.5 cups of water. If your seasonings are salty, don’t add salt. If you’re only eating the rice (the most basic onigiri), add a pinch of salt. The rice should cook for 10 to 12 minutes over low heat.
- After cooking, let the rice rest a little before preparing the onigiri.
- When the rice has cooled enough to handle, divide it into bowls and season each one. If you’re only making one flavor, there’s no need to divide it. Then add each seasoning to the rice in the quantity you like. If you’re adding plums, mushrooms, or other larger ingredients, chop them and then mix everything well into the rice.
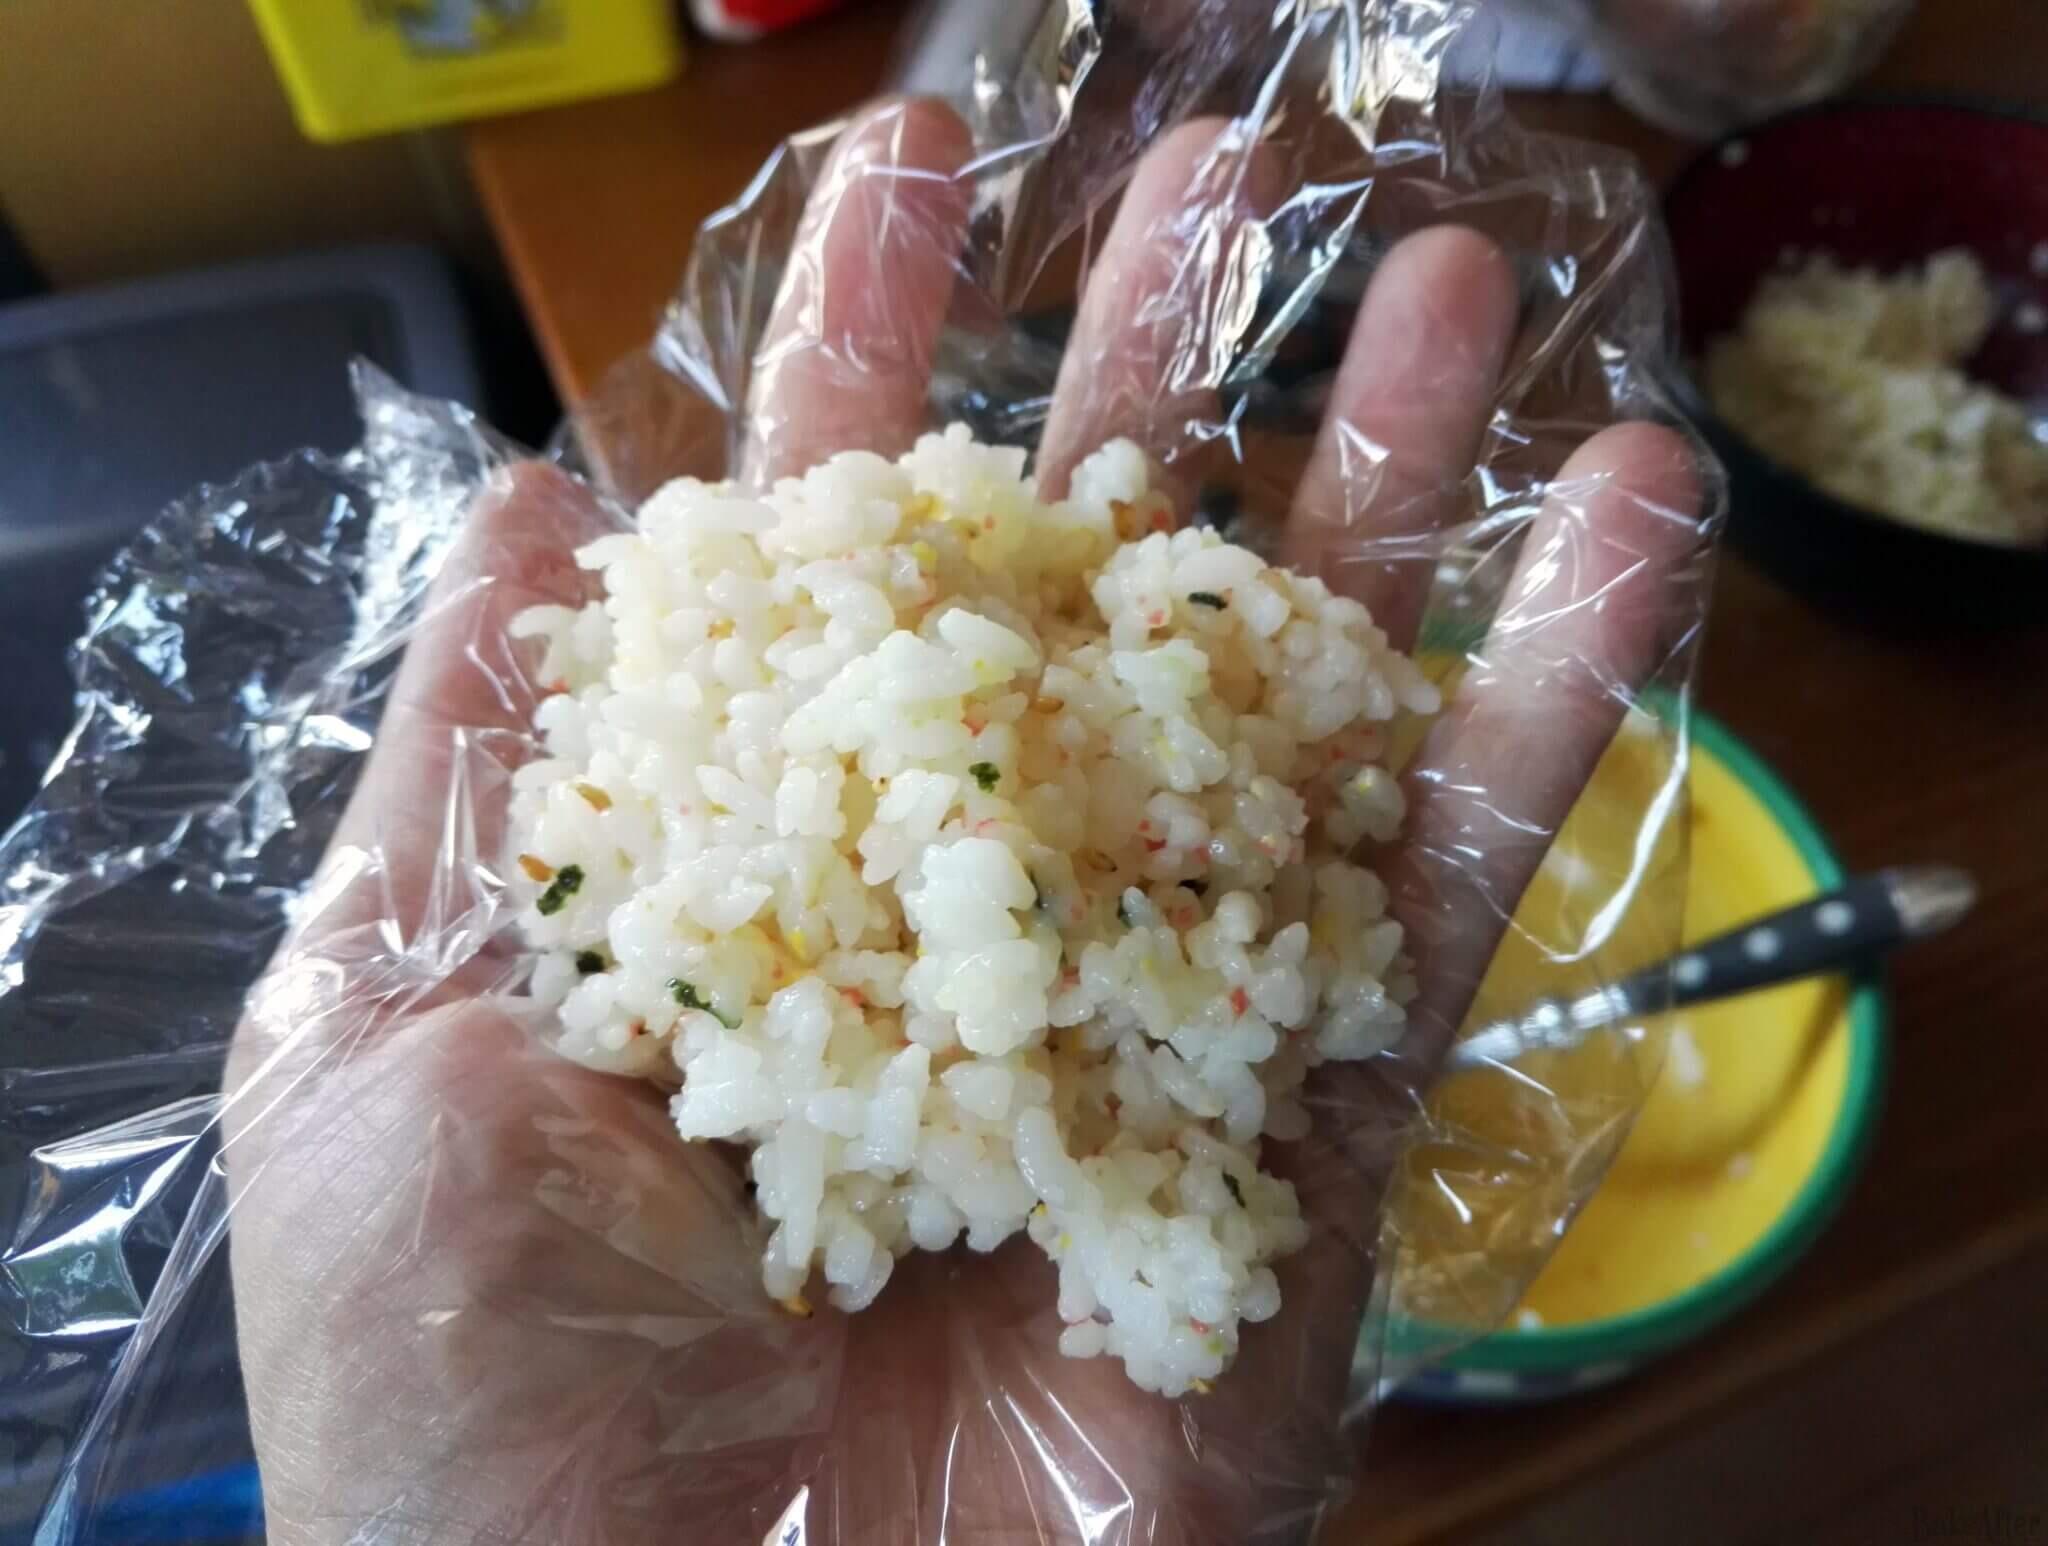
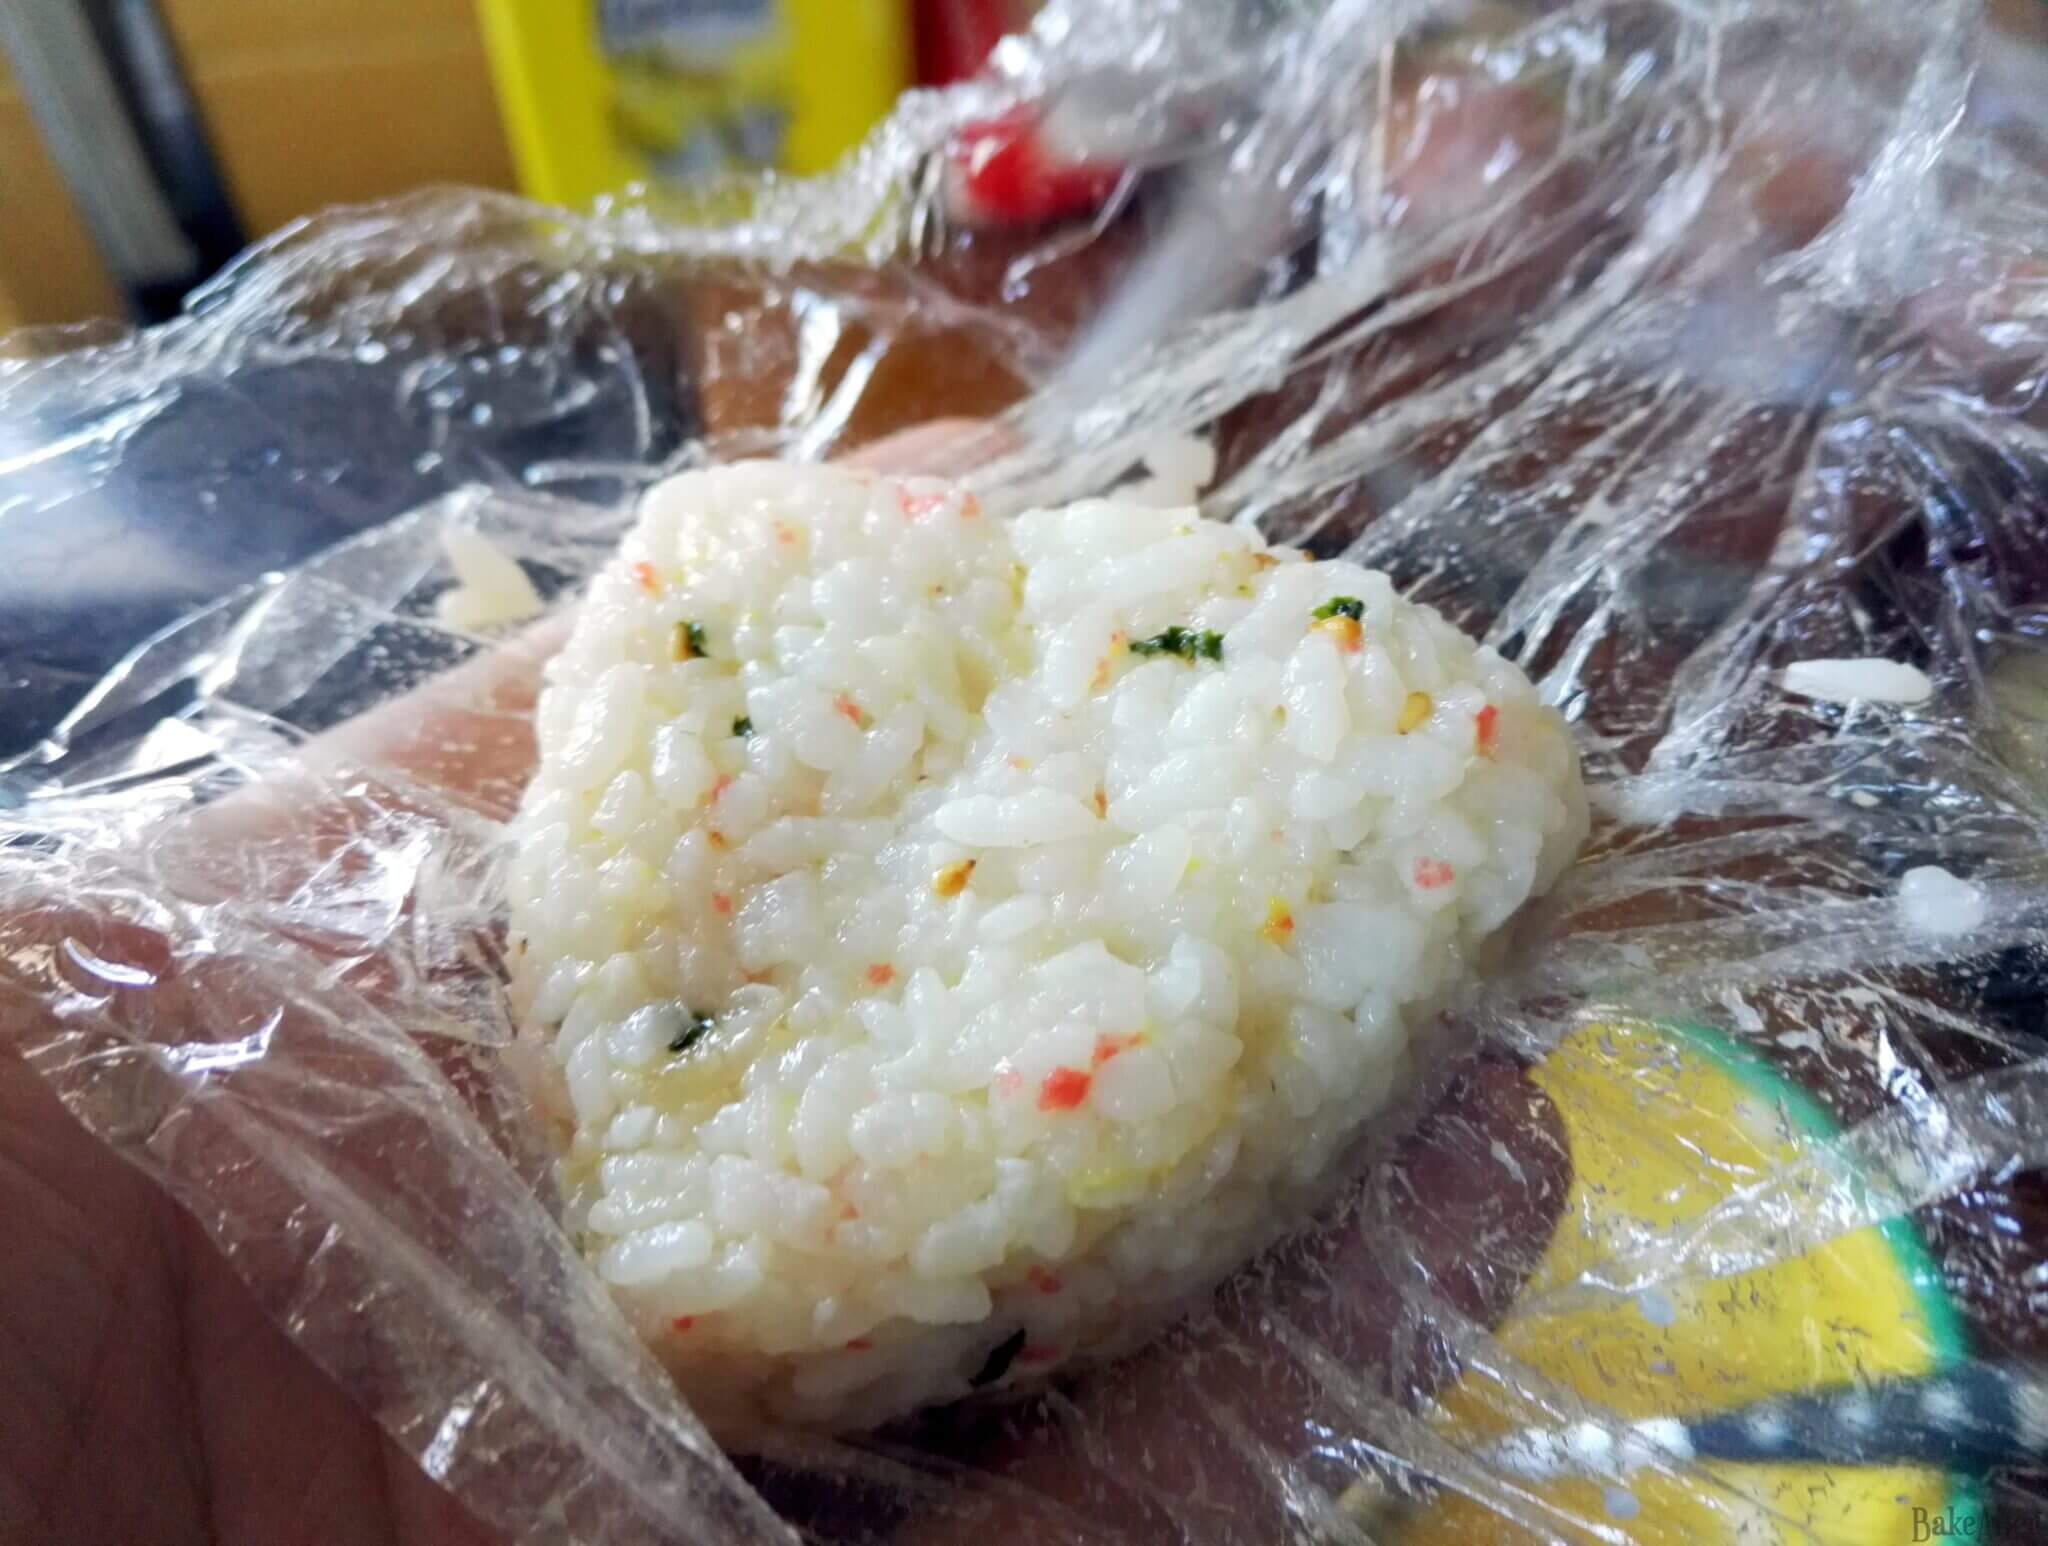
- Now cut a square of cling film and place it in your hand. Put about 3 heaping spoonfuls of rice on top of the film, wrap it in the film, and then carefully form a thick triangle or a ball.
- Then remove it from the cling film and place it on a plate. Repeat until you have no more rice.
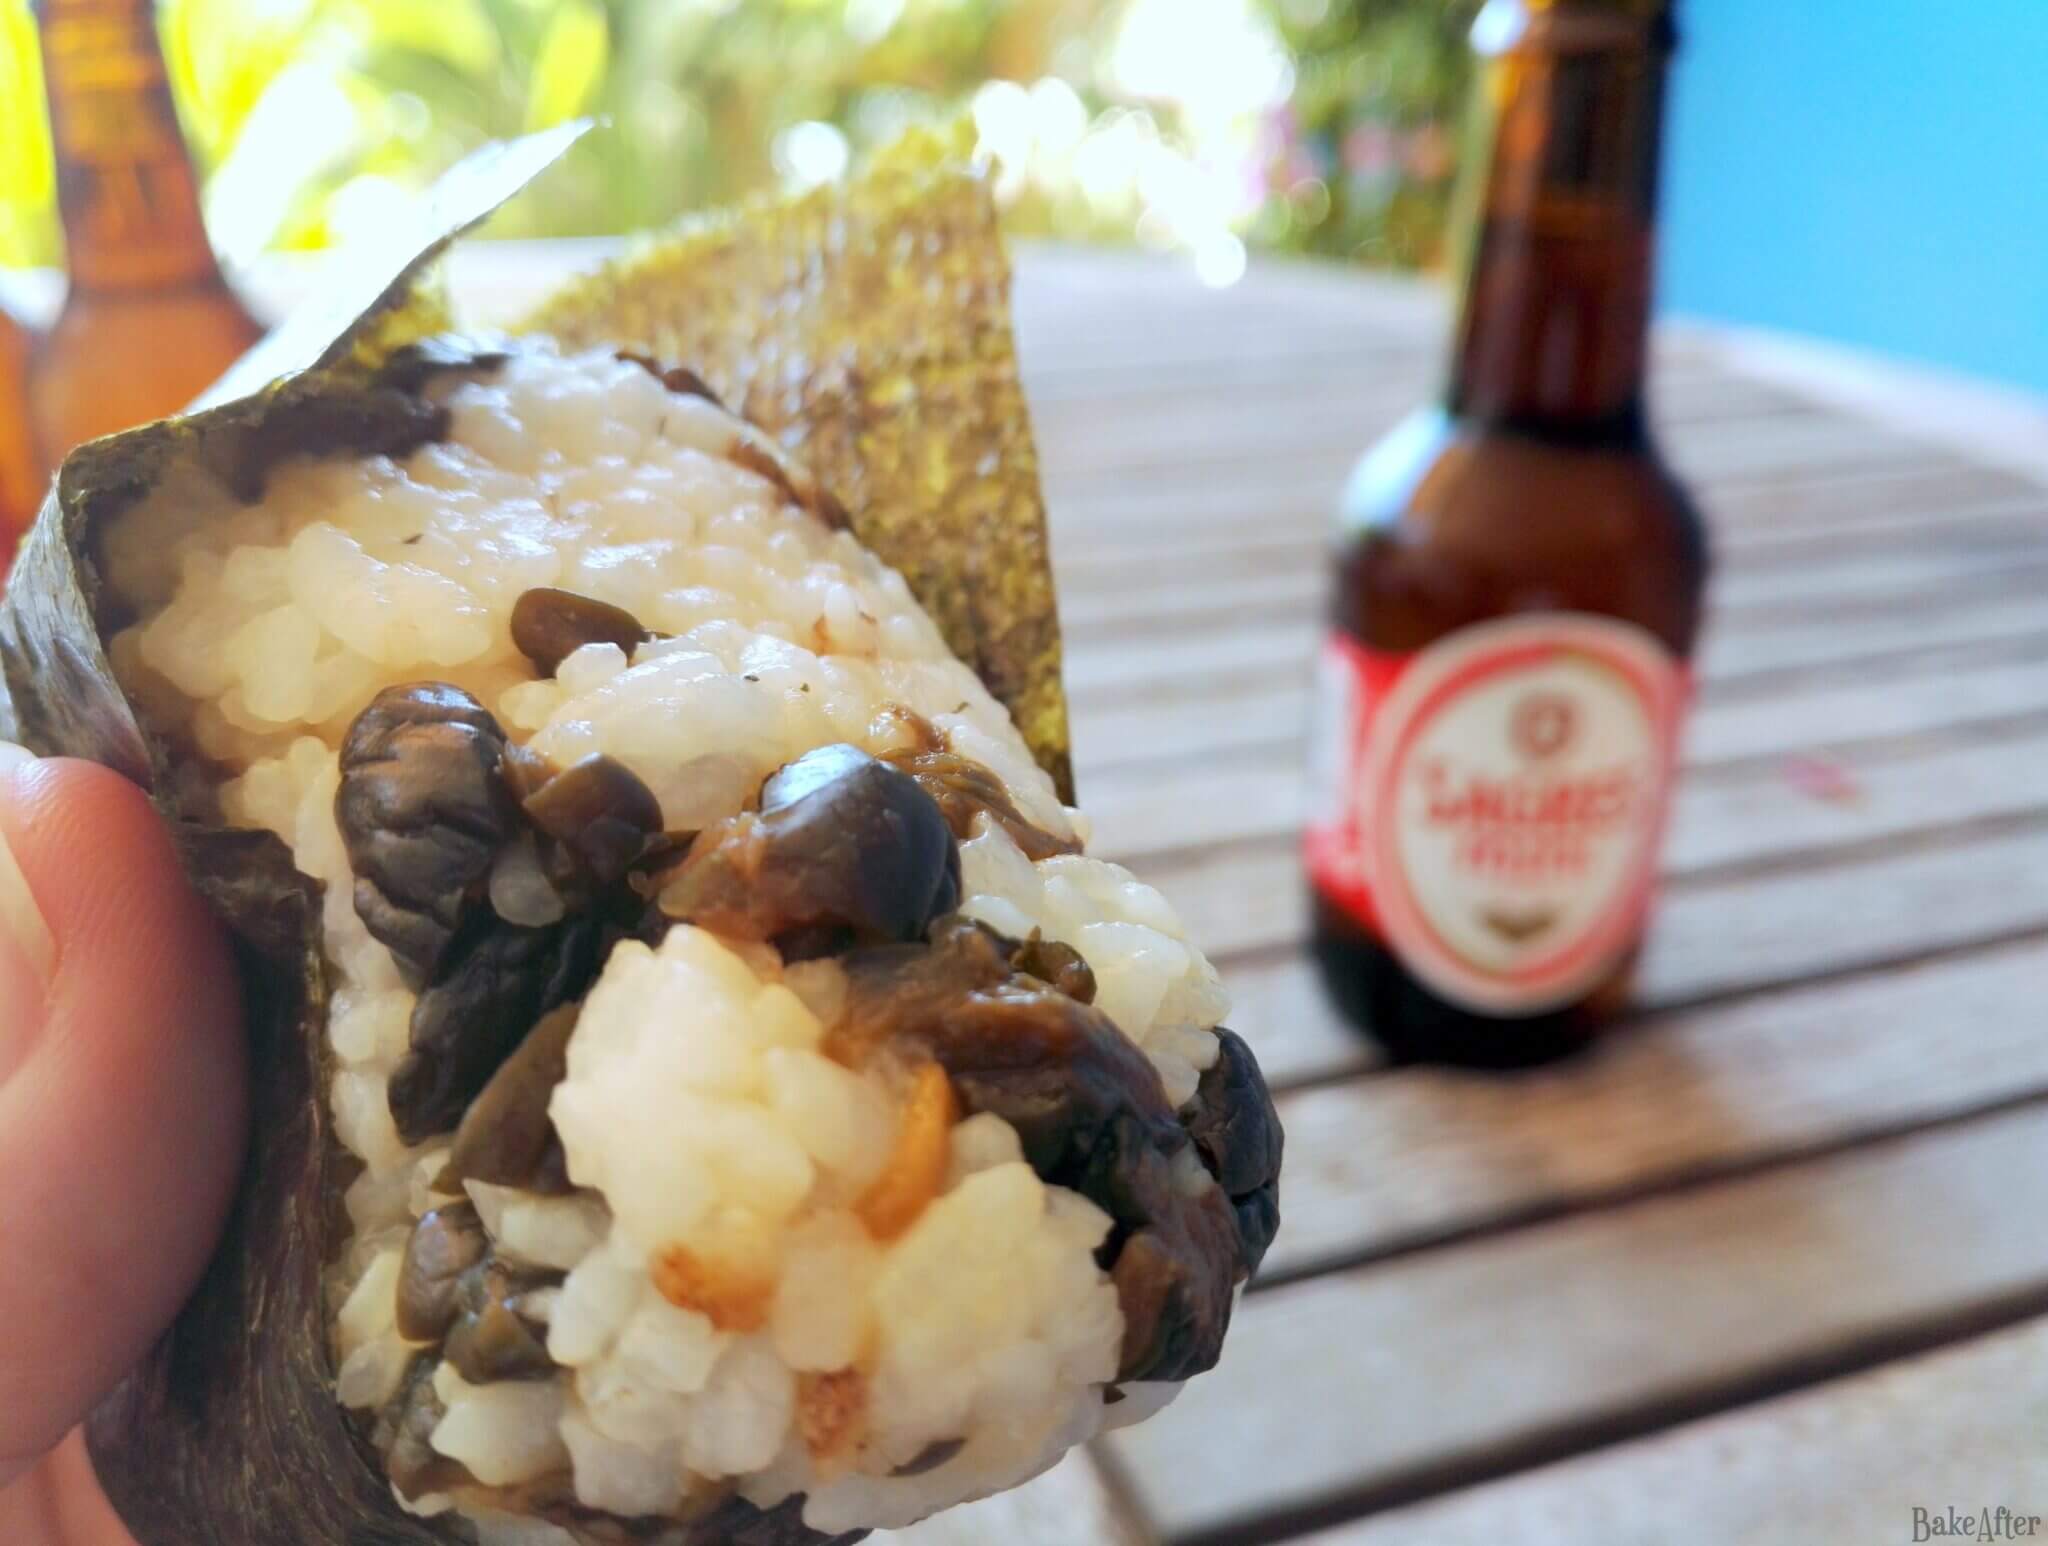
- Finally, when serving, wrap each ball in a little nori so you can hold the rice and add some texture. Try to add the nori at the last minute so it’s nice and crispy; if you add it too far in advance, the nori will become soggy.
- And that’s it! Perfect to put in a box for lunch or a picnic.


Also note that while you basically use the same rice for sushi and onigiri, sushi rice is seasoned (with salt, rice vinegar and a touch of sugar), while onigiri rice is cooked without any major seasoning, depending on the filling (like if im using furikake) its with no seasoning.
By the way Furikake is a Japanese seasoning blend that you sprinkle over rice and other dishes. It’s a mixture of dried ingredients, typically including sesame seeds, dried seaweed (nori), dried fish flakes (bonito or anchovies), salt, and sometimes other additions like dried egg yolk or poppy seeds. Some varieties include a bit of umami-boosting MSG or fish powder as well. The idea if to adds a burst of savory, salty, umami flavor in every bite.
The plastic wrap method described in this recipe is beginner-friendly and works great. Don’t skip it if this is your first time, it makes shaping much easier and keeps things clean.
If you’re shaping the onigiri without plastic wrap (the traditional way japanese moms do it at home), wet your hands with water and rub a tiny bit of salt on them before handling the rice. It prevents sticking and adds a little seasoning to the outside.
Seriously, don’t add the nori until you’re about to eat. Once it sits on the rice for more than a few minutes it absorbs moisture and loses all its crunch.
Canned tuna mixed with a little mayo, shredded cooked chicken, cream cheese, pickled ginger, cucumber, or just furikake mixed right into the rice. Spicy tuna, salmon with soy sauce, mentaiko (spicy pollock roe), pulled pork with hoisin, shrimp with sriracha mayo, avocado with sesame oil.
Roll the outside of the ball in sesame seeds, furikake, or even crushed chips for a fun crunch. You can also skip the nori entirely and coat the outside fully in sesame seeds.
Onigiri are best eaten the day they’re made. If you need to prep ahead, wrap them tightly in plastic wrap and keep at room temperature for a few hours, or refrigerate for up to a day. If refrigerated, the rice will firm up quite a bit, so let them come back to room temperature before eating, or give them a quick warm in the microwave.
Going vegan or vegetarian? No problem. Pickled mushrooms, umeboshi, avocado, pickled daikon, edamame, or just plain furikake rice all work perfectly.
This recipe for Easy Step-by-Step Homemade Japanese Onigiri Rice Balls was originally created on BakeAfter.com. Esta receita de Como Fazer Bolas de Arroz Japonesas foi publicada em português no Iguaria.com.
Nutrition
Per Serving: 215 calories; 1 g fat; 46 g carbohydrates; 4.1 g protein.Did you try this recipe?
Let me know how it turned out for you! You can leave a comment below ;D