
Today I want to talk about poached eggs! This isn’t going to be a fancy article full of technical jargon, just me sharing what actually works when you’re standing over the stove trying not to end up with some sort of fancy egg soup. If you’ve ever tried to poach an egg like me and gotten a sad, stringy mess instead, this one’s for you! ;D
What Is a Poached Egg, Anyway?
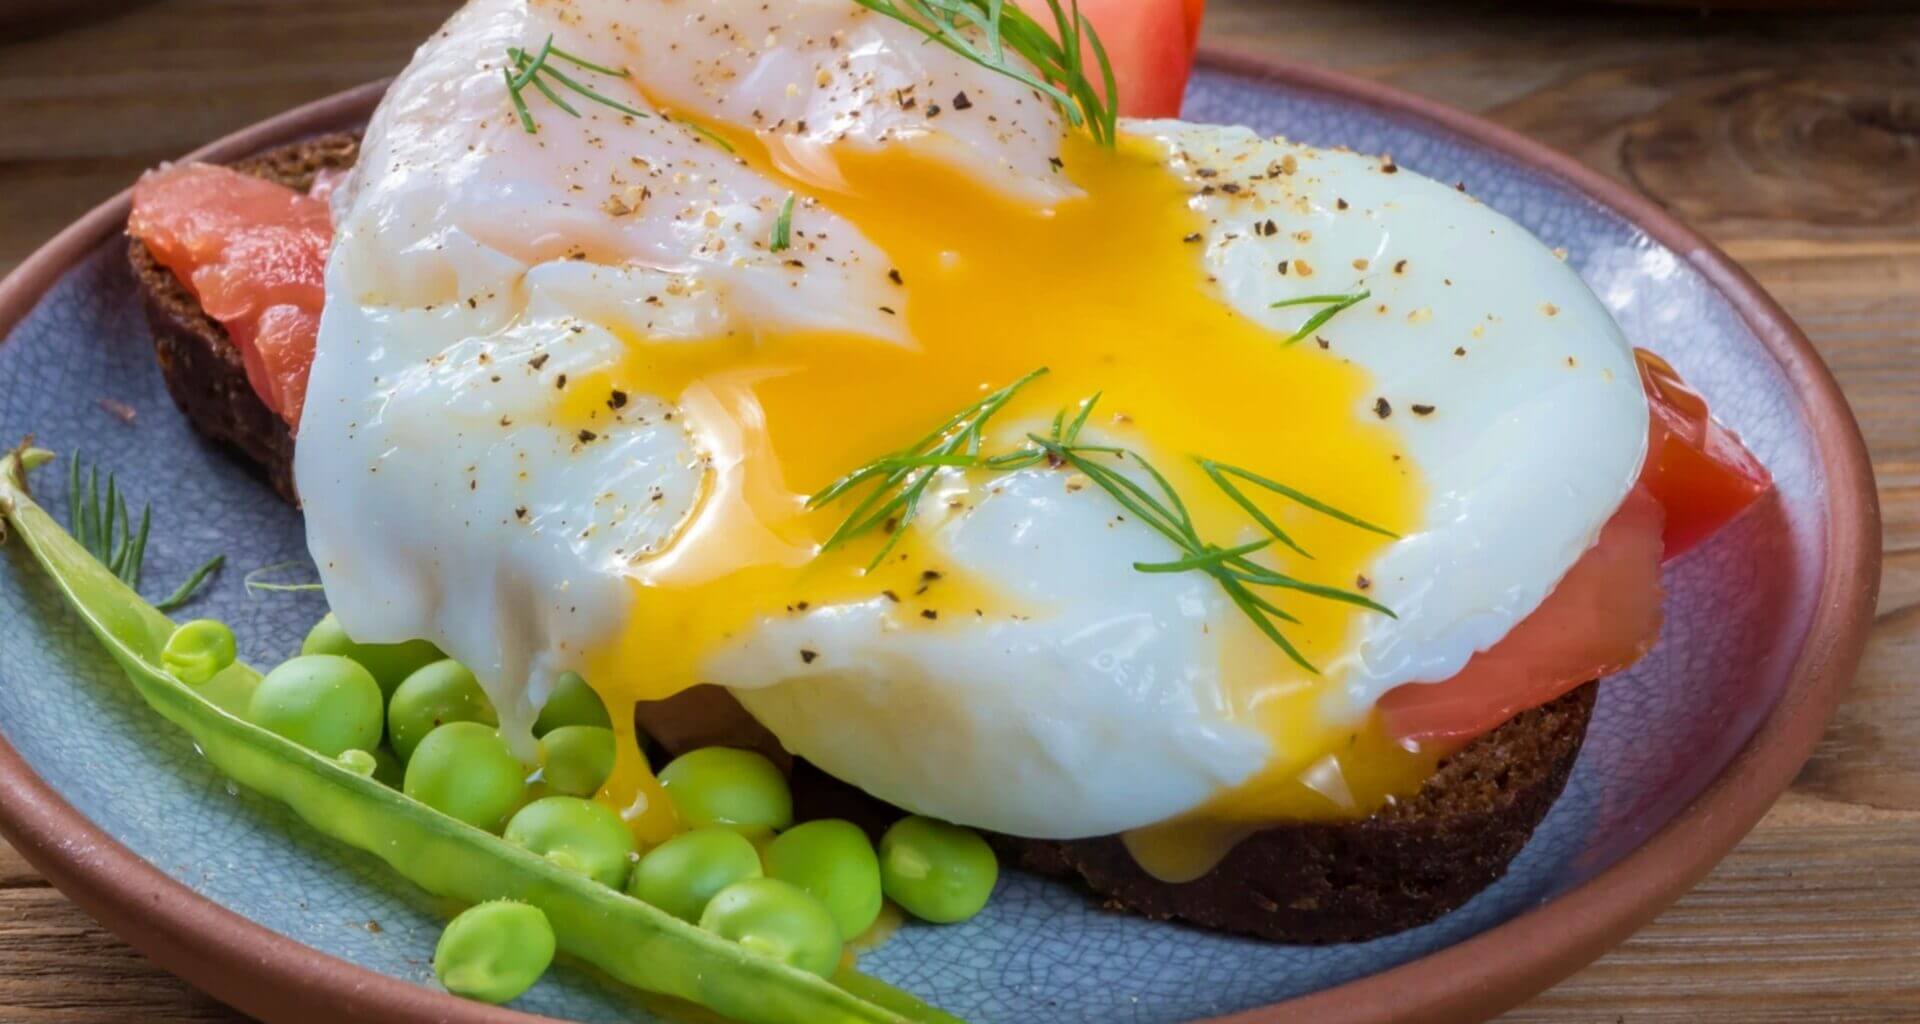
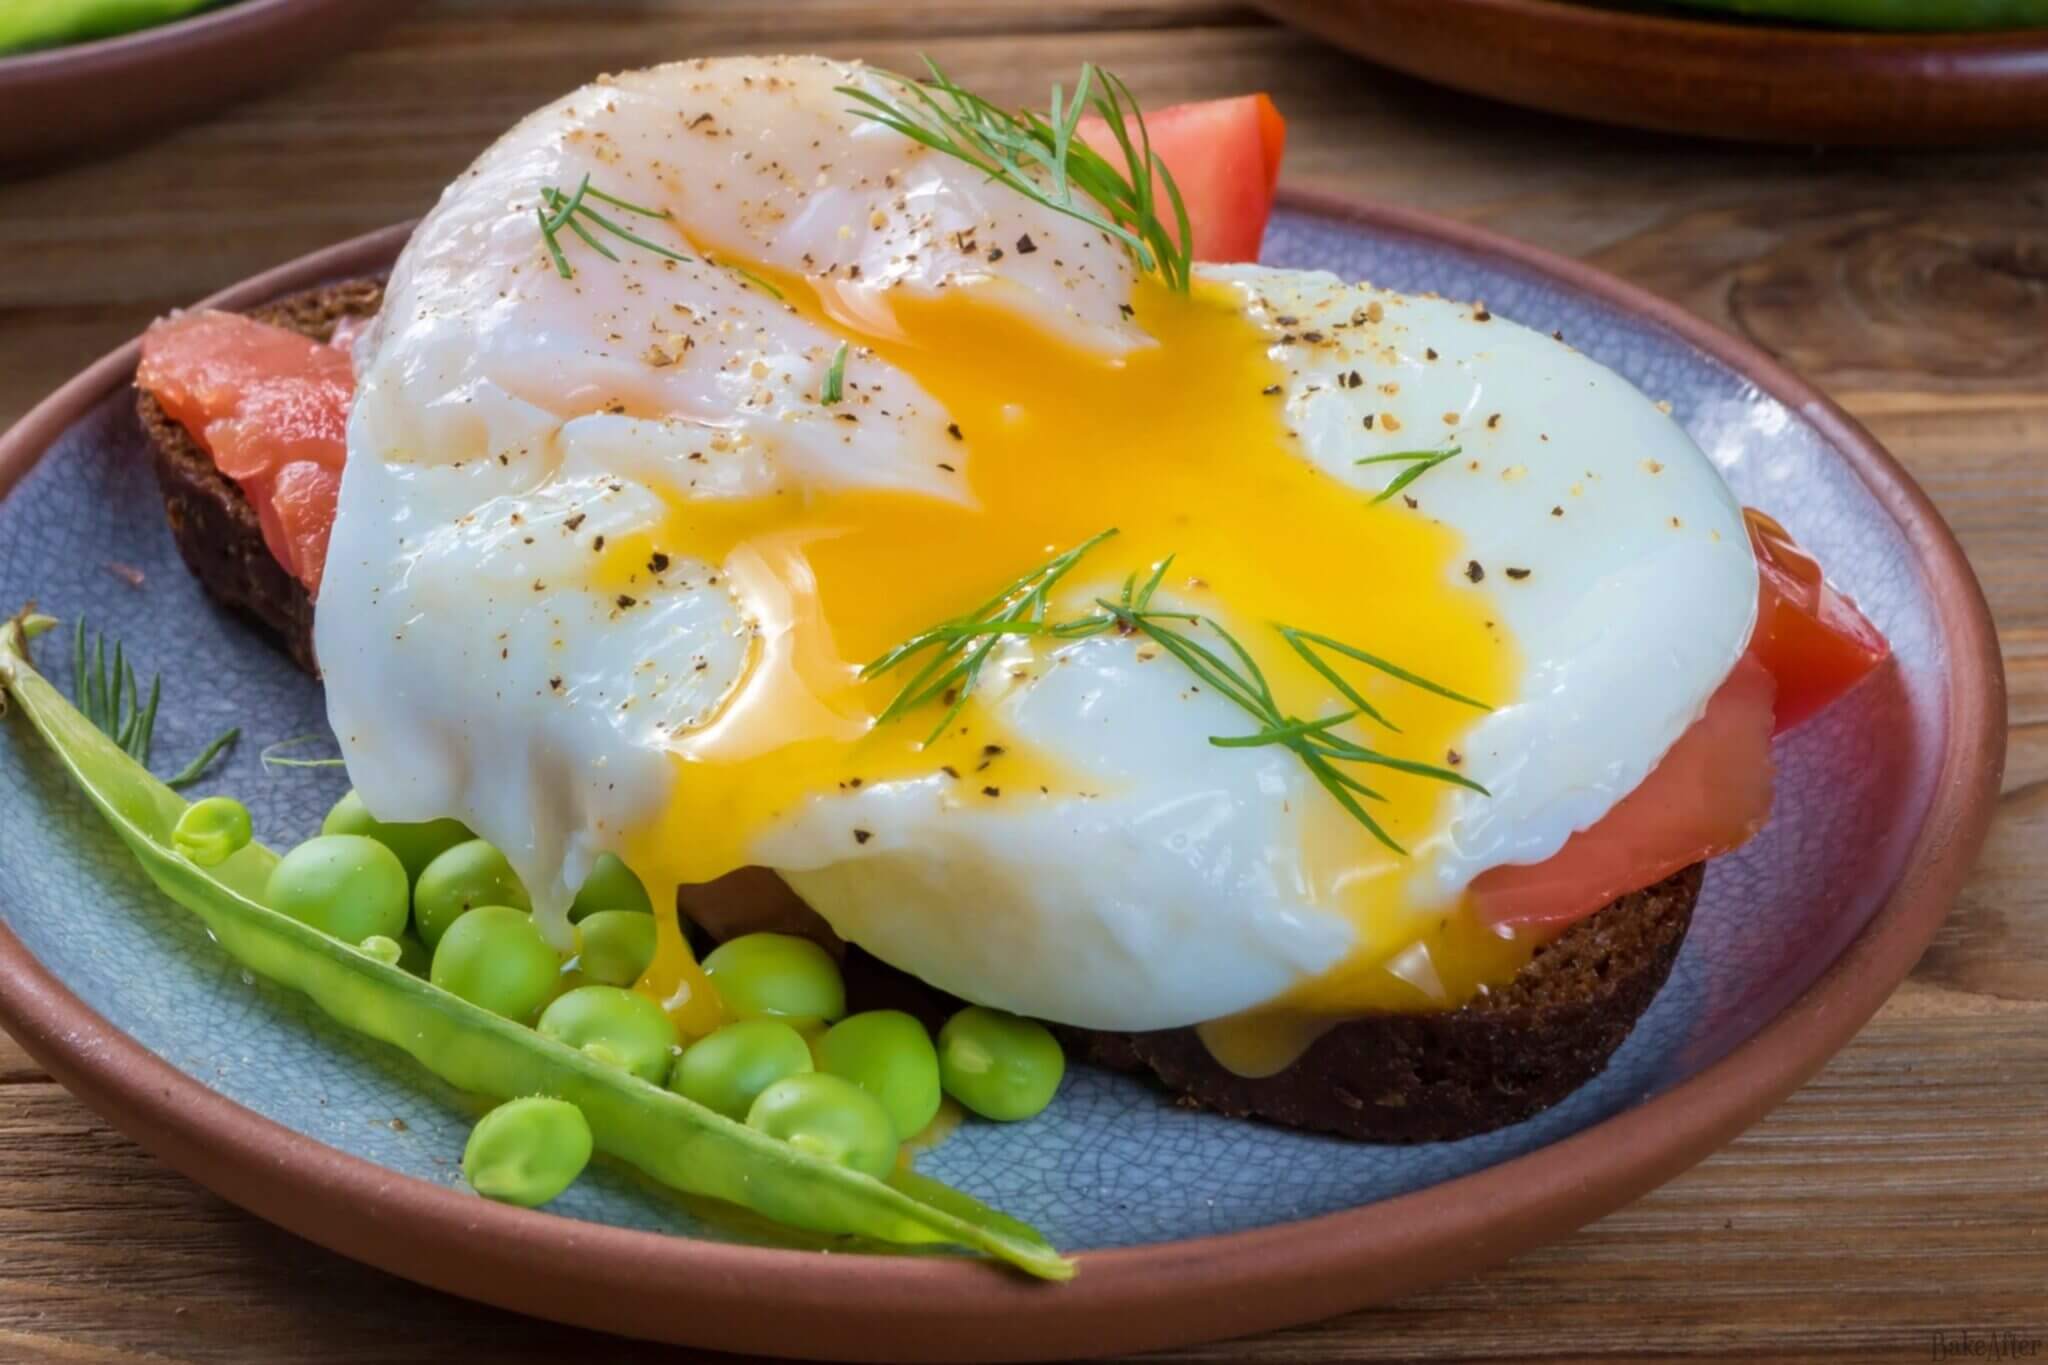
A poached egg is simply an egg cooked outside its shell in gently hot water, no butter, no oil, nothing. The white sets completely around the yolk while the yolk itself stays warm, soft and runny, which is exactly the appeal. It’s lighter than a fried egg and, well made, it adds a almost restaurant quality touch to any plate, hehehe feels fancy alright!
You’ll see poached eggs on eggs Benedict, sitting on top of avocado toast, floating in a bowl of ramen, tossed into a salad, or just served plain with some good bread to mop up the yolk. It’s a simple technique, but it has a reputation for being tricky, mostly because most tutorials overcomplicate the basics.
How to Poach an Egg, From Easiest to Fanciest
The Basic Vinegar and Salt Method – This is where most people start, and honestly it’s a fine baseline. Fill a small pot with water, add a splash of vinegar and a pinch of salt, and bring it to a gentle simmer, not a rolling boil. Crack the egg into a small bowl or ramekin first, then slide it into the water. Let it cook for about 3 to 4 minutes, until the white is set but the yolk is still soft, then lift it out with a slotted spoon (a spoon with holes hehehe) and rest it on a kitchen paper to blot the excess water. Pros, it’s simple and needs no special tools. Cons, if your egg isn’t super fresh, the whites can still spread out a bit before setting and look a bit messy.
The Fine-Mesh Strainer Method (The Ultimate Secret) – If you only try one trick on this list, make it this one. In a pot with water, add a splash of vinegar and a pinch of salt. Crack your egg into a small fine-mesh strainer over a bowl and let it sit for about 10 seconds. The watery egg white liquid will drain away, leaving only the firm egg white. Gently slide the egg into simmering water. Cook for 3 to 4 minutes. Pros, almost foolproof, clean, teardrop-shaped results every time without special skills. Cons, requires a small fine-mesh sieve.
The Serving Spoon Trick – This is the one I actually use a lot, and it fixes the messy whites problem from the basic method. Once your water is at that gentle simmer with the vinegar and salt already in, crack the egg into a large serving spoon instead of straight into the pot. Lower the spoon into the water, but don’t let the egg slide out yet, let it cook for about 30 seconds like that. Because it’s held in a smaller, more confined space, the white has less room to drift away from the yolk before setting. After those 30 seconds, you can gently let the egg slip out of the spoon and continue cooking. Give it another 3 to 4 minutes total, until the white is fully cooked but the yolk is still liquid, then scoop it out with a slotted spoon and rest it on some kitchen paper. Pros, tidy results with almost no extra effort, no special equipment needed. Cons, none really, this is about as easy as it gets while still giving you a clean looking poached egg.
The Vortex Method – This one works like every other time with me, i think it depends a lot on the freshness of the eggs and timing. On a pot with water and a bit of vinegar and salt, stir with a spoon to create a whirlpool in the center of the pot. Crack the egg straight into the middle of that vortex. The spinning water helps wrap the white around the yolk instead of letting it spread out. Let it poach for 2 to 4 minutes, depending on the size of the egg. Pros, easy peasy. Cons, the vortex settles down fast, so timing your crack right after stirring takes a little practice, also you can only do 1 egg at a time.
The Cling Film Method – This is the one you’ll see in a lot of restaurant tutorials. You line a small bowl or ramekin with plastic wrap, brush it lightly with oil, crack the egg into it, then twist the top closed and lower the little pouch into simmering water for about 4 minutes. Pros, it gives you a perfectly round egg every single time, no stray strands of white anywhere. Cons, it’s fussy, it creates extra waste, and honestly the flavor and texture are just slightly different from an egg poached directly in water, a bit more rubbery on the outside (besides the cooking with plastic humm might create microplastics).
The Silicone Poacher Cups – These are the little cups you drop into simmering water, crack the egg inside, and let it cook for around 4 to 5 minutes. Pros, they’re pretty much foolproof and amazing if you’re poaching several eggs at once for a crowd. Cons, you need to actually own them, and the egg comes out a bit more “molded” looking than a naturally poached one, less of that classic teardrop shape.
The Sous Vide Method – This is the most restaurant style approach, and honestly overkill for any home cook, but might as well add it. You cook the whole egg, still in its shell, in a water bath held at a very precise low temperature, usually somewhere around 167°F (75°C) for 13 minutes, then shock it in cold water before cracking it open, the white and yolk come out with a soft, custardy texture. Pros, incredibly consistent results and total control over the exact texture. Cons, it takes a sous vide setup, way more effort for a slightly improved end result.
A Few Tips and Tricks with Poaching Eggs
- Use cold eggs straight from the fridge: Cold egg whites are firmer and hold their shape much better in hot water than room-temperature eggs.
- Buy fresh eggs: As eggs age, their inner whites break down and turn watery. Fresh eggs naturally cling tightly together.
- Test egg freshness in plain water: Place an egg in a bowl of plain cold tap water. Fresh eggs lie flat on the bottom. If an egg stands on its point, it’s older but still good for boiling; if it floats to the surface, discard it.
- Keep the water at a gentle simmer: Never let the water reach a rolling boil. Violent bubbles will tear the delicate egg white apart.
- Skip the microwave “poach”: Microwaving an egg submerged in a mug of water often cooks the yolk faster than the white, leading to rubbery textures or literally messy explosions.
And that’s it! Poaching an egg really doesn’t need to be intimidating, pick whichever method fits you and suits your kitchen workflow, and just enjoy the bliss of a perfect runny yolk every single time! ;D
Discover more from BakeAfter
Subscribe to get the latest posts sent to your email.