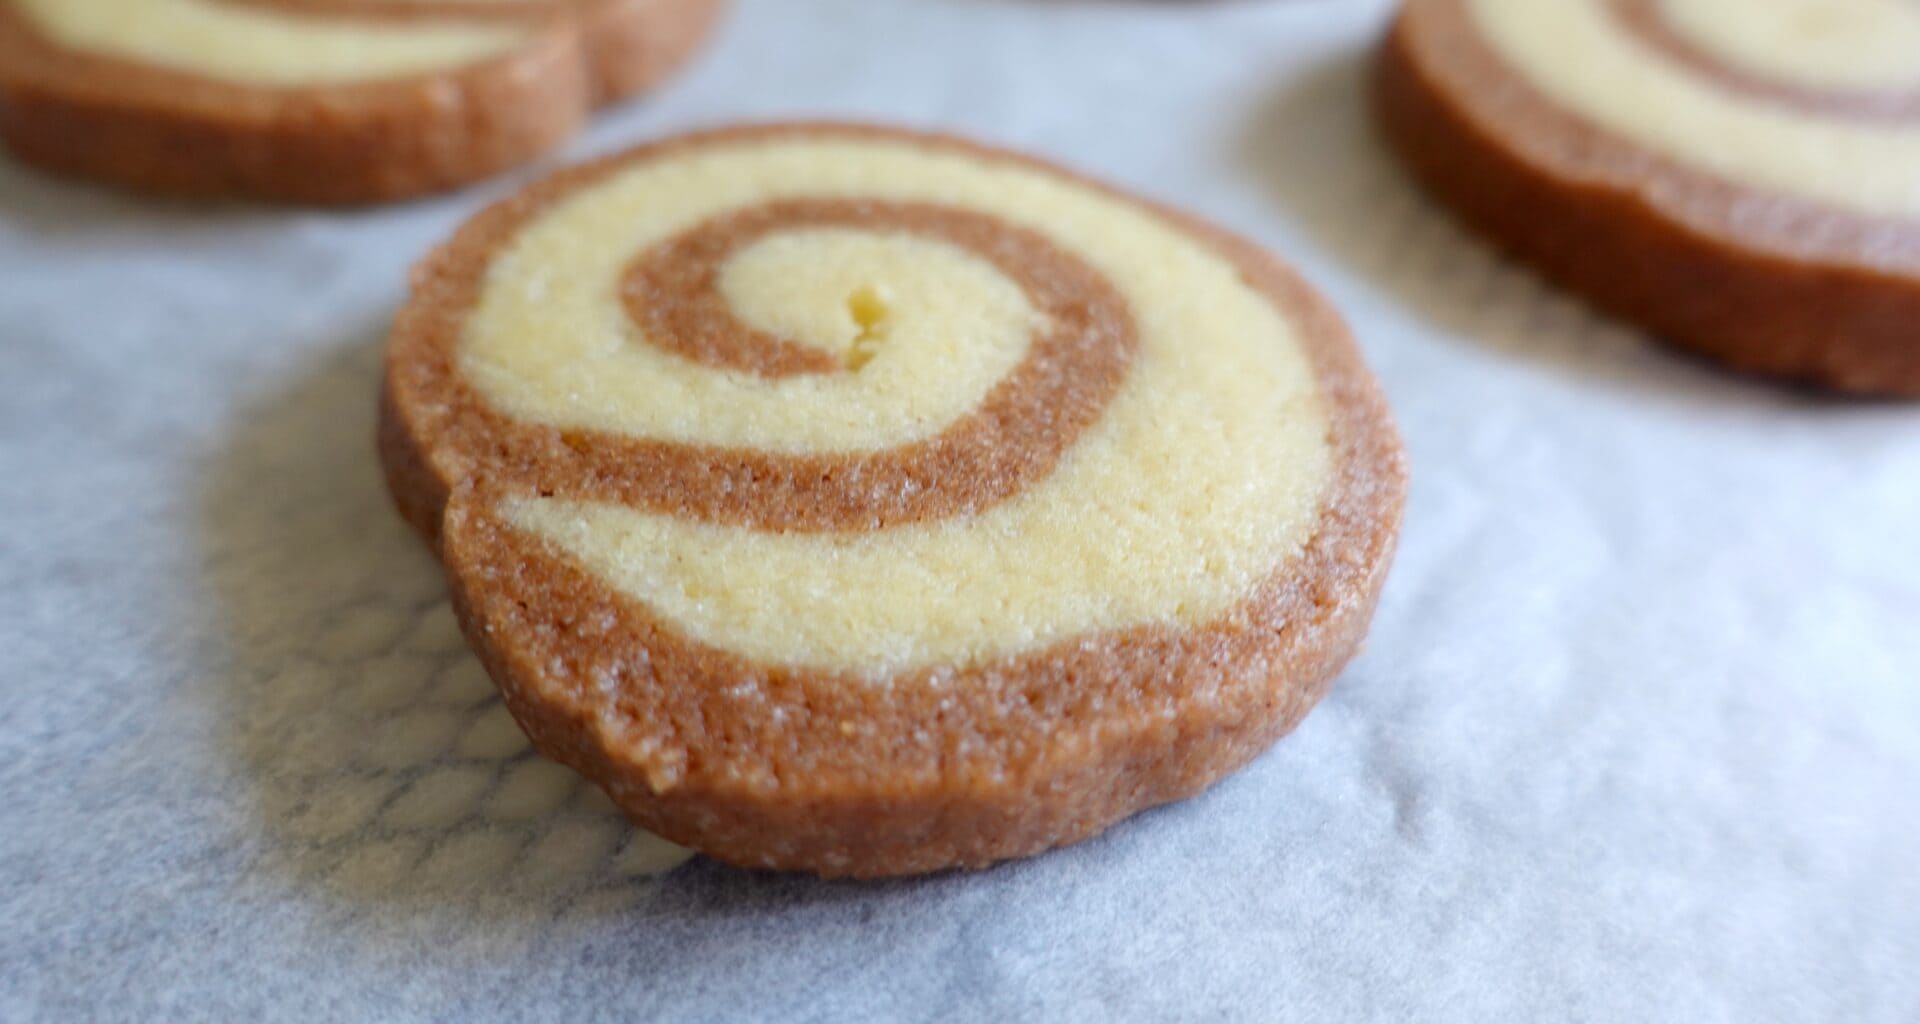

Happy Halloween! Today we have these cute Vanilla and Chocolate Pinwheel Cookies! If there’s one cookie that impresses at first sight, it’s this one! And it’s one of those recipes that look complicated but are actually way simpler than you can imagine, they just involve one extra little step here and there! I swear! Plus, that swirl looks just like a tiny spooky spiral uhhhhhh, so it’s practically made for Halloween 😛
You’re literally going to make two doughs, roll them out, roll them up, cut into slices and then it’s just a trip to the oven. The work is mostly because you have to handle a cold dough, so you’ll spend quite a bit of time putting it in the fridge or freezer to always be working with a cold dough, but other than that, I’d say it’s not that complicated! If you like DIY you will love to make these! ;D
Basically these are lovely butter cookies, perfect for any Holday occasion, whether it’s for a spooky party table, for giving out in a cute little treat bag, or just for nibbling when you want something crunchy and sweet. The contrast between the vanilla and the chocolate dough creates a spectacular visual effect, the flavor is fantastic and the texture is crunchy but also creamy. This is quite the gourmet cookie! ;D
Ahhh and after cutting and before baking, you can simply store them in a bag and freeze them or put them in the fridge to bake later, no problem at all, you don’t have to make them all in one go! That way you can always have fresh cookies ready for the trick-or-treaters!!!! 😀 Come on, let’s get to the recipe!
Cute & Crispy Spiral Vanilla and Chocolate Pinwheel Cookies
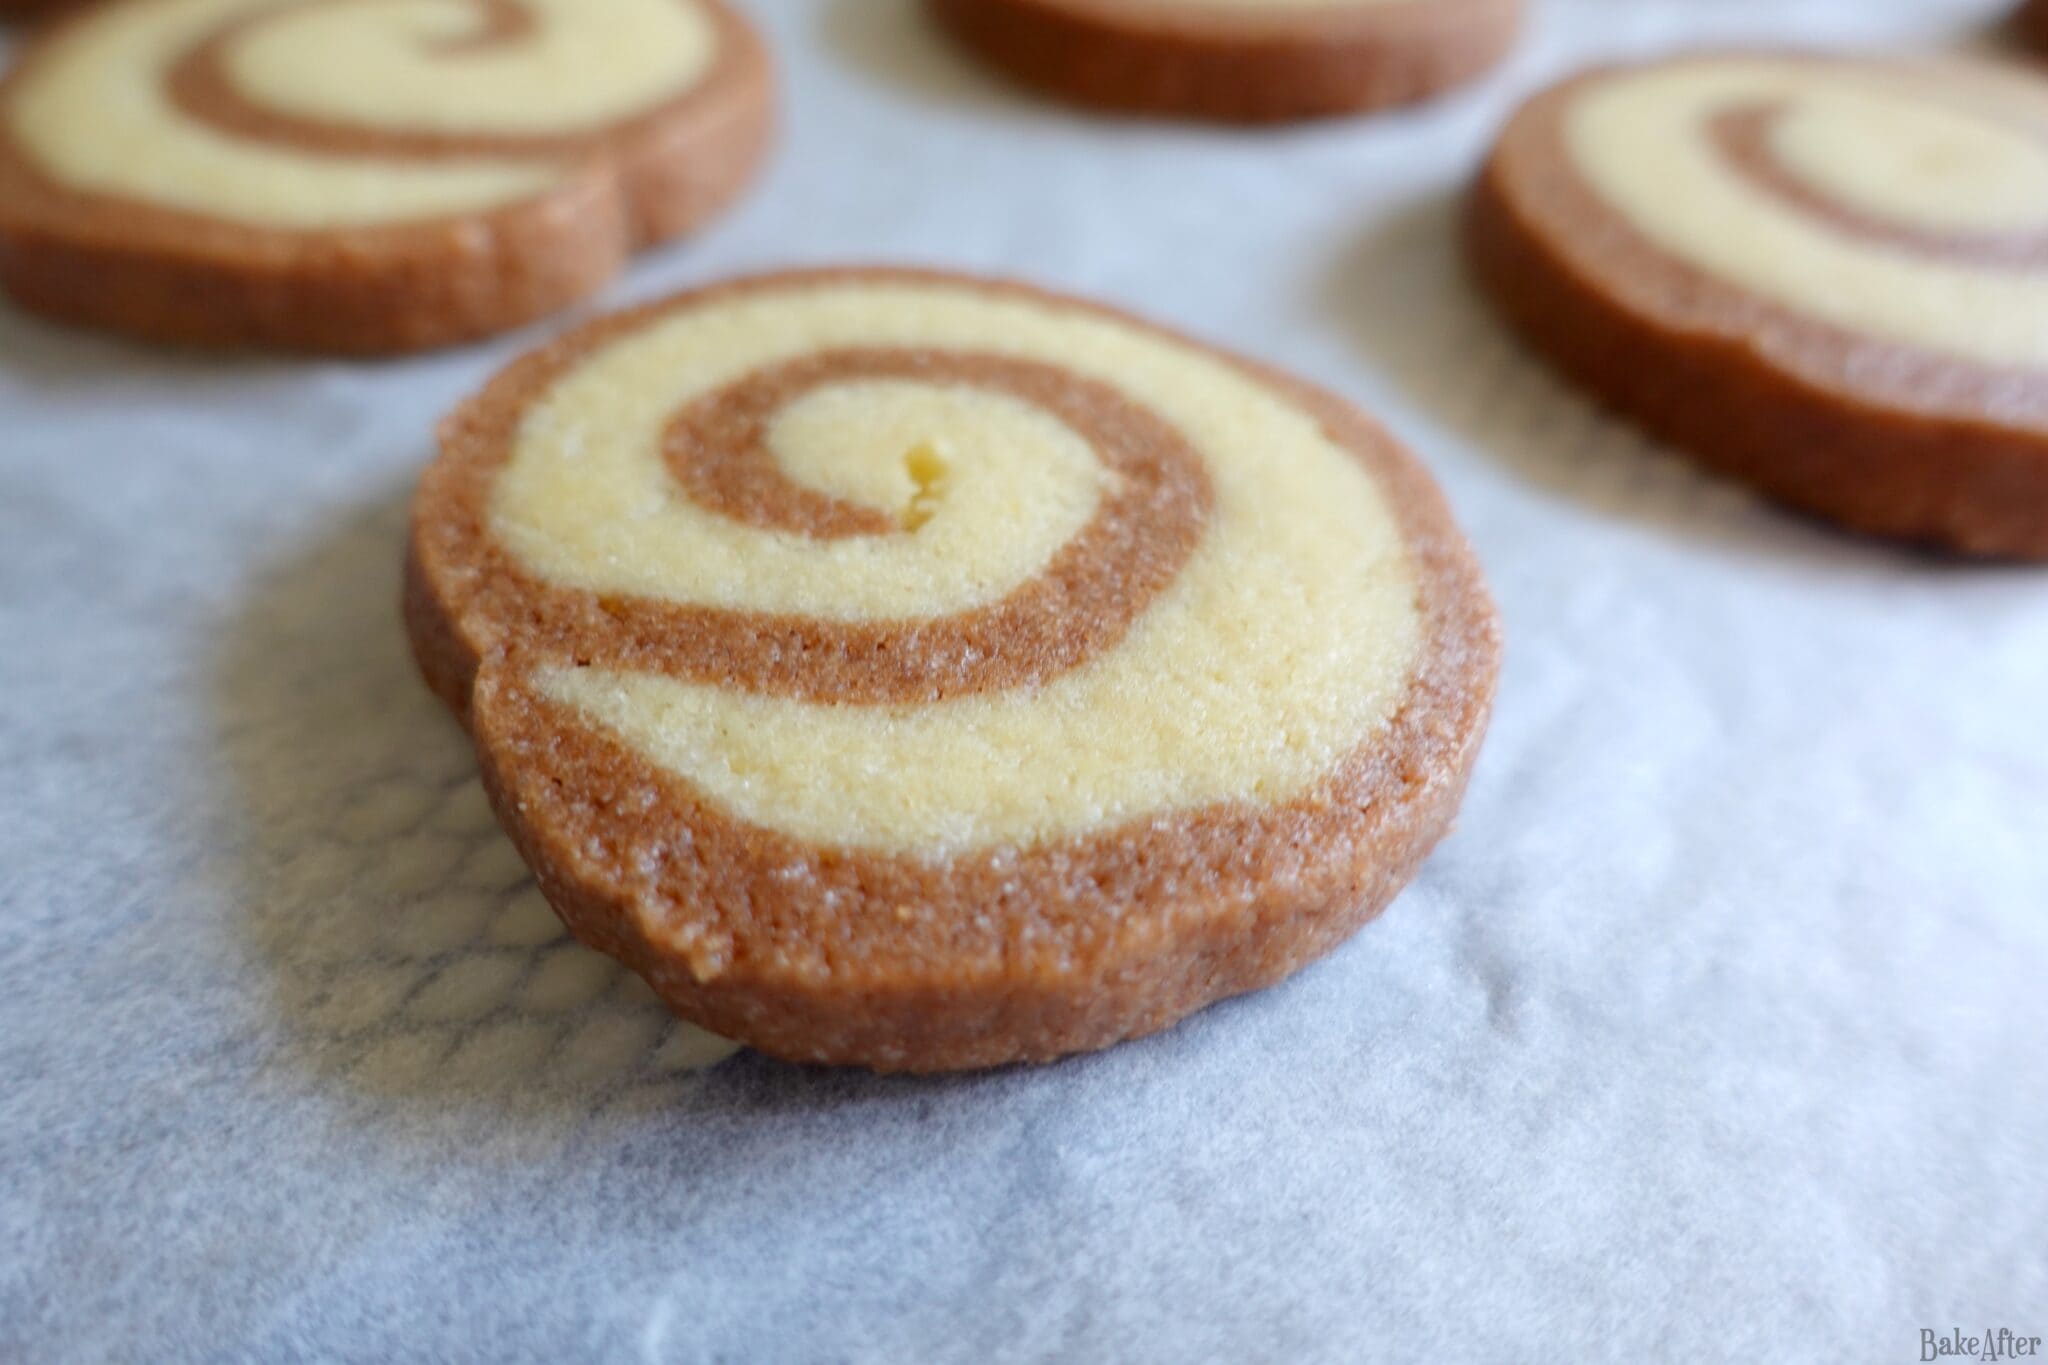
Warning: these cookies contain hypnotic spirals that may cause uncontrollable snacking.<br /> Side effects include cookie crumbs and a sudden urge to cackle.
Ingredients
- Unsalted Butter – 226g
- Sugar – 180g
- Vanilla – 1 Teaspoon (Extract)
- Egg – 1 Large (Room Temperature)
- Flour – 310g
- Salt – 1/2 Teaspoon (Omit if using Salted Butter)
- Baking Powder – 1/4 Teaspoon
- Cocoa – 15g
Directions
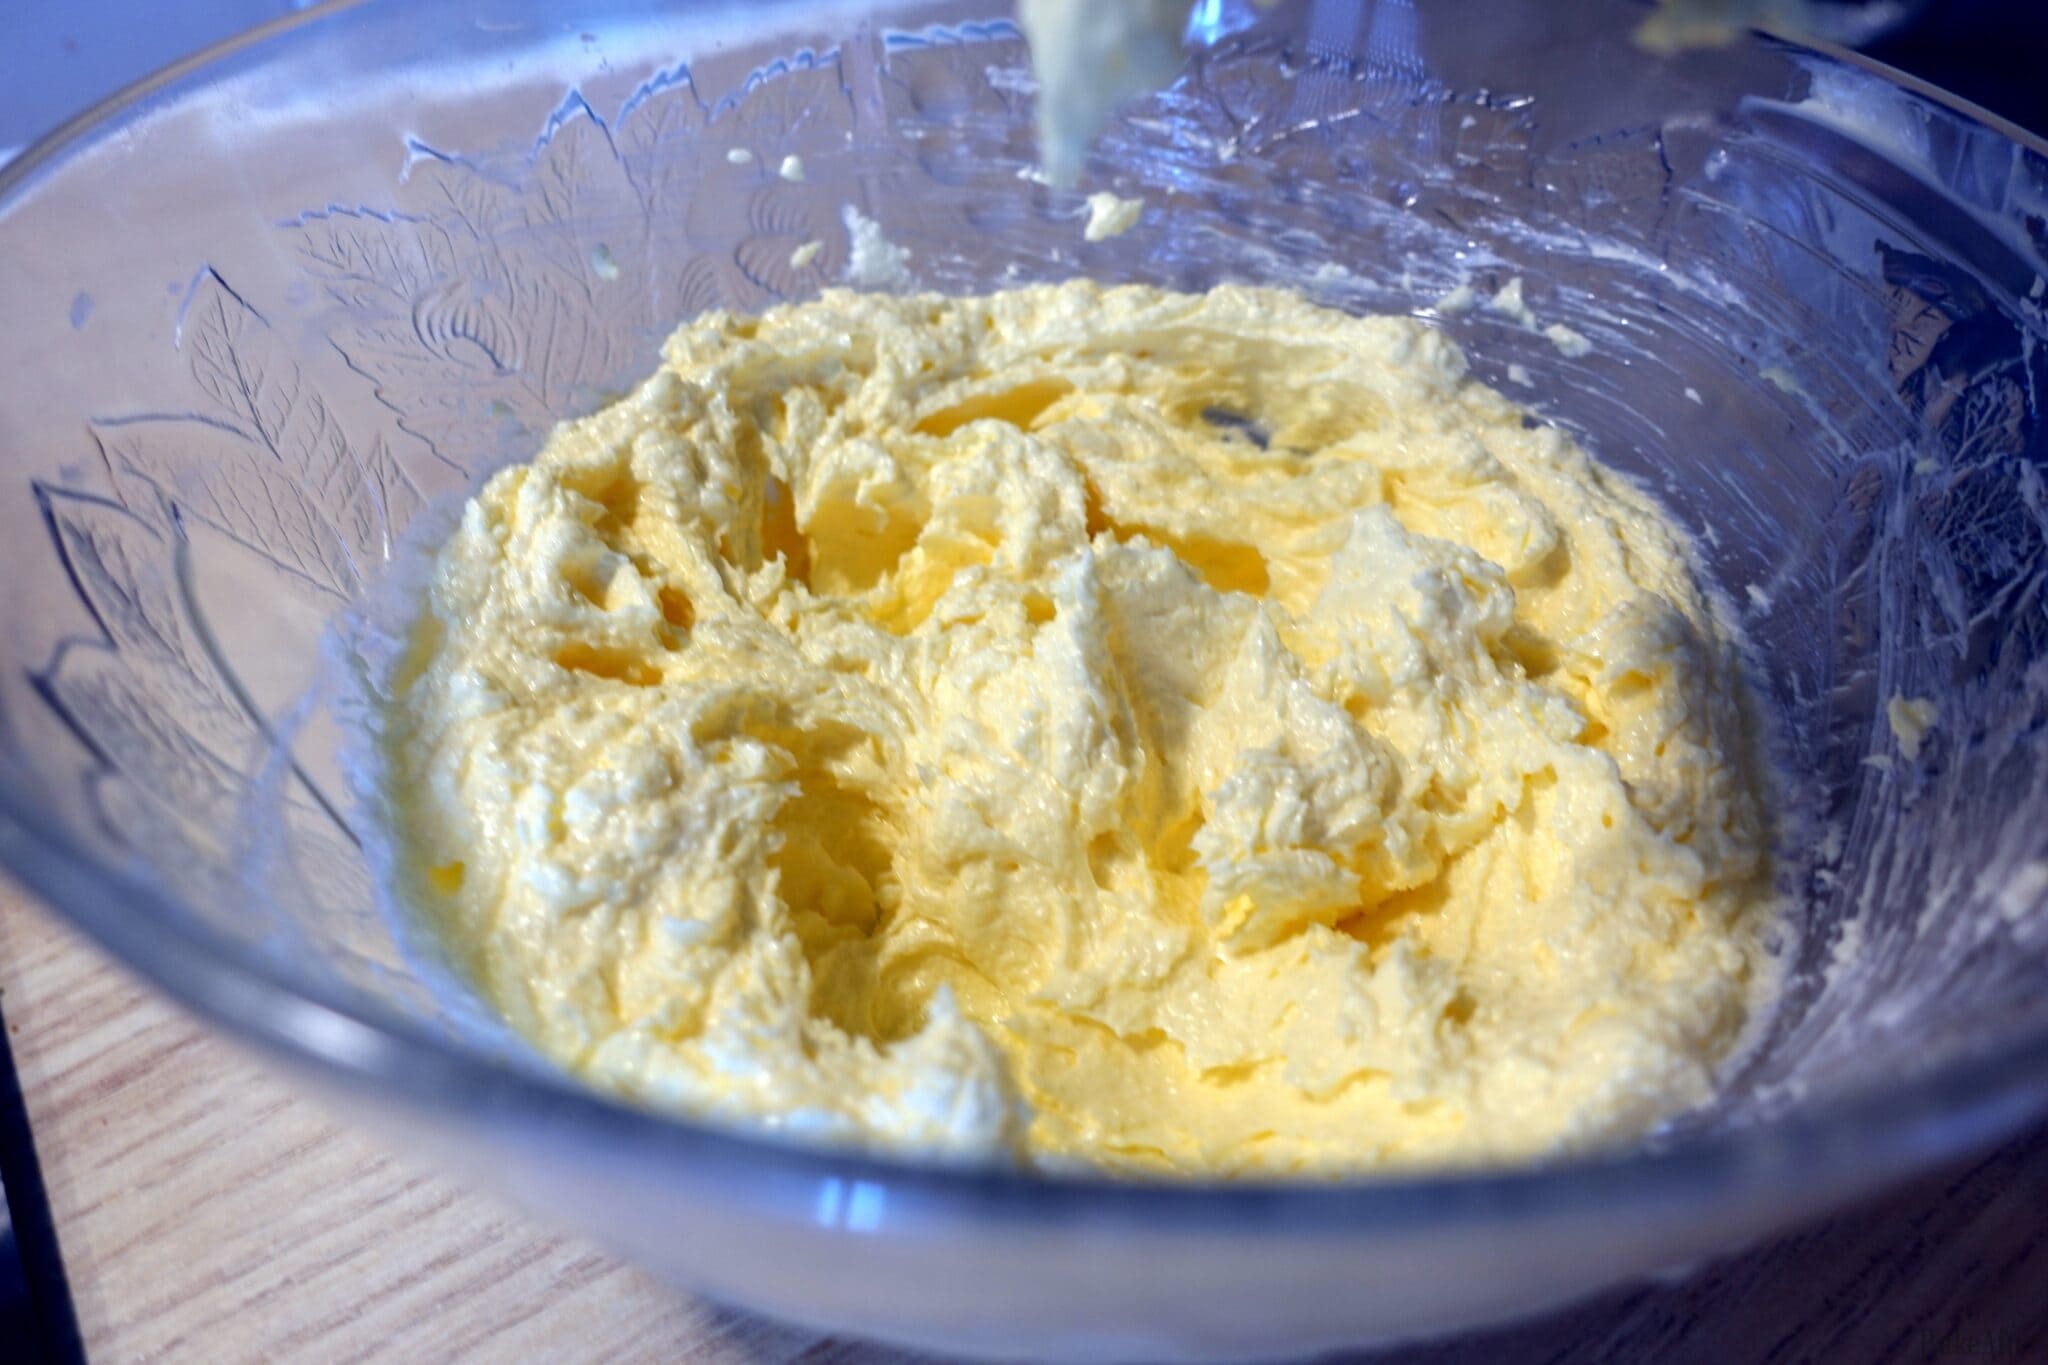
- Start by whisking the butter, sugar, and vanilla at medium-high speed until the mixture is light and fluffy.
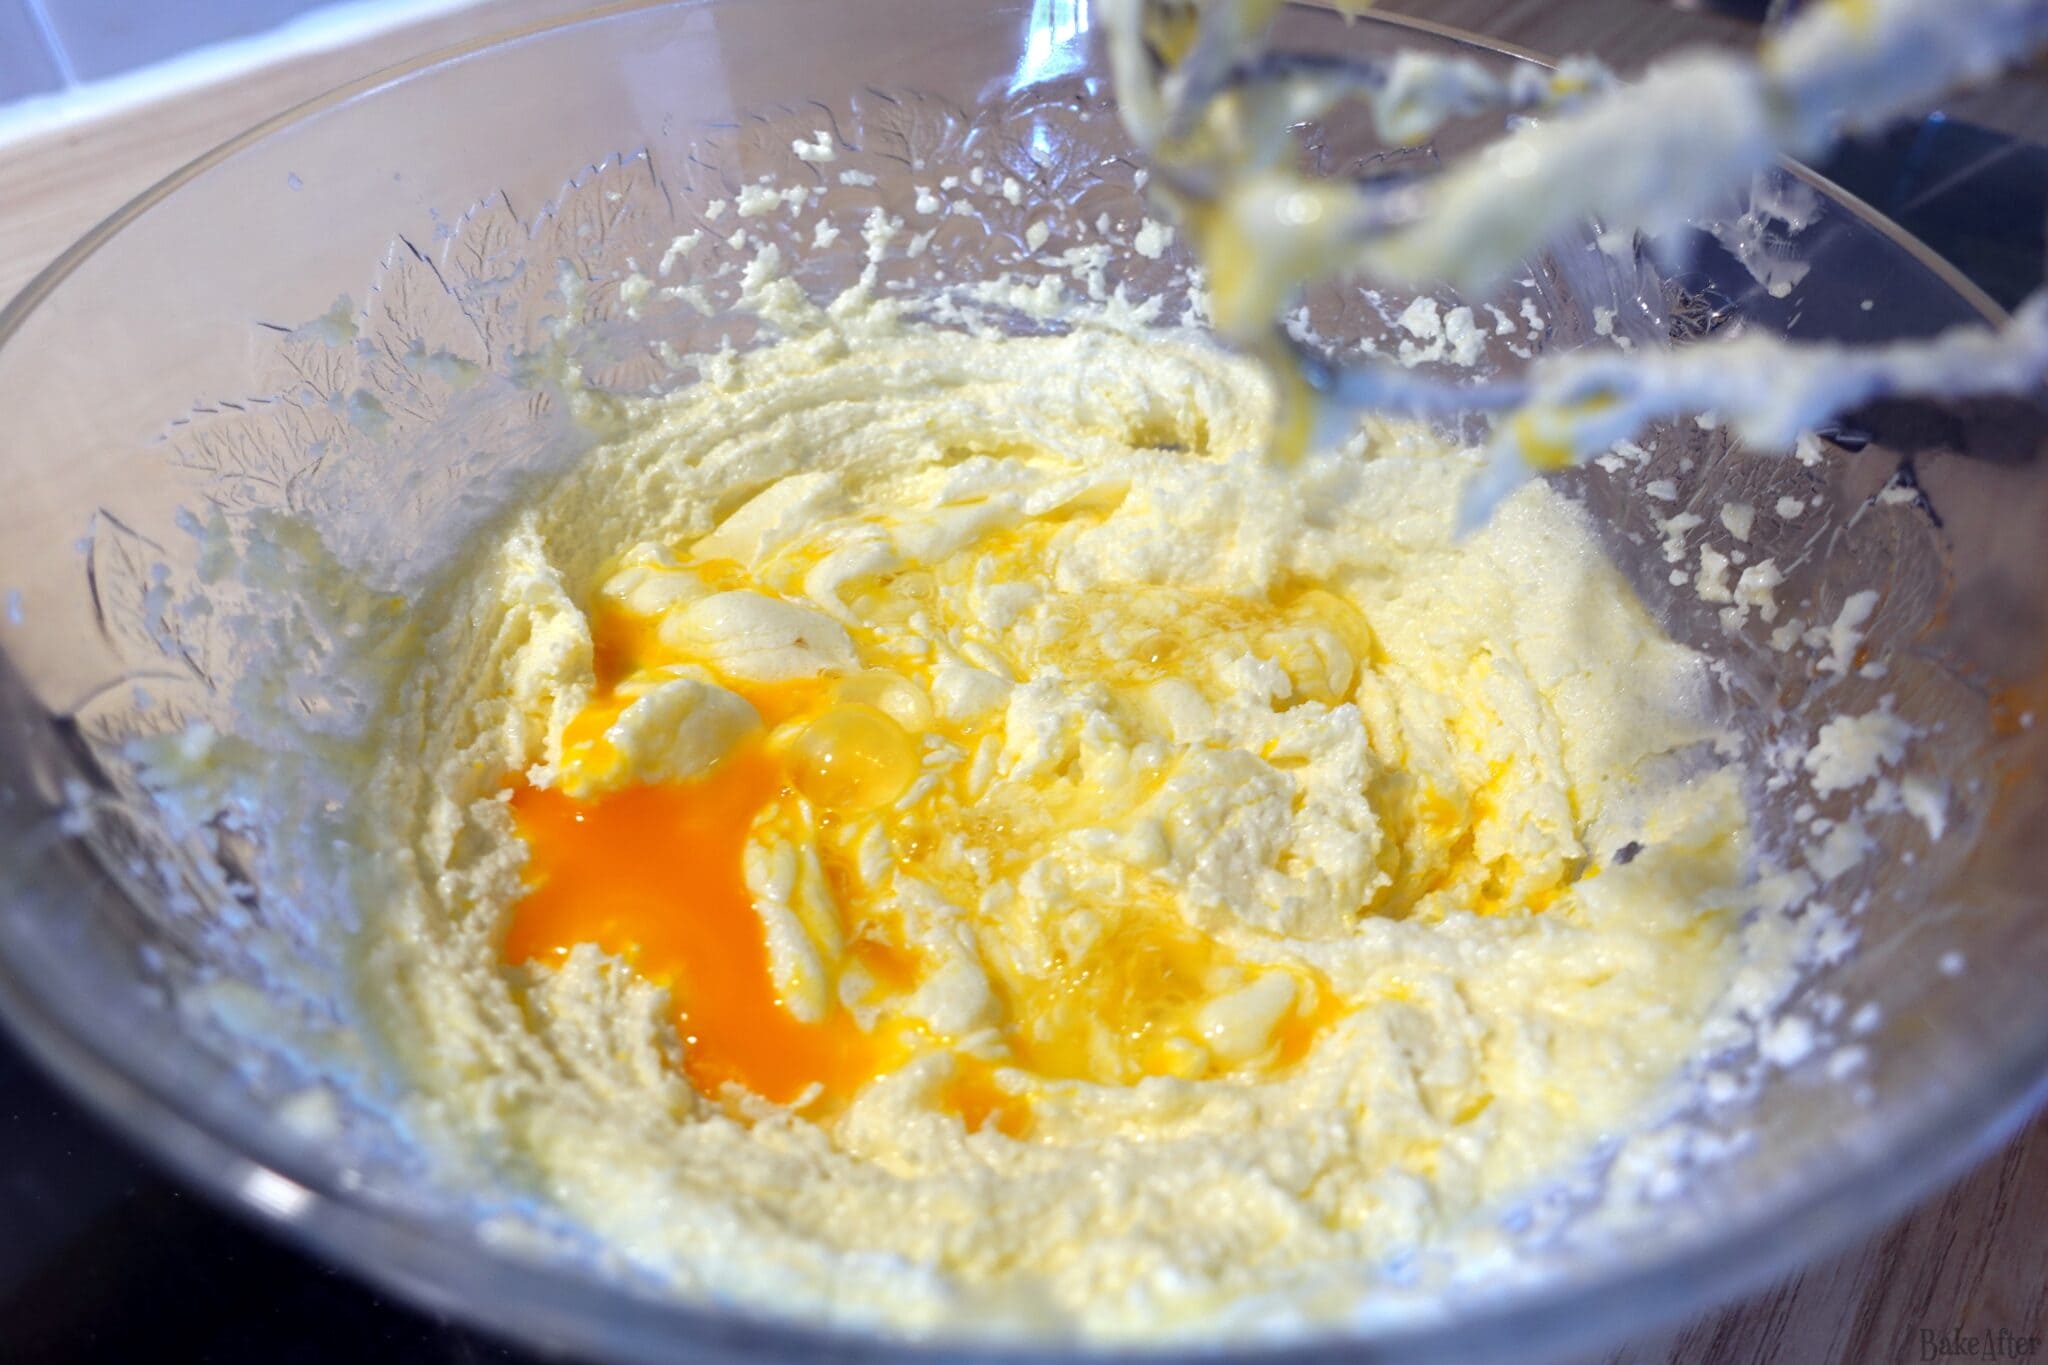
- Add the egg and whisk well until fully incorporated.
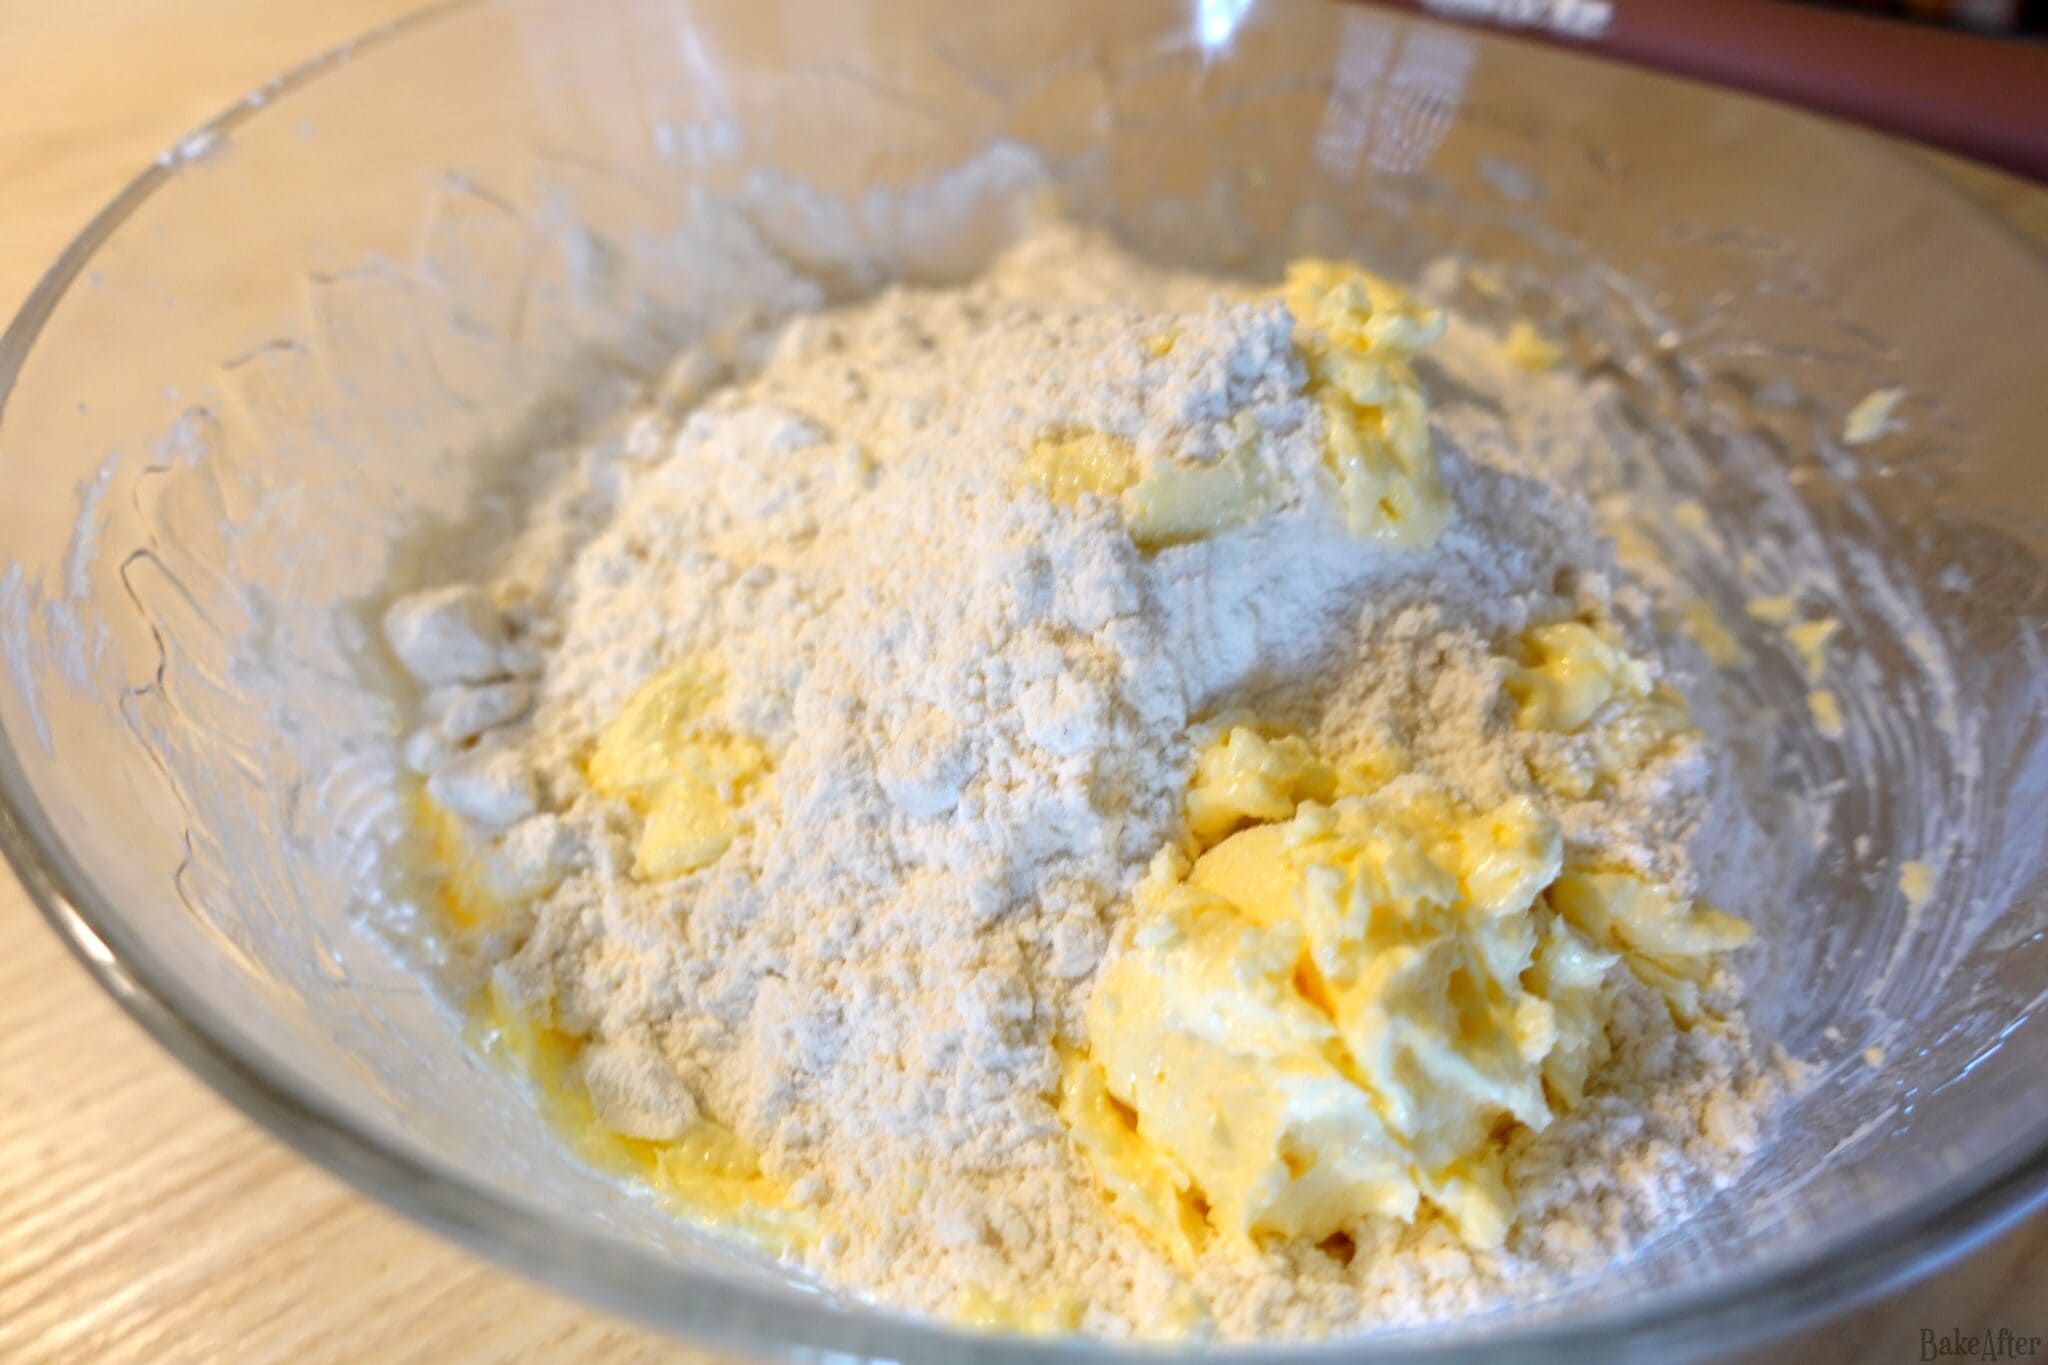
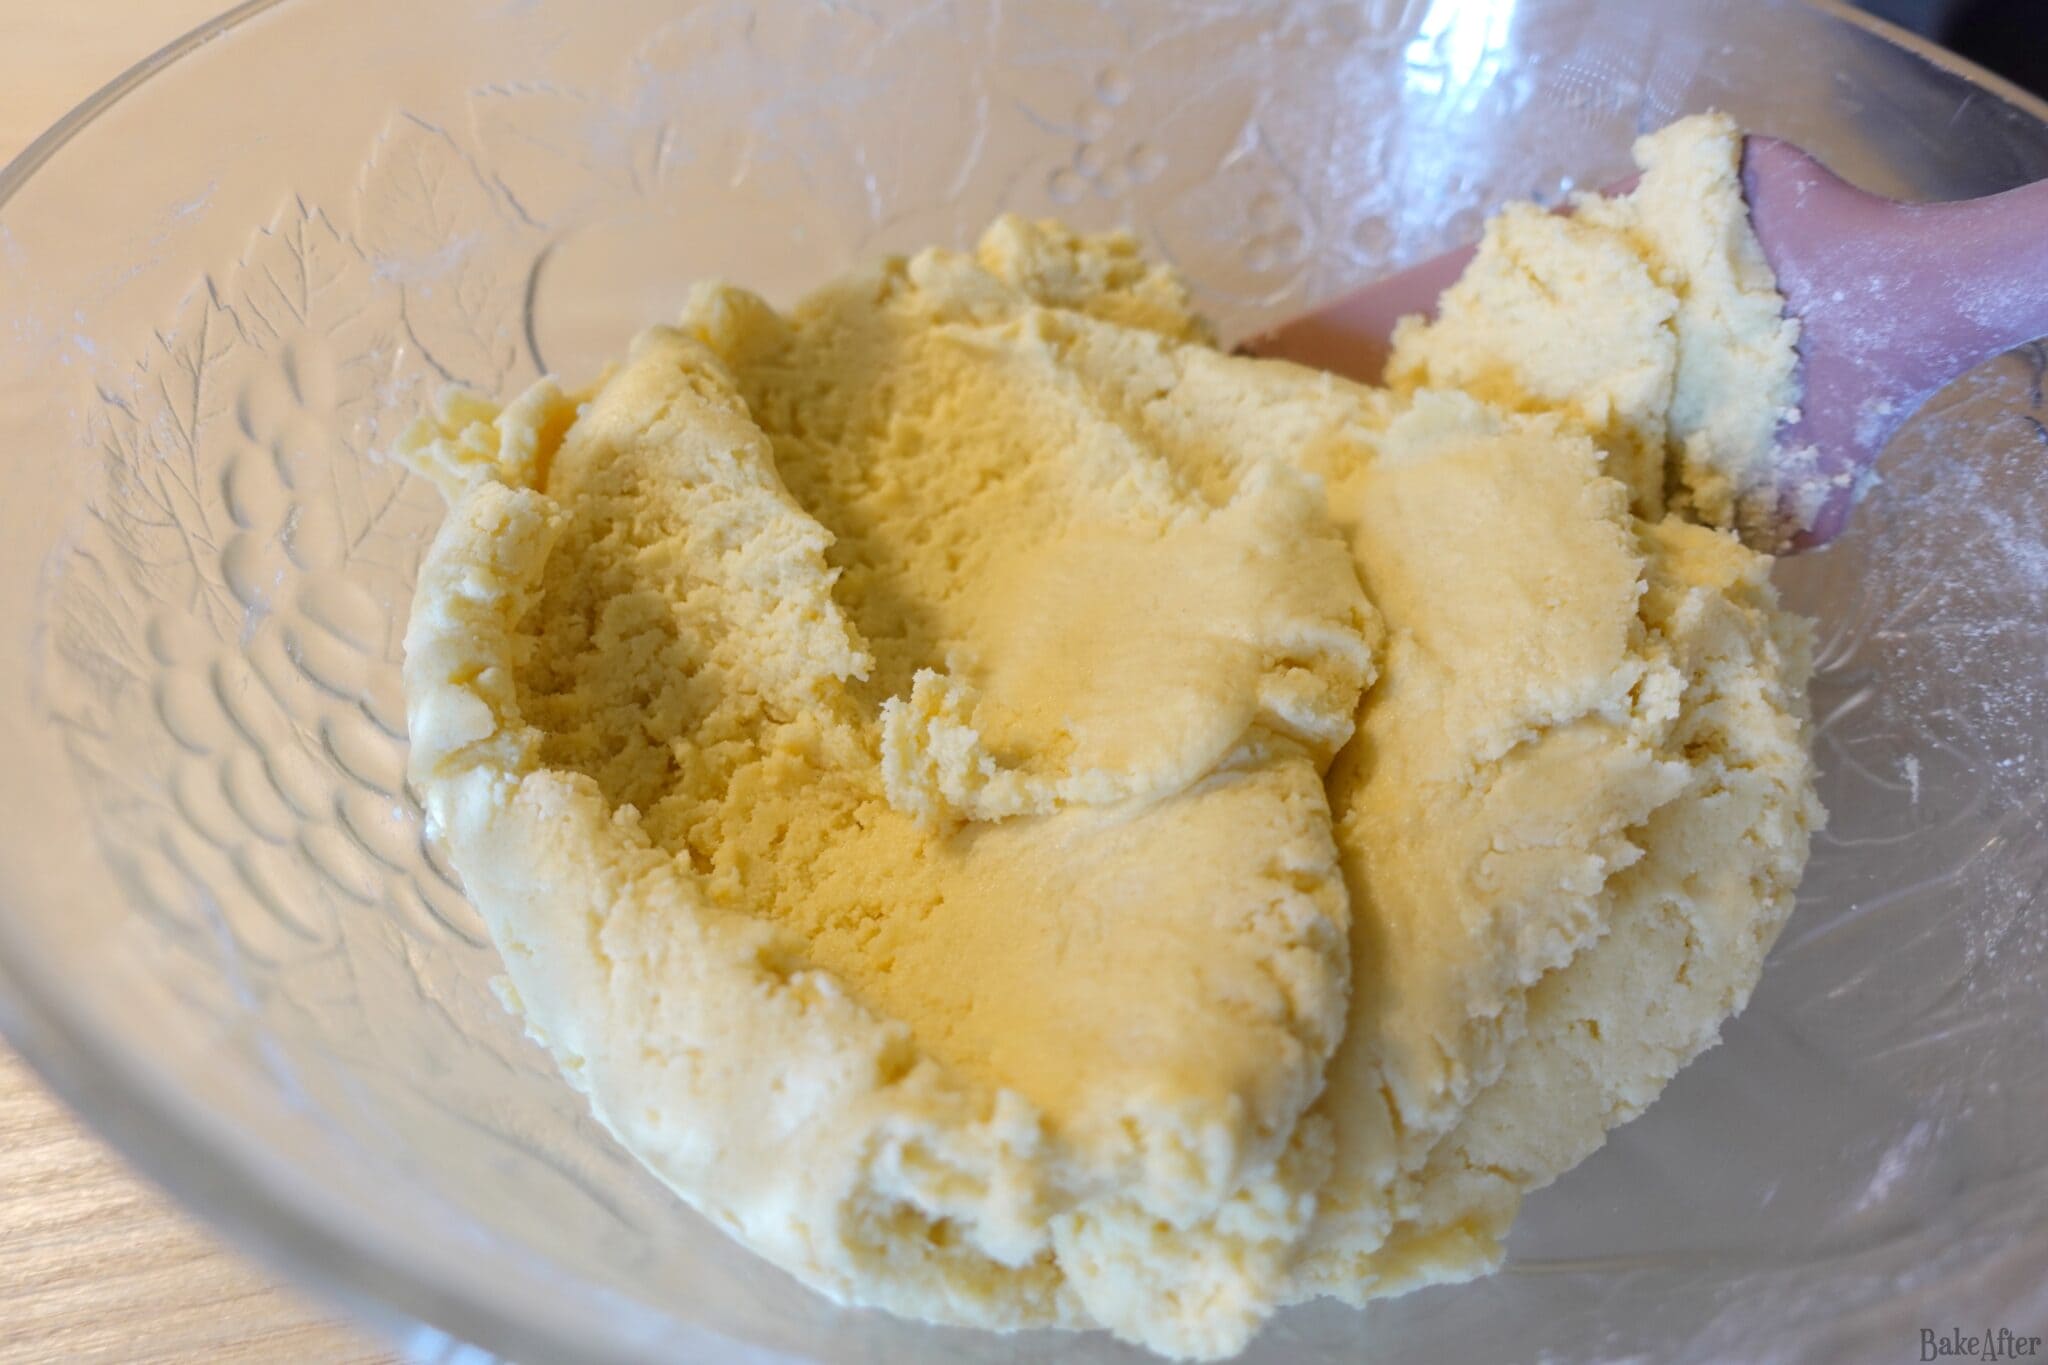
- Next, add the sifted flour, salt, and baking powder. Mix until a uniform dough forms.
- Take 360g of the dough and set it aside in a small bowl (this will be the vanilla dough). To the remaining dough, add the sifted cocoa powder and mix until the color is uniform.
- Work with one portion of dough at a time. Place one portion between two sheets of parchment paper and roll it out to a thickness of about 4mm. Use an A4 sheet of paper as a guide, you want the rolled out dough to be rectangular and slightly larger than the sheet. Don’t worry if the edges are uneven, you can trim excess pieces and place them where needed, then roll over them again. The dough will naturally stick to the parchment paper.
- Repeat the process for the other portion of dough. Once both are rolled out (still between the parchment paper), place them on a baking tray and put them in the freezer for 20 minutes, or until they are firm and solid.
- Remove one portion of dough from the freezer and peel off the top sheet of parchment paper. Using an A4 sheet as a template and a ruler, cut the dough into a perfect rectangle the size of the paper. If the dough begins to soften, return it to the freezer.
- Repeat this for both portions of dough, then freeze again for 5 minutes.
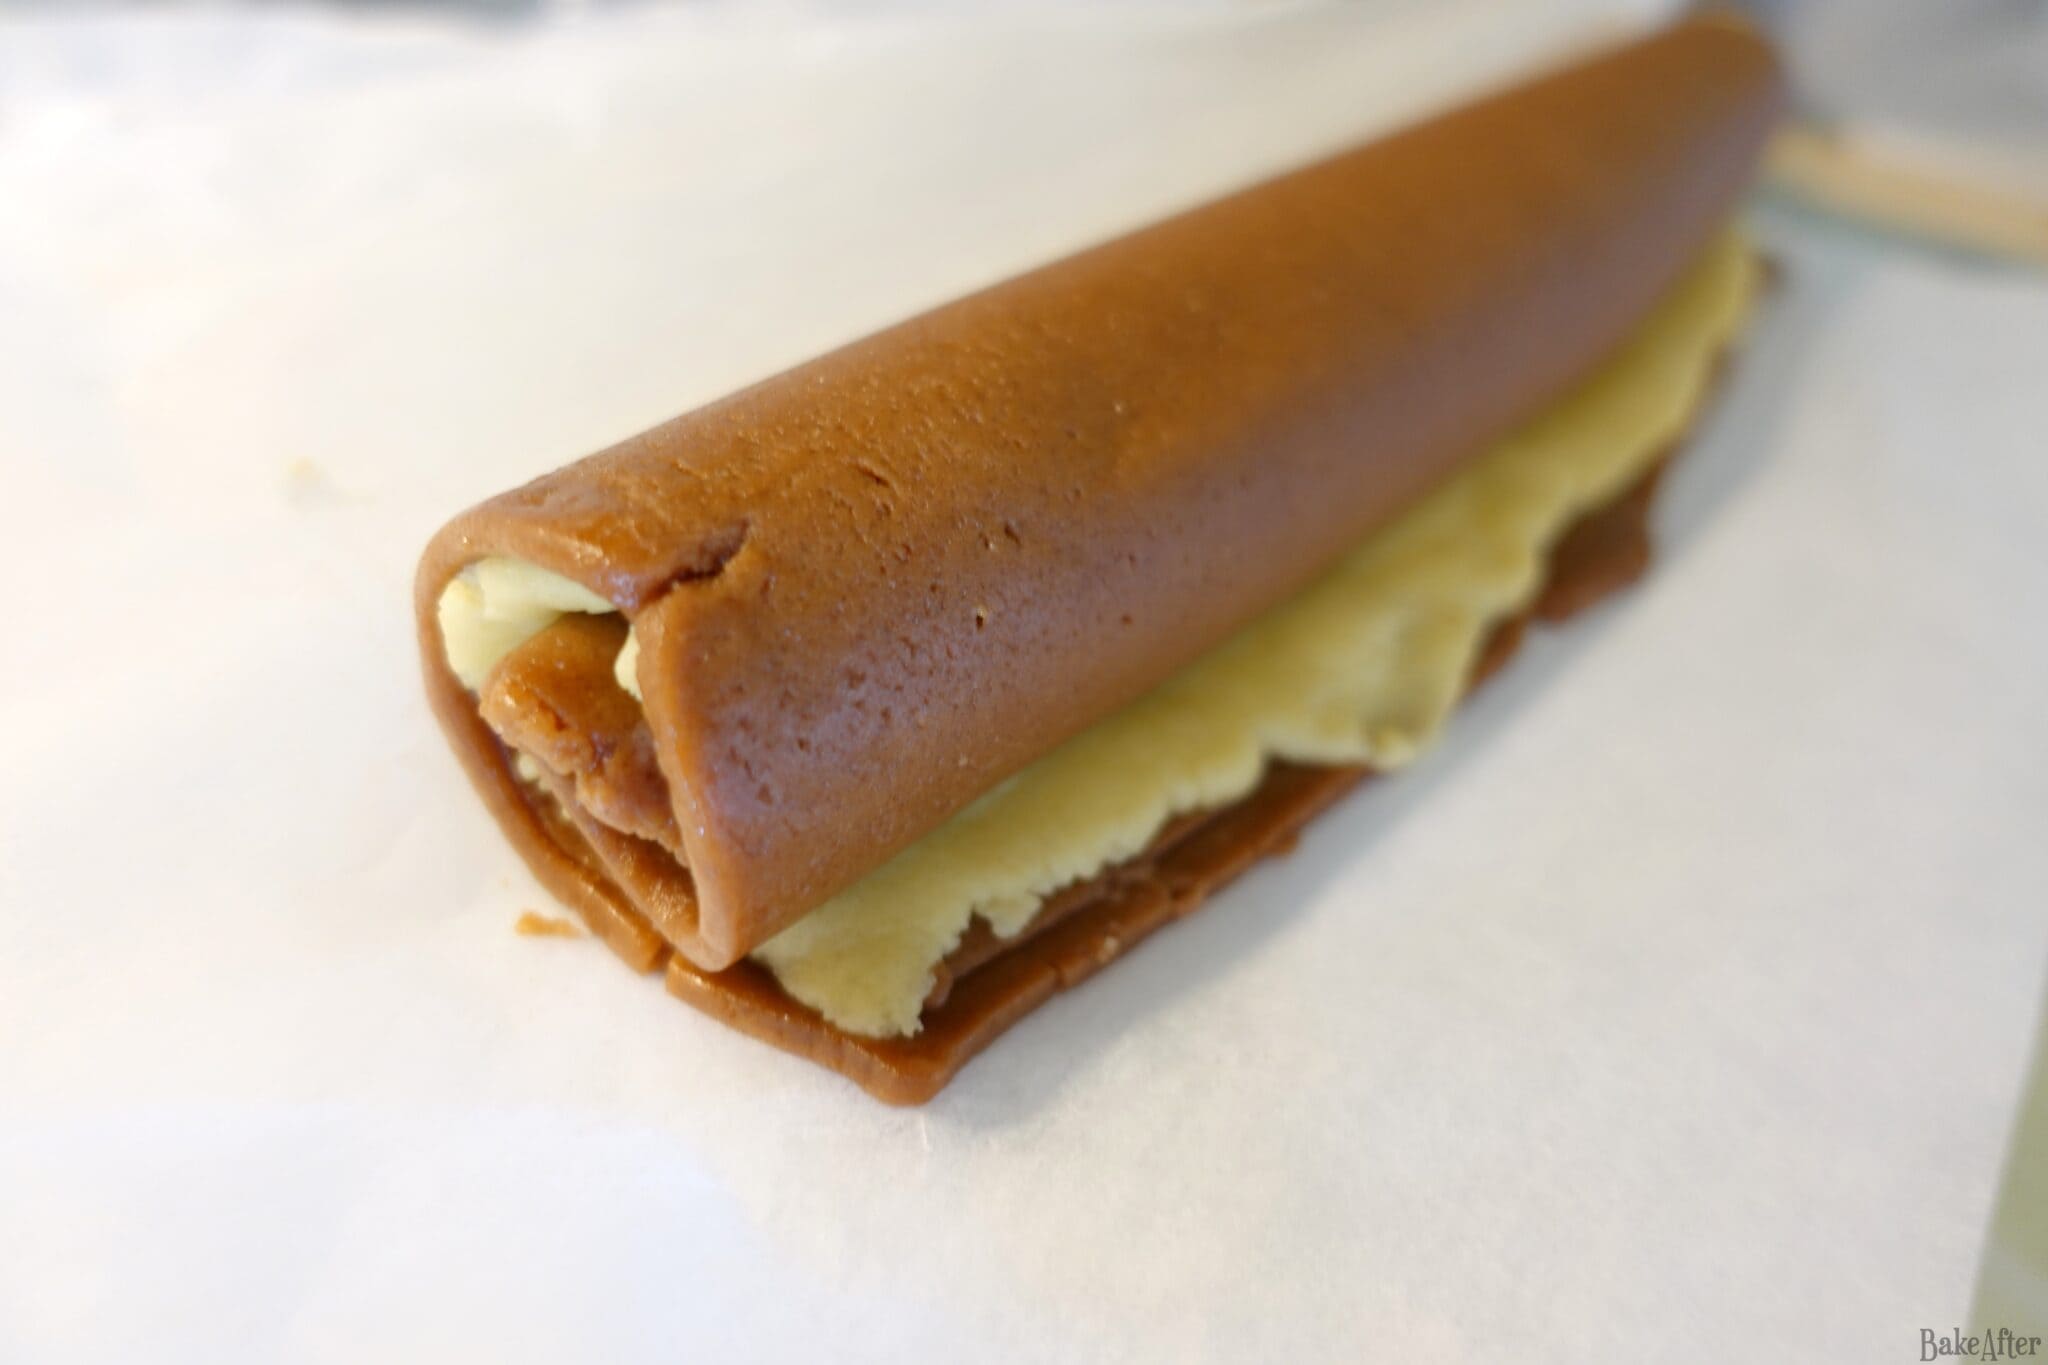
- Finally, remove both portions from the freezer and carefully detach each one from the bottom sheet of parchment paper. Leave the vanilla dough resting on the parchment paper. Place the chocolate dough on top of the vanilla dough, leaving about 1 cm of the vanilla dough exposed along the longer side (refer to the photos, this helps initiate the center of the spiral).
- Let it rest for 5 to 10 minutes until the doughs become more pliable. Do not attempt to roll it while it is too cold, as it may crack and create a gap in the center.
- To roll, begin at the exposed vanilla edge. Carefully fold it over the edge of the chocolate dough, you can use the parchment paper to assist you.
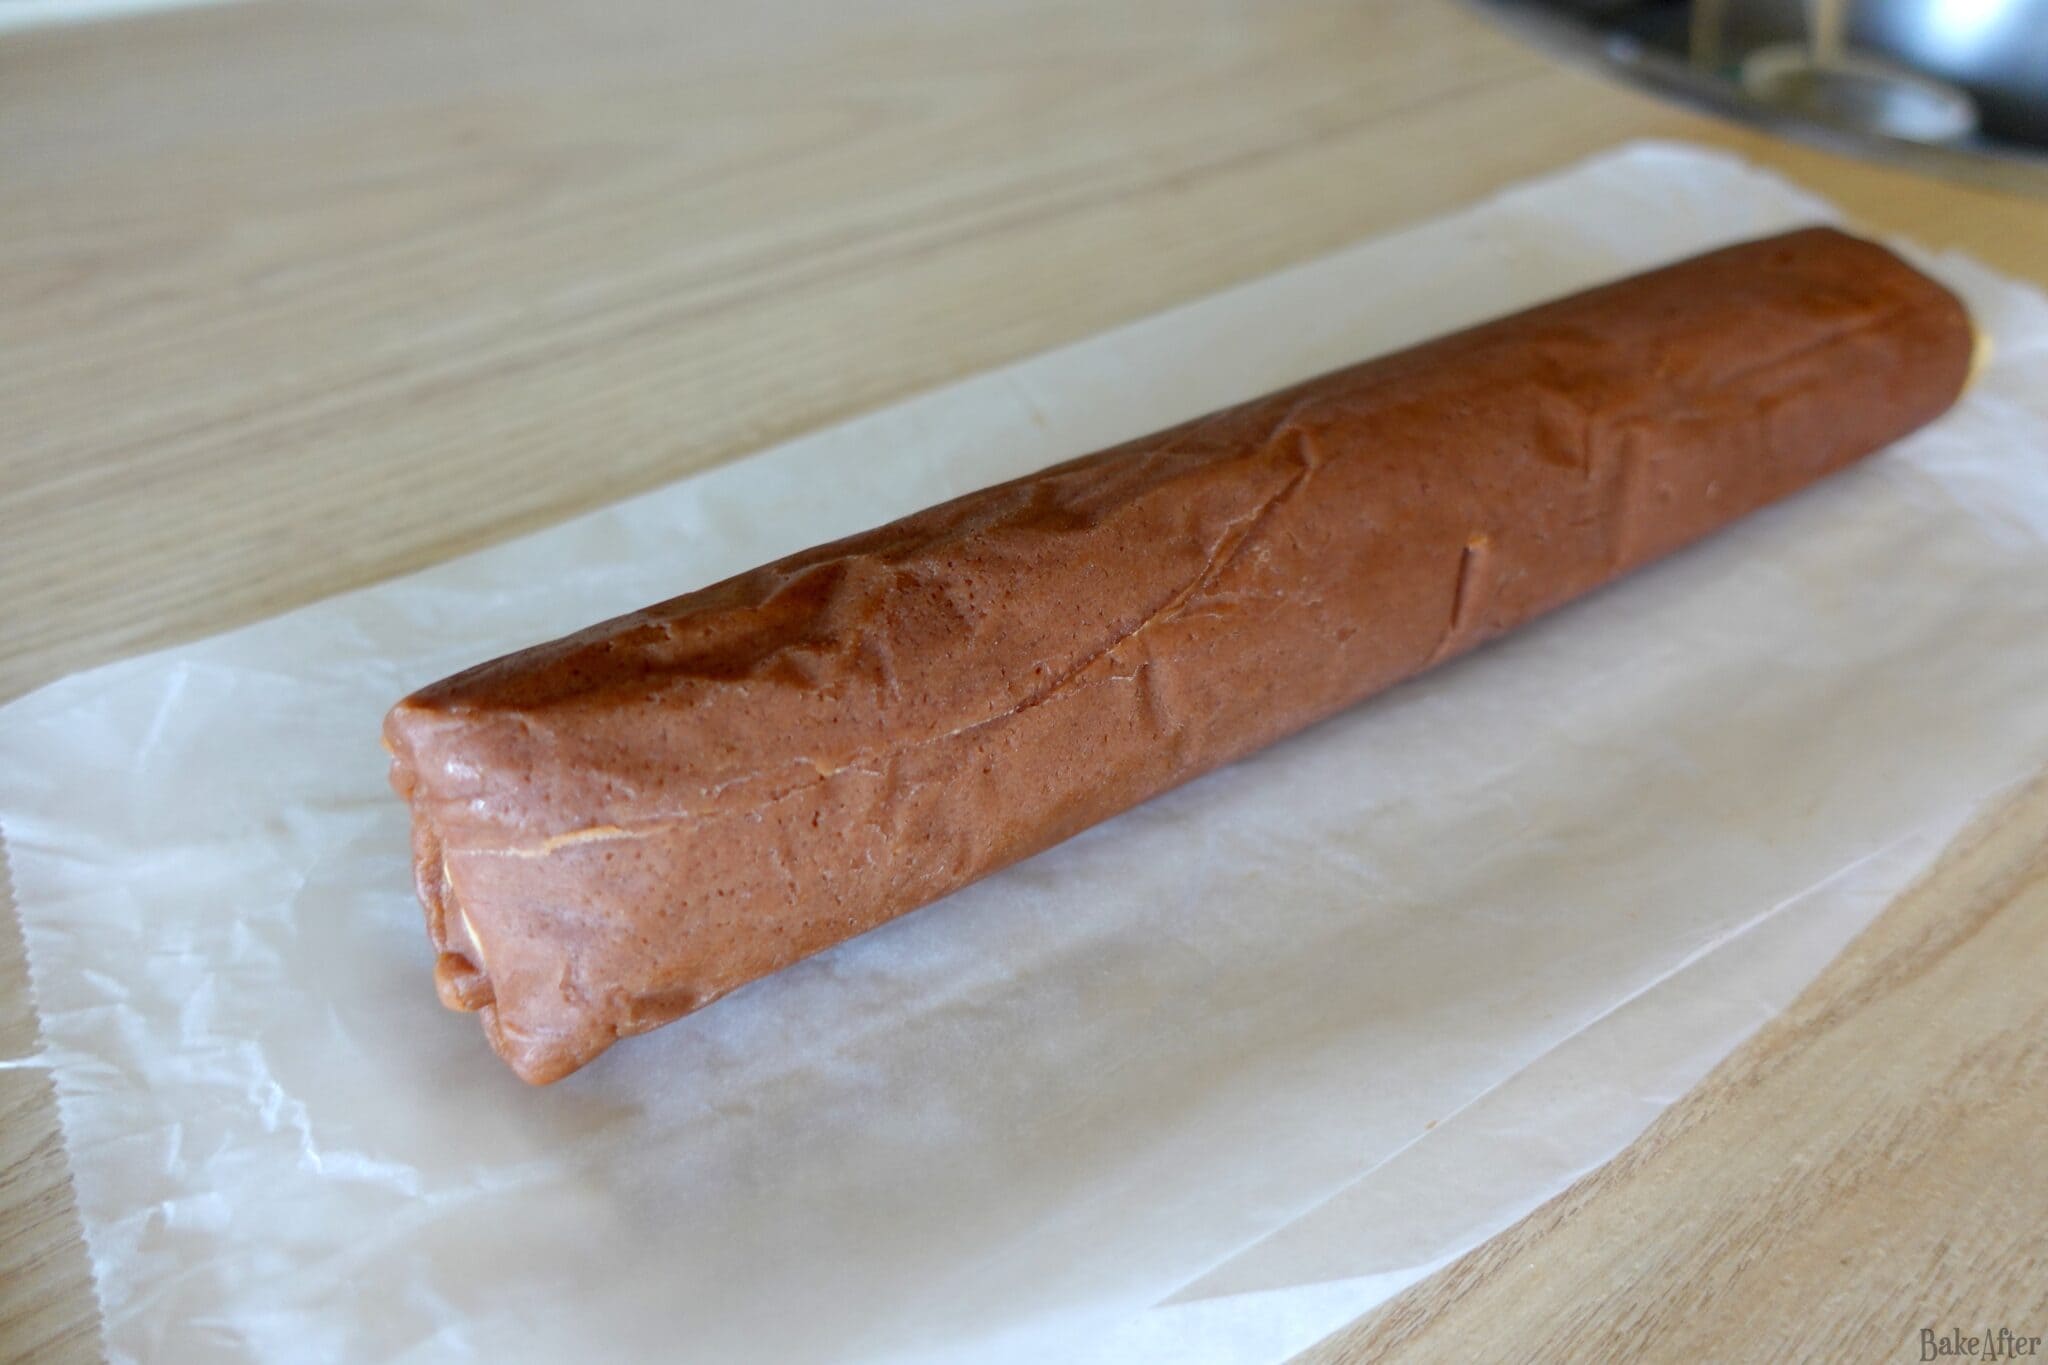
- Continue rolling the dough tightly to form a log. Work along the entire length to ensure it remains uniform, and make sure there are no air pockets.
- If the dough cracks, simply press the pieces back together with your fingers. Once the log is fully formed, gently roll it along the counter to seal it well.
- Wrap the log tightly in plastic wrap and refrigerate for at least 2 hours, or for up to 5 days. To prevent the log from flattening on one side, you can store it inside a paper towel tube (heheheh yes it works!).
- When ready to bake, preheat your oven to 165°C (329°F). Line one or two baking sheets with parchment paper.
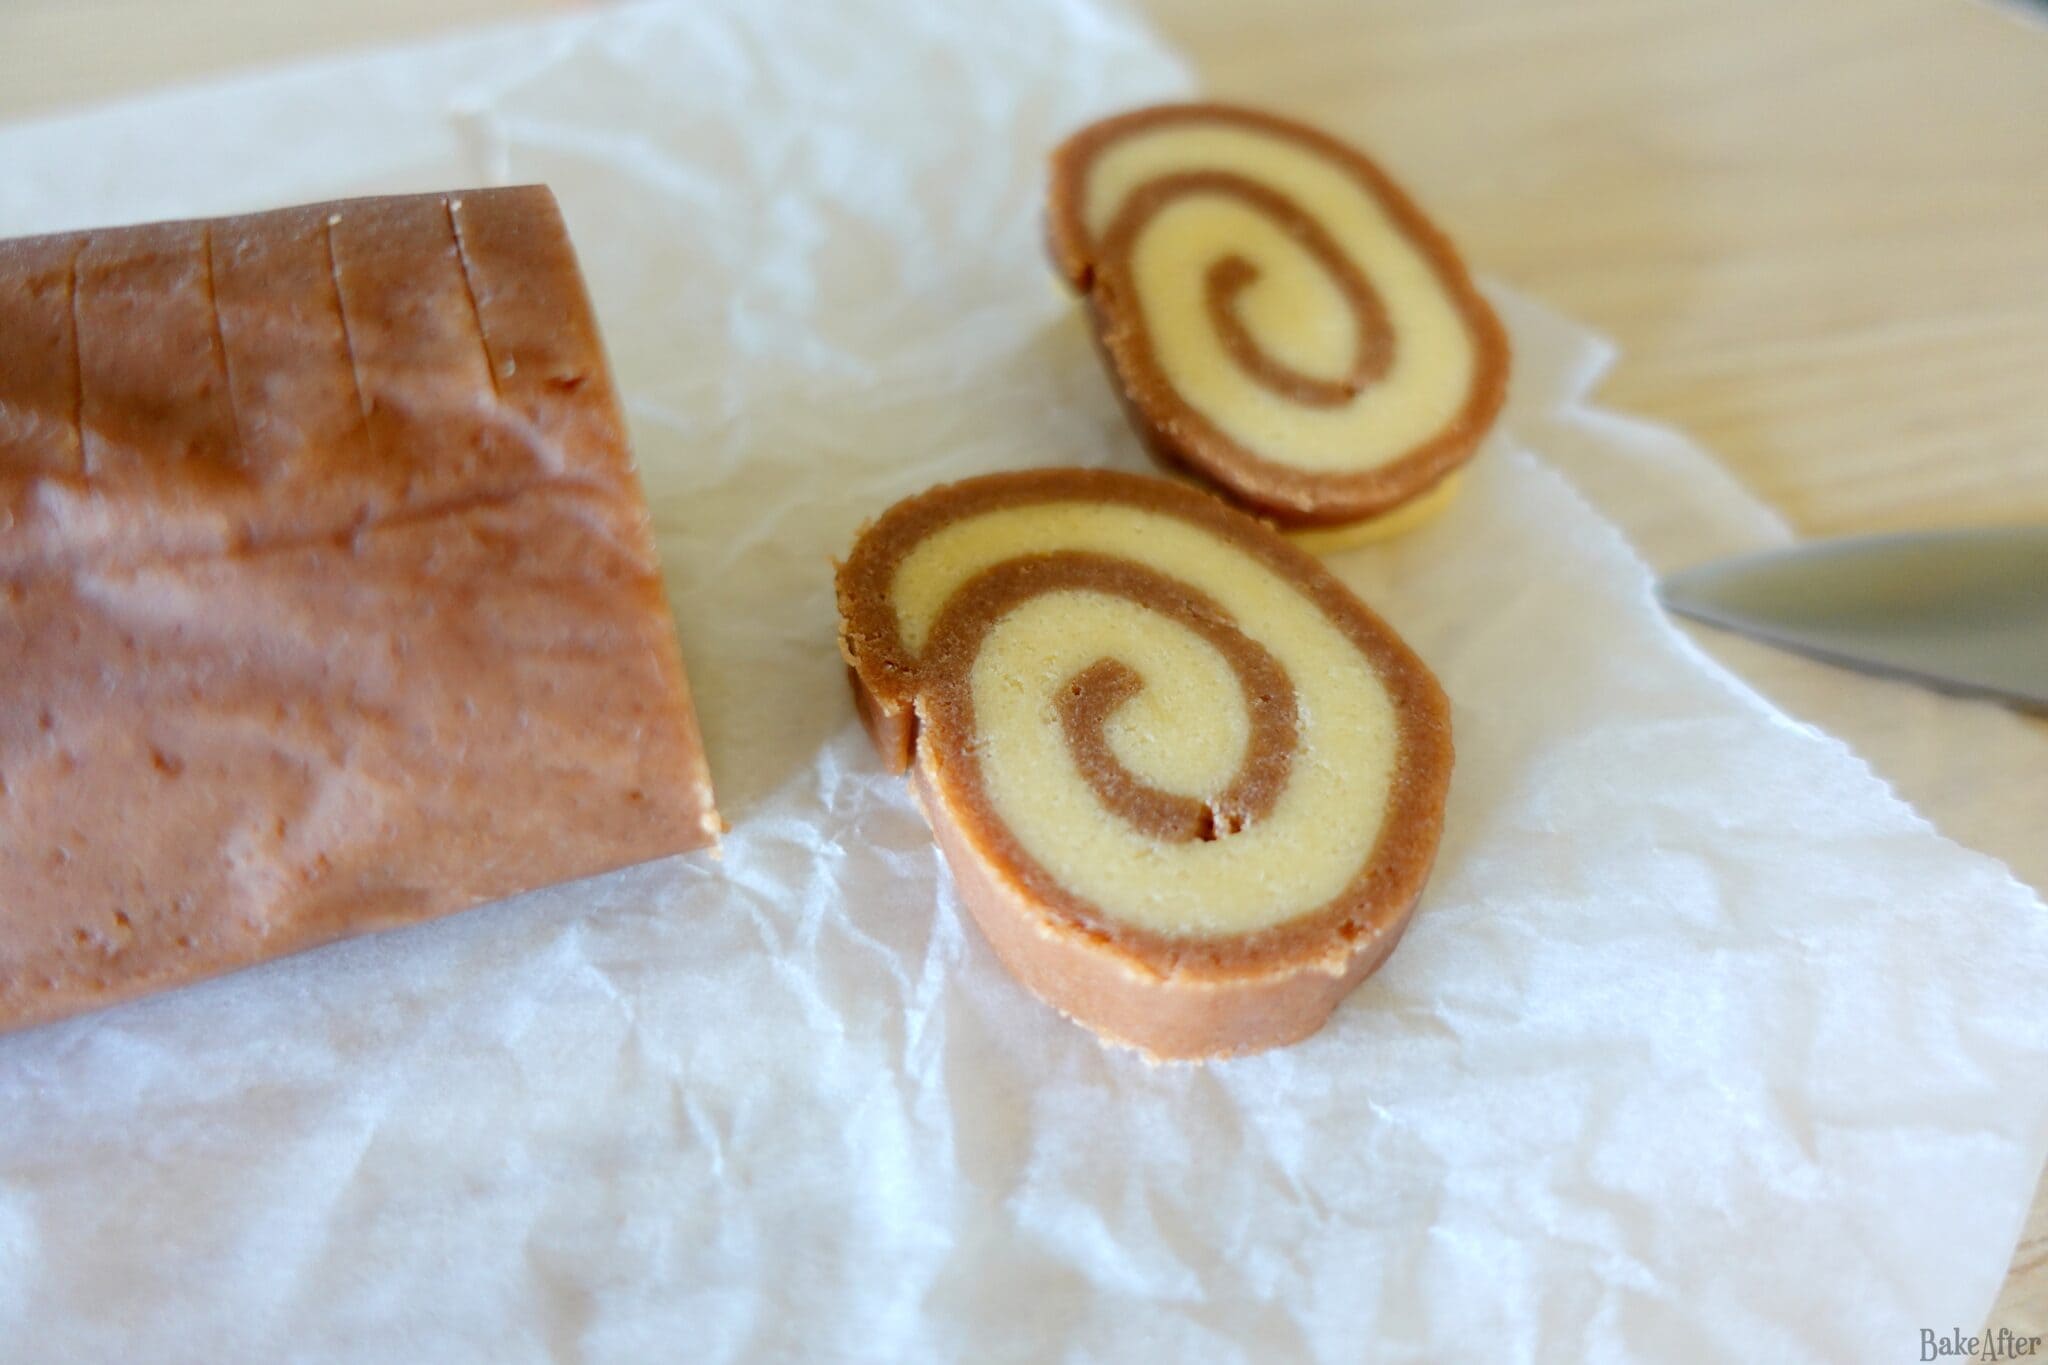
- Remove the log from the refrigerator, unwrap it, and place it on a cutting board. Using a very sharp knife, trim the end of the log to reveal the spiral pattern.
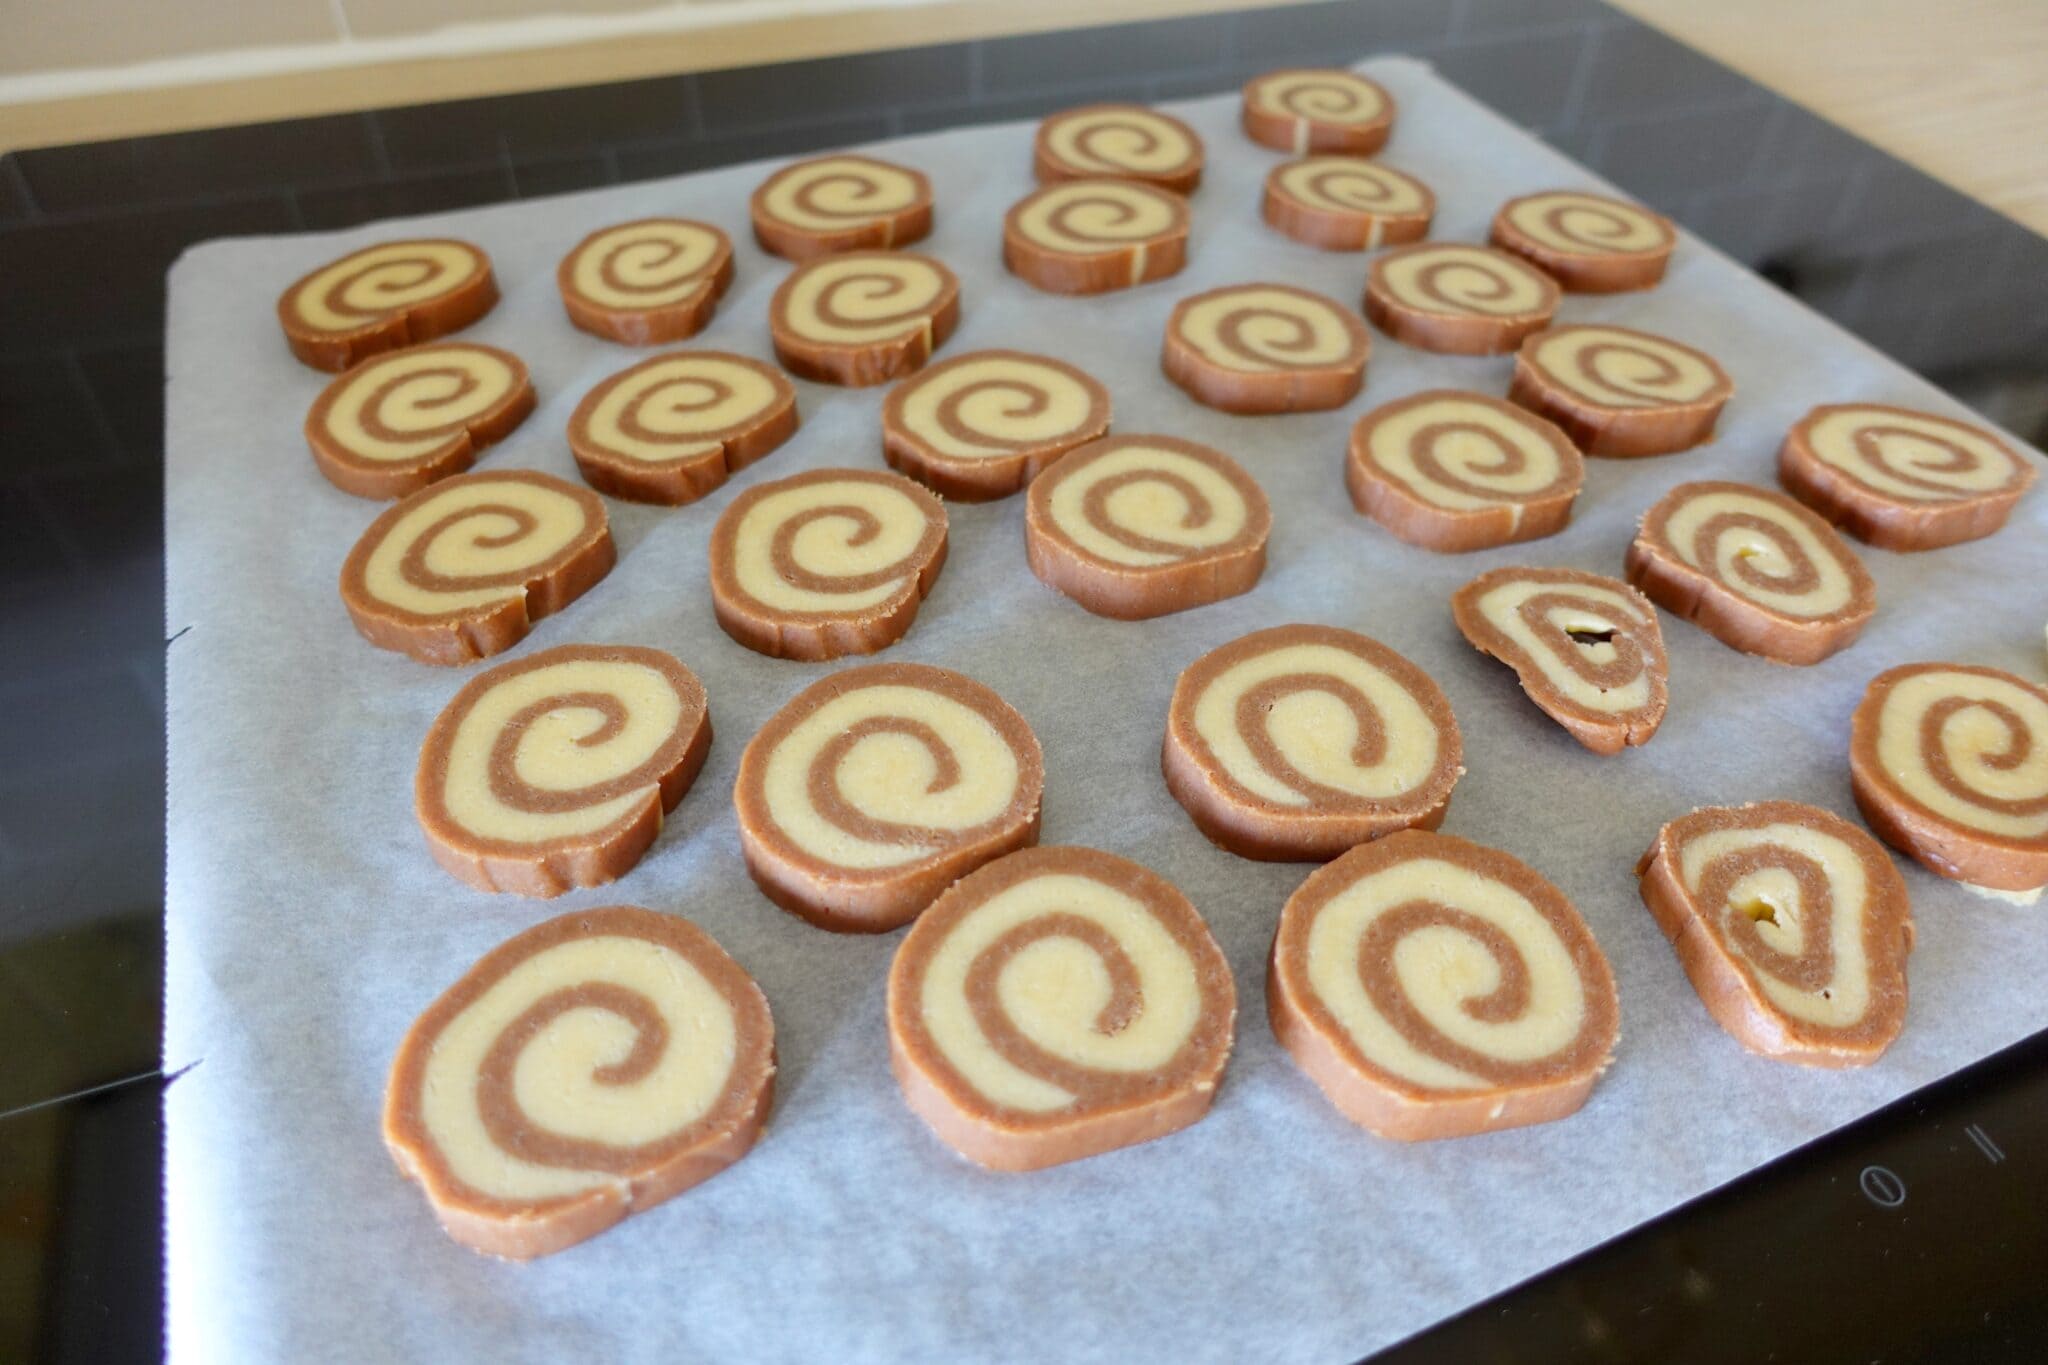
- Slice the log into pieces approximately 1 cm (0.4 inches) thick. Arrange the cookies on the baking sheet(s), you can bake them all at once or split them between two trays, depending on their size. Freeze the cut-out cookies for 10 minutes before putting them in the oven.
- Remove the cookies from the freezer and bake for 14 to 16 minutes, until the center of the cookies feel firm and the edges begin to turn slightly golden.
- Take them out of the oven and let the cookies cool on the baking sheet for 10 minutes before transferring them to a wire rack to cool completely. And that’s it, enjoy!
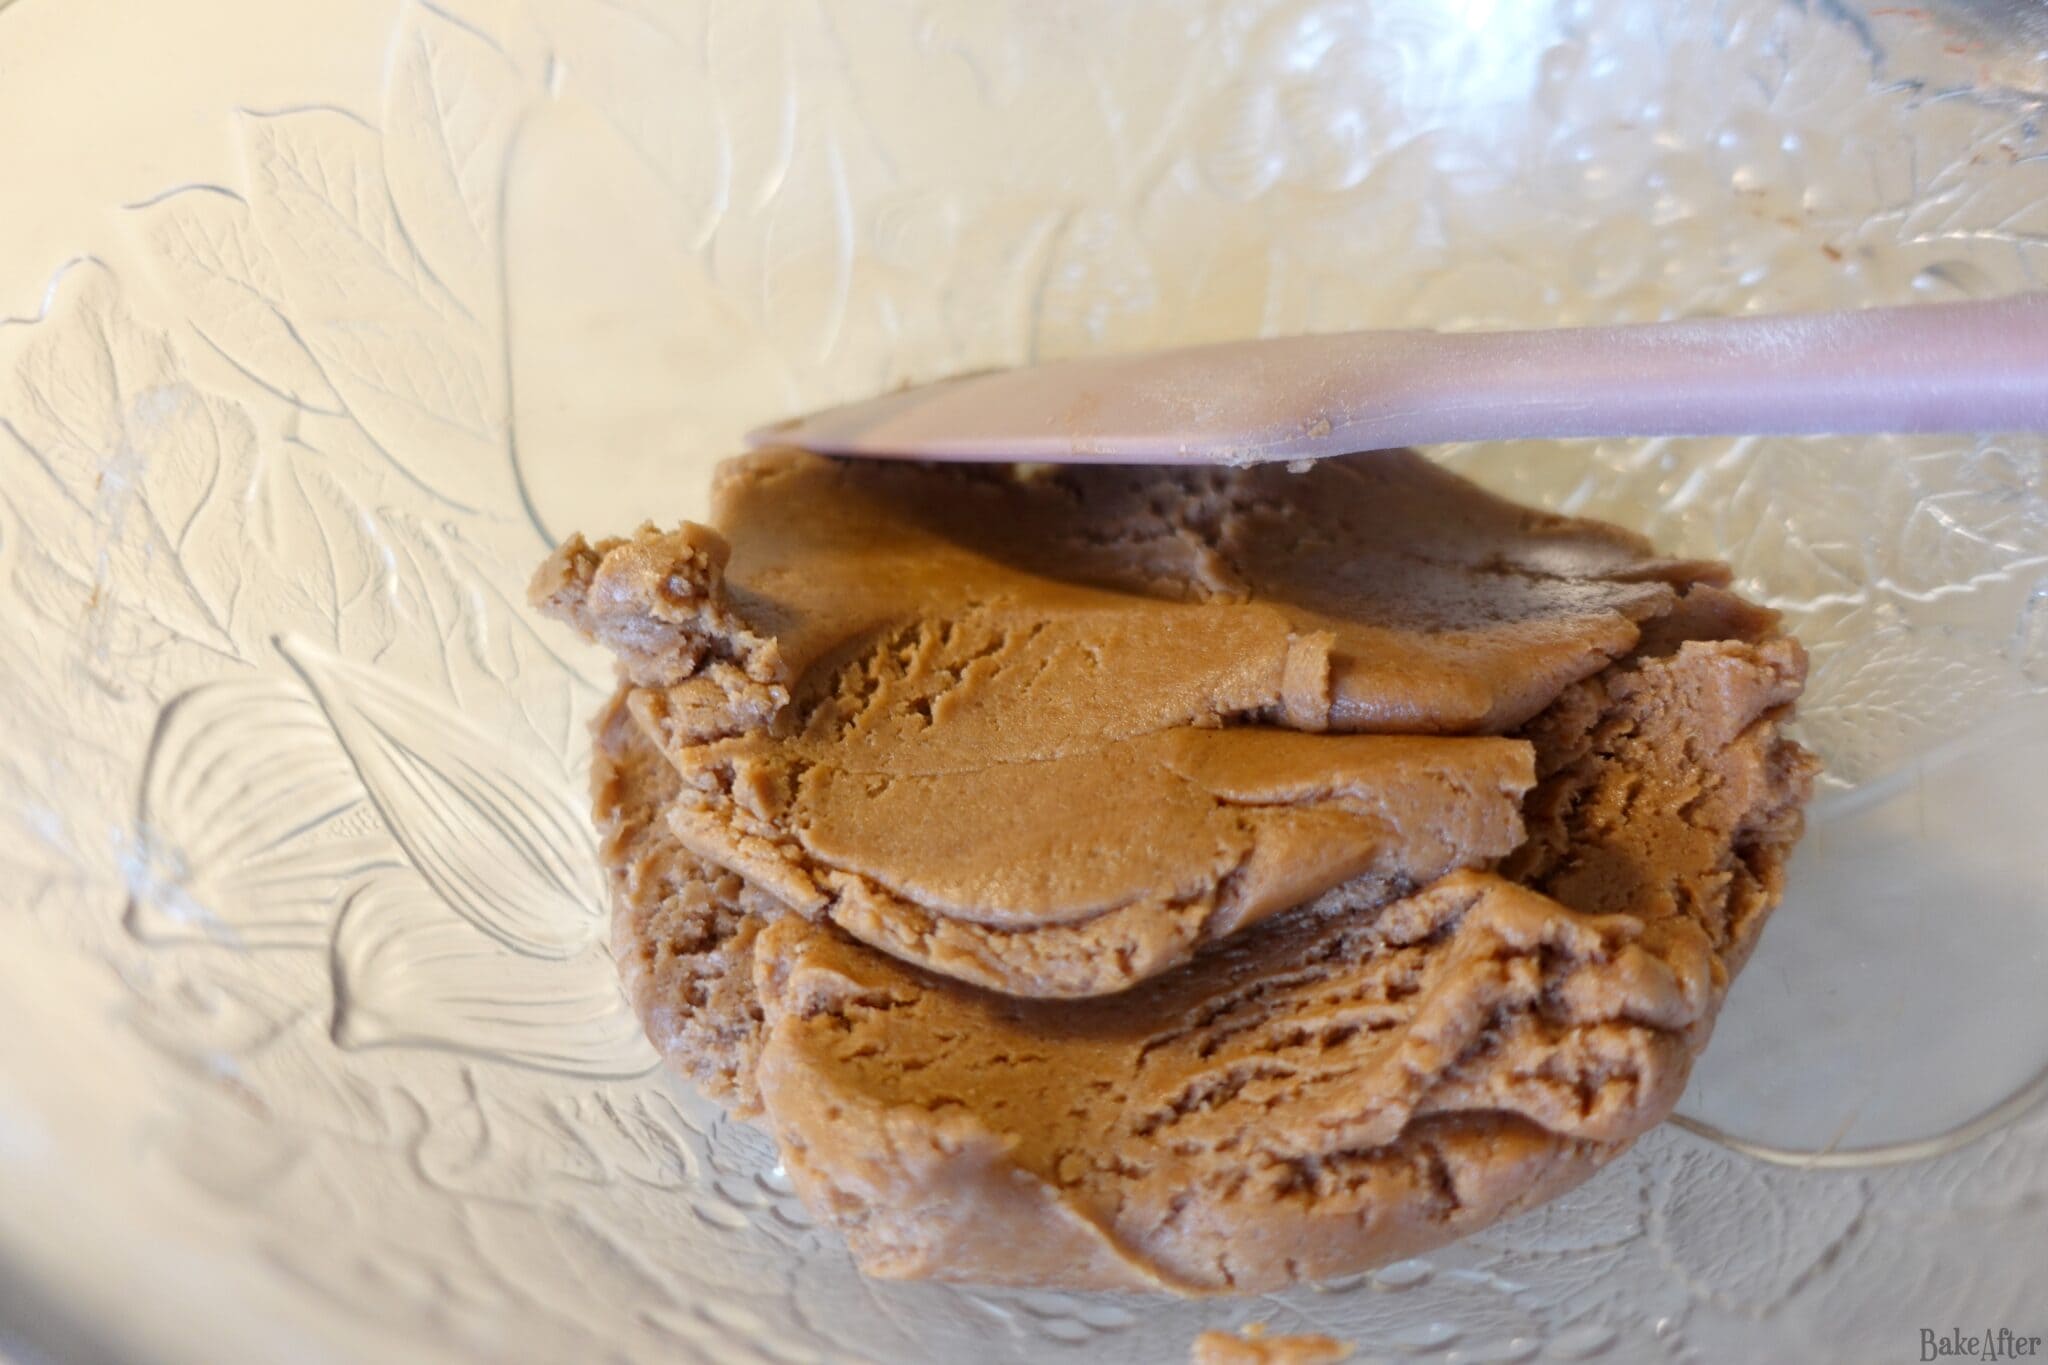
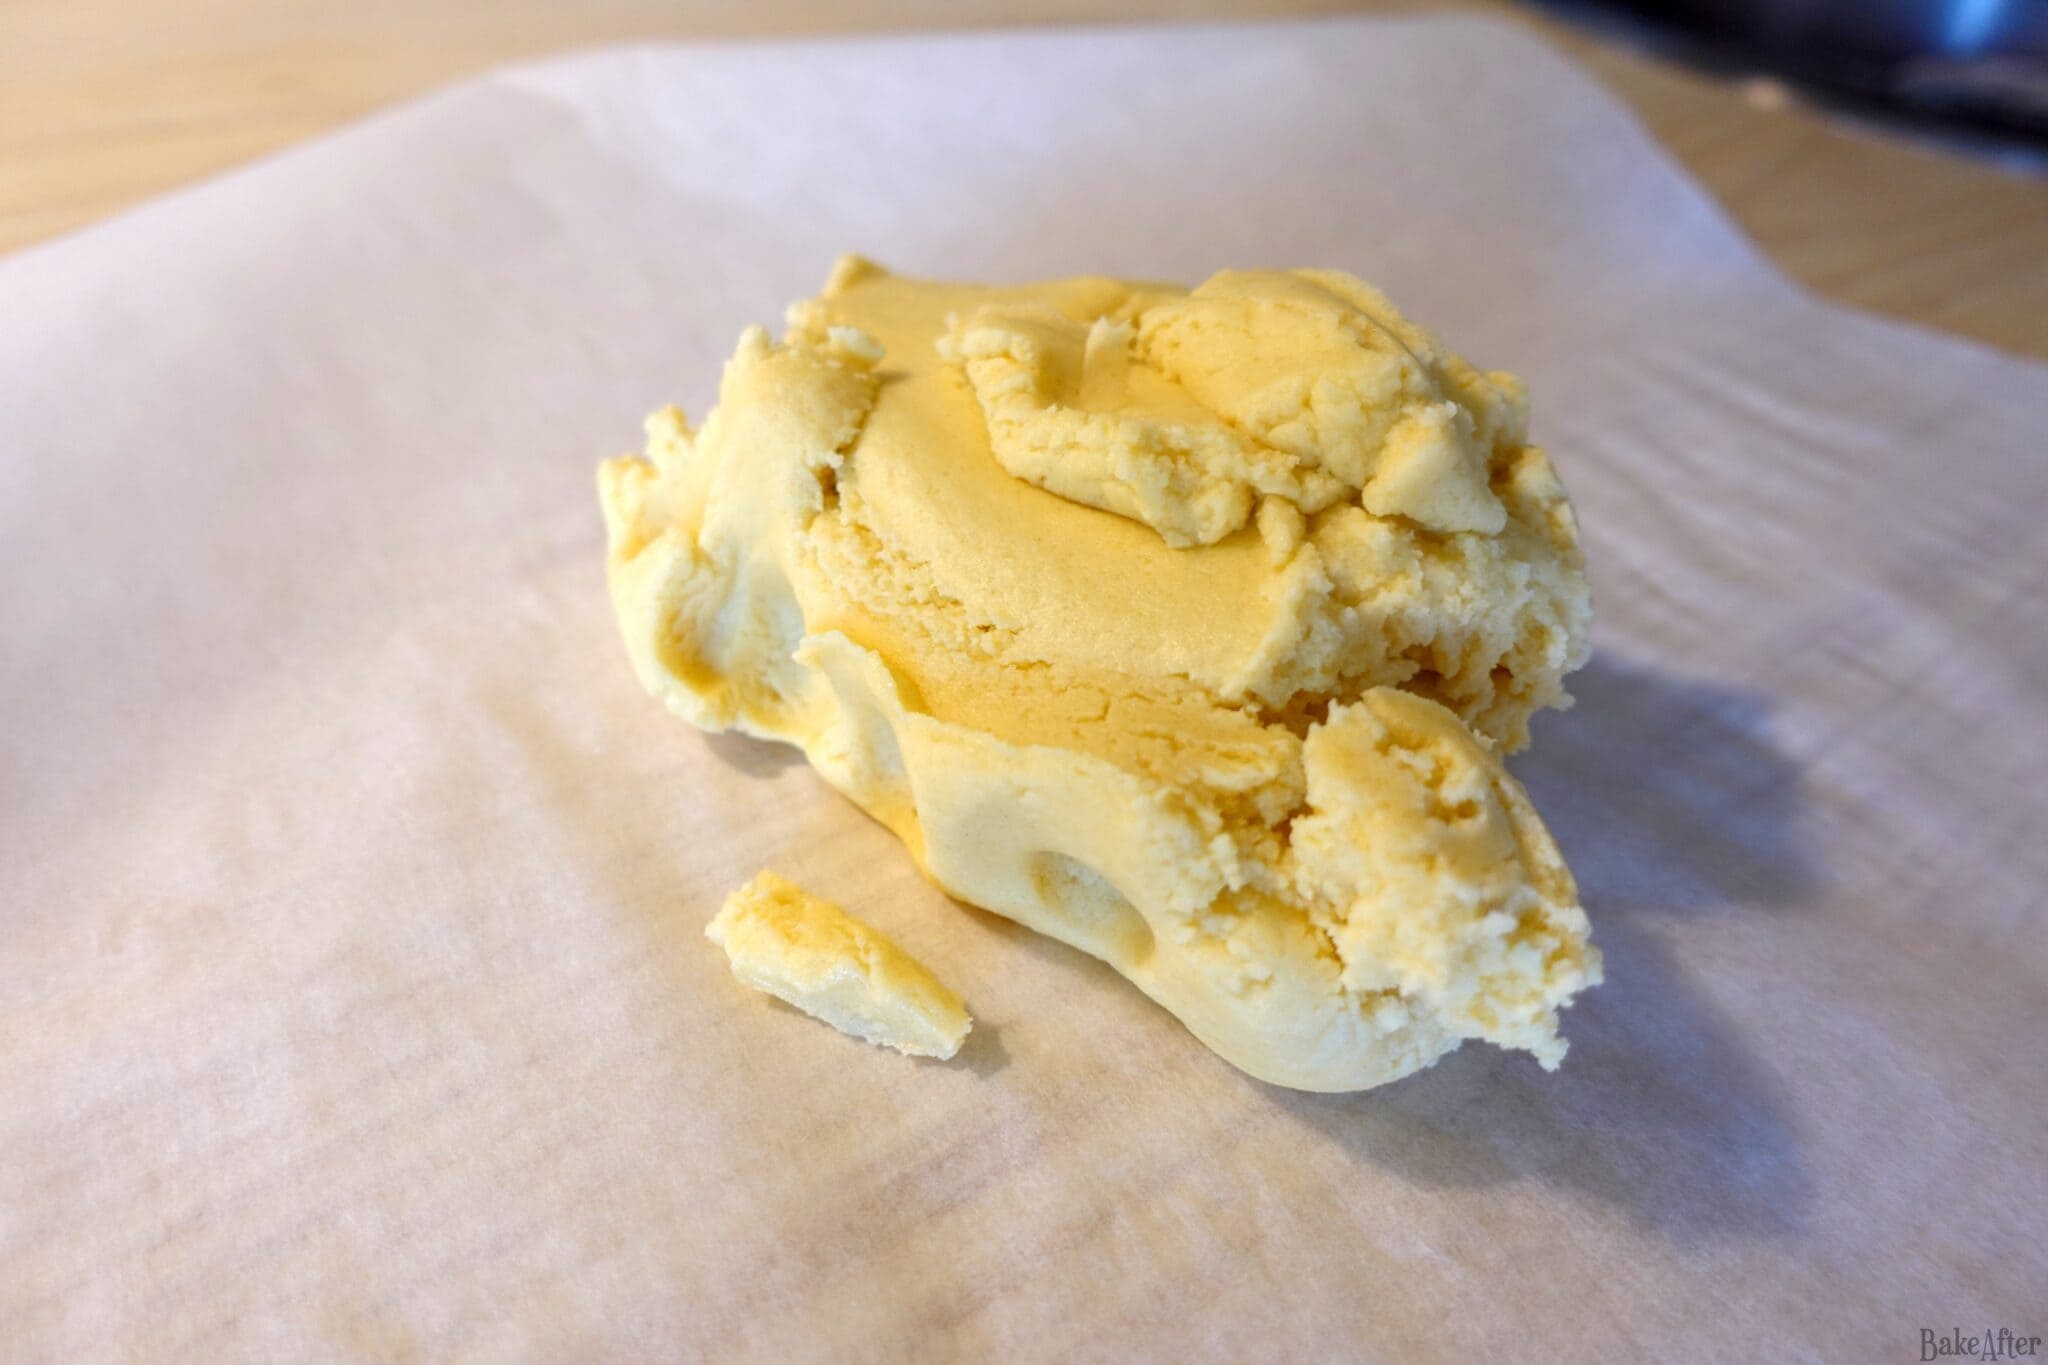
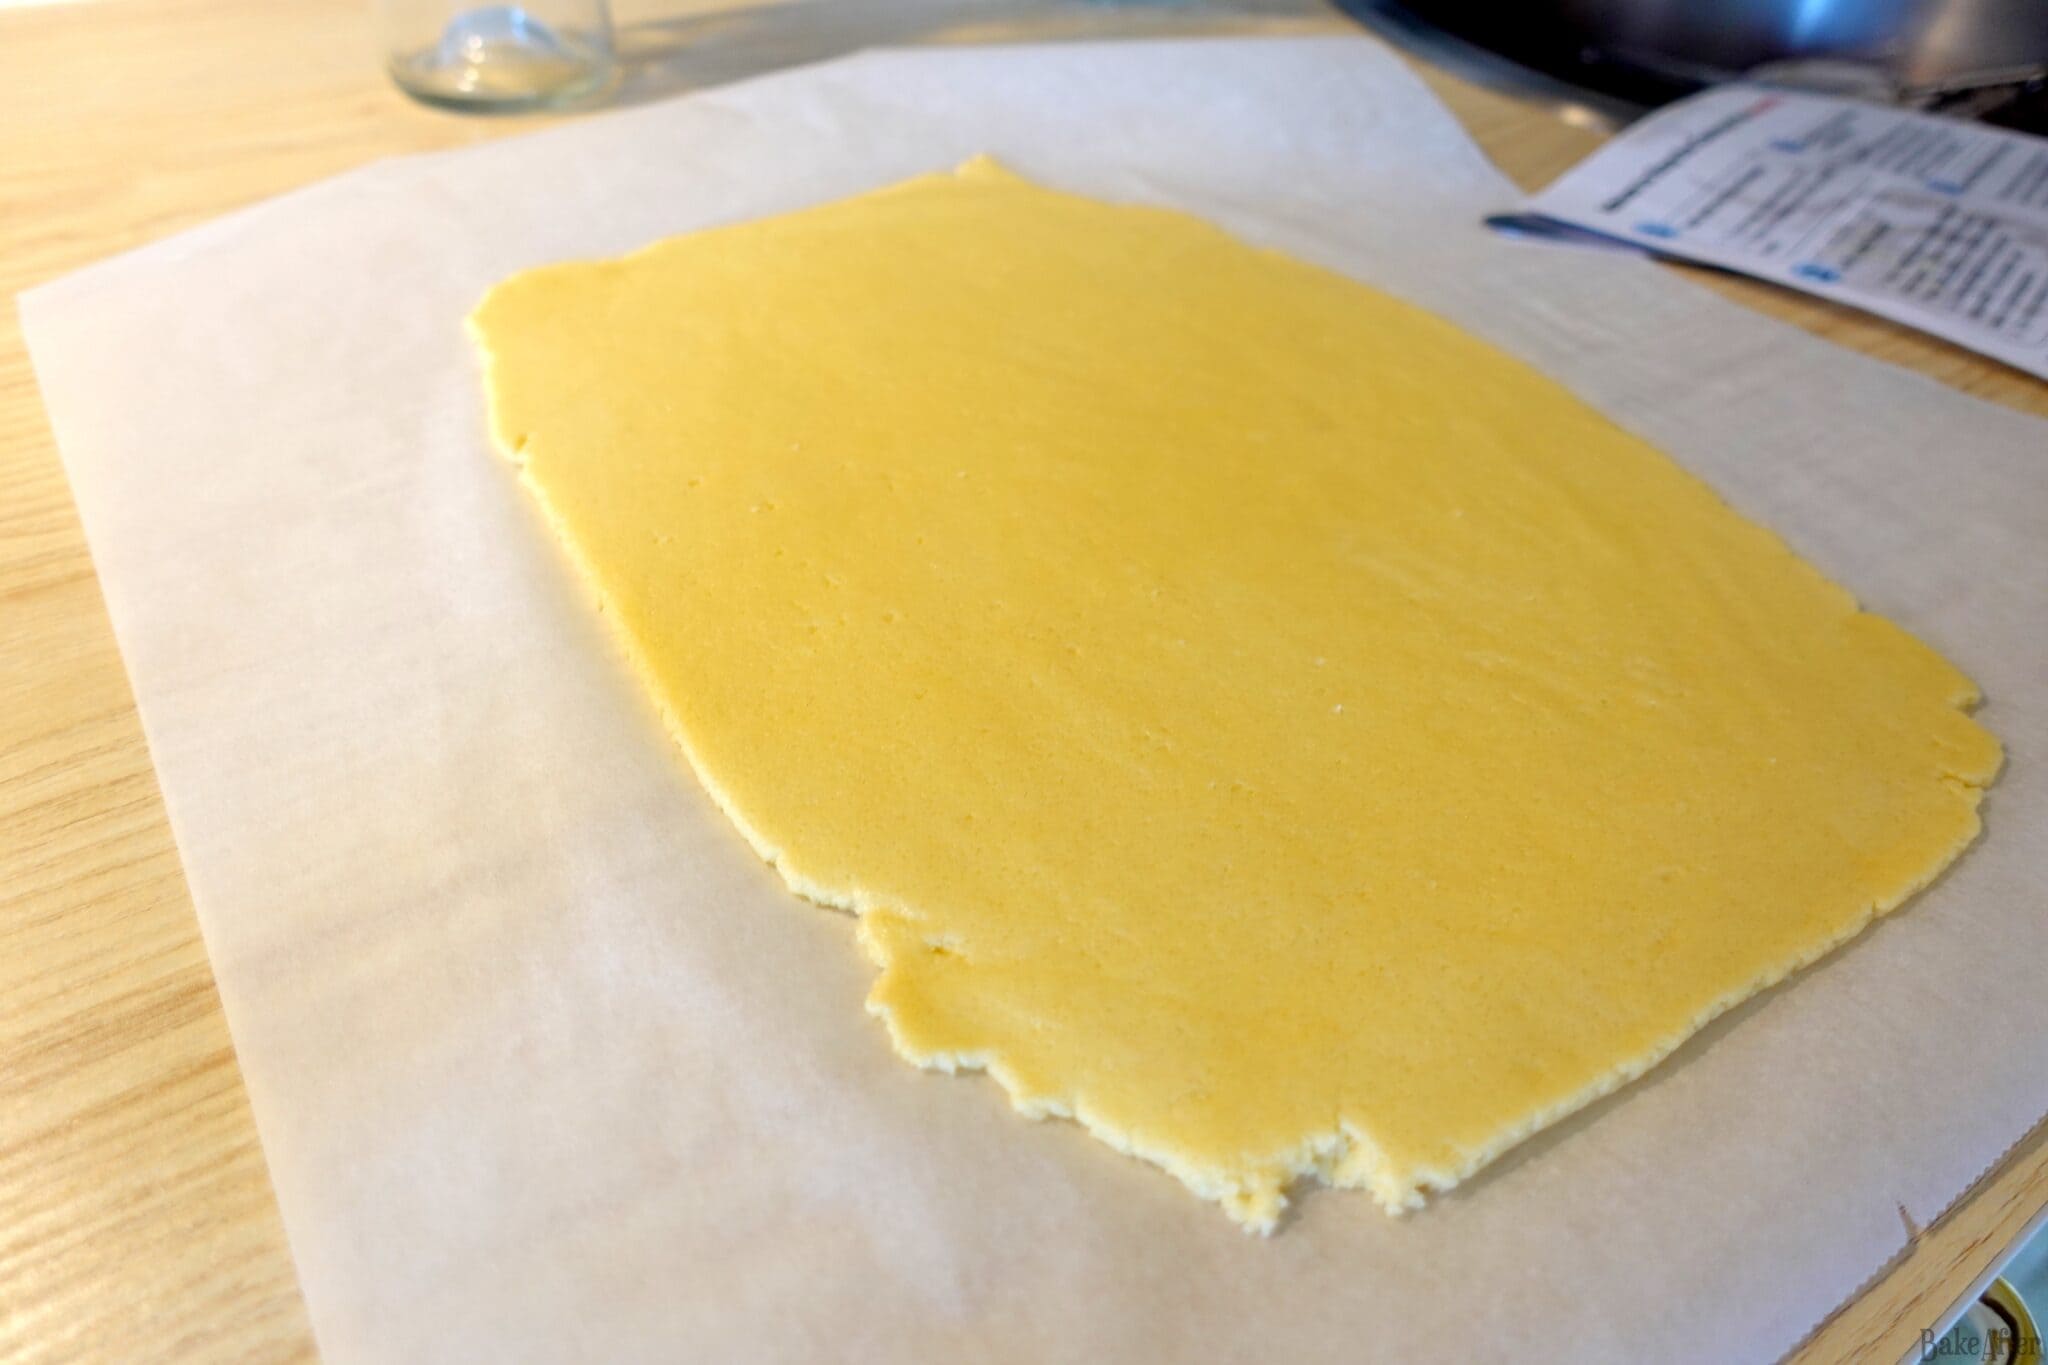
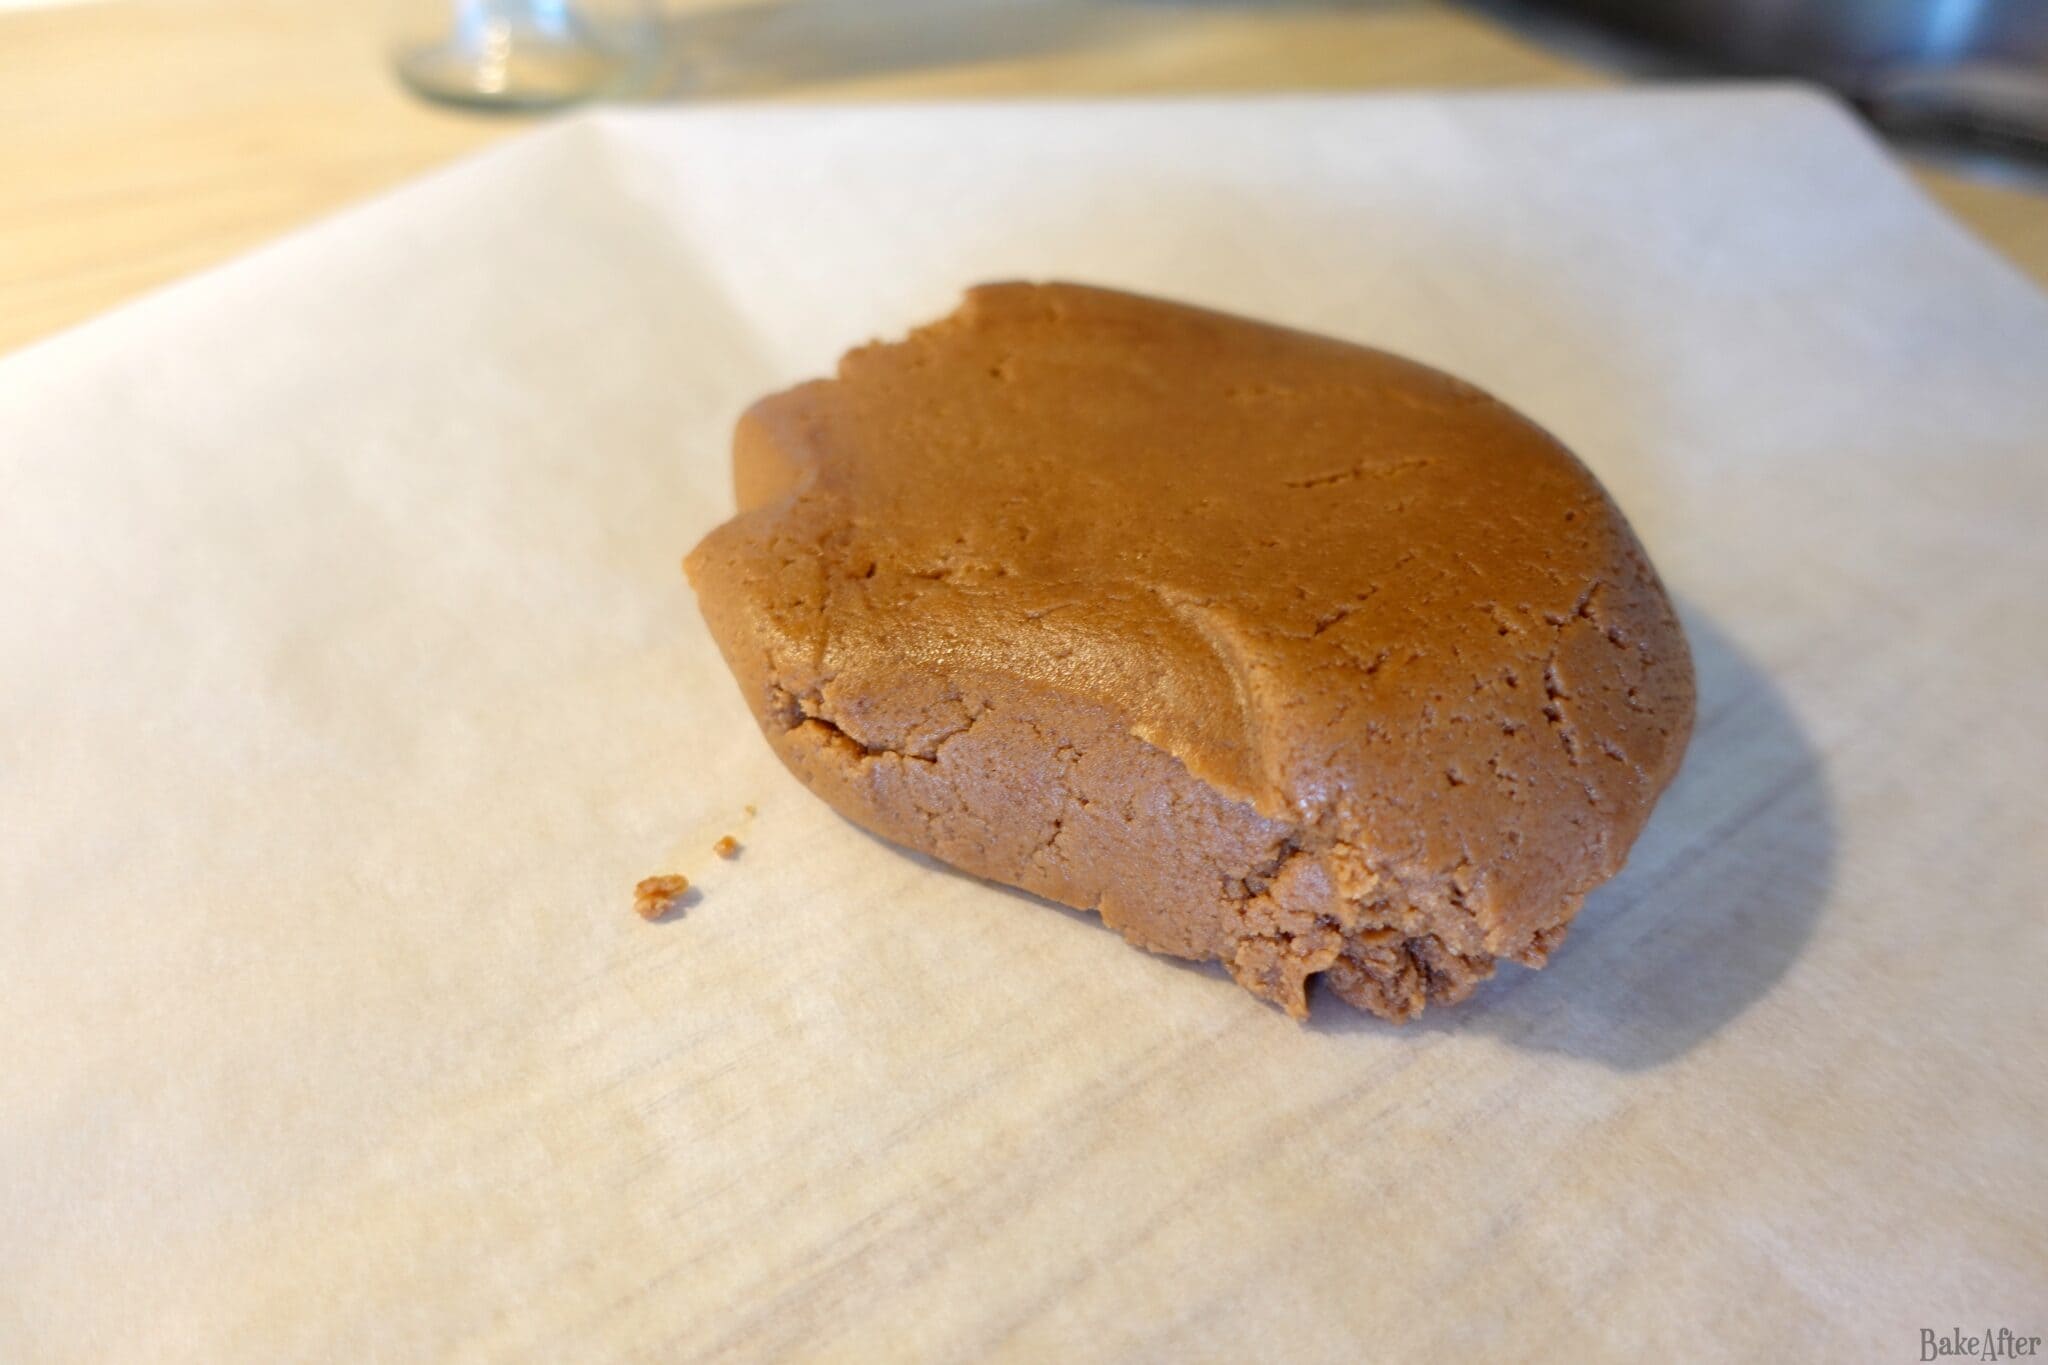
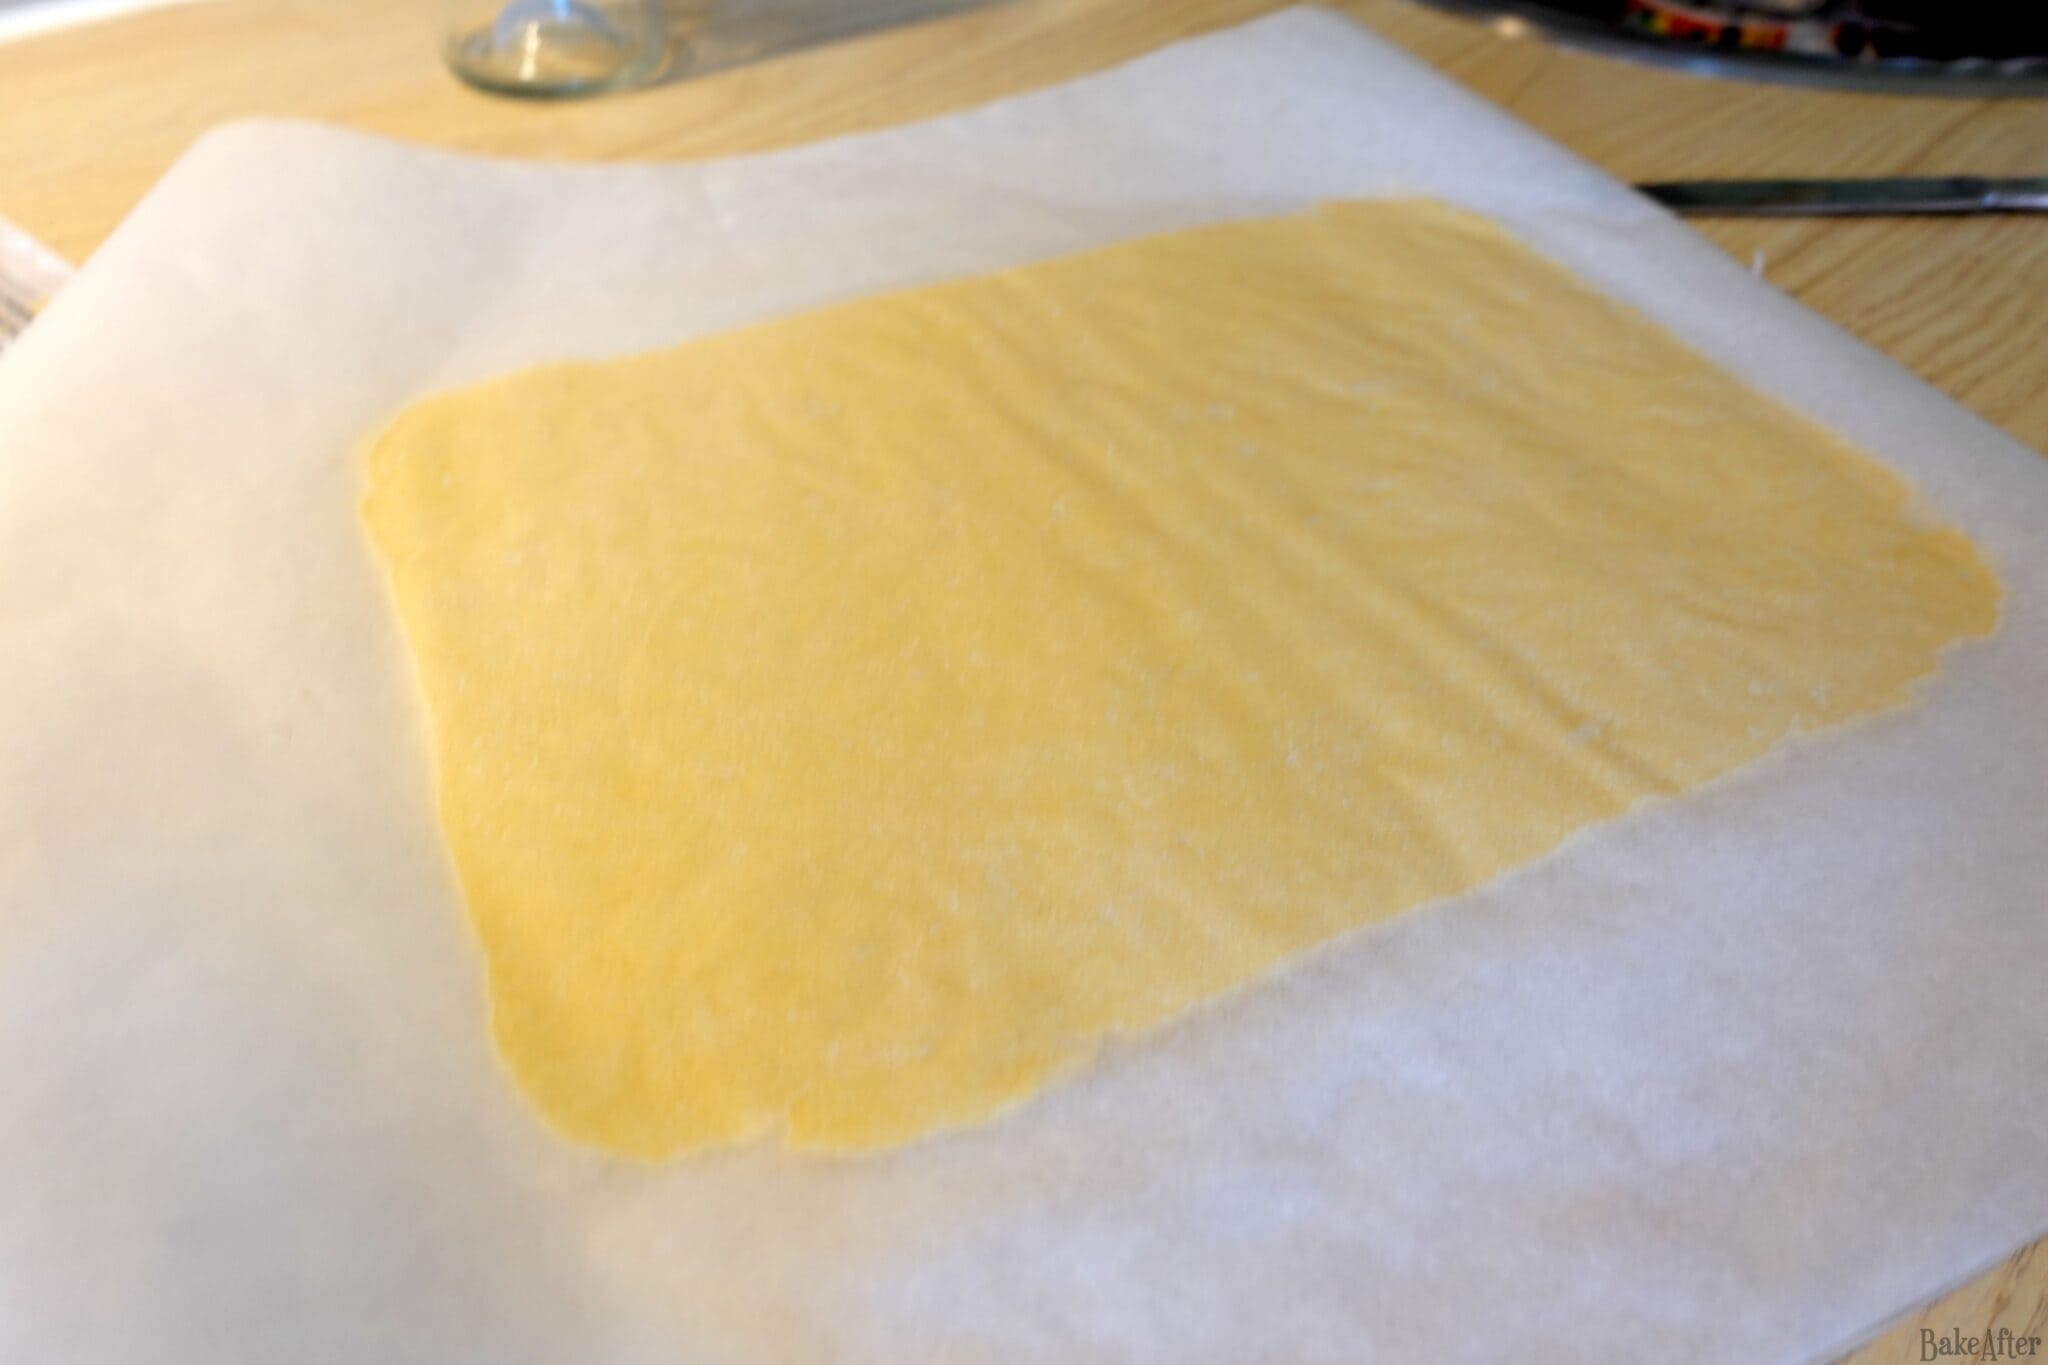
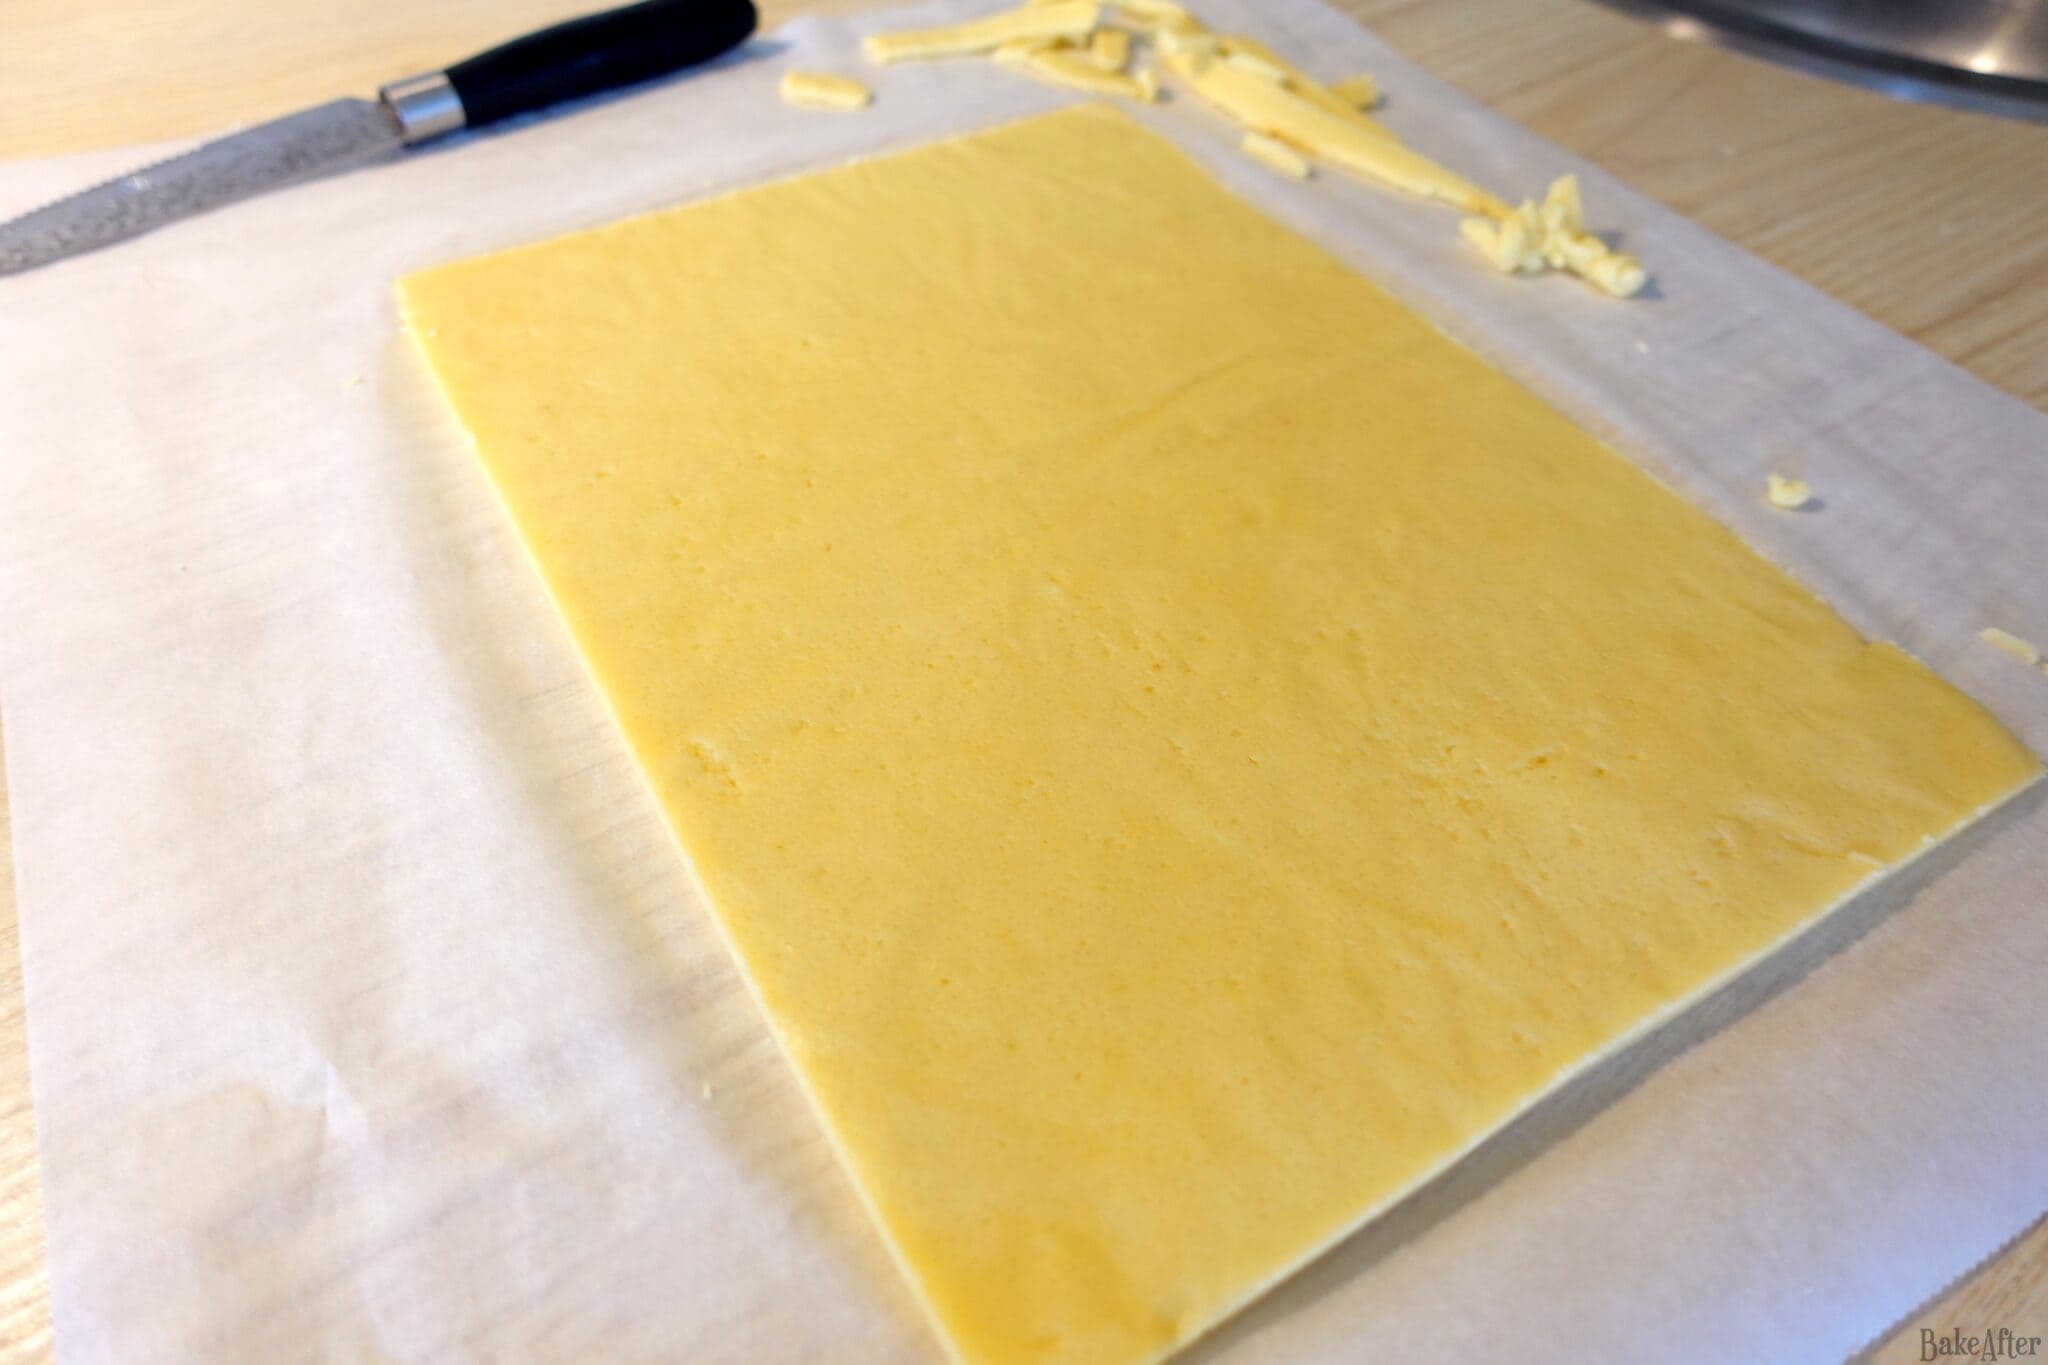
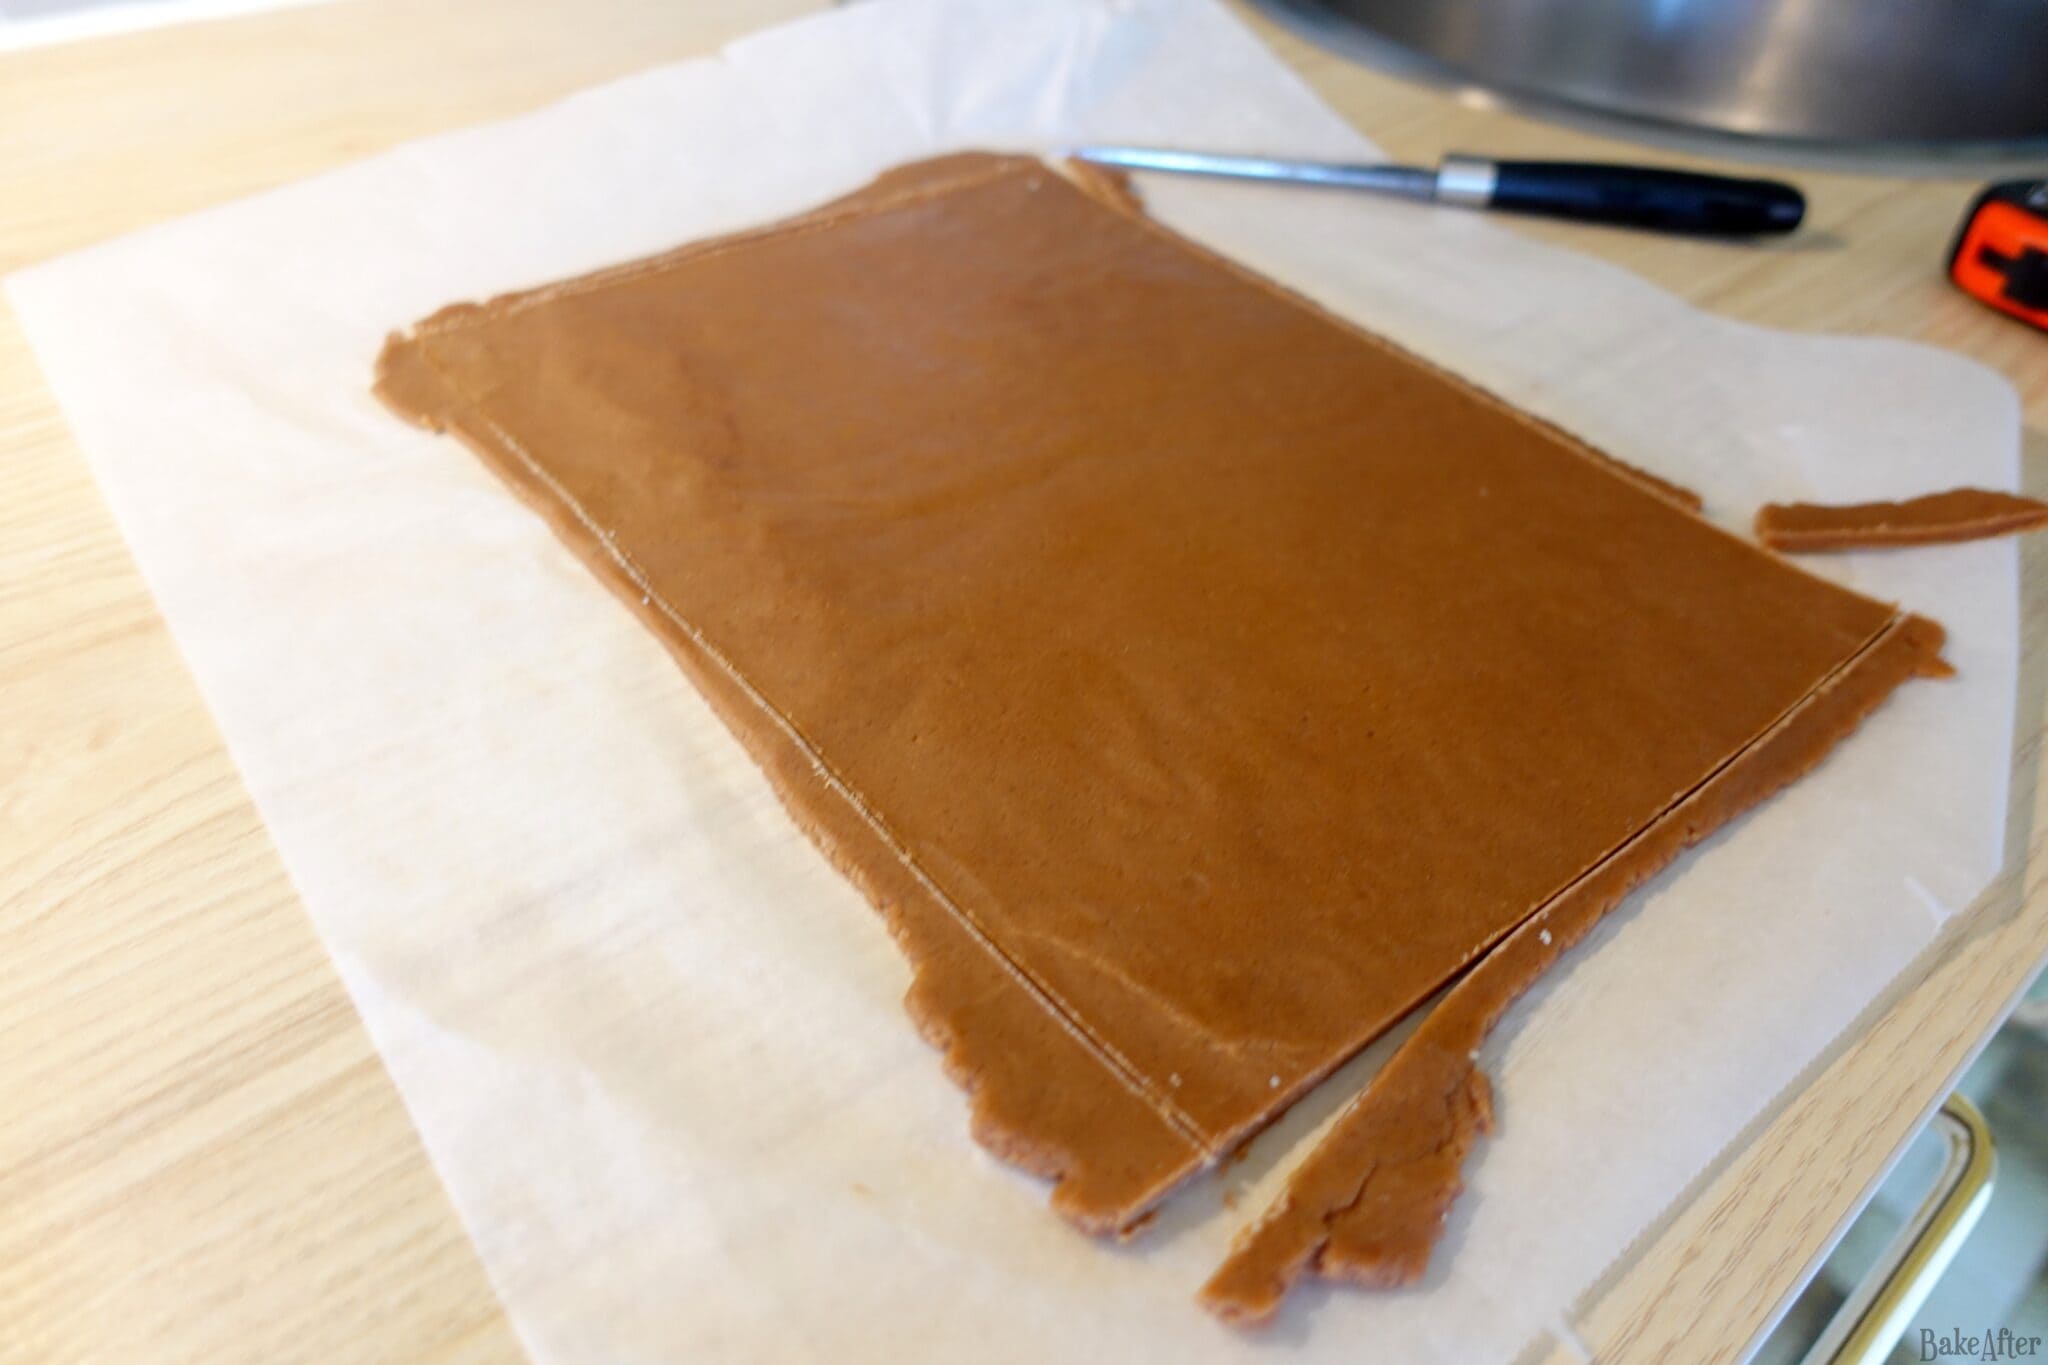
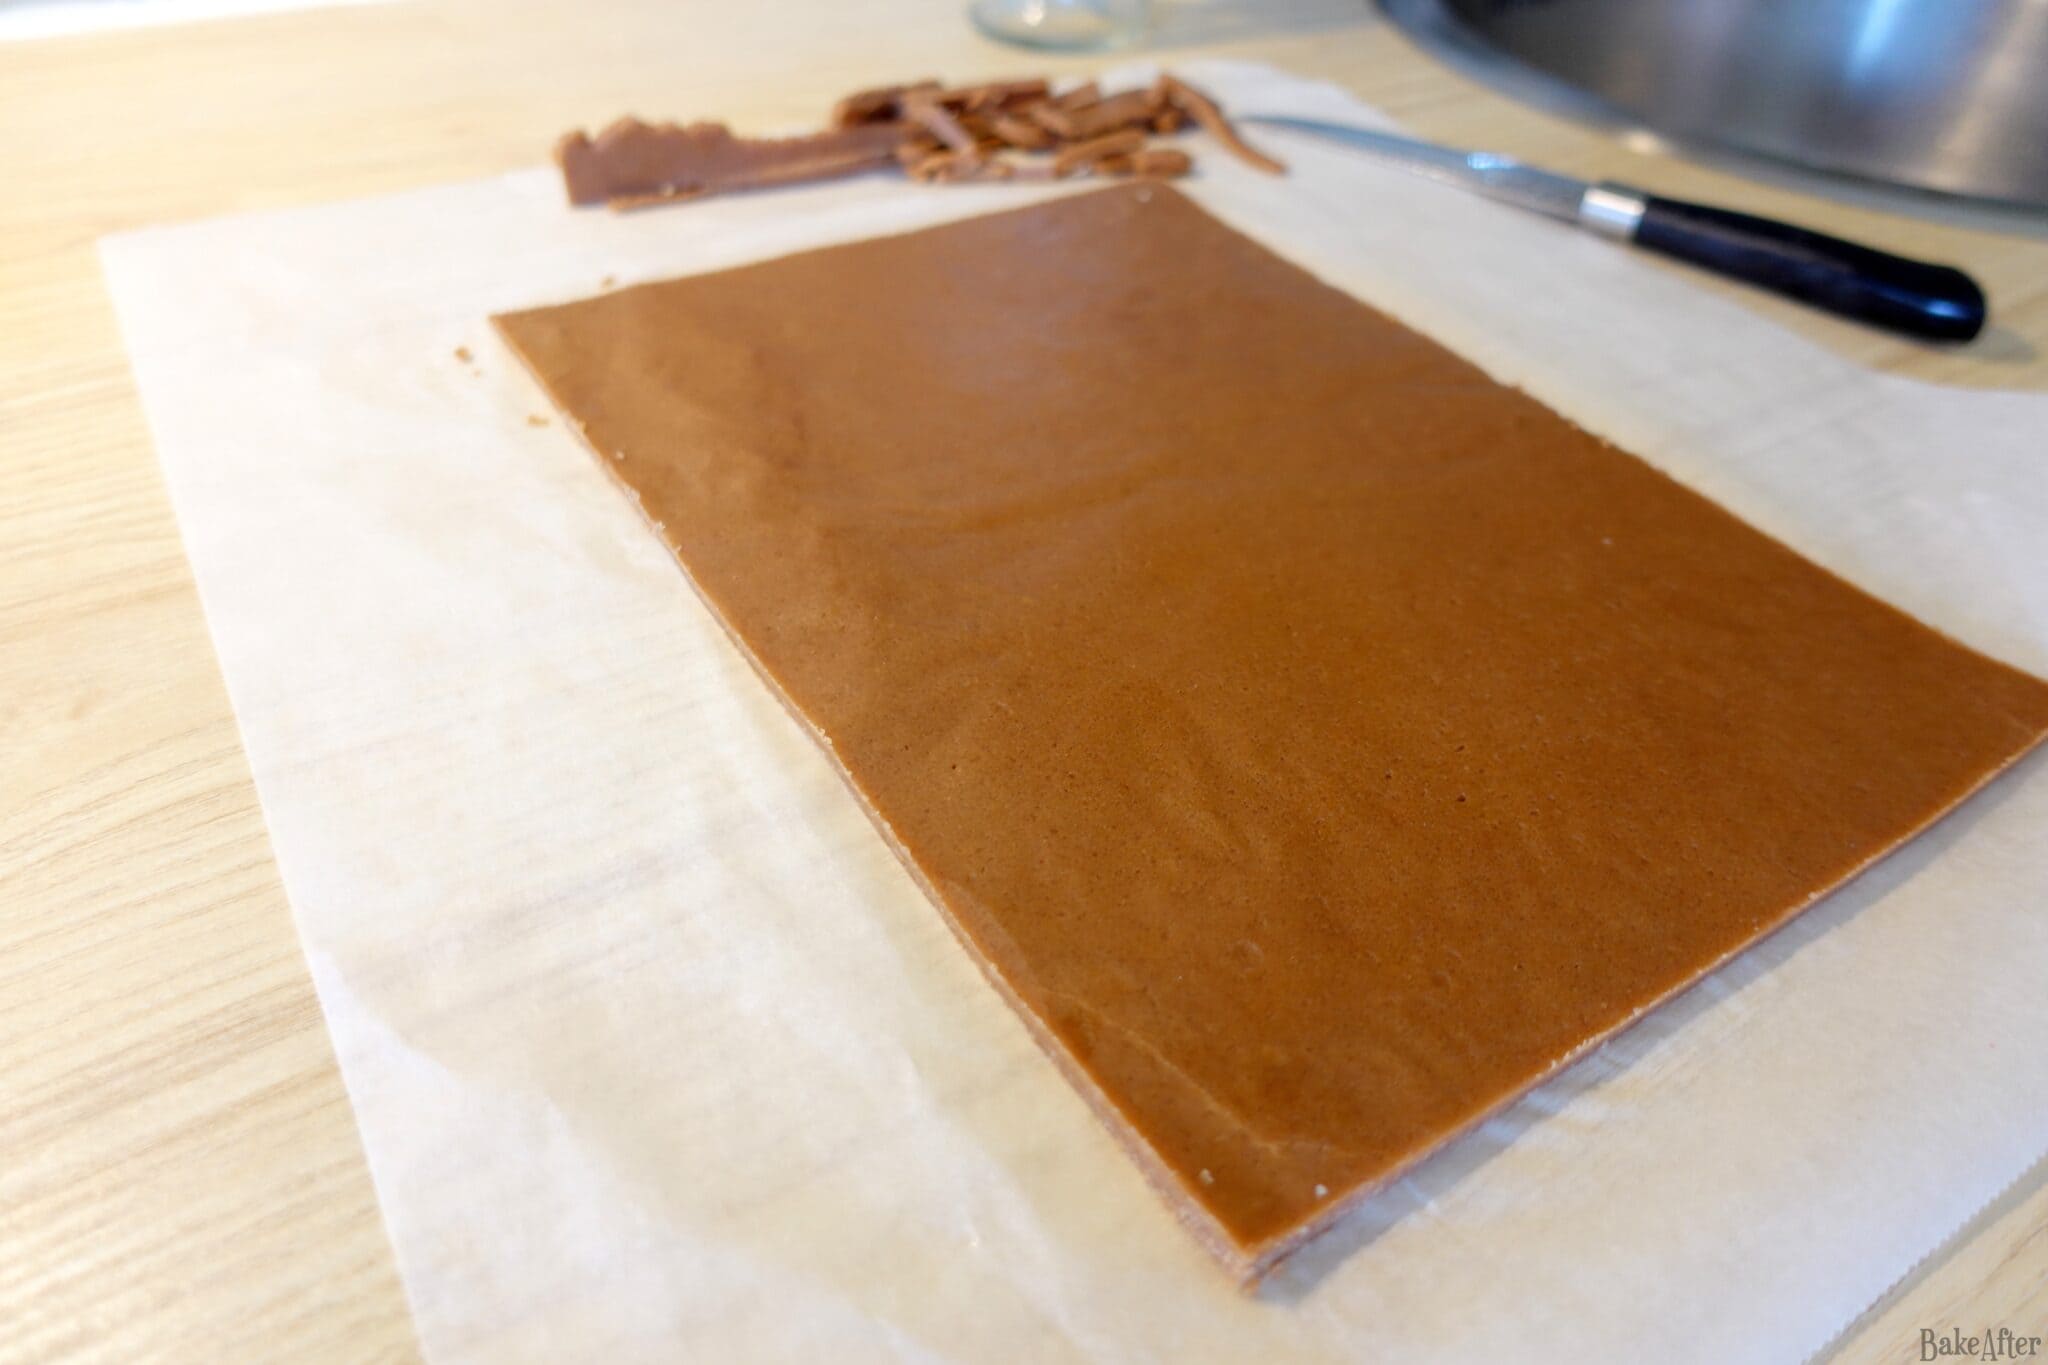
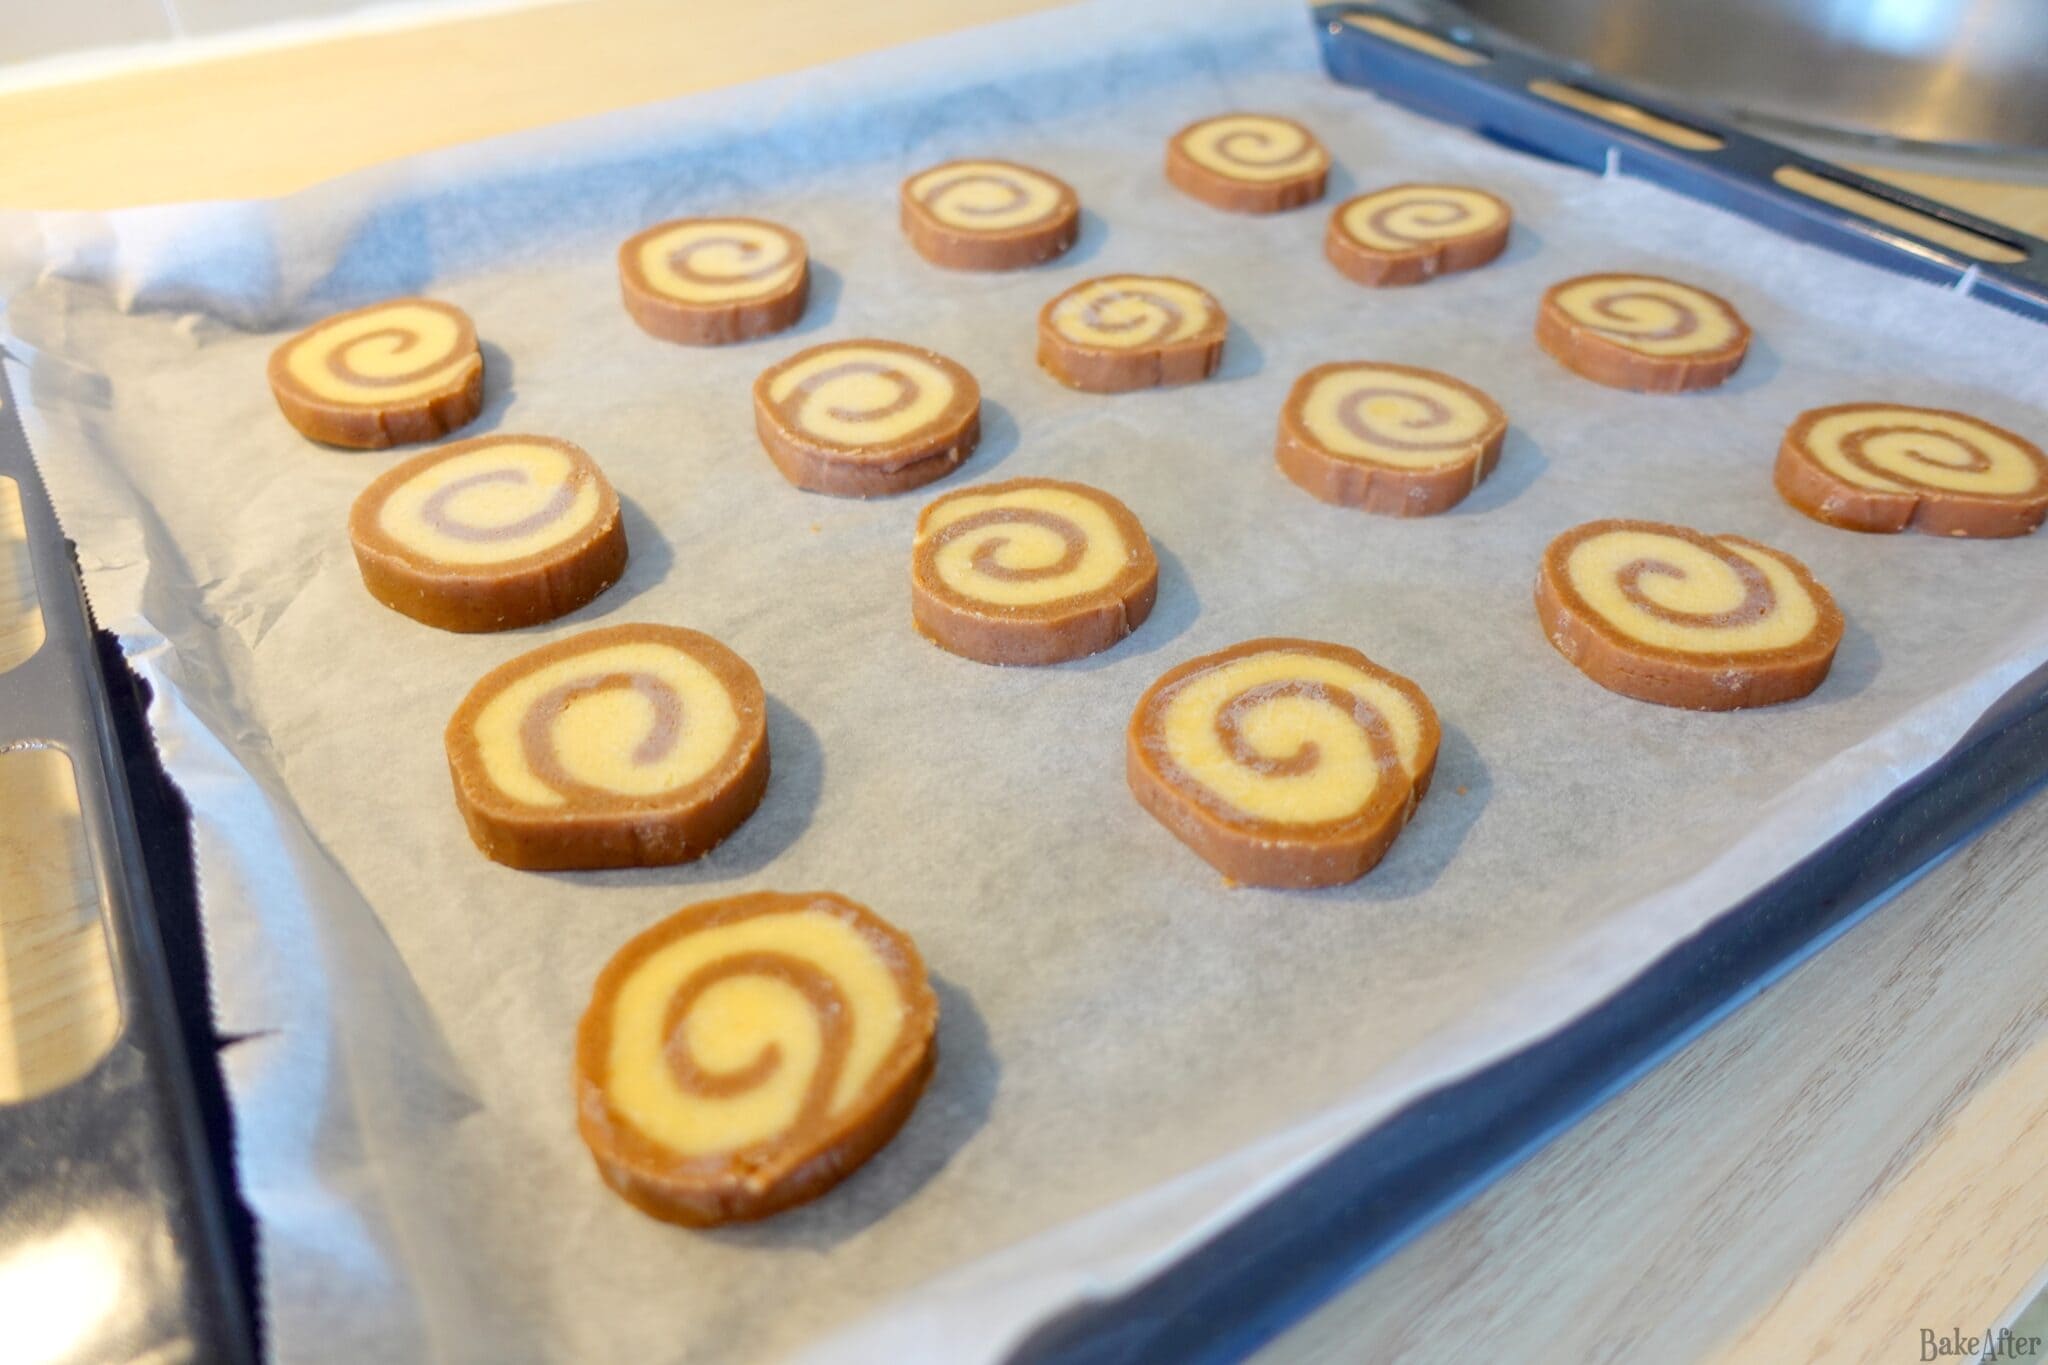
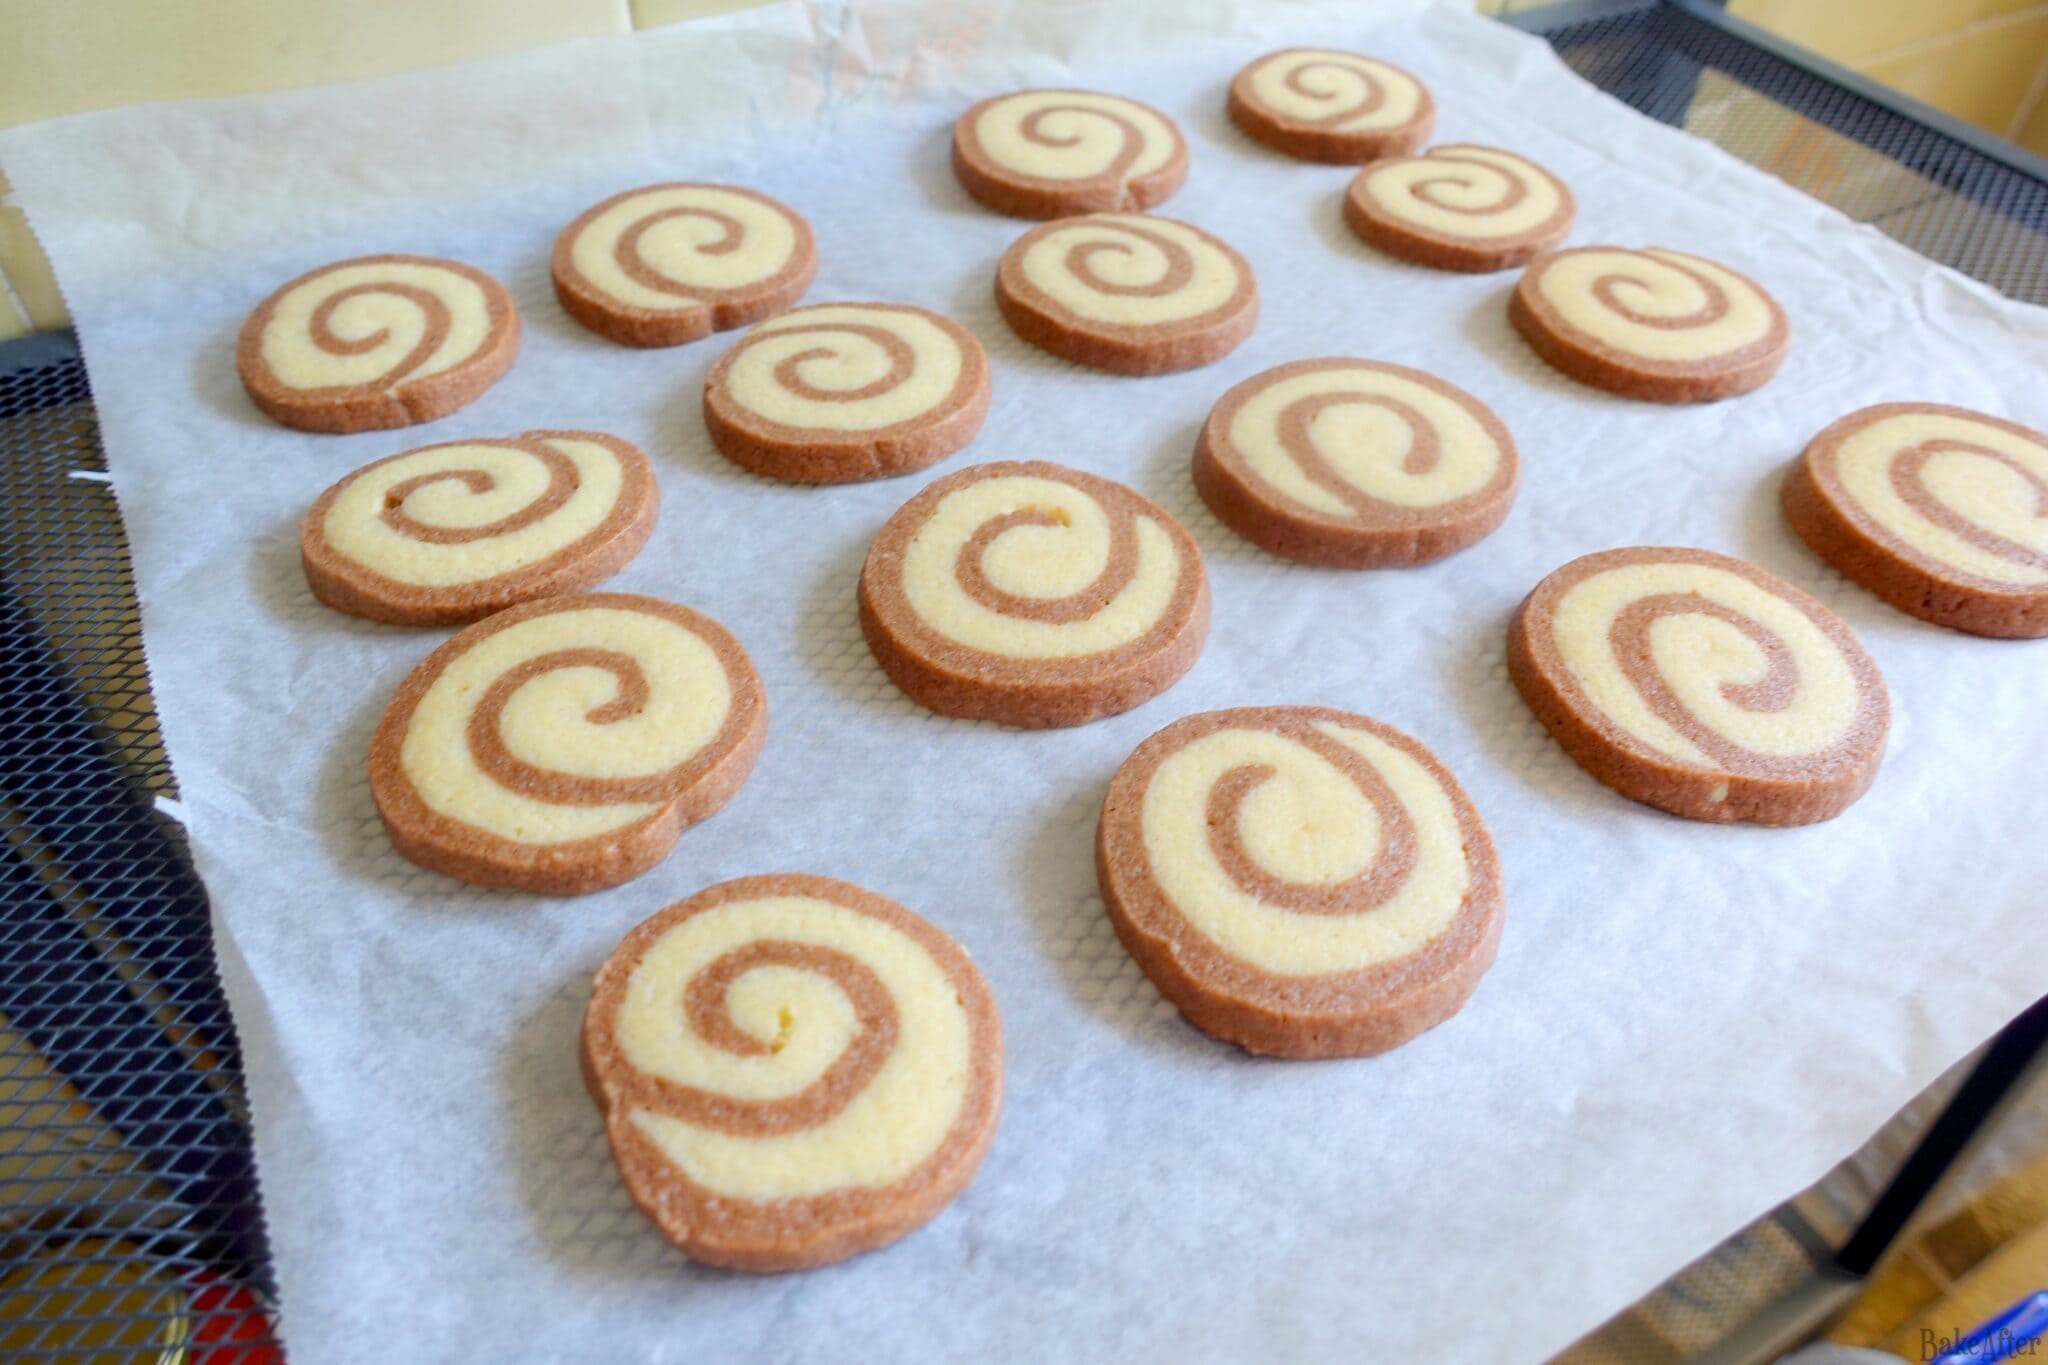
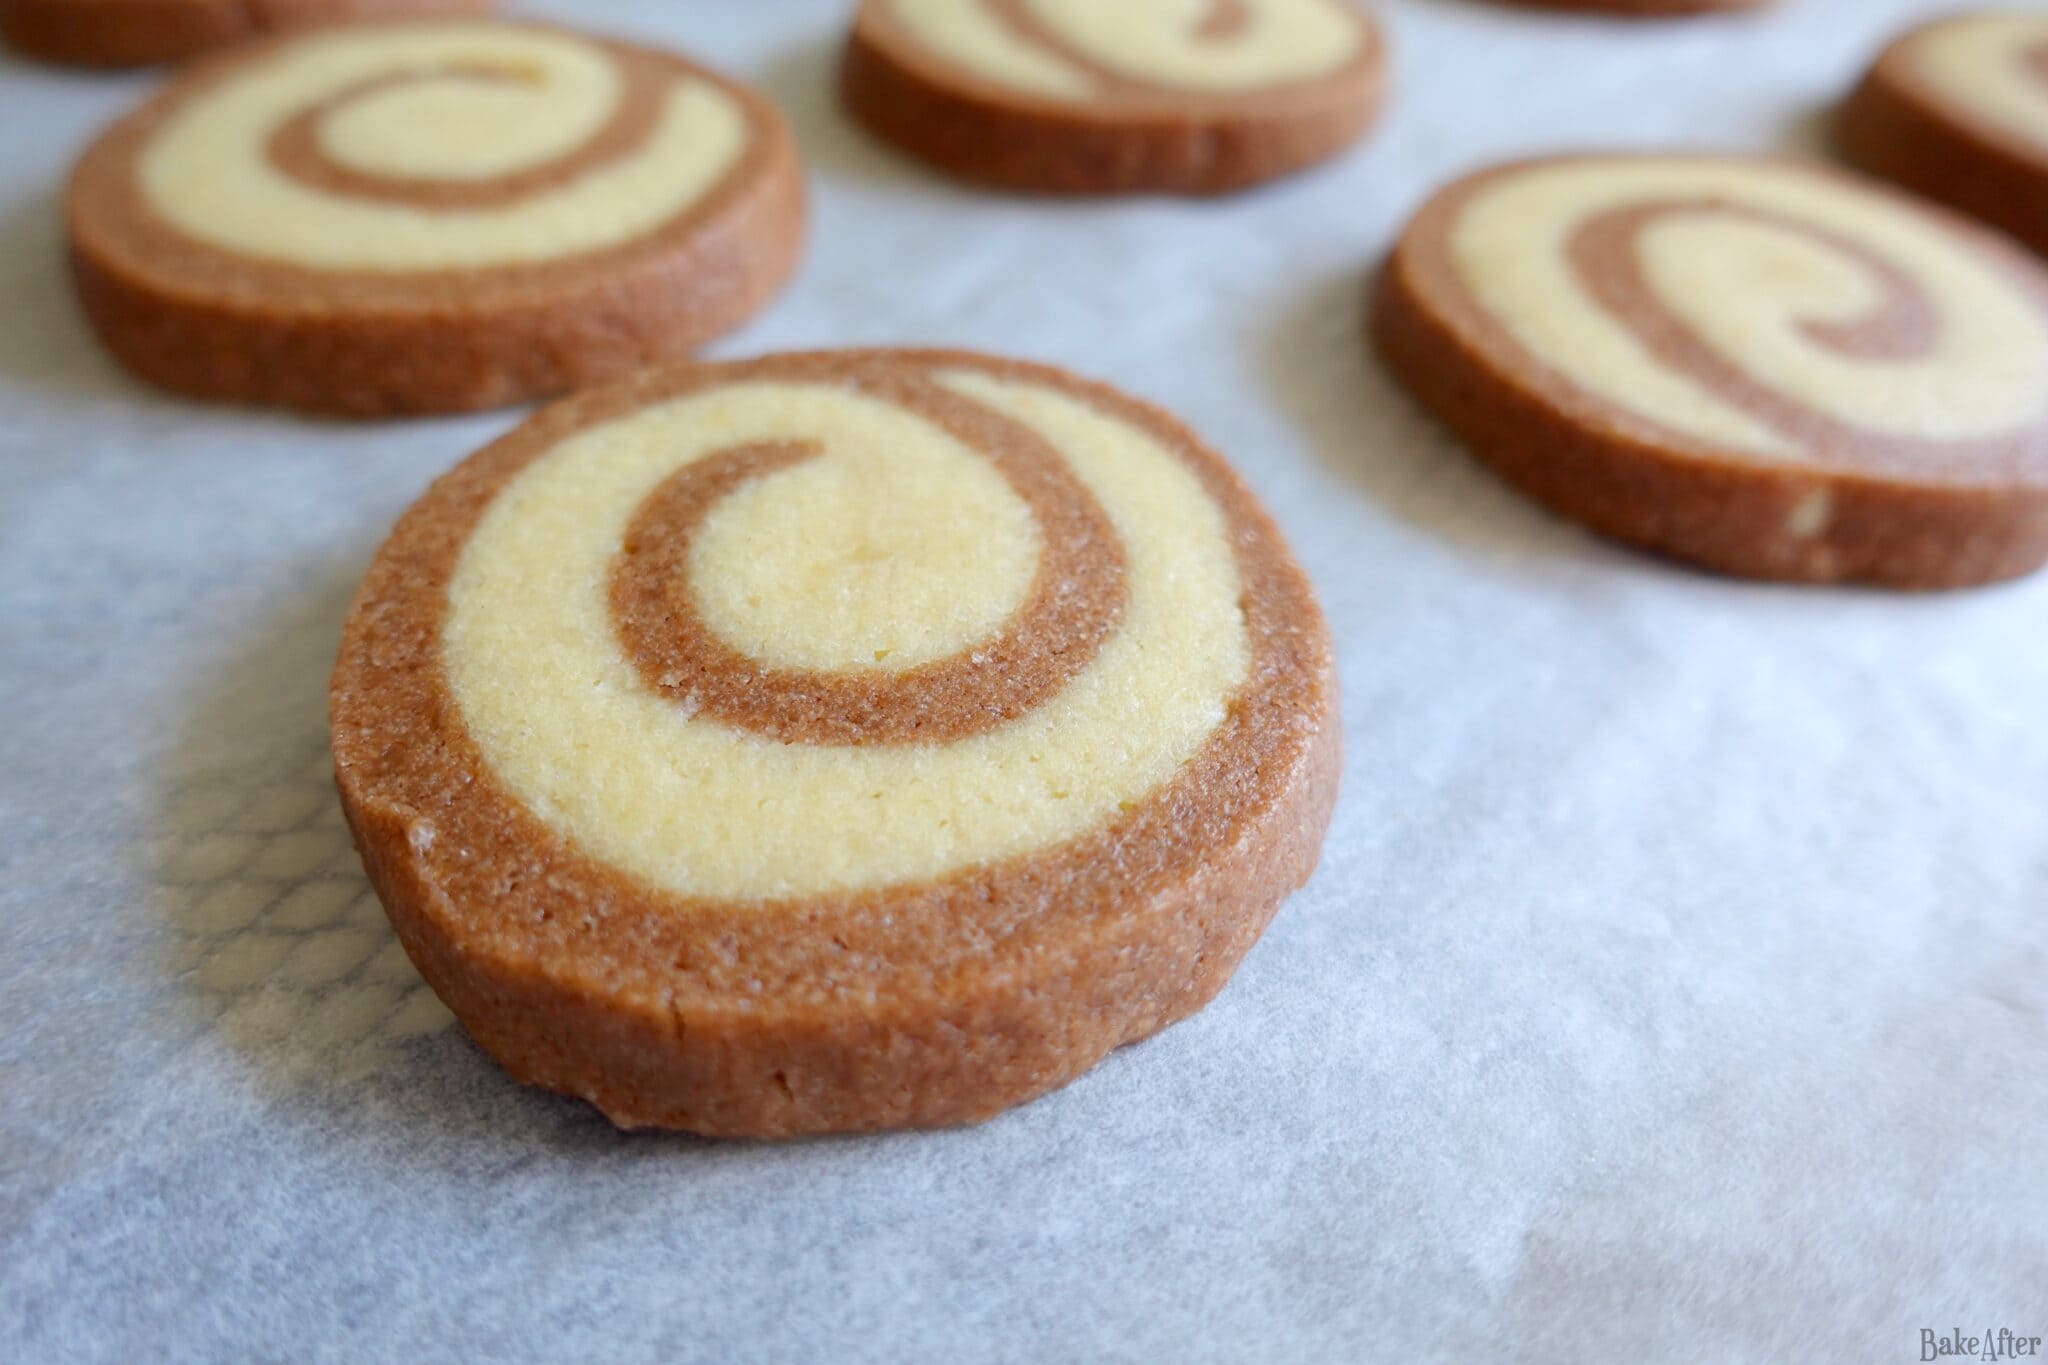
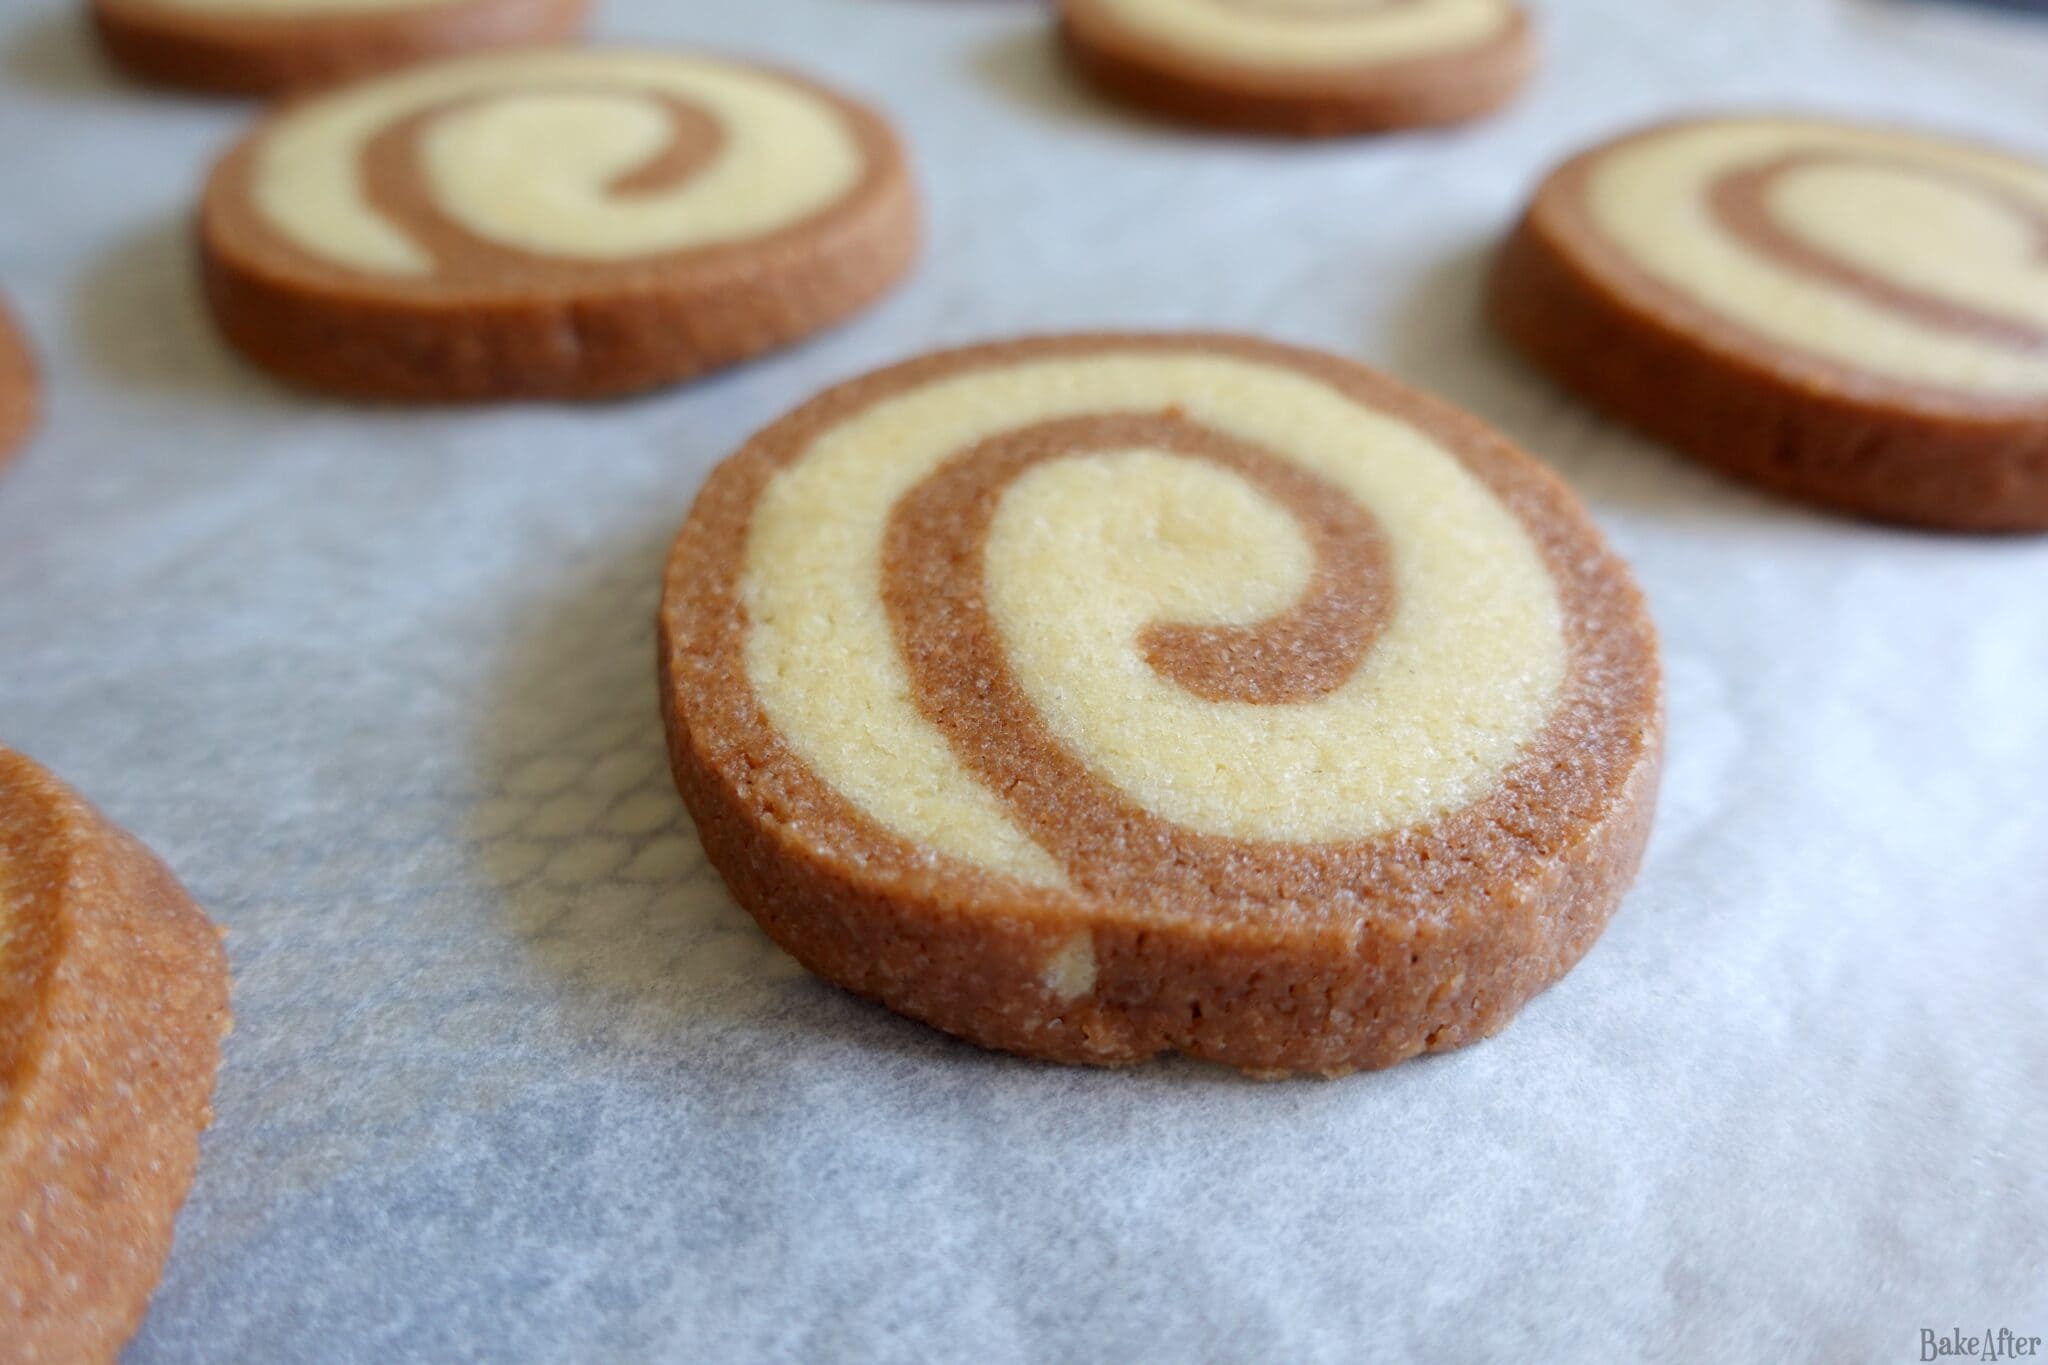
As you can see from the steps, the only problem is that you have to keep putting the dough in the fridge or freezer every time you handle it. But the secret of these cookies is keeping the dough cold. Whenever you feel it’s getting too warm, put it back in the fridge. A cold dough is easier to work with and keeps the design perfect.
When you cut the cookies, use a very sharp knife and make a quick, clean motion. If you drag the knife or saw back and forth, you’ll mess up the spiral pattern.
If you don’t have rolling pin guides (those silicone bands), don’t worry, like I said, use an A4 sheet as your template, it guarantees the doughs end up the right size. If you only have US Letter paper, it works too, just trim the dough to the size of the sheet and keep both rectangles identical so the spiral lines up.
This is a fantastic recipe to prepare ahead. You can make the log up to 5 days before and keep it in the fridge, or slice the cookies and freeze them for up to 3 months. To freeze, arrange the freshly cut cookies on a tray until frozen, then transfer them to a container. You bake straight from the freezer, no need to thaw, it just takes a few more minutes.
The scraps of dough left over from trimming can be kneaded together and rolled out again to make marbled cookies. They look different but are just as delicious.
Once they’re baked and cooled, store the cookies in an airtight container with a paper towel (to absorb water and keep the cookies crispy) at room temperature for up to 1 week.
They make adorable Halloween gifts. Stack a few in a cellophane bag, tie it with an orange or black ribbon and add a little tag that says “Trick or Treat”.
This recipe for Cute & Crispy Spiral Vanilla and Chocolate Pinwheel Cookies was originally created on BakeAfter.com. Esta receita de Bolachas Espiral de Baunilha e Chocolate Pinwheel Cookies foi publicada em português no Iguaria.com.
Nutrition
Per Serving: 148.6 calories; 8.1 g fat; 17.7 g carbohydrates; 1.8 g protein.Did you try this recipe?
Let me know how it turned out for you! What are your favorite type of cookies? You can leave a comment below ;D
Discover more from BakeAfter
Subscribe to get the latest posts sent to your email.