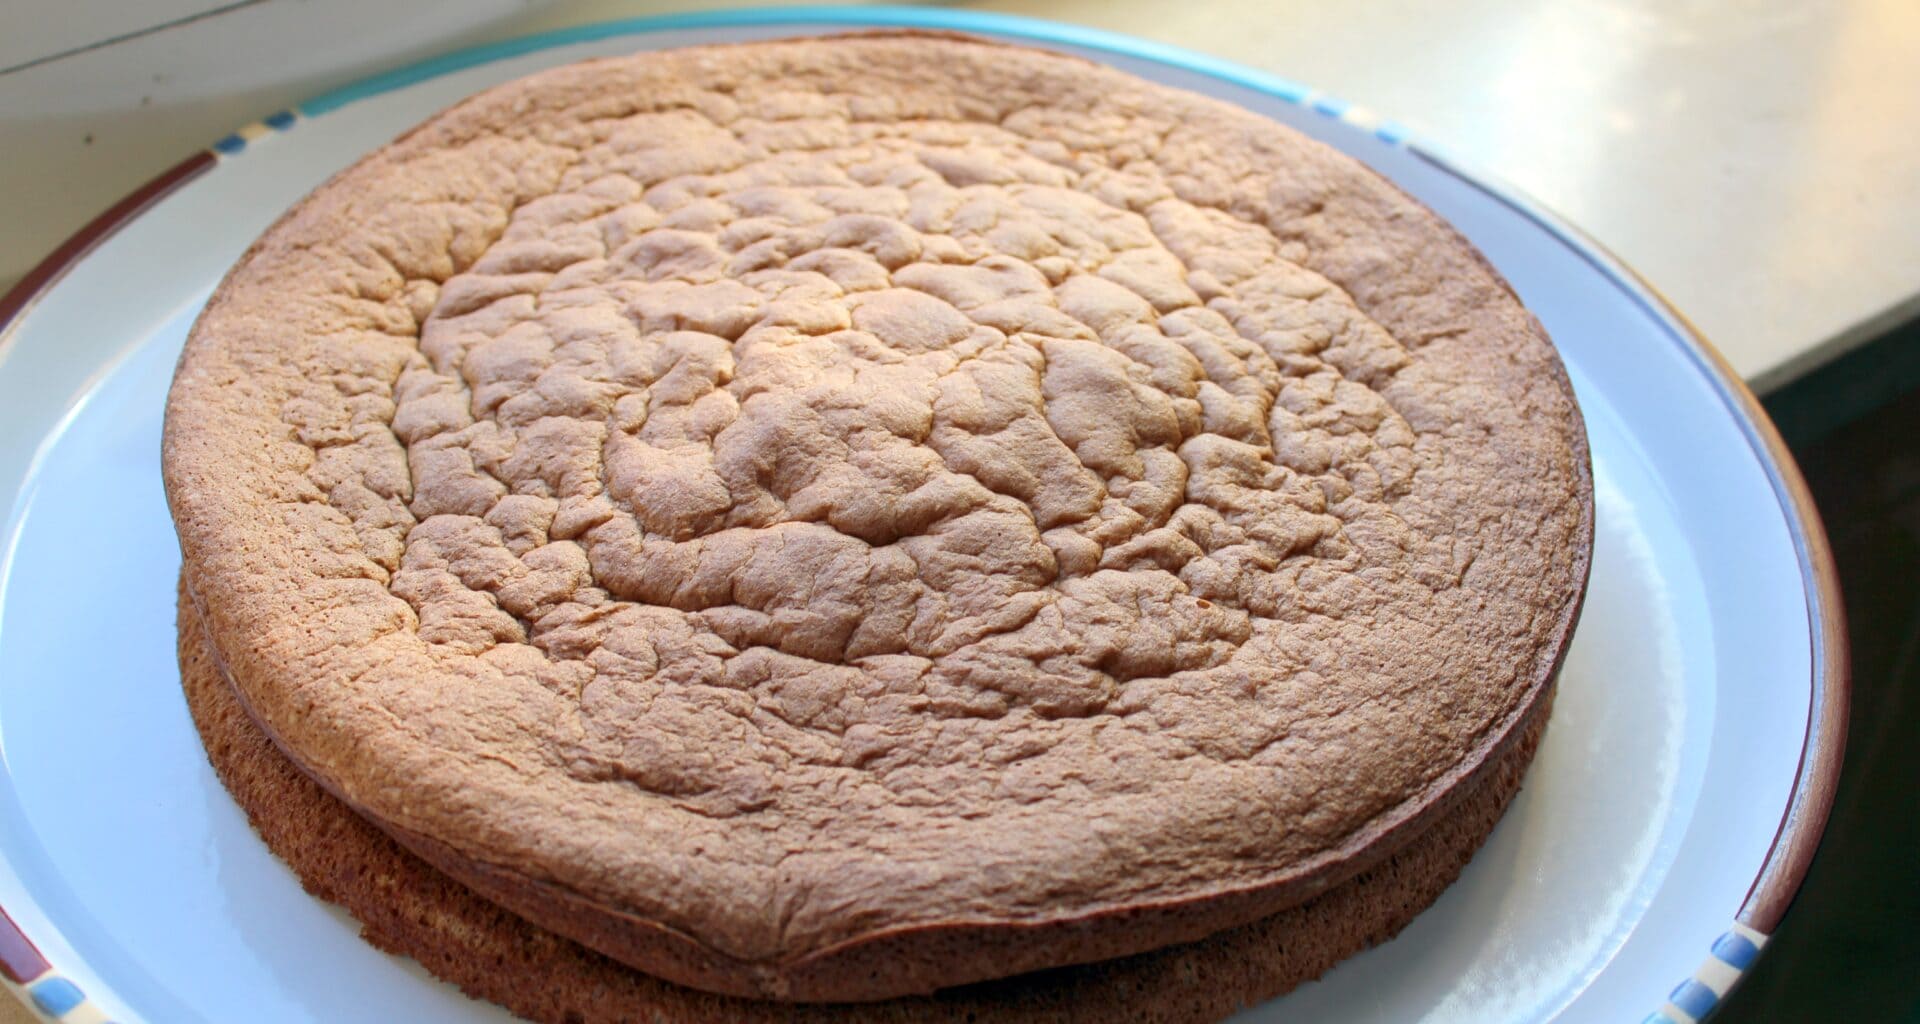

Who hasn’t baked a cake that looked glorious in the oven, take it out and after 5 min it start caving in!!!! Or you take the cake out and it comes out like a volcano almost starting to burst open hehehehe! Yeah it happens to everybody, more times to me than i’d like to admit, and sometimes its your fault and sometimes it the recipes fault!
But there are a few reasons this happens, so let’s go through them, starting with what is a cake! Yes i know, i know, everyone knows what a cake is, but bear with me, this will all make sense… i hope 😉
So What Is a Cake, Really?
A Cake Is a Batter Full of Tiny Bubbles – Basically you mix flour, eggs, sugar, fat and liquid, and you trap air and gas in that batter. Air comes from whisking the eggs or creaming butter and sugar, gas comes from baking powder or baking soda, and some extra lift comes from steam when the water in the batter heats up.
Then The Oven Turns that Batter into a Structure – As the cake heats up, the gas expands and the batter rises. Then the proteins in the eggs and flour set and the starches swell, forming a sort of sponge that holds everything up and together. That is the moment the cake stops being batter and becomes cake.
It’s a Race Between Rising and Setting – This is the key idea of the whole article. The cake needs to rise and set at roughly the same pace. If it rises too fast and sets too slowly, it collapses. If the edges set too early while the center is still rising, you get a dome. Almost every problem below is just a different way of messing up that race.
(And yes i know you can make cakes without eggs, without fat or without sugar, its just an example!)

Why Does a Cake Puff Up and Crack?
A little rounded top is normal, and it’s what most home cakes do. But when the dome is huge or cracked, it’s usually one of these.
The Oven Is Too Hot – This is the classic. The outside of the cake sets quickly while the center is still liquid and still rising, so it has nowhere to go but up, and eventually it breaks through the crust. Even if the oven says 180ºC (350ºF), it may not actually be 180ºC (350ºF), more on this later.
The Cake Was Baked Too High in the Oven – Closer to the top heating element means a faster setting crust, and sometimes the same dome problem.
The Pan Is Too Small or Too Deep – A deep, narrow pan makes the batter take longer to cook through, so again the edges and top cook faster than the center has time.
Too Much Flour – If you scoop flour straight from the bag with a measuring cup, it’s easy to pack in 20% to 25% more than the recipe expects. That makes a stiff batter that rises up in the middle instead of spreading evenly (Always use a scale, weighing flour fixes this).
Too Much Mixing After Adding the Flour – Mixing develops gluten, and more gluten means a tighter, tougher batter that tends to peak in the middle, also if you already added the egg whites you are talking the air out of them. Mix until combined and stop.
Too Much Leavening – This tends to create a massive rise followed by a crack, and often followed by a collapse, which brings us to the next problem.
Why Does a Cake Sink in the Middle?
Sinking is basically the cake saying “I rose too much, too fast, but I just cant hold myself up.”
It Wasn’t Baked Long Enough – The most common reason by far. The structure hasn’t set in the center, so when the cake leaves the oven and the gas cools and contracts, the middle falls. (If you are not sure, the toothpick test and the internal temperature tips in the
done-ness articles are your best friends.)
You Opened the Oven Door Too Early – Cold air rushes in, the cake’s temperature drops while it’s still fragile, and the bubbles shrink. I know it’s tempting, but look through the window, the Universe thanks you ;D
Too Much Baking Powder or Baking Soda – Again, the batter produces too much gas, too quickly, the bubbles grow bigger than the structure can support, they burst, and the cake collapses. A cake with too much leavening often looks great for the first 20 minutes and sinks at the end, which is very frustrating.
Not Enough Structure – If the recipe has too little flour or too few eggs for the amount of sugar, fat and liquid, there’s nothing strong enough to hold the cake up once it’s out of the oven.
Too Much Sugar, Fat or Liquid – The same way sugar and fat tenderise a cake and slow down the setting. A little is great, too much and the cake becomes heavy and can’t hold the shape it just built, you cant make a cake out of just butter…
The Oven Is Too Cool – It sounds the opposite of the dome problem, but it’s the same race. If the cake takes too long to set, the gas has time to escape before the structure is ready, and you end up with a flat or sunken, dense cake.
Your Leavening Is Old – Baking powder and baking soda lose power over time. Old baking powder means a weak rise, which can leave you with a dense, sunken cake. You can test baking powder by dropping a little into hot water, and if it doesn’t fizz, throw it away.
You Whisked Out the Air – In sponge cakes and cakes that rely on whipped eggs, folding too roughly or leaving the batter waiting for too long knocks out the air inside the batter, and that was the air that would hold the cake up.
You Moved or Bumped the Cake – Slamming the oven door or moving a just baked cake that’s still wobbling can make a fragile cake fall. Gentle is the keyword. (This has happen to me, i dropped a freshly baked cake into the table, still in its mold, the cake deflated in like 6 seconds, because when i dropped the cake structure wasnt set yet and i pushed all the air out of the still warm cake).
Reading a Recipe Before You Bake It
Now the part I really want to talk about heheheh. These days the internet is full of recipes that were never baked by anyone, and I mean that literally. Some are written by AI, some are copied and slightly changed from other recipe or recipe sites, and some are written just to fill a page and rank on Google. A recipe that has never been tested is an excellent way to get a sunken cake, and no amount of technique can save a cake that was never tested and doomed from the start!
I’m not saying all AI recipes are bad (some are perfectly fine), I’m saying that you should always look at a recipe with a little suspicion.
Here are the things I check before I even turn the oven on.
Check the Leavening vs the Flour – A very common rule of thumb is about 1 to 1½ teaspoons of baking powder per cup of flour (roughly 125g). If you see 3 or 4 teaspoons for 1 cup of flour, something is wrong. For baking soda, a typical amount is around ¼ teaspoon per cup of flour, and it needs something acidic in the recipe (buttermilk, yogurt, lemon juice, brown sugar, cocoa) to work. Baking soda with nothing acidic is a red flag.
Check Whether They Use Both and Why – Using baking powder and baking soda together is common and fine, but the recipe should make sense. If the recipe has both in big amounts and no real reason, be careful.
Look at the Balance of Ingredients – A typical butter cake has roughly similar amounts of flour, sugar, fat and eggs (that’s the old-school pound cake idea, and modern cakes drift from it a little). If the recipe has twice as much sugar as flour, or six eggs for a cup of flour in a recipe that isn’t a sponge, stop and think. Compare it with two or three recipes for the same type of cake, if the numbers are wildly different, the odd one out is probably the suspicious one.
Check the Pan Size vs the Amount of Batter – Fill a pan about half to two-thirds full. A recipe with 4 cups of batter for an 8-inch round pan will overflow or dome, and a recipe with 1 cup of batter for a 9×13 pan will make a flat, dry cake. This is one of the easiest mistakes in AI recipes, because they tend to ignore physical sizes of cake molds!
Look at the Temperature and Time – Most cakes bake at 325ºF to 350ºF (160ºC to 175ºC) for 25 to 60 minutes, depending on size and type of ingredients (having fresh fruit/vegetables tends to increase baking time). A cake at 425ºF for 15 minutes, or at 250ºF for two hours, is a red flag, unless it’s a very specific type of cake and the recipe explains why.
Is the Method Detailed? – A good recipe tells you things like “cream the butter and sugar until pale and fluffy,” “fold gently,” “don’t overmix,” “cool 10 minutes in the pan.” If the method is just “mix everything and bake,” it was probably not written by someone who baked it or its a very basic recipes (like you can do decent pancake batter adding everything into a blender).
Look for Contradictions – The ingredient list says 2 eggs and the method says “add the 3 eggs.” The list says room temperature butter and the method says to melt it. The cake is “light and fluffy” but has 4 cups of flour and almost no leavening. These small things reveal a recipe nobody tested.
Check the Comments and Photos – Real recipes usually have comments from people who baked them, and it has real photos with intermediary steps. If a recipe has perfect stock-style photos and no comments or only generic ones (“Great recipe!”), be careful. And as I said in another article, I’ve also seen modern cookbooks with recipes that clearly weren’t well tested, so a printed book isn’t a guarantee either.
Prefer a Recipe from Someone Who Actually Bakes – A site or author that explains why, shows the real result and admits failures (hello, that’s me) is far more trustworthy than a page that just lists ingredients and ways to mix them…

So How Do We Avoid Sunken or Domed Cakes?
Now that we know the causes, here’s the practical part.
Choose a Tested Recipe – I know, simple, but it really is 50% of the work. Pick a recipe from a source that bakes its cakes, with a good ratio of ingredients and enough detail so you can follow easily.
Follow the Recipe to the Letter the First Time – Same pan, same ingredients, same method. If it fails, you know whether it was the recipe or you. Once you know the recipe, then you can experiment as much as you like (I do it all the time), but first time with new recipe, follow the recipe!
Measure Properly (Ideally with a Scale) – A kitchen scale is cheap and the single best upgrade for any baking. Cups are very inconsistent, especially with flour. And please measure leavening with proper measuring spoons, level, not a “pinch” or a “heaping spoon.”
Get to Know Your Oven – An oven thermometer costs a few dollars and will probably surprise you. Many home ovens are off by 25ºF or more. If your cakes dome, your oven may run hot, if they sink, it may run cool or lose heat when you open the door.
Preheat Properly – Wait until the oven has reached the temperature and, if you can, give it 10 more minutes so the walls also warm up evenly.
Bake in the Middle of the Oven – If possible, unless the recipe says otherwise. Lower if the top browns too fast, and tent with foil if needed.
Use the Right Pan/Mold – The size in the recipe is there for a reason. If you have to change pans, adjust the baking time and keep an eye on it. A good rule is to keep the batter depth about the same.
Mix Gently Once the Flour / Egg Whites Goes In – Mix until just combined, and fold delicate batters gently.
Don’t Open the Door in the First Half – Wait until the cake has set (usually at least 20 to 25 minutes for a normal cake) and only then check if you really need.
Check Doneness the Right Way – Toothpick in the center, a light press on top, and if you have a thermometer, about 205ºF to 210ºF (96ºC to 99ºC) inside for most cakes. And remember the exceptions, a very moist cake can leave a damp toothpick and still be perfectly done.
Let It Cool Properly – Don’t take the cake out and put it in a cold spot, and don’t leave it in the pan forever either. Usually 10 minutes in the pan, then onto a rack.
Extra Tips and Tricks For Perfect Cake Baking
- Tap the Pan Gently on the Counter – Before it goes into the oven, to release very big air bubbles. Don’t overdo it, you don’t want to knock out the good air.
- Use Fresh Leavening – Write the date you open the baking powder on the lid. After about 6 months it starts to lose power or by individual wraped baking powder, these come in packets of about 10, and each one is good for like 2 bakes, so if its sealed it lasts about 2 years! Good if you dont bake often.
- Room Temperature Eggs and Butter – They mix better and trap air more evenly, unless the recipe says otherwise.
- Try Baking Strips or a Wet Towel Around the Pan – They slow down the edges so the cake rises more evenly and with a flatter top. You can buy strips or make your own with a damp, folded kitchen towel and a safety pin. This is more a suggestion for professionals! ;D
- Make Two Thin Layers Instead of One Thick Cake – They bake more evenly, and you get to add a filling in the middle as a bonus.
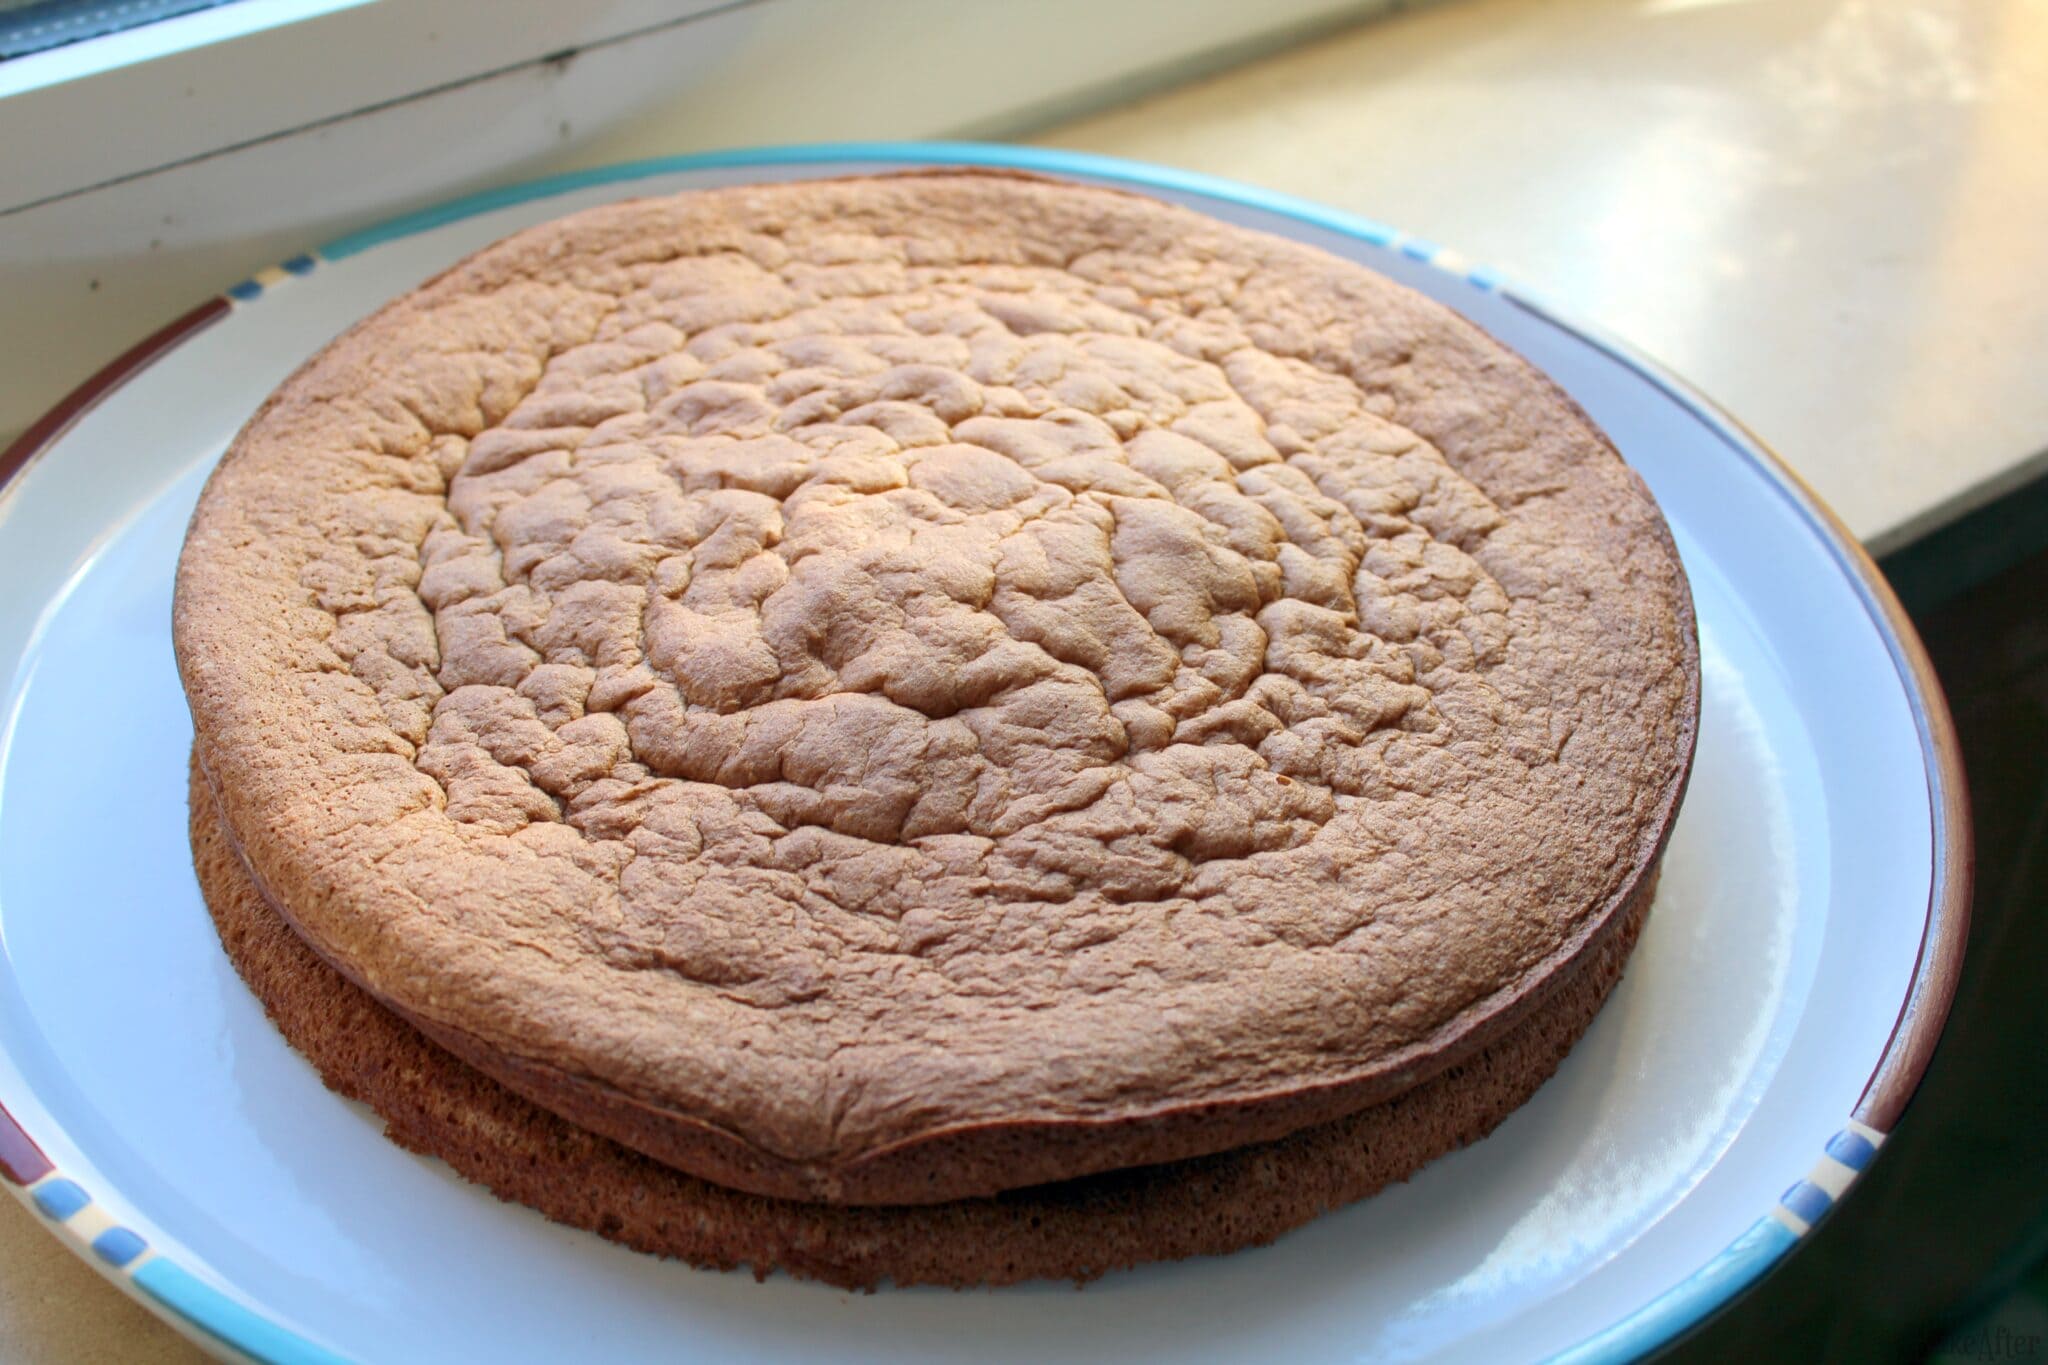
- Flip It if You Have a Dome – If the cake domed, let it cool, slice off the top with a serrated knife and flip it over for a flat surface. Nobody will know, and the cook gets a snack ;D This is perfect if you are going to add some kind of frosting!
- If It Sinks, Don’t Throw It Away – Fill the crater with whipped cream, fruit, ganache or custard and call it a design choice. A sunken cake is still cake, and it will taste great. Or cut it into cubes or another shape (instead of slices) so its harder to tell what happen.
- Take Notes – Write down what you changed and what happened, the oven temperature, the time, the pan. After a few cakes you’ll know your oven and your recipes better than any article could teach you.
And that’s it. Also don’t take it too seriously when a cake fails, it happens to everybody, even people who run bakeries, you learn with your failures. Hope this was useful, and if you have any tip I missed, share it in the comments, until next time! ;D
Discover more from BakeAfter
Subscribe to get the latest posts sent to your email.