
The coxinha de frango is Brazil’s most beloved snack, yeah i said it!, sold everywhere you go. Let’s be honest, if a Brazilian Boteco (snack bar place) doesn’t serve a decent coxinha, it’s going to have some serious popularity problems! This classic Brazilian snack is a fantastic way to make use of chicken leftovers too, leftover roast chicken works beautifully in this recipe.
I won’t go deep into the origins of coxinha because, to tell the truth, nobody really knows for sure. There are various theories and myths, but it most likely came from Europe, probably through Portugal, since it’s clearly similar to a rissol, empada, or croquette. The Brazilians then modified, adapted, and perfected it to create the snack we know and love today. The authentic Brazilian version uses a potato-based dough and a sautéed chicken filling, this combination makes all the difference in the final result.
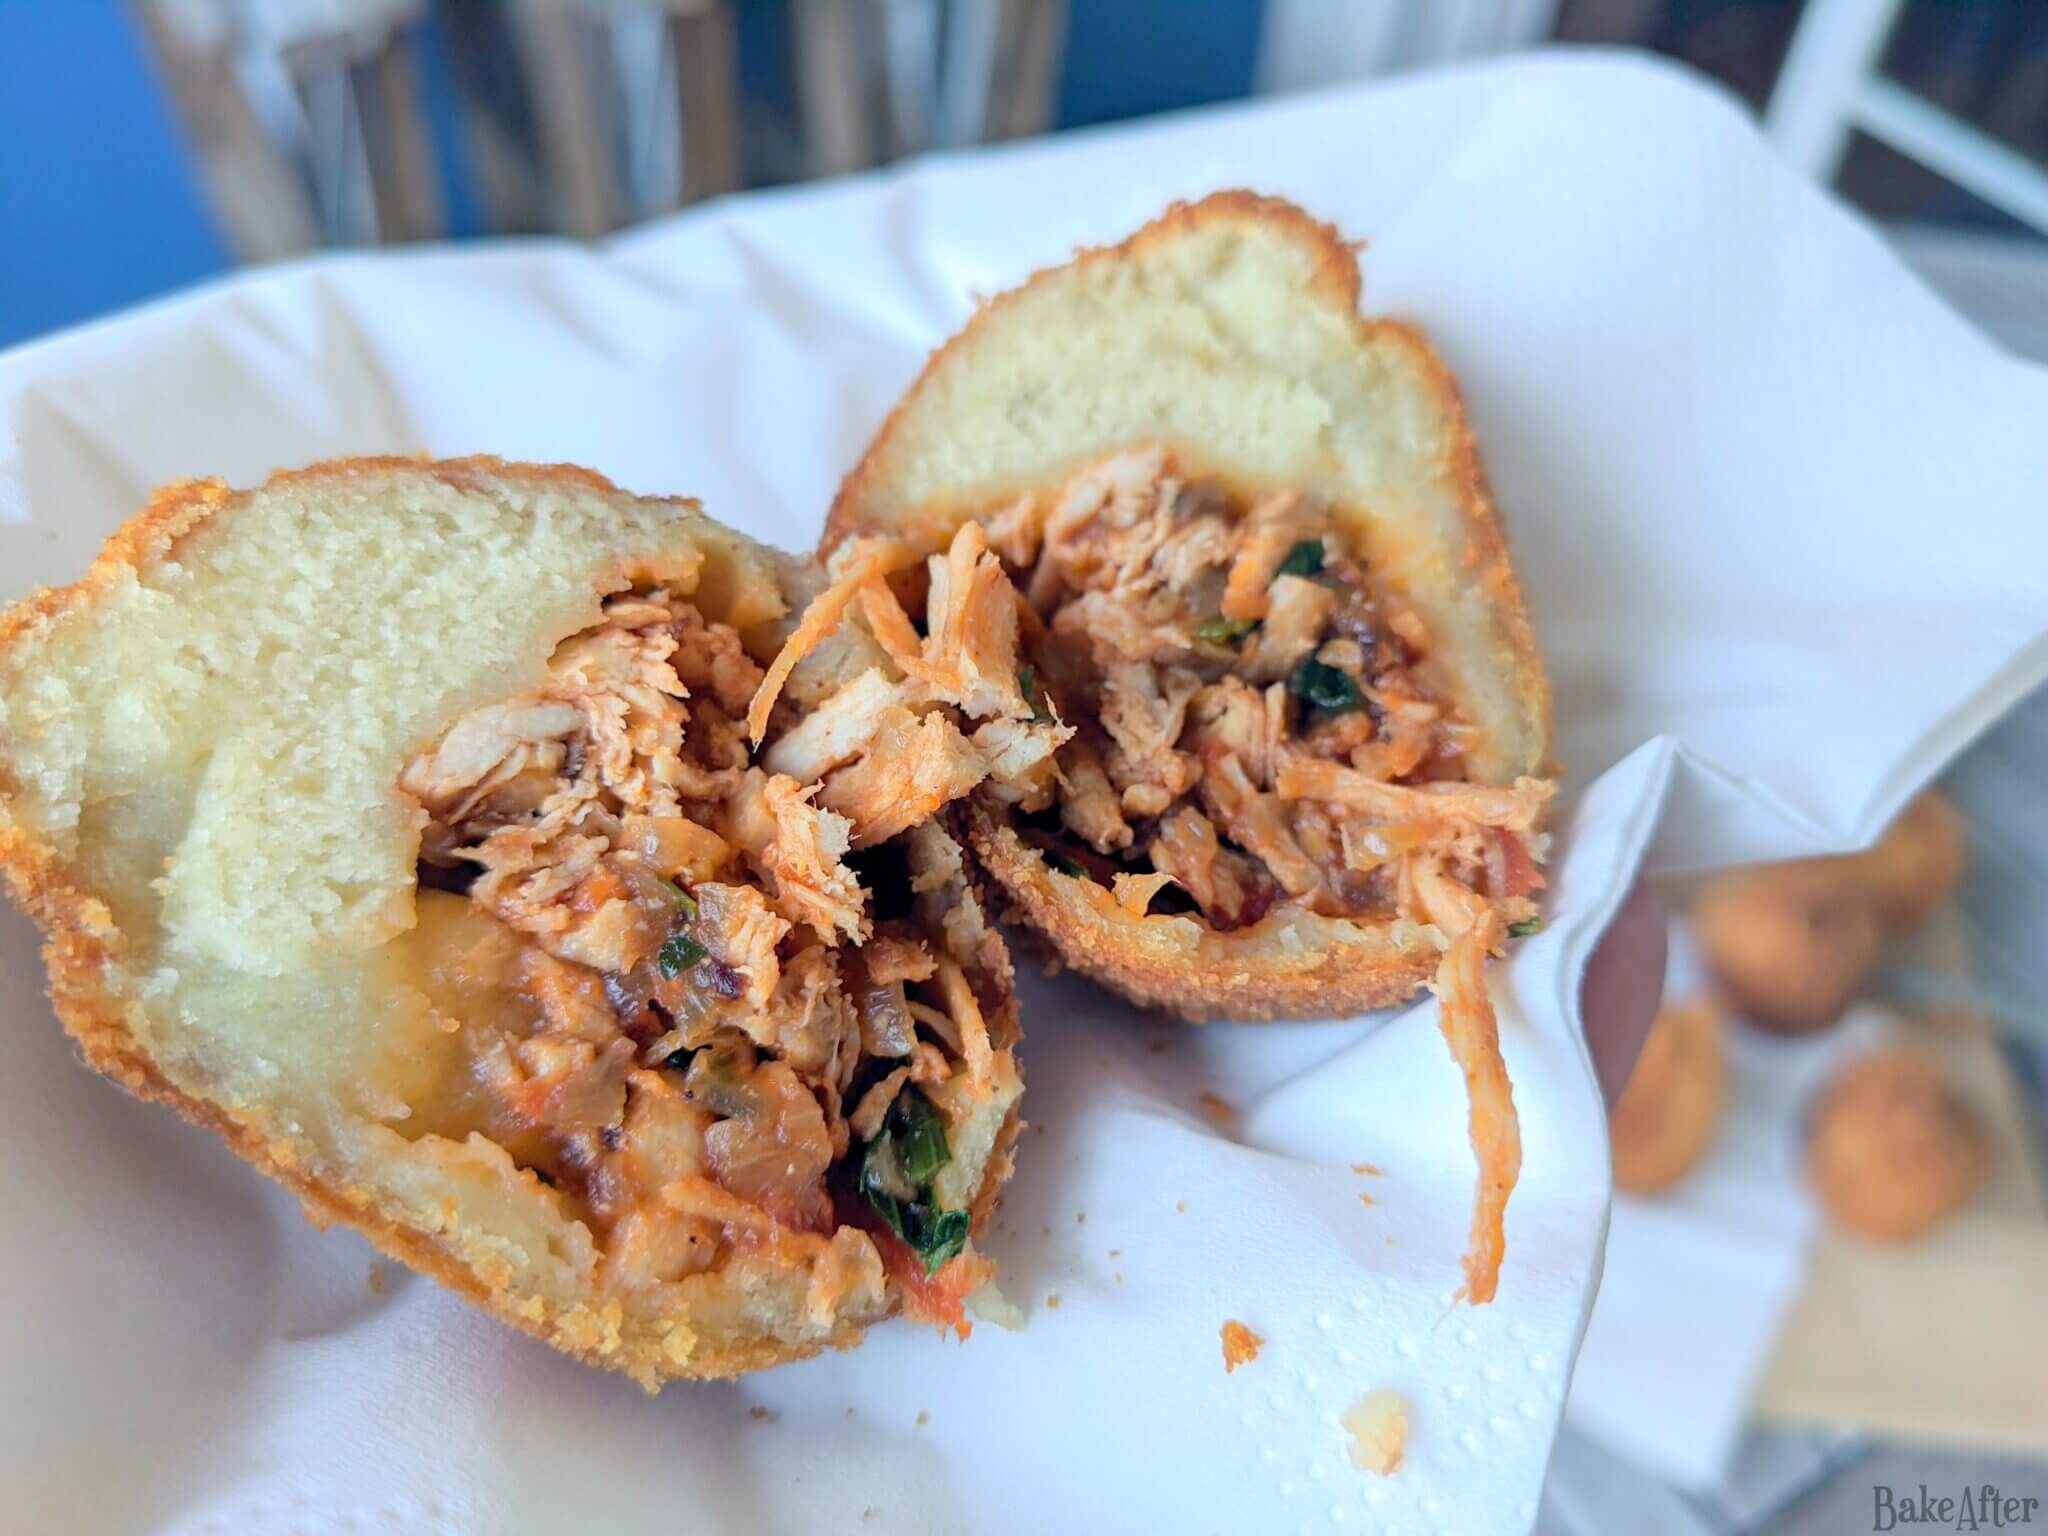
Yeah it’s a bit of work to make them, but trust me, it’s absolutely worth it! The iconic teardrop or pear shape is what makes a coxinha instantly recognizable, and when you bite into that golden, crispy exterior to find the savory, seasoned chicken filling inside, you’ll understand why this is what it is… the perfect snack! Hehehehe this recipe should make about 12-18 coxinhas of regular size, do note that I did a bunch with regular size and 3 or 4 super big! (That’s also common to have “giant” coxinhas) Let’s check the recipe!
Authentic Brazilian Chicken Croquette • Coxinha Brasileira

I know this is a recipe for you to make them at home, but if you are even in Brazil, you gotta try some of these golden beauties... they are like edible hugs, crispy on the outside, warm and creamy and comforting on the inside! Perfection!
Ingredients
- Potato – 230g (Mashed)
- Flour – 216g
- Water – 60ml
- Butter – 25g
- Garlic – 1 Clove
- Chicken Stock – 1/2 Cube
- Salt – A Pinch
- Chicken – 1 Breast (already cooked, approx. 310g)
- Tomato – 1 Medium
- Onion – 1 Medium
- Garlic – 2 Cloves
- Oil – 2 Tablespoons
- Bay Leaves – 2 Leaves
- Nutmeg – A Pinch
- Tomato Pulp – 2 Tablespoons
- Parsley – 2 Heaped Tablespoons (chopped)
- Pepper – A Pinch
- Salt – A Pinch
- Flour – To Help Stretch The Dough
- Oil – For Frying
- Breadcrumbs – For Coating
- Water – For Moistening
Directions
- This recipe is divided into three parts: you have to make the filling, you have to make the dough, and finally you fill each one, breaded and fried. To make the recipe more practical, you can start by boiling the potatoes and chicken in advance, also of course you can use already cooked chicken leftovers ;D
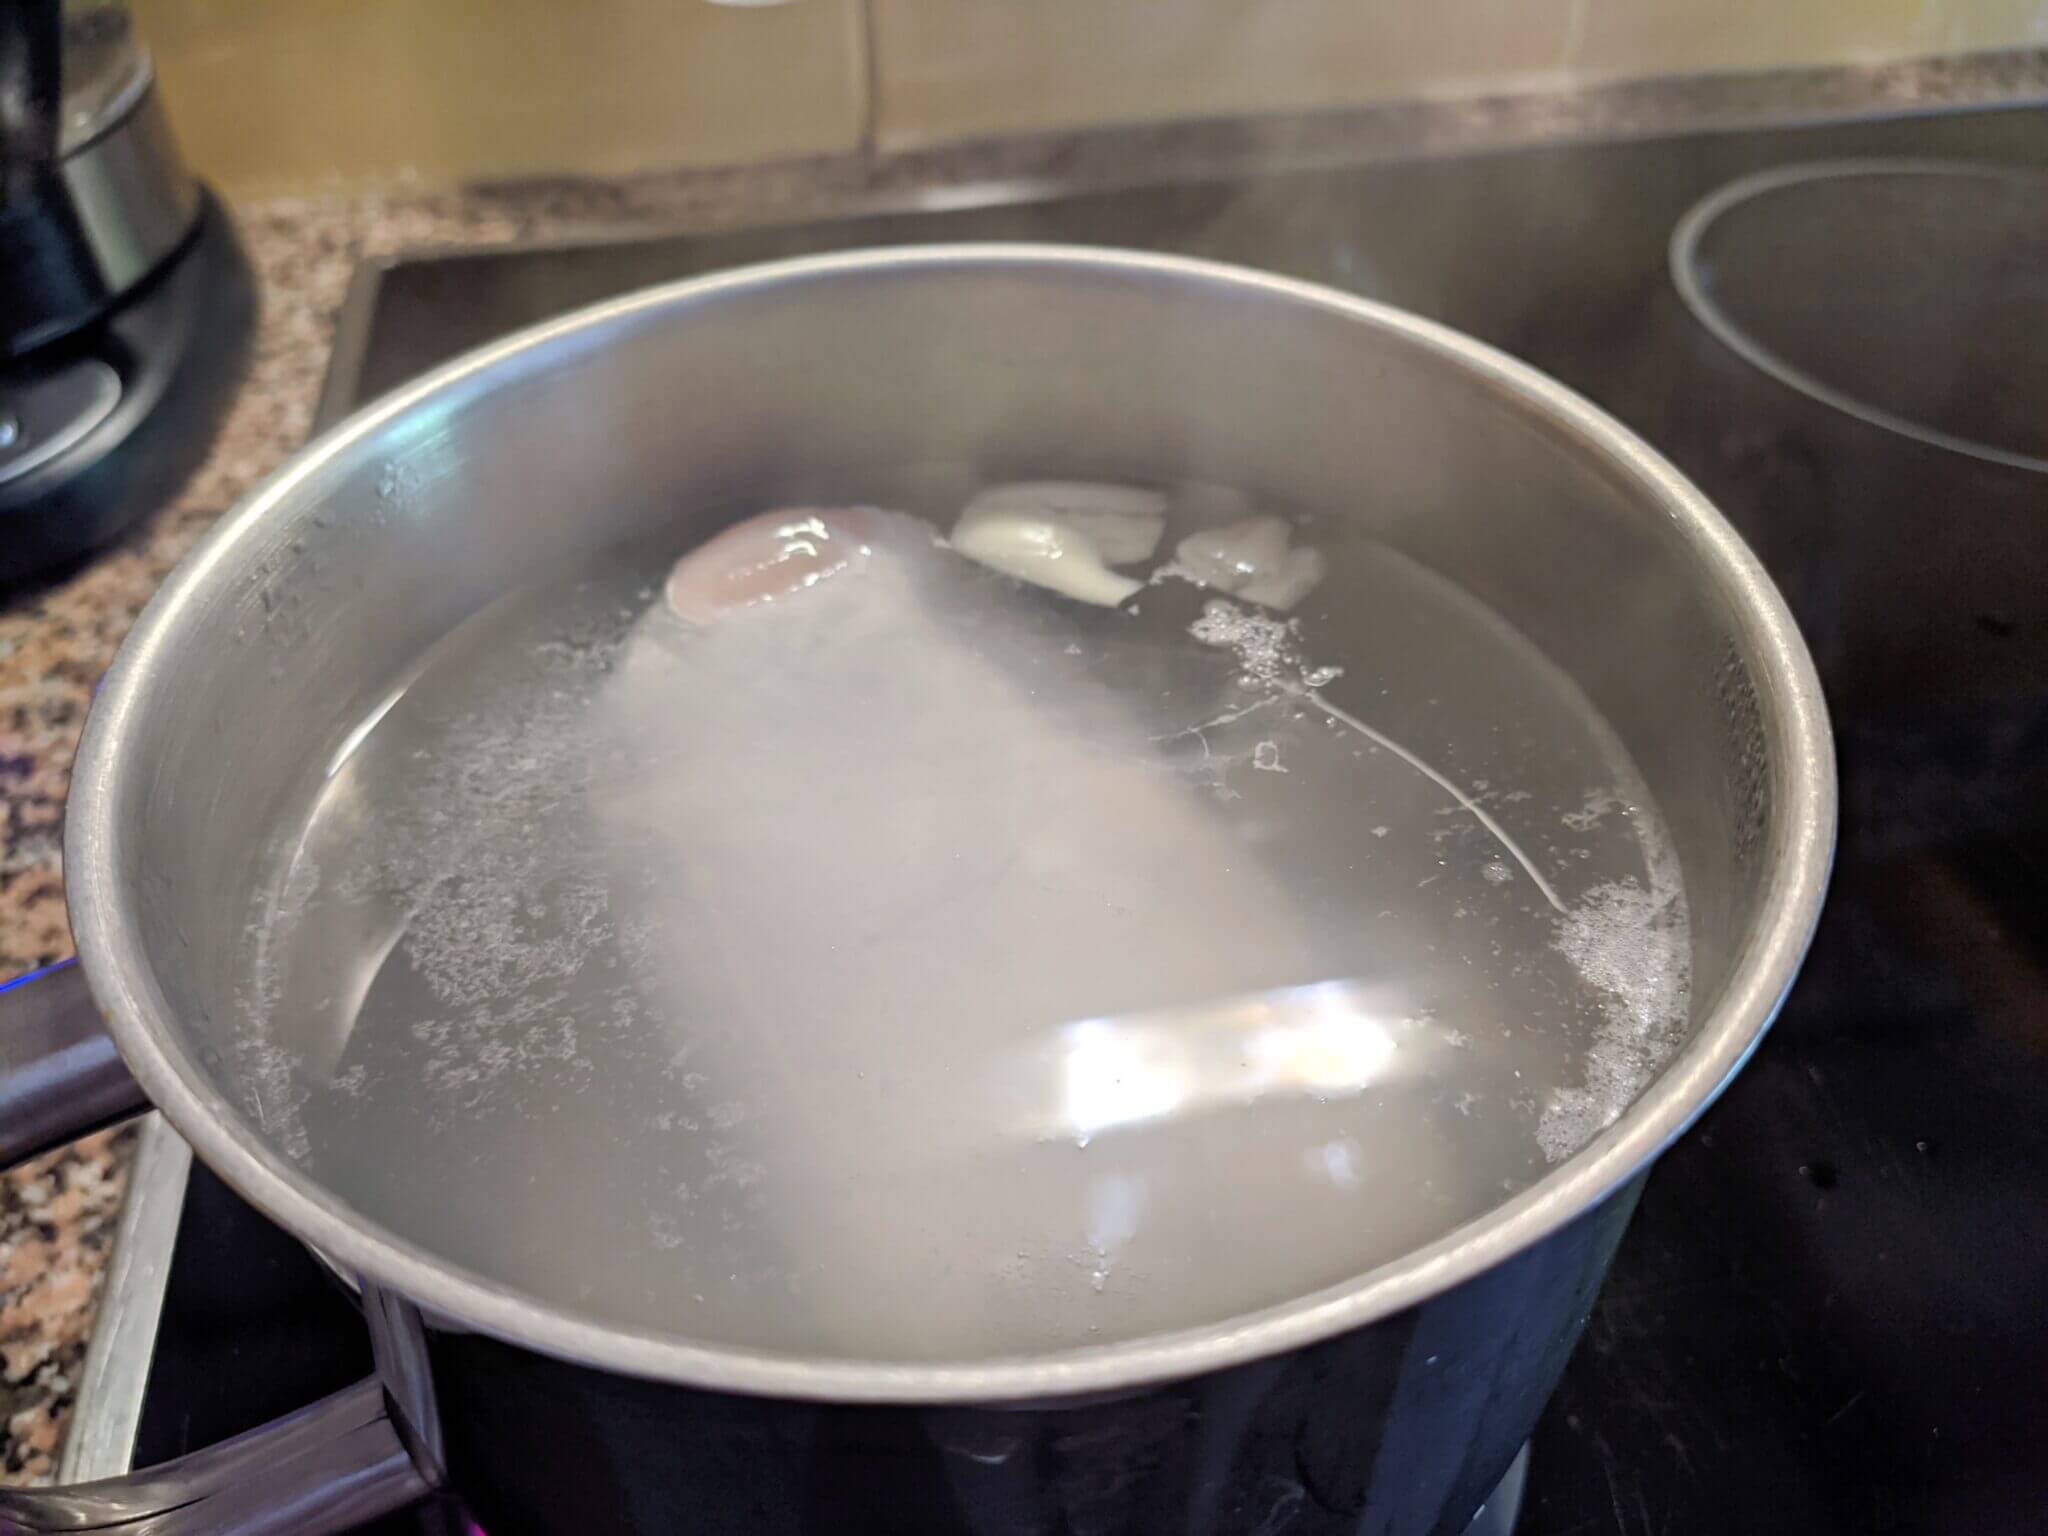
- Start by preparing the dough. Bring a pan with 60ml of water, 25g of butter, 1 clove of garlic purée, 1/2 chicken stock cube, a bay leaf, and a pinch of salt to the boil.
- When it starts to boil, add the mashed potatoes and mix well.
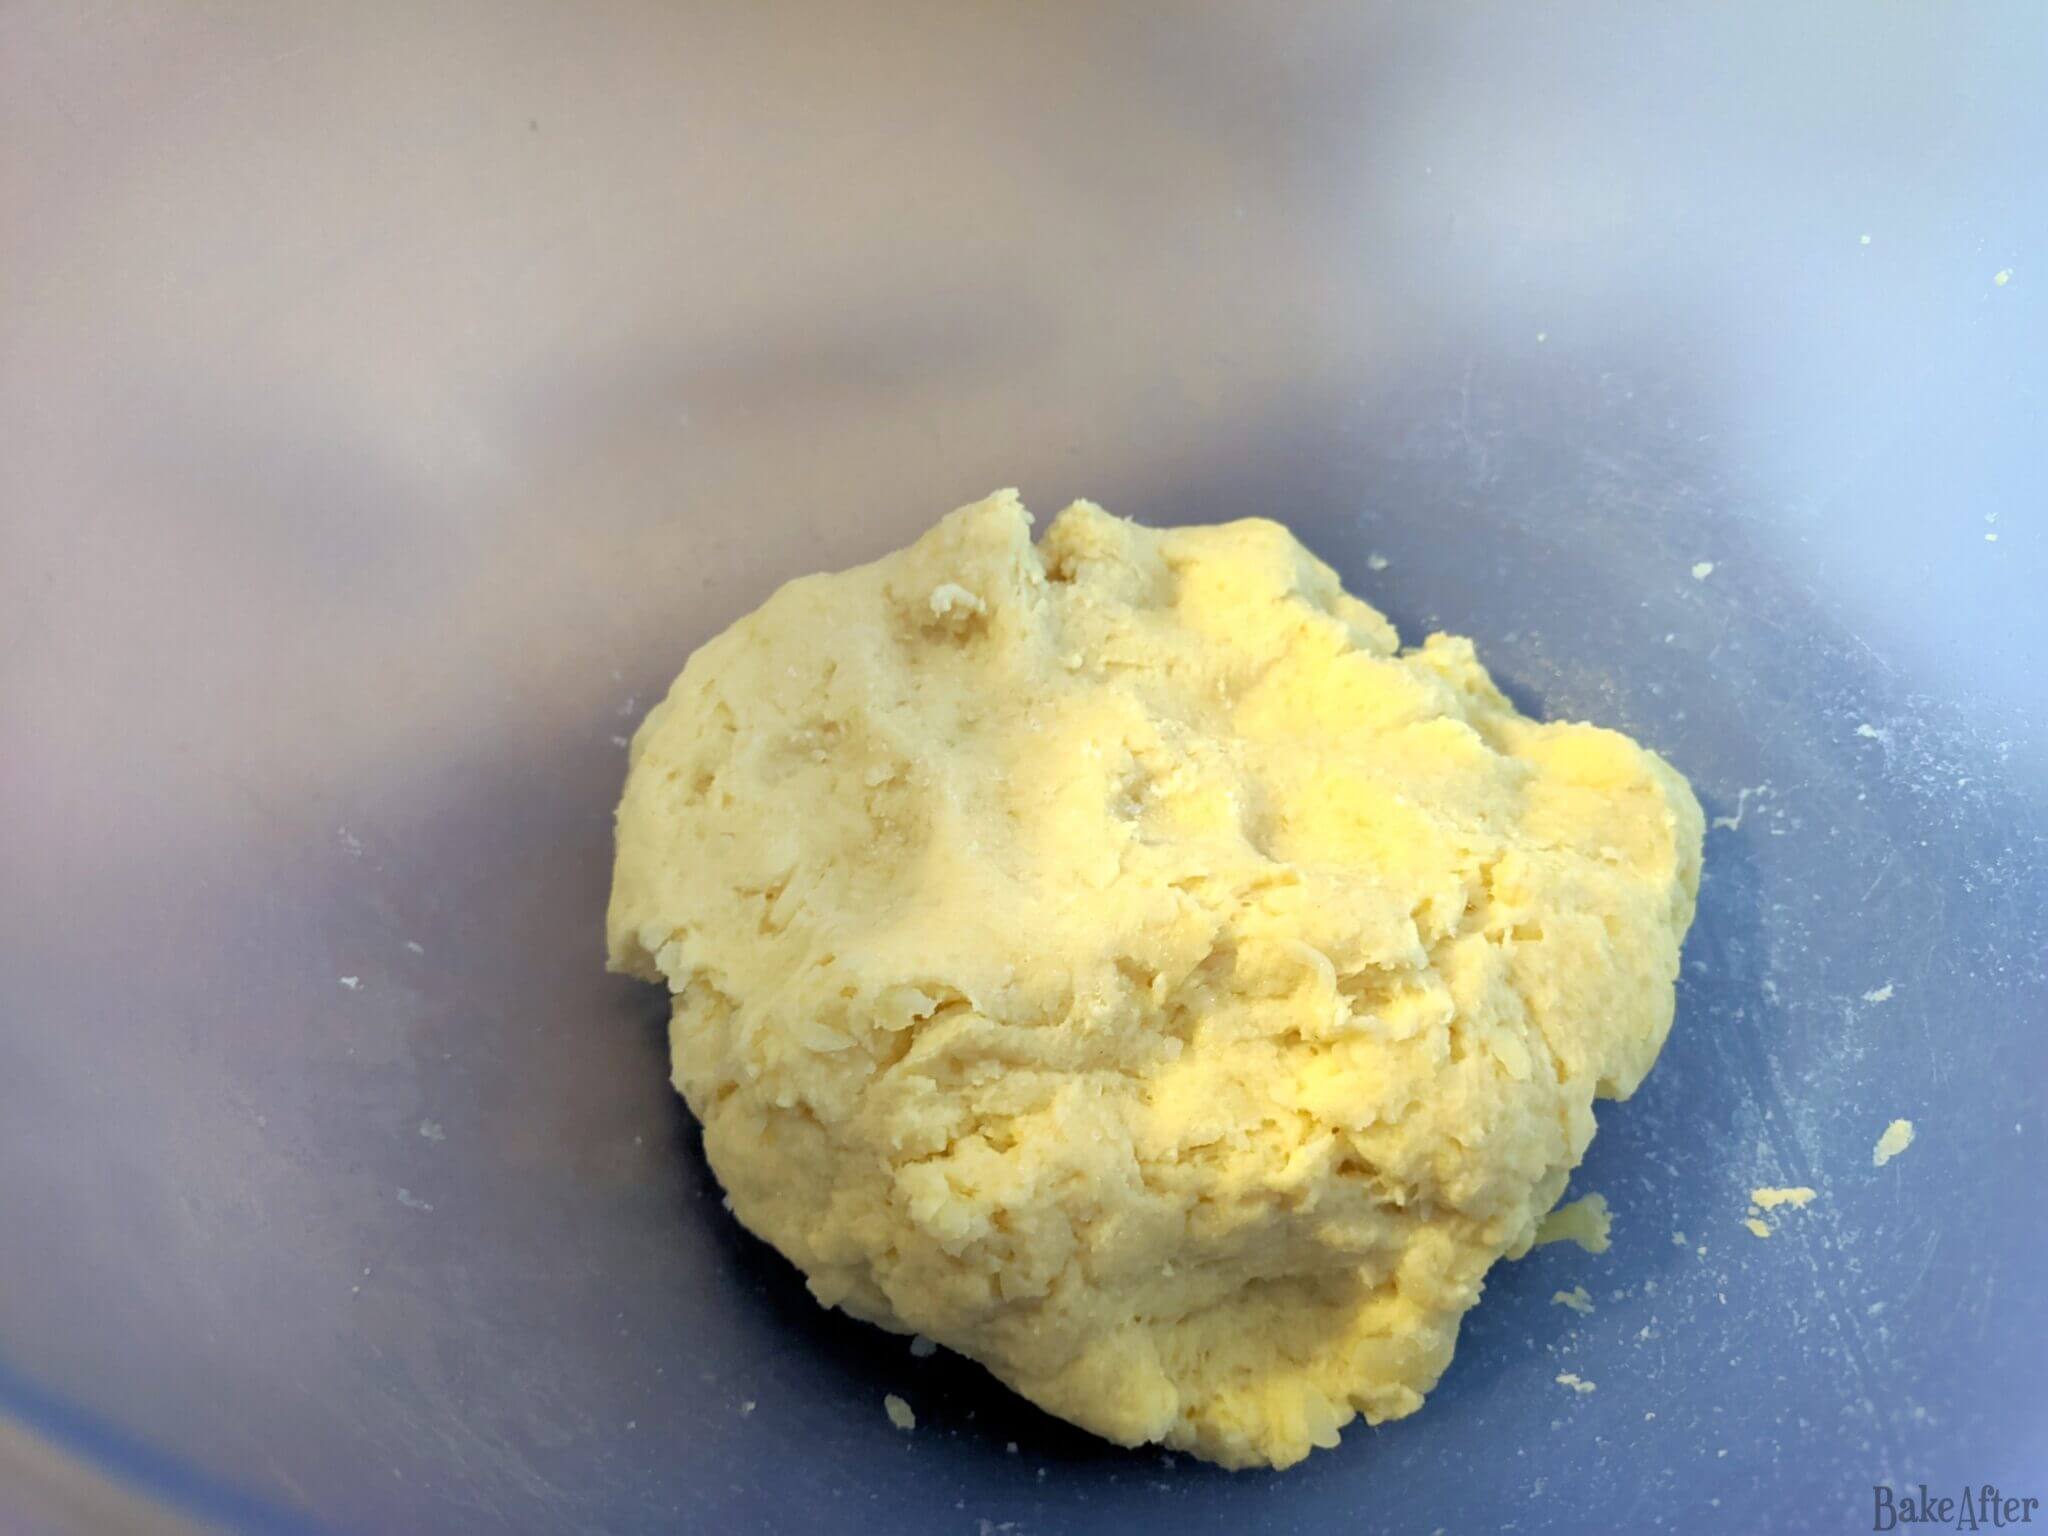
- Then add the wheat flour and mix, cook for about 2 minutes, stirring constantly, then remove from the heat and let it cool.
- To prepare the filling, add the oil and finely chopped onion and garlic to a frying pan, followed by the chopped tomatoes and a bay leaf, and cook until it begins to form a thick sauce.
- Add the shredded chicken, two tablespoons of tomato pulp, nutmeg, salt, and pepper, and mix well.
- Finally, add the chopped parsley and mix again, remove from the heat and let the filling cool.
- Then take the dough and knead it a little until smooth, then roll it out and cut it into discs of the same thickness.
- On a cutting board, stretch each piece of dough to create a disc.
- Generously fill each disc and close it by pinching the edges together to create the traditional shape of a chicken coxinha. Repeat until you have no more dough or filling.
- Finally, heat the oil, dip each coxinha in water and breadcrumbs, repeat to all of them (after this you can freeze them and then they are ready to go when you want to make some).
- When the oil is hot, put some of the coxinha on the oil, dont add too much, then keep moving them so they fry evenly on all side, when they are all golden brown, remove them, and fry some more.
- Place the coxinhas on paper towels or drying racks and let them cool a little and drain of excess oil. That’s it, bon appétit!


You can freeze the assembled and breaded coxinhas before frying. When ready to eat, fry them straight from frozen in slightly lower temperature oil to ensure they cook through properly.
Wet your hands slightly when shaping to prevent sticking, and make sure to seal the edges well to prevent the filling from leaking during frying.
This recipe is perfect for using up leftover roast chicken, rotisserie chicken, or any cooked chicken you have on hand.
This recipe for Authentic Brazilian Chicken Croquette • Coxinha Brasileira was originally created on BakeAfter.com. Esta receita de Coxinha de Frango foi publicada em português no Iguaria.com.
Nutrition
Per Serving: 303 calories; 16.7 g fat; 25.8 g carbohydrates; 11.7 g protein.Did you try this recipe?
Let me know how it turned out for you! Have you tried a Brazilian coxinha before? Leave a comment below ;D
Discover more from BakeAfter
Subscribe to get the latest posts sent to your email.


