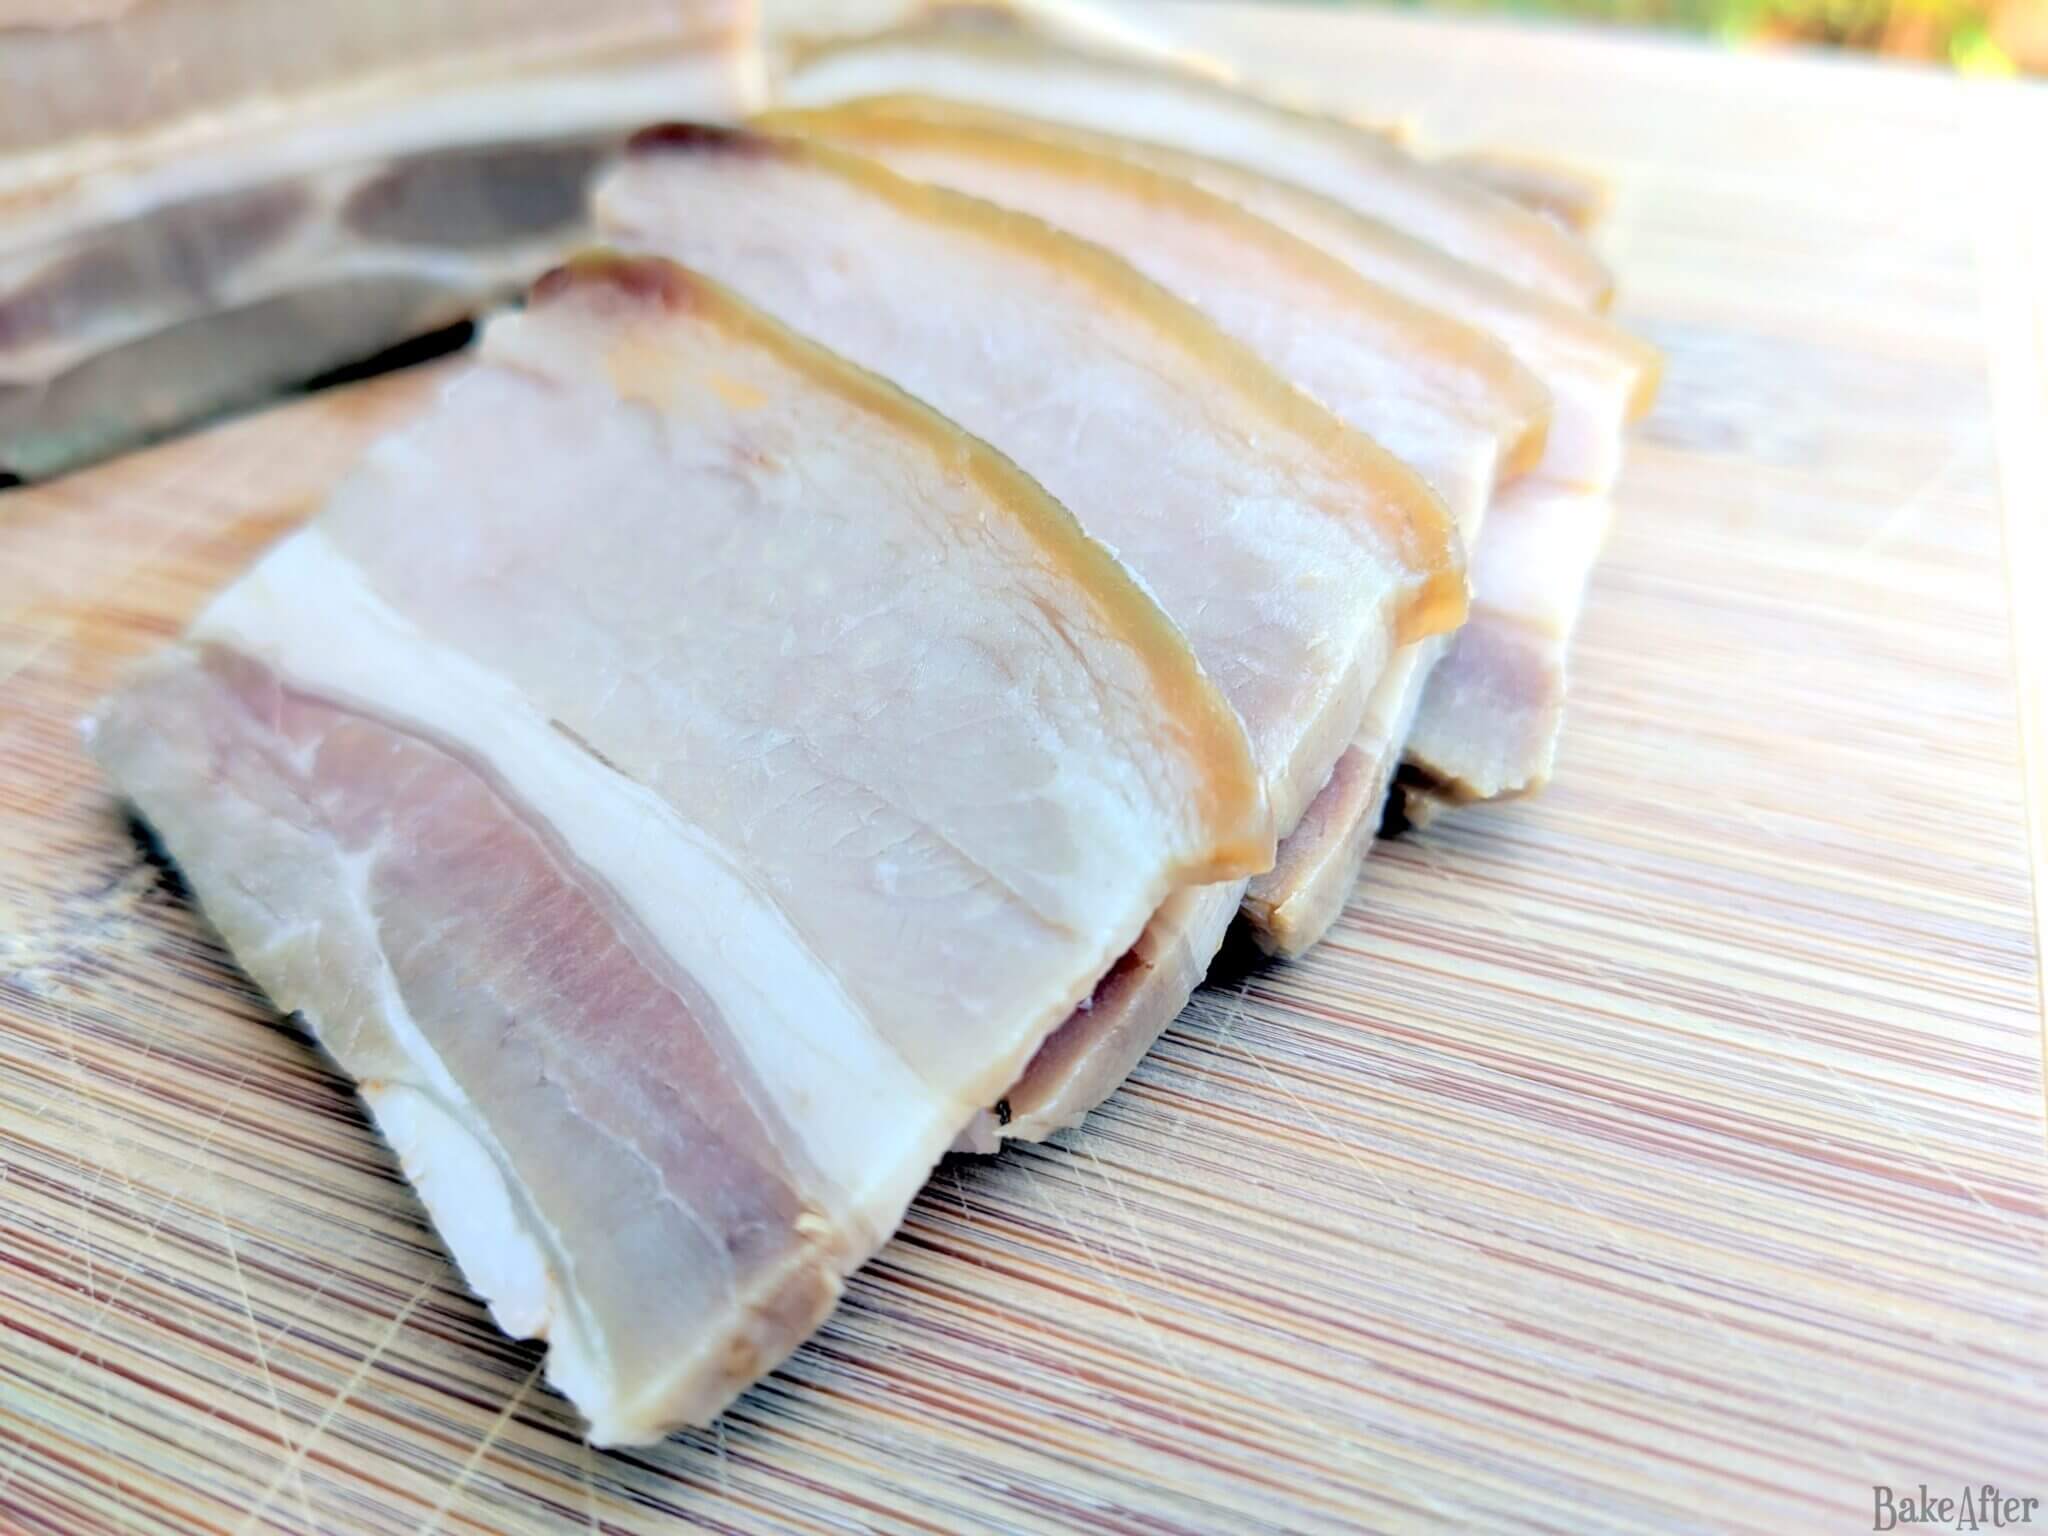
Yes, yes, yes ohhhhh nothing beats homemade bacon. Sure, the color is a little paler, but YOUR bacon is pure pork belly and spices. Go ahead and read the label on store-bought bacon: pork belly, sugar, glucose syrup, dextrose, natural spice extracts, corn dextrose, soy protein, smoke flavoring, flavor, acidity regulator, antioxidant, preservative.
There’s just no comparison…. well, the only comparison is visual, because in texture and flavor this homemade version is far superior. The recipe takes several days, but it’s really not that complicated, and in the end you’ll have a glorious slab of bacon to show for it. Let’s check the recipe ohh and also check the notes below before starting the recipe!
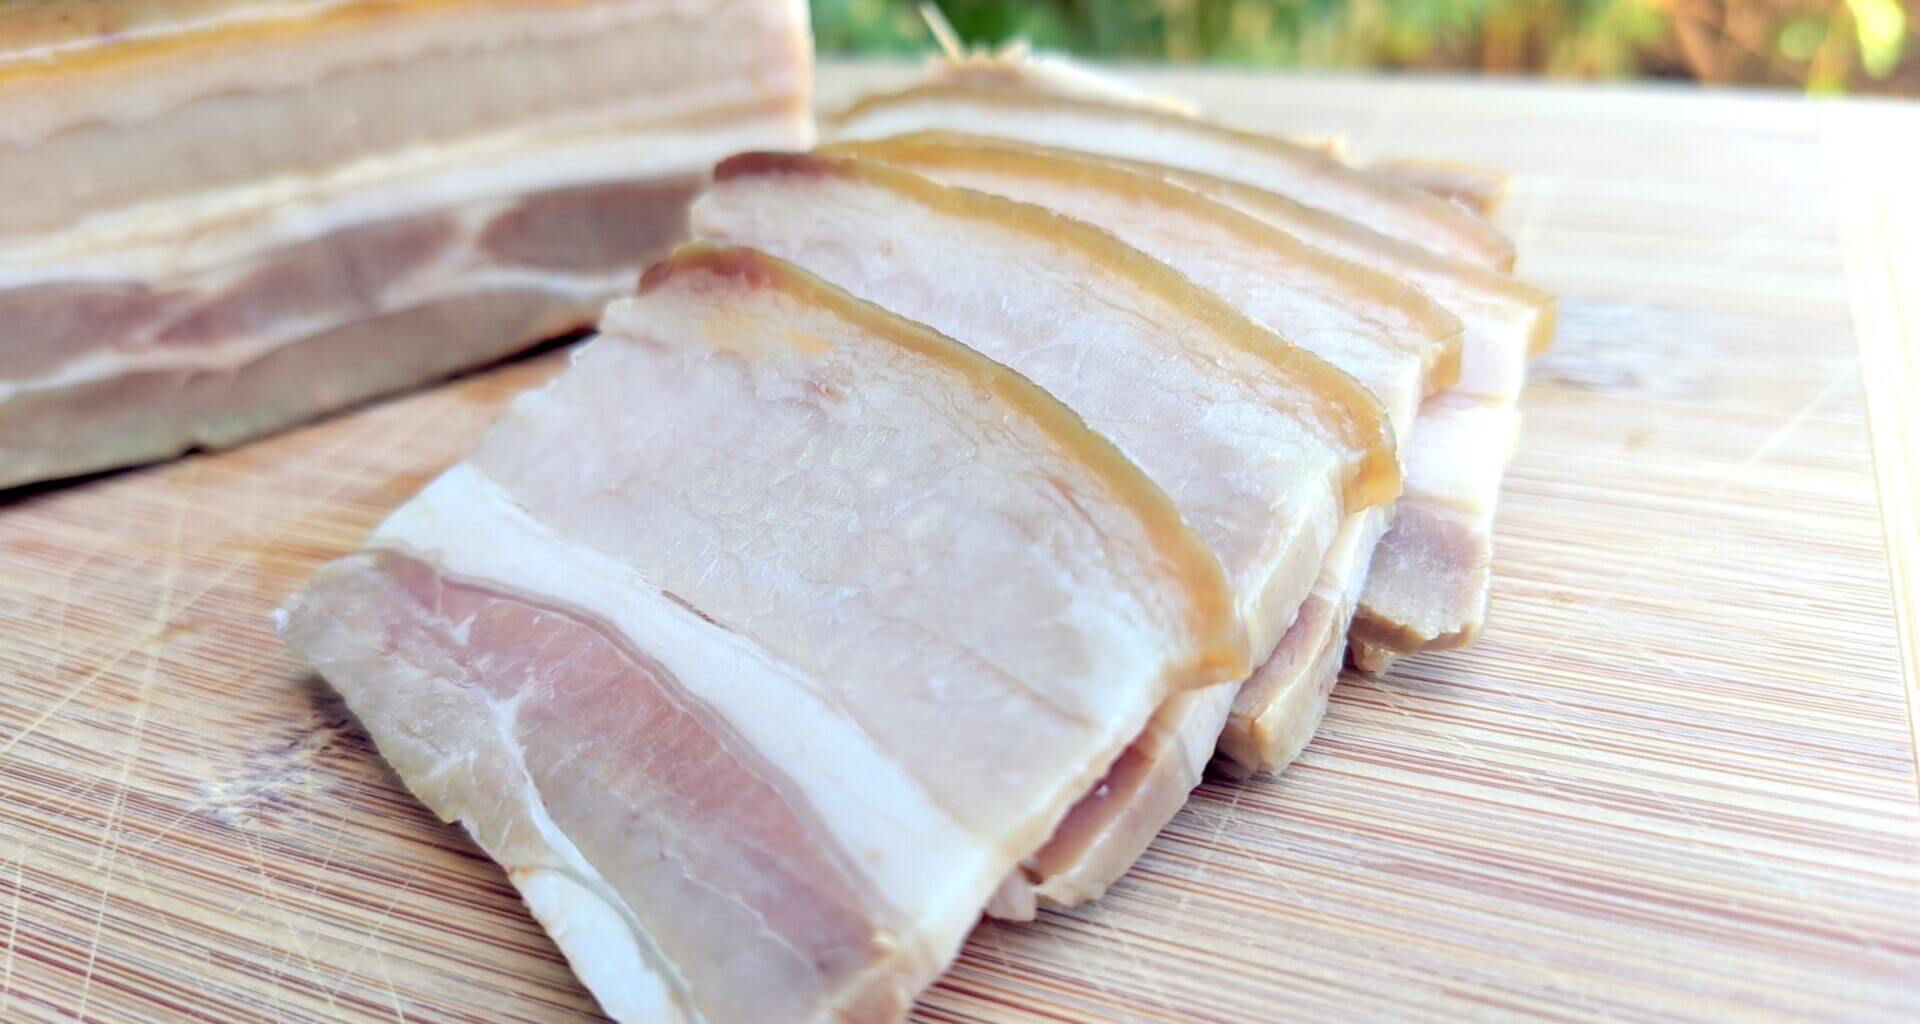
Homemade Cured Pork Belly Bacon from Scratch Way Better Than Store Bought
What's better than bacon? Well you very own homemade cured bacon, then you can have it slim cut, thick cut, spicy any way you want it!
Ingredients
- Pork – 2kg (Pork Belly)
- Garlic – 3 Cloves
- Black pepper – 1 Teaspoon (Whole Peppercorns)
- Thyme – 1 Teaspoon
- Rosemary – 1 Teaspoon
- Paprika – 1 Teaspoon
- Bay leaves – 3 Leaves
- Coriander – 1 Teaspoon (Ground)
- Salt – 4 Tablespoons
Directions
- Combine all the spices and salt in a mortar and crush everything coarsely.
- Wash the pork belly, dry it with paper towels, and trim off any excess fat.
- Now spread the spice mixture over the meat, rub it in well, then place it in a vacuum bag and seal it with a vacuum machine, removing all the air.
- Put it in the refrigerator with something heavy on top. Every day, turn the piece of meat upside down and put a weight on top again. Do this for 7 days.
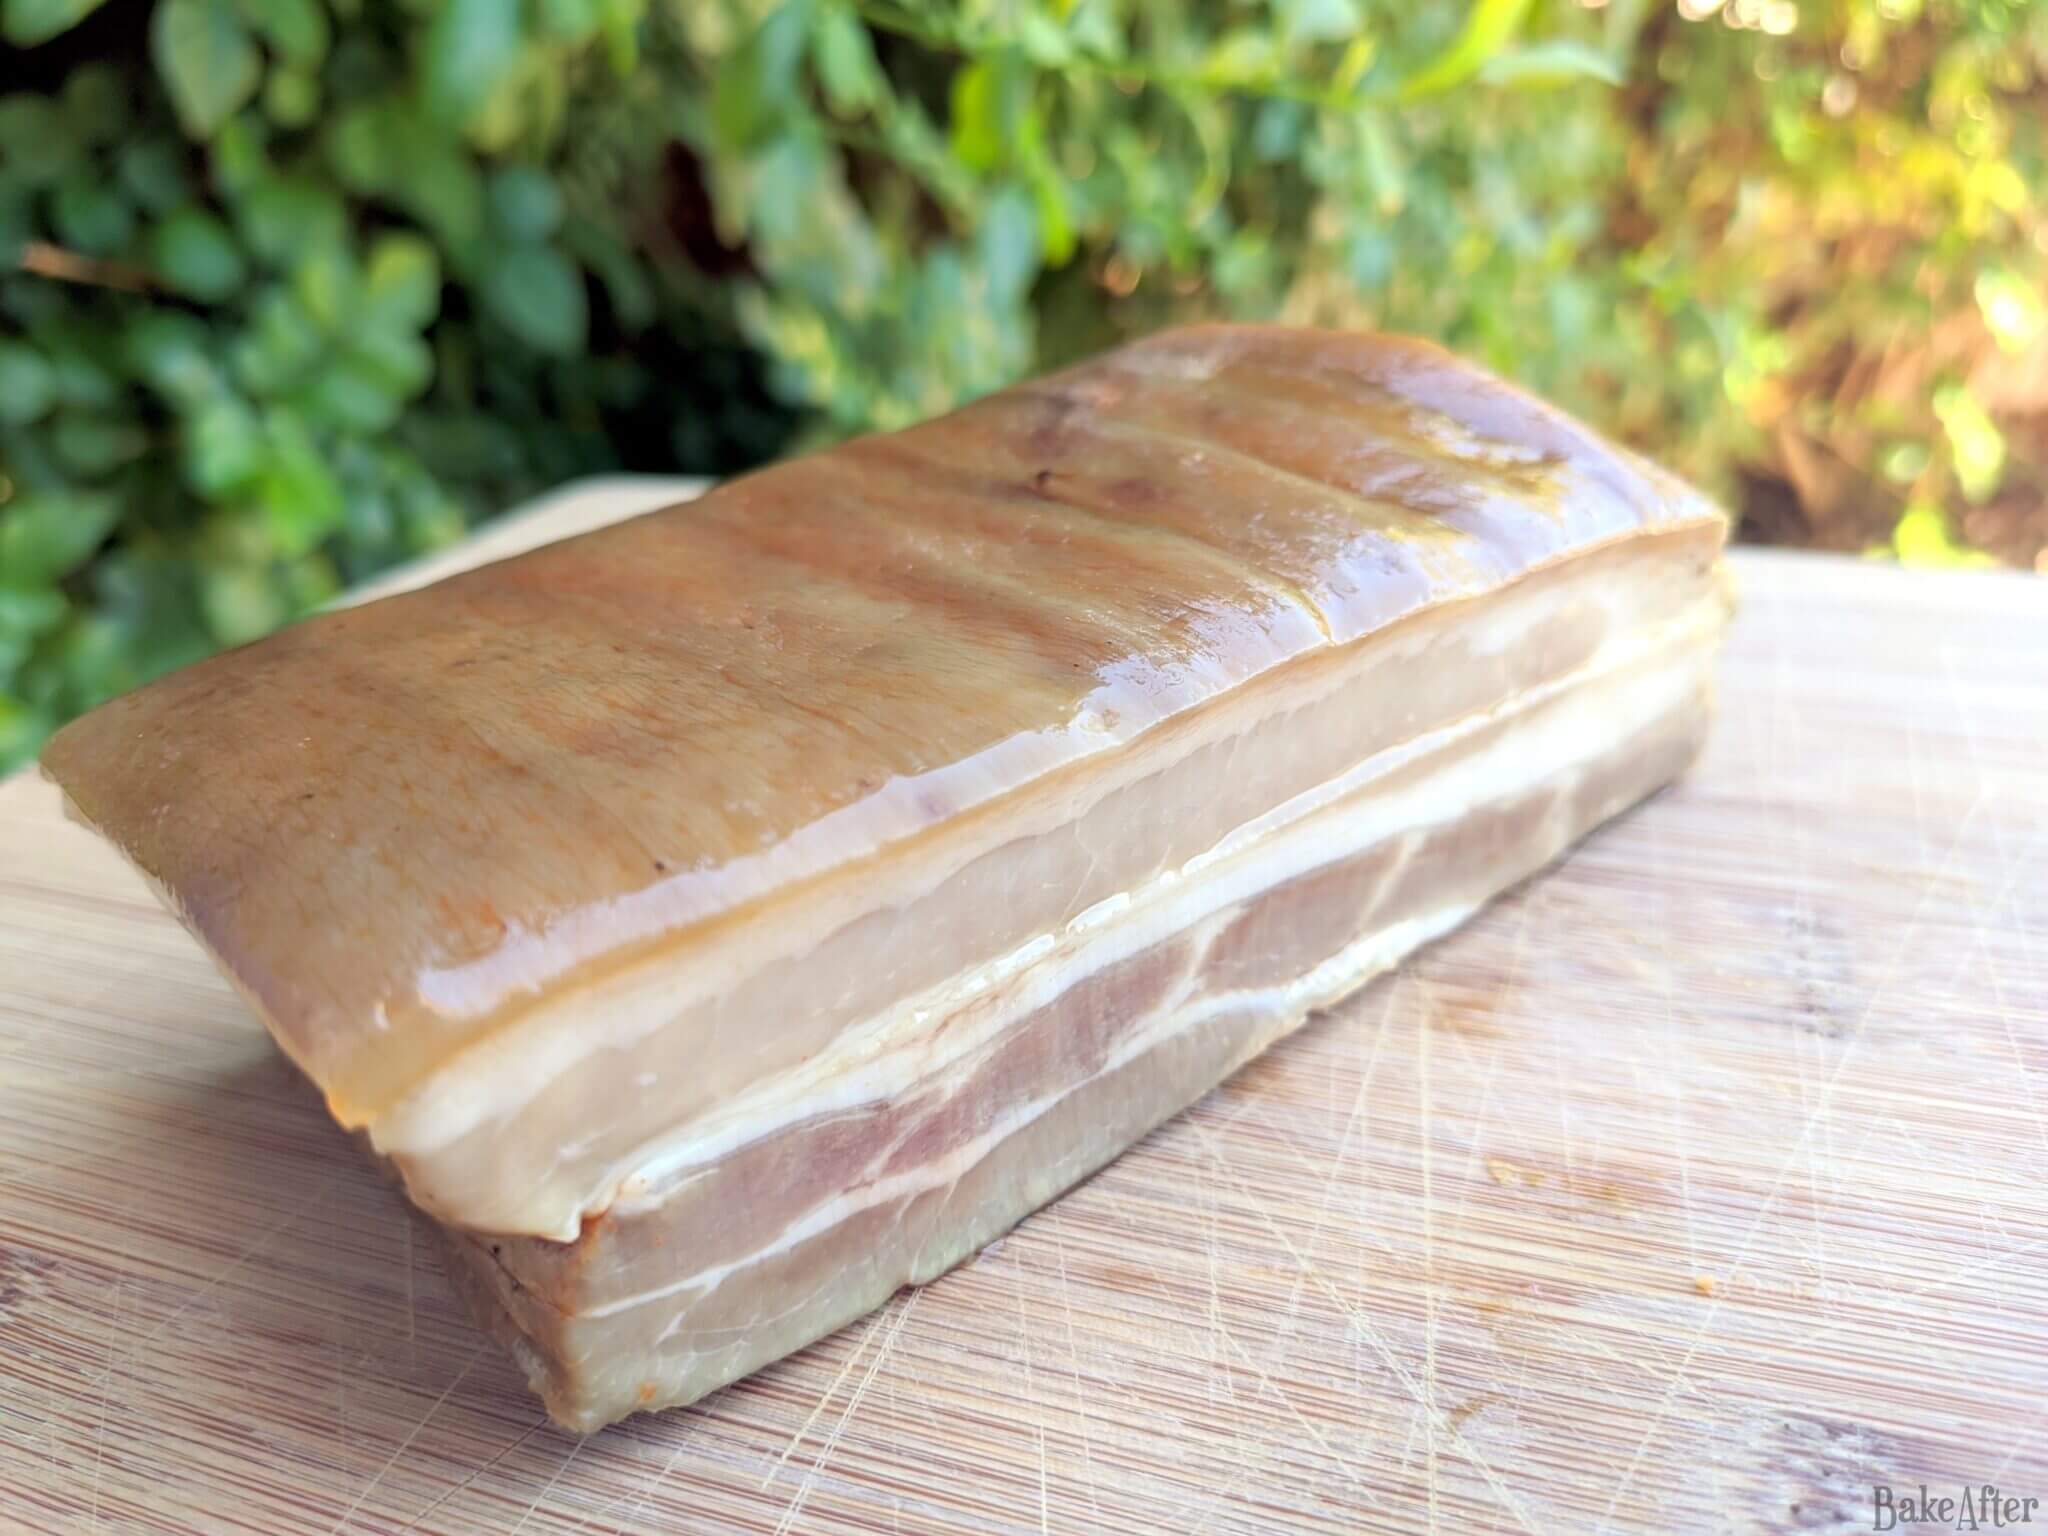
- After 7 days, preheat the oven to 90°C, place the bacon on a rack lined with non-stick paper or a silicone sheet and place a tray underneath to collect the dripping fat. Place the bacon skin-side down and roast for 1 hour.
- Now turn the bacon skin side up and leave it in the oven to roast for another hour.
- Finally, if you have a meat thermometer, you can check if the inside of the bacon has reached 65ºC. If so, it’s time to take it out and it’s ready.
- Note that the bacon is still “raw” at this point. It will keep for a long time, but it still needs to be cooked to be edible. You can cut it and vacuum seal it until it’s time to cook it, then store it in the refrigerator. Bon appétit!
I seasoned the bacon very plainly so i could use the bacon in all kinds of different dishes, but, if you want it your way, feel free to mix and choose seasonings to your taste, make it more spicy, more sweet, it’s up to you!
I used a vacuum sealer, but if you don’t have one, a good quality zip-lock freezer bags with a double seal will work perfectly well. Press out as much air as possible before sealing, they close up very tightly and are more than adequate for this recipe.
90°C (195°F) is low and slow on purpose. The exact time may vary depending on the thickness of your pork belly slab, a thinner piece will be done faster, a thicker one may need a little more time. Keep an eye on it and trust your meat thermometer rather than the clock.
You’ll notice this recipe uses considerably less salt than many others out there. This gives you a bacon that’s flavorful without being overwhelmingly salty, a good thing, especially since you’ll likely be cooking it alongside other seasoned ingredients. But this bacon will have a lower life span, so you should make it to cook it and not keep for a long time, ans yes keep it in the fridge.
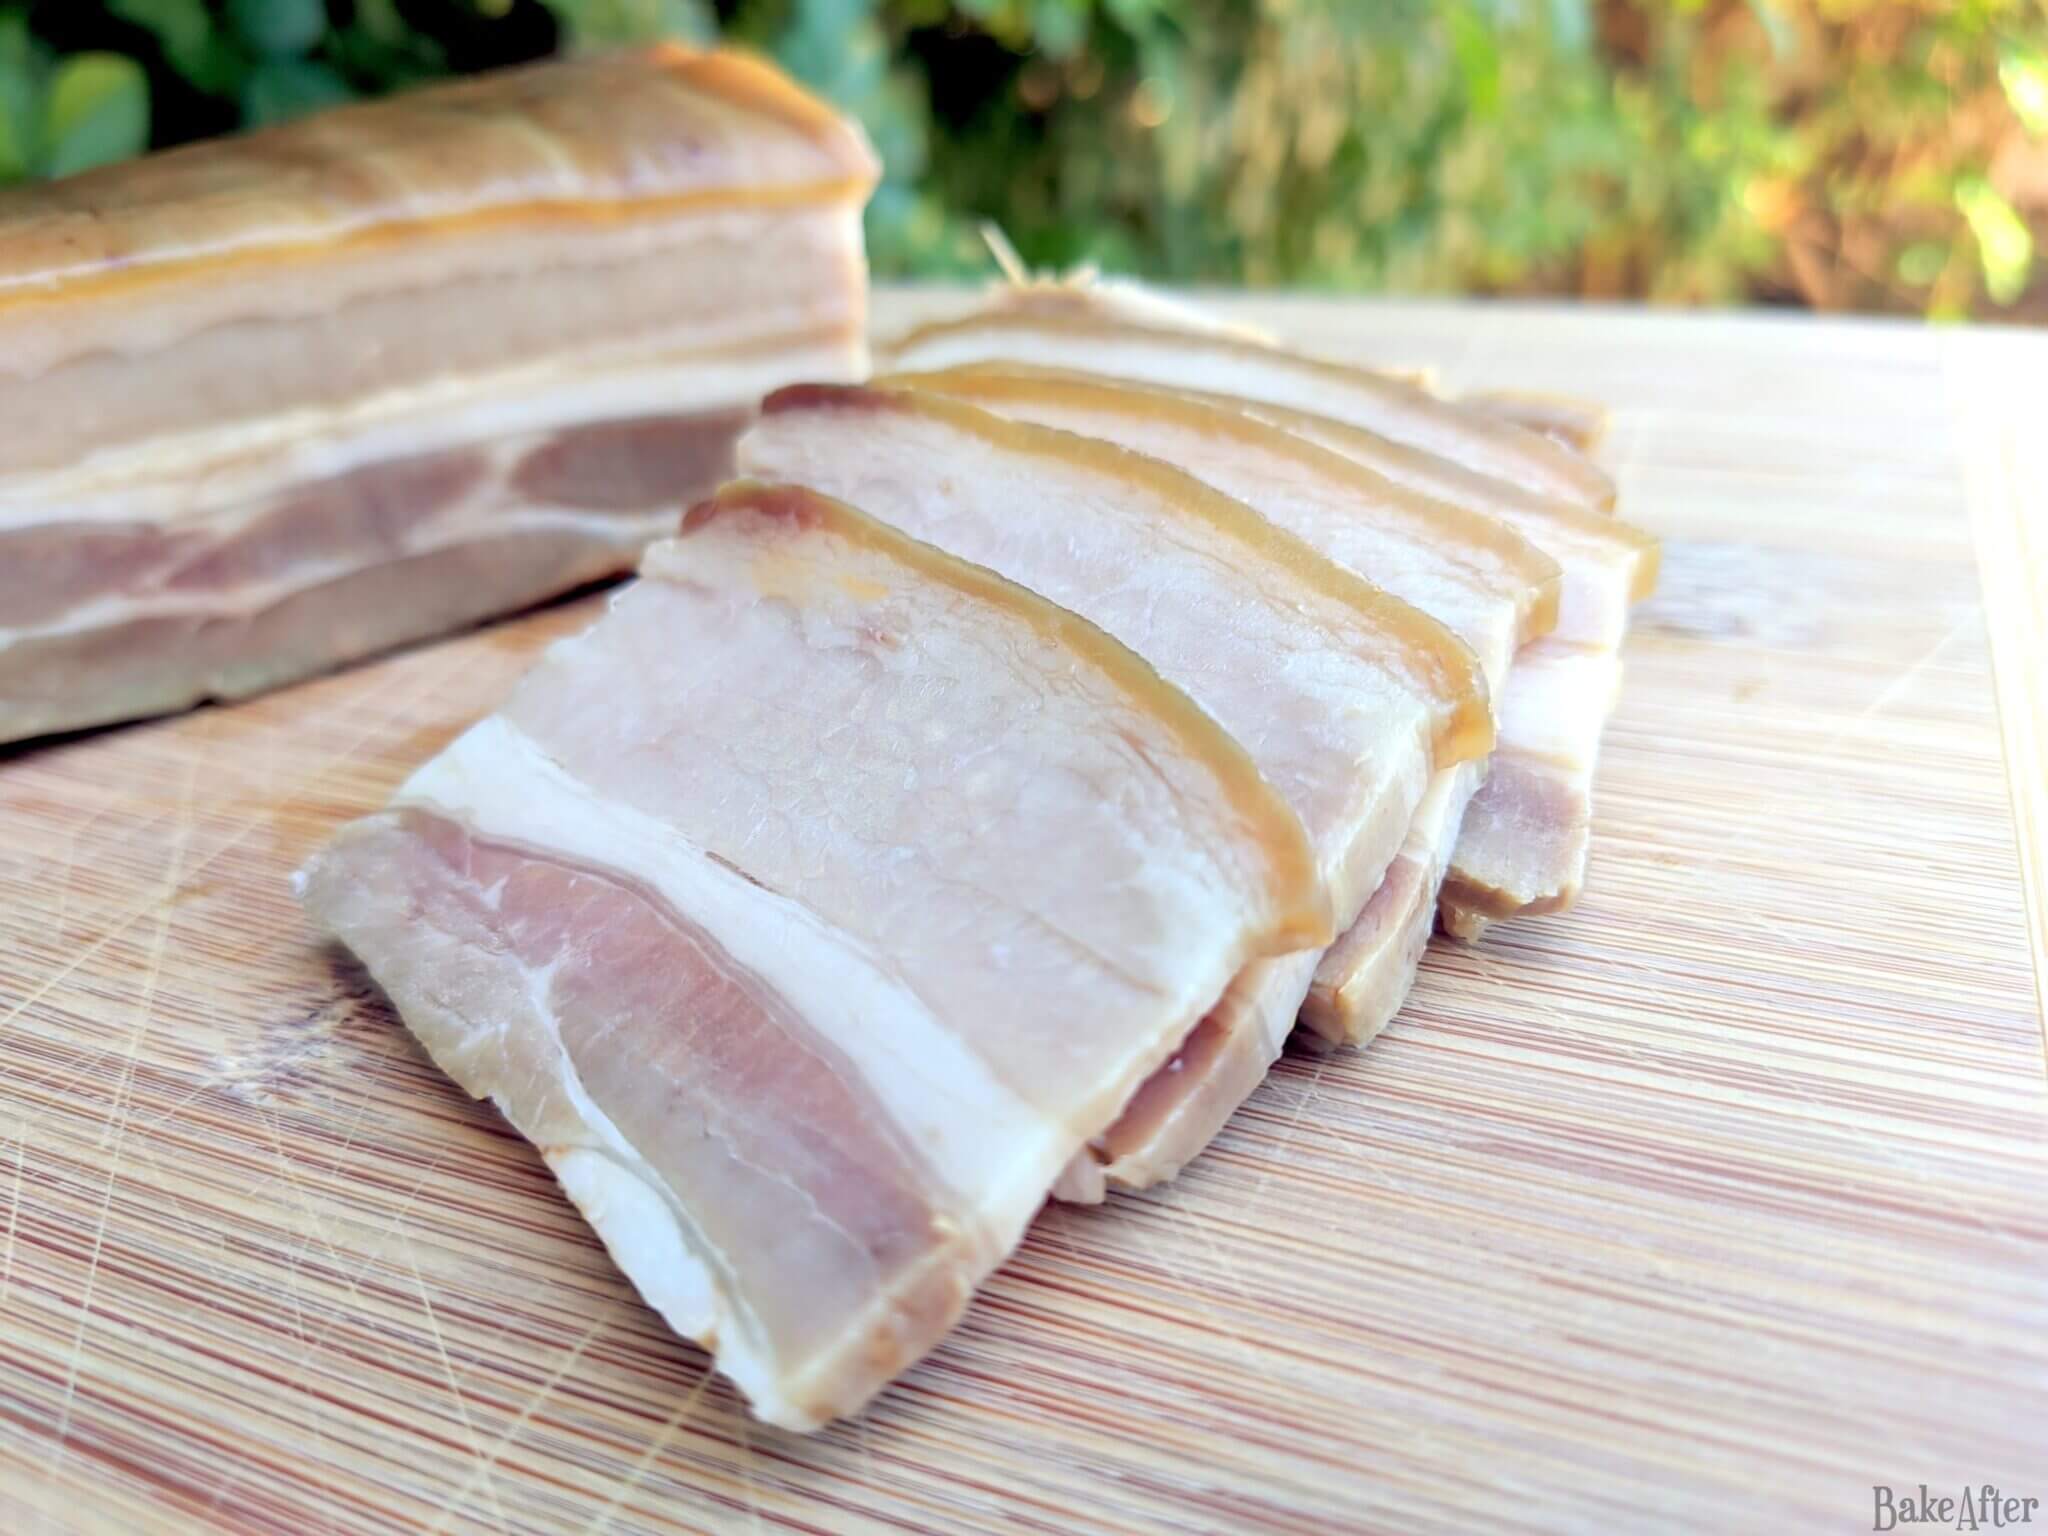
Once done, slice the slab and vacuum seal the portions individually, they’ll keep very well in the fridge. If you don’t have a vacuum sealer, wrap the portions tightly in plastic wrap and then foil, and use within 1–2 weeks.
This recipe for Homemade Cured Pork Belly Bacon from Scratch Way Better Than Store Bought was originally created on BakeAfter.com. Esta receita de Como Fazer Bacon em Casa foi publicada em português no Iguaria.com.
Nutrition
Per Serving: 1295 calories; 132.5 g fat; 1.5 g carbohydrates; 23.3 g protein.Did you try this recipe?
Let me know how it turned out for you! You can leave a comment below ;D
Discover more from BakeAfter
Subscribe to get the latest posts sent to your email.