Octopus is one of those dishes that either turns out absolutely spectacular or becomes a rubbery disaster, there’s really no middle ground here, folks! I’ve been cooking octopus for years now, and let me tell you, it took some trial and error to get it right. But once you master the technique, you’ll have one of the most impressive and delicious dishes you can serve at home.
The thing about octopus is that it’s all about understanding the golden rule: cook it fast and hot, or slow and gentle. Anything in between, and you’ll end up with something that tastes like chewing on a rubber tire. Trust me on this one, I’ve made that mistake more times than I care to admit and most of the time I ate the mistake too ;D
Understanding Your Octopus: Fresh vs. Frozen
Here’s something that might surprise you: frozen octopus is actually easier to work with than fresh! I know, I know, we’re always told fresh is better, but with octopus, freezing actually breaks down some of the tough muscle fibers, making it more tender when cooked quickly.
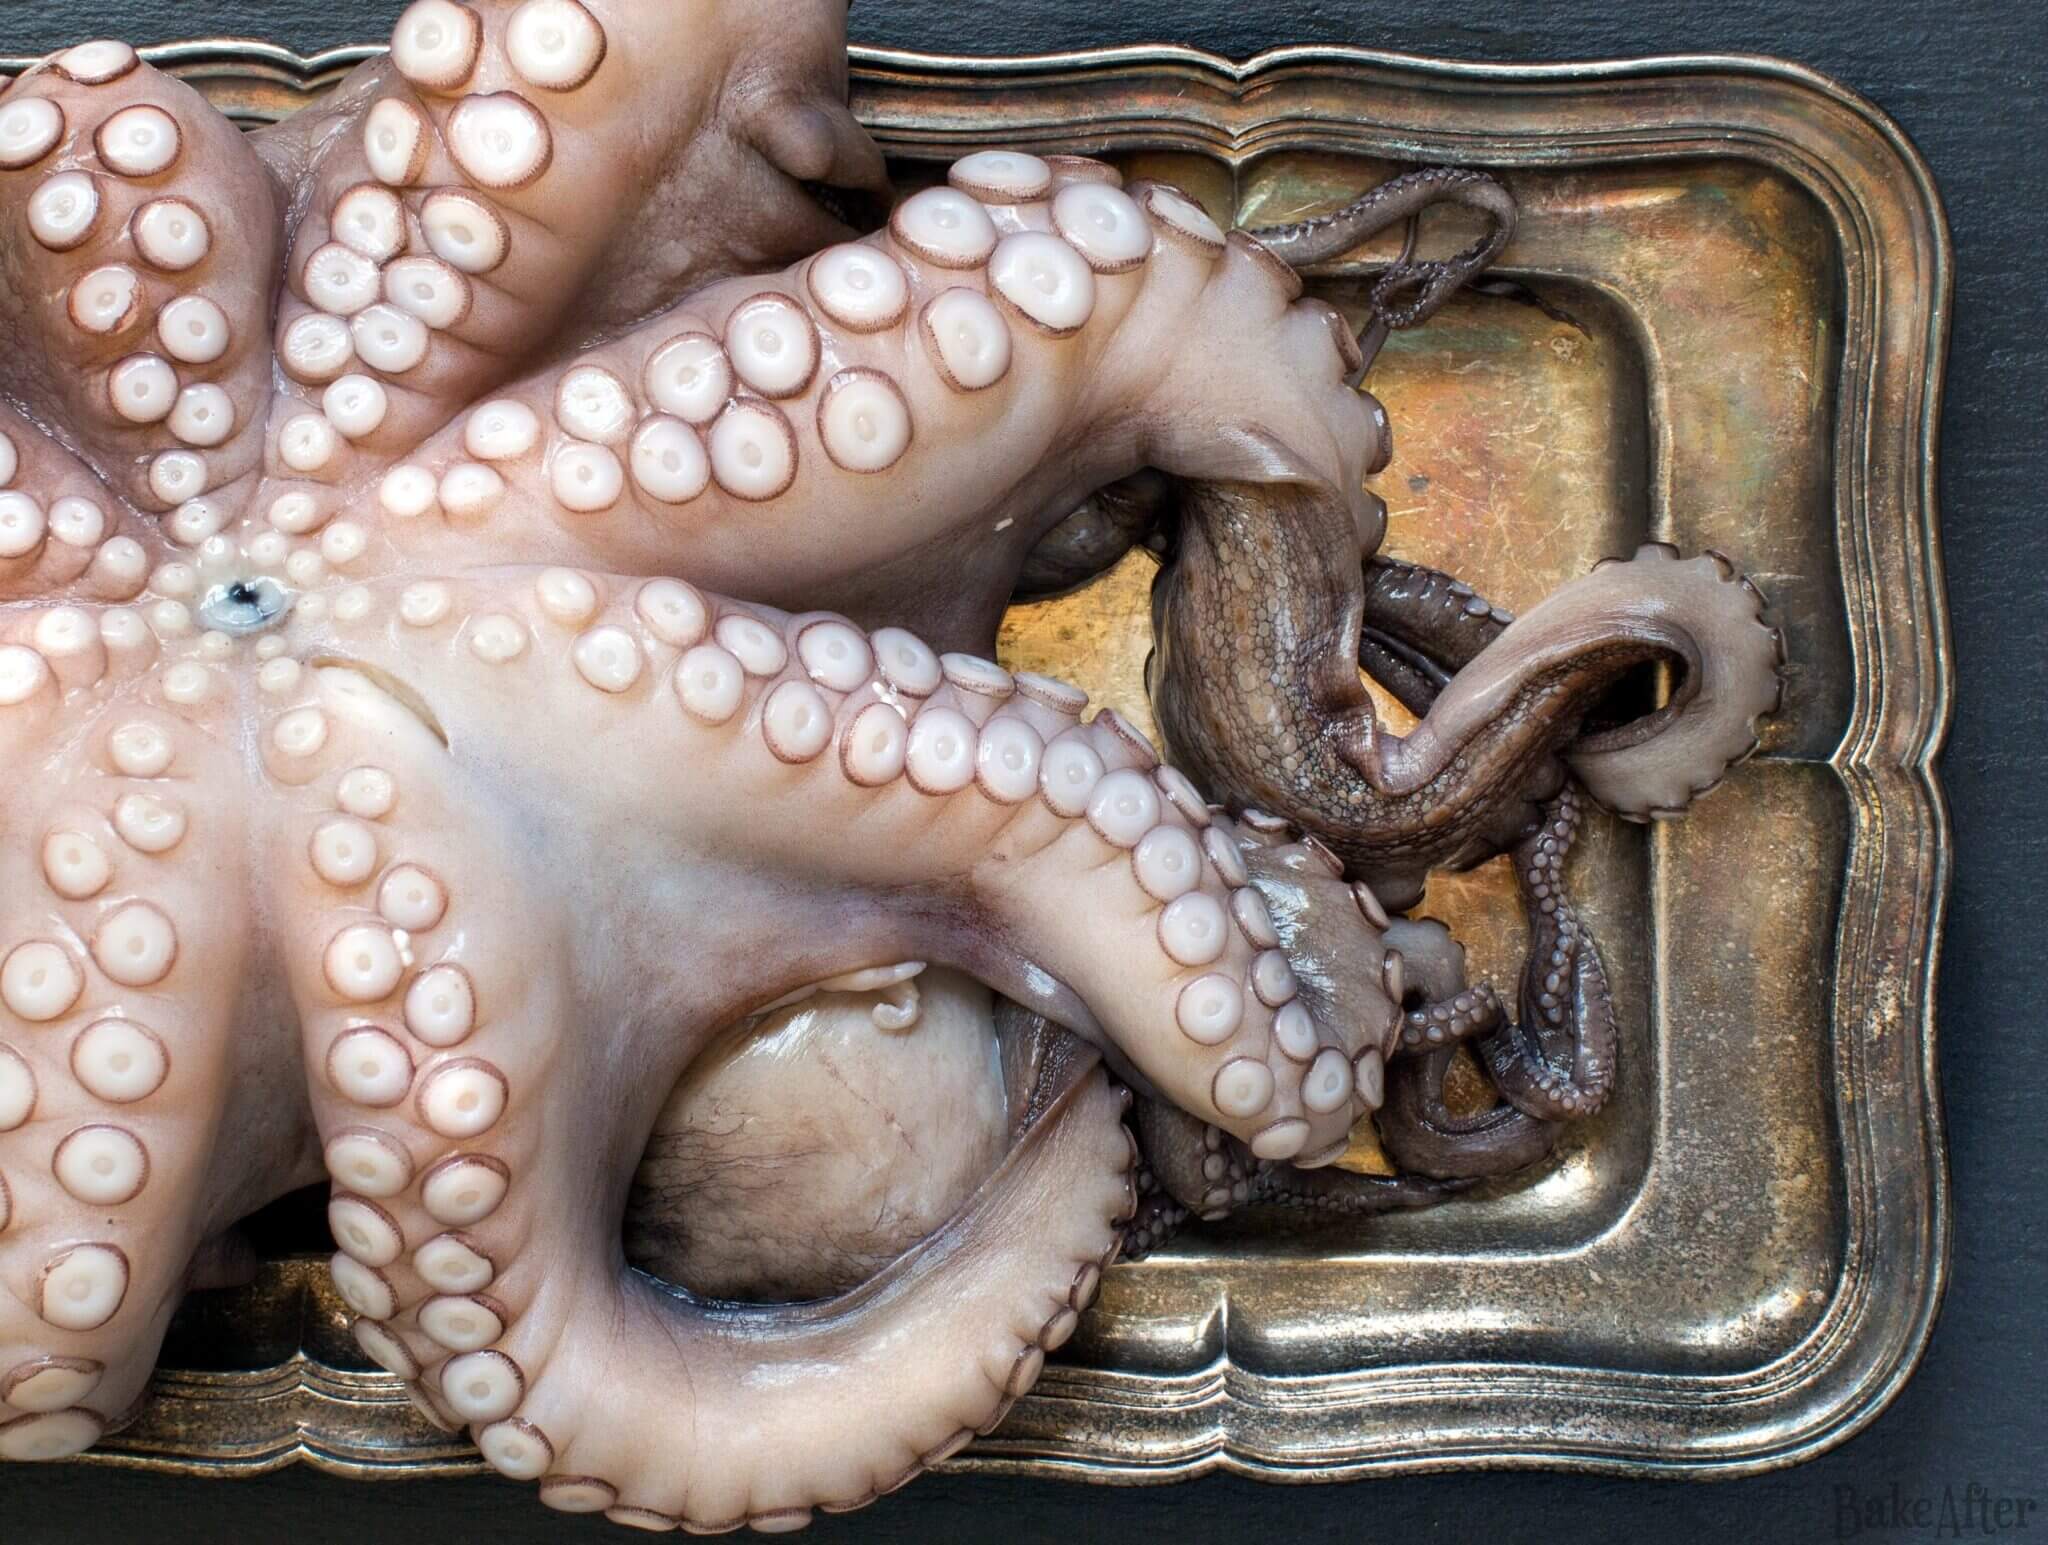
If you’re buying fresh octopus, ask your fishmonger to clean it for you. This means removing the ink sac, internal organs, beak, and cartilage, it’s not difficult to do at home, but it does save you some messy work. Frozen octopus typically comes already cleaned, so you just need to thaw it properly.
Fresh octopus is more sensitive to temperature changes and tends to be tougher, which is why it requires more careful handling. But don’t let that scare you off, both types can produce amazing results when handled correctly.
The Science Behind Tender Octopus
Before we dive into the methods, let’s talk about why octopus gets tough in the first place. Octopus muscle is packed with collagen and connective tissue. When exposed to heat, this collagen either needs to break down completely (which happens with long, slow cooking) or be cooked so quickly that it doesn’t have time to tighten up.
This is why the middle ground is your enemy. Cook octopus at medium heat for 10-20 minutes, and those proteins will contract and squeeze out all the moisture, leaving you with something resembling a hockey puck. So you need something fast with less than 5 minutes or something much longer than 30 minutes…
Method 1: The Long and Slow Approach (My Personal Favorite)
This is hands down the most foolproof method for achieving incredibly tender octopus. It takes time, but the results are absolutely worth it.
The Traditional Portuguese Method
Start by preparing a large pot with plenty of water. I like to flavour the cooking liquid with a couple of bay leaves, a quartered onion, a pinch of salt, and a drizzle of olive oil. This isn’t just for flavour, these aromatics help create a more gentle cooking environment.
Here comes the crucial part that many people skip: the blanching technique also called “scaring the octopus”, this is a very popular way of cooking in the Portugal and the Mediterranean.
When your water is hot (not quite boiling, just steaming hot), grab your octopus with tongs and dip it completely into the water, then lift it out right away. Repeat this three times total. This thermal shock helps the skin contract and stick to the meat instead of separating during the long cooking process.
After the third dip, leave the octopus in the pot, reduce the heat to medium-low, and let it simmer gently. You want gentle bubbling, not a rolling boil. Depending on the size of your octopus, this will take anywhere from 45 minutes to 2 hours. Yes, 2 hours! But trust the process.
How to Test for Doneness
The best way to check if your octopus is ready is the knife test. Insert a sharp knife into the thickest part of the octopus. If it slides in easily with no resistance, you’re good to go. Another test is to try gently separating a tentacle from the head with your knife, if it comes away easily, your octopus is perfectly tender.
The Oven Variation
If you prefer the oven method, place your cleaned octopus in a baking dish, season lightly (remember, you can always add more seasoning later), cover tightly with aluminum foil, and bake at 250°F (120°C) for 1-2 hours until fork-tender. The enclosed environment creates a gentle, moist heat that works beautifully as well!
Method 2: The Quick and Hot Technique
This method is perfect when you’re short on time or want to maintain some bite in your octopus. The key here is keeping it under 5 minutes of actual cooking time, and yes, you can absolutely do this with raw octopus!
High-Heat Grilling or Searing
This works best with smaller octopus or tentacles cut into manageable pieces. Clean your raw octopus and pat it completely dry. Heat your grill until it’s blazing hot, we’re talking about getting those grates smoking.
Brush the octopus with olive oil and season generously with salt and pepper. Grill for 2-3 minutes per side maximum. You’ll get a beautiful char on the outside while the inside stays tender. The high heat sears the exterior before the interior has time to toughen up.
Flash Pan-Searing
Cut your cleaned raw octopus into thick slices or leave smaller tentacles whole. Heat a heavy cast-iron or stainless steel pan until it’s smoking hot. Add a thin layer of high-heat oil (like grapeseed or avocado oil).
Sear the octopus pieces for 90 seconds to 2 minutes per side. Don’t move them around, let them develop a proper crust. The goal is to cook the outside quickly while keeping the center just barely cooked through.
The Flash-Fry Method
This is fantastic for bite-sized pieces. Cut your raw octopus into small chunks (about 1-inch pieces). Heat a wok or large skillet over maximum heat until smoking. Add oil and immediately follow with the octopus pieces.
Stir-fry for 3-4 minutes total, keeping everything moving constantly. The high heat and constant motion prevent any piece from overcooking. Season during the last 30 seconds of cooking.
Finishing Pre-Cooked Octopus
Now, if you do have pre-cooked octopus and want to give it some texture, that’s a different approach. Pat it completely dry, brush with oil, and sear for just 1-2 minutes per side to develop color and crispy edges without further cooking the interior.
Preparation Tips for Success
- Cleaning Your Octopus – If you’re working with fresh octopus, here’s how to clean it properly. Turn the head inside out and remove all the internal organs and the ink sac. Locate the hard beak at the center where all the tentacles meet and cut it out. Rinse everything thoroughly under cold running water. Some people remove the skin, but I prefer to leave it on for better texture and flavor, but like i said above you can always use a fishmonger for that, they are the experts!
- Pre-Treatment Options – Some cooks swear by tenderizing methods like pounding the octopus with a meat mallet or massaging it with coarse salt. While these can help, I find that proper cooking technique is more important than pre-treatment. However, if you want to try the salt massage method, rub coarse sea salt all over the octopus and let it sit for 30 minutes before rinsing and cooking.
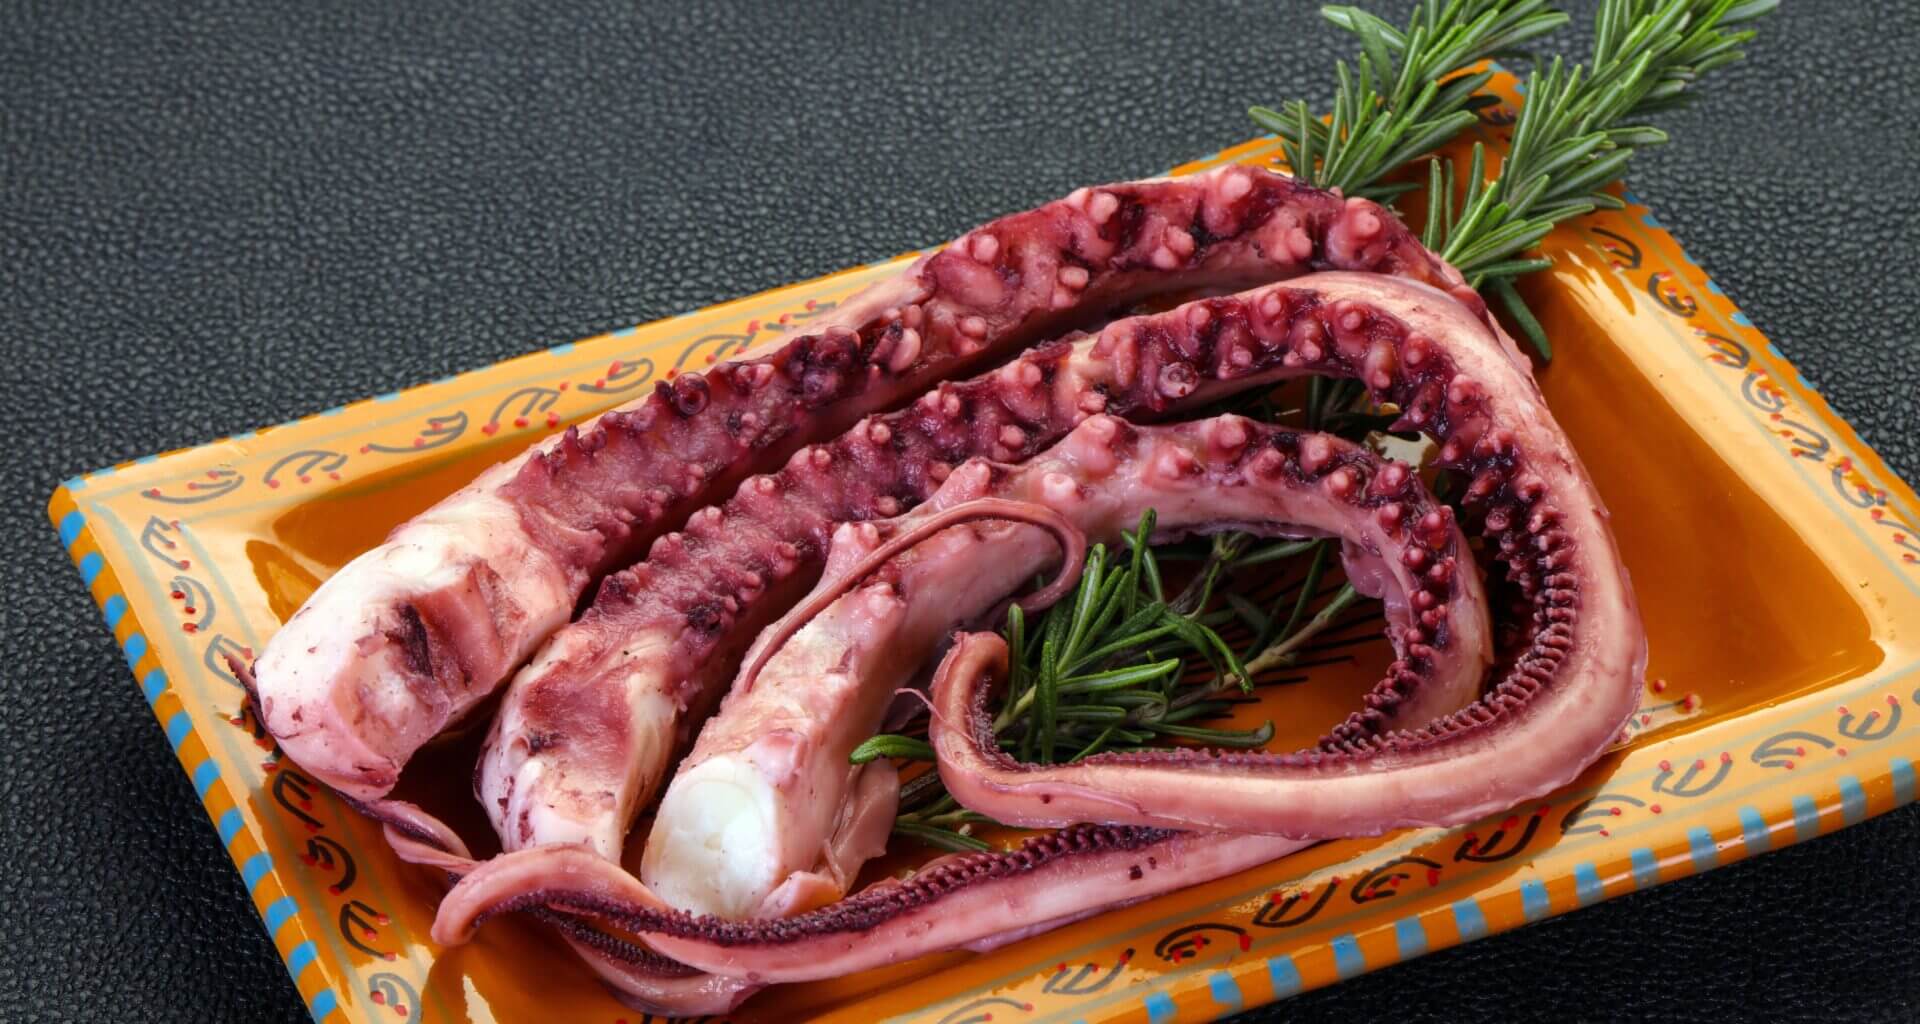
- Finishing Touches That Make the Difference – Once you’ve achieved perfectly tender octopus using one of the methods above, don’t just serve it plain! The beauty of octopus is that it takes on flavors beautifully.
- For Slow-Cooked Octopus – If you’ve gone the slow-cooking route, you can finish your octopus in several ways. Try roasting it in the oven with potatoes, onions, and garlic for 15-20 minutes at 400°F to get some caramelization. Or slice it and serve it warm with olive oil, lemon juice, and fresh herbs.
- Mediterranean-Style Finishing – Slice your cooked octopus and arrange it on a platter. Dress it with your best extra virgin olive oil, a splash of red wine vinegar, minced garlic, chopped parsley, and a pinch of smoked paprika. Let it marinate for at least 30 minutes before serving, the flavors will meld beautifully.
Common Mistakes to Avoid
- The Temperature Trap – Don’t try to speed up the slow-cooking method by cranking up the heat. Medium-high heat will give you tough octopus every time. Patience is your friend here.
- Under-seasoning the Cooking Water – While octopus is naturally salty, don’t be afraid to season your cooking water. It’s your only chance to season the meat from the inside out during the slow-cooking process.
- Not Drying Before Searing – If you’re finishing your octopus with a high-heat sear, make sure it’s completely dry. Wet octopus will steam instead of sear, and you’ll miss out on that beautiful caramelized exterior.
- Overcooking After It’s Tender – Once your octopus is tender from slow cooking, any additional cooking should be minimal. A quick sear or brief stint in the oven is all you need to add color and texture.
- Storage and Reheating – Cooked octopus keeps well in the refrigerator for up to three days. Store it in its cooking liquid if you have it, this keeps it moist and flavorful. When reheating, be gentle. A quick warm-up in a skillet with a splash of olive oil works perfectly, or you can serve it cold in salads.
Final Thoughts
Cooking tender octopus really comes down to understanding the timing and being patient with the process. Whether you choose the long, slow method or the quick sear technique, remember that octopus rewards careful attention and proper technique.
Don’t be discouraged if your first attempt isn’t perfect, even experienced cooks sometimes end up with rubber octopus! The key is learning to recognize when it’s done and not being afraid to give it the time it needs.
Once you master these techniques, you’ll find that octopus becomes one of your go-to impressive dishes. It’s elegant enough for special occasions but simple enough for a weeknight dinner when you want something a little different. And honestly, there’s something deeply satisfying about taking this somewhat intimidating ingredient and turning it into something absolutely delicious.
So grab an octopus, pick your method, and get cooking. Your patience will be rewarded with some of the most tender, flavorful octopus you’ve ever had, right from your own kitchen!
Discover more from BakeAfter
Subscribe to get the latest posts sent to your email.