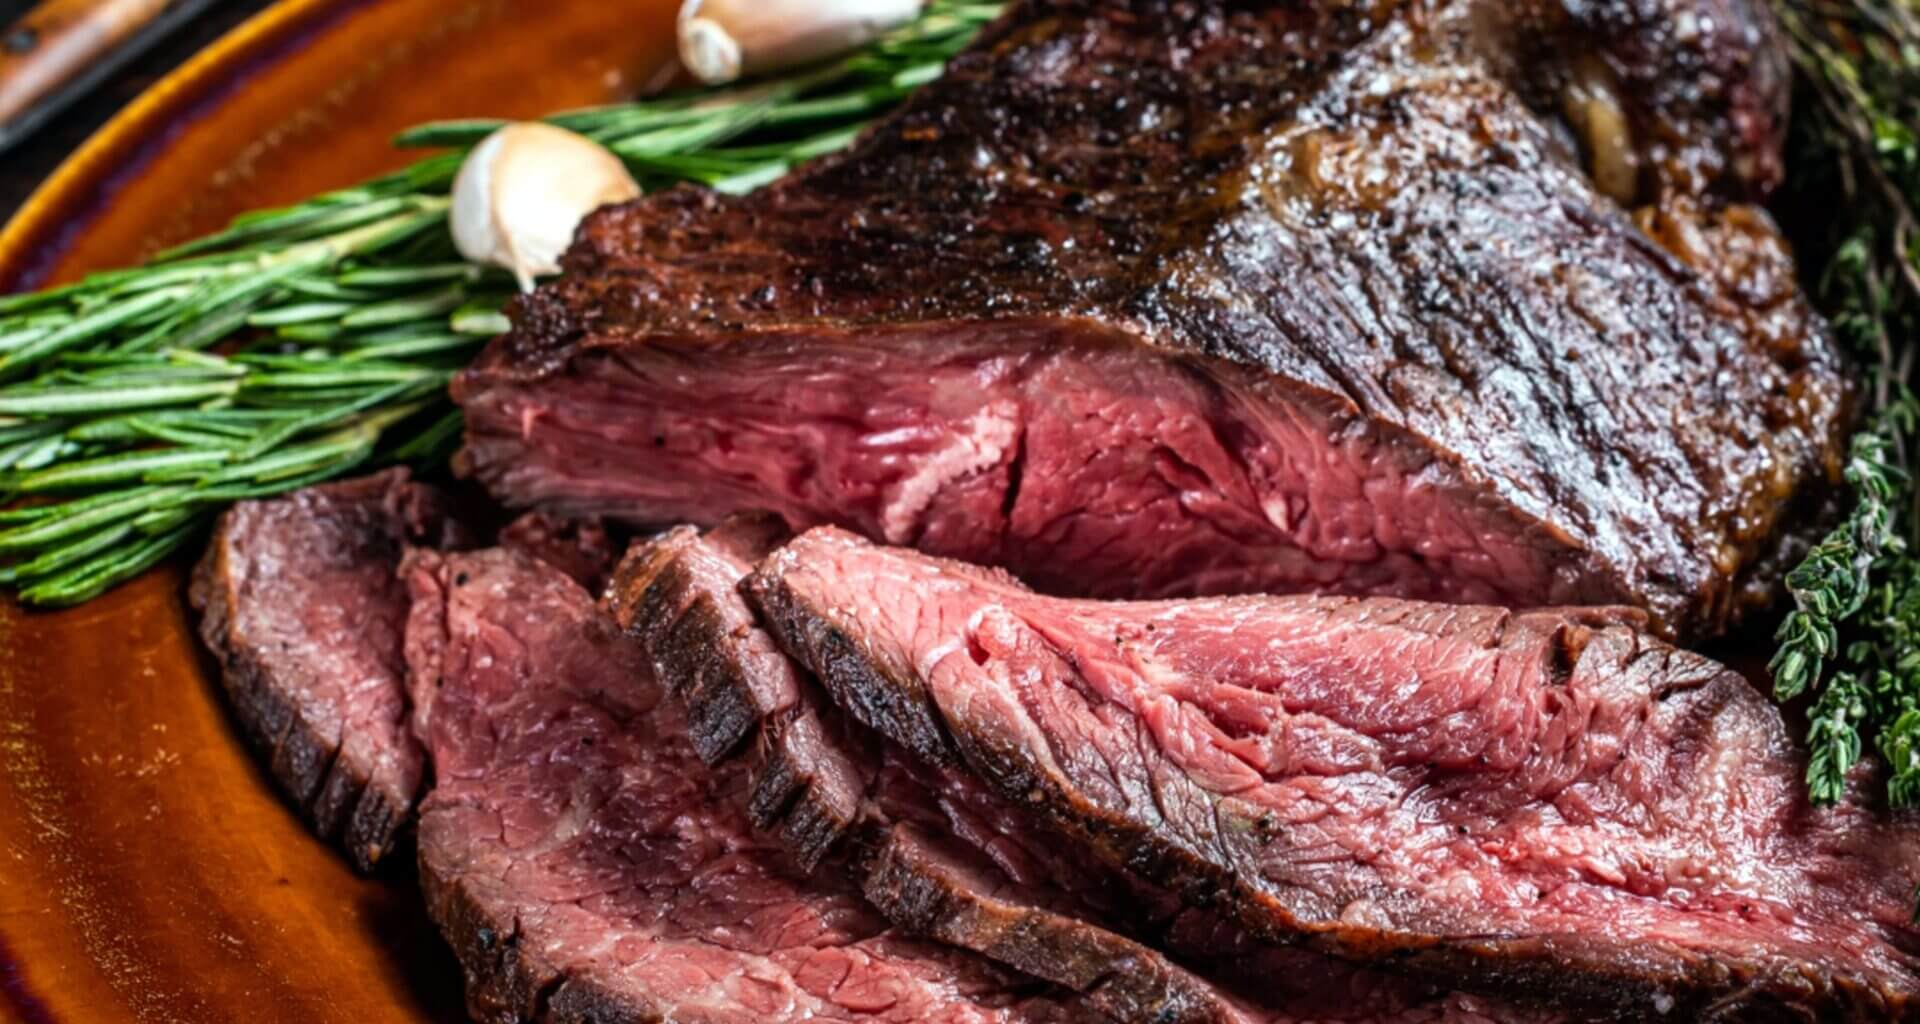
Listen, there’s nothing quite like cutting into a perfectly cooked steak and watching those beautiful juices flow. You know what I’m talking about…. heheheh that moment when your knife glides through like butter, and you know you’ve nailed it. But here’s the thing: cooking a truly exceptional steak at home isn’t just about throwing some nice meat on a hot pan and hoping for the best. There’s science behind it, there is some technique, and yeah, a few secrets that’ll make all the difference.
I’ve been down this road plenty of times, trust me on that, and I’ve spent good money on a beautiful cut of beef only to end up with something that could double as shoe leather or scraping a burnt side. But after years of watching cooking shows, failing in the kitchen, experimenting, talking to butchers, and sometimes learning from my mistakes (oh, the mistakes!), I’ve figured out what really works. So let’s dive into everything you need to know to cook steaks that’ll make your friends think you’ve been hiding your grill master championship ring! ;D
Start with the Right Cut of Meat
Before we even talk about cooking techniques, let’s get one thing straight: you can’t make magic happen with poor-quality meat. It’s like trying to paint a masterpiece with cheap brushes, you’re fighting an uphill battle from the start, this doesnt mean that you cant use tougher cuts of meat, but there is a place for everything and we are talking steaks today!
When you’re standing at the butcher counter (and yes, always go to the actual butcher counter, not those pre-wrapped packages), you want to look for cuts that work with your cooking method. If you’re planning to do a quick sear in a pan or throw it on the grill, you want tender cuts like ribeye, New York strip, or filet mignon. These come from muscles that didn’t do much work during the cow’s lifetime, so they’re naturally tender/less tought.
But here’s something interesting, don’t automatically shy away from cuts with a bit of fat marbling. That fat is your friend! It’s what gives your steak flavor and helps keep it moist during cooking. A completely lean steak might look healthier, but it’s going to be a lot harder to keep juicy and flavorful.
Now, if you’re working with a tougher cut like chuck or round, don’t despair. These cuts can be absolutely delicious, but they need different treatment. You’ll want to either cook them low and slow, or use some of the tenderizing techniques we’ll talk about. The key is matching your cut to your cooking method.
And here’s a pro tip from my butcher buddy: ask about “butcher’s cuts” or end pieces. Sometimes you can get premium meat at a discount just because it’s not the perfect shape for display or its the end of a cut of another client that wanted a particular sized piece. The flavor’s all there, and your wallet will thank you.
Timing Makes All the Difference with Salt
Okay, let’s talk about salt, because this is where a lot of people mess things up. There’s this ongoing debate about when to salt your steak… before, during, or after cooking. Well, I’m here to tell you that timing isn’t just important, it’s everything.
If you salt your steak about 20-40 minutes before cooking, something magical happens. First, the salt draws moisture out of the meat through osmosis. You might think, “Wait, that sounds bad!” But stick with me. After that initial moisture comes out, it dissolves the salt, creating a concentrated brine that then gets reabsorbed back into the meat, bringing all that salty flavor deep into the fibers.
This process also starts breaking down the muscle proteins, which means your steak will be more tender when you cook it. It’s like giving your meat a head start on the tenderizing process.
But here’s the catch, if you salt just 5-10 minutes before cooking, you get the worst of both worlds. The salt draws out moisture but doesn’t have time to be reabsorbed, leaving you with a damp surface that won’t sear properly. Either salt well in advance (at least 20 minutes) or right before it hits the heat.
For thick steaks, I actually like to salt them the night before and let them sit uncovered in the fridge. This not only gives the salt time to work its magic but also dries out the surface, which means you’ll get an incredible sear.
Tenderizing Techniques That Actually Work
Sometimes you want to cook a great steak, but your budget says otherwise, or maybe you just have a tougher cut that needs some help. Don’t worry, there are several tried-and-true methods to turn even the most stubborn piece of beef into something tender and delicious.
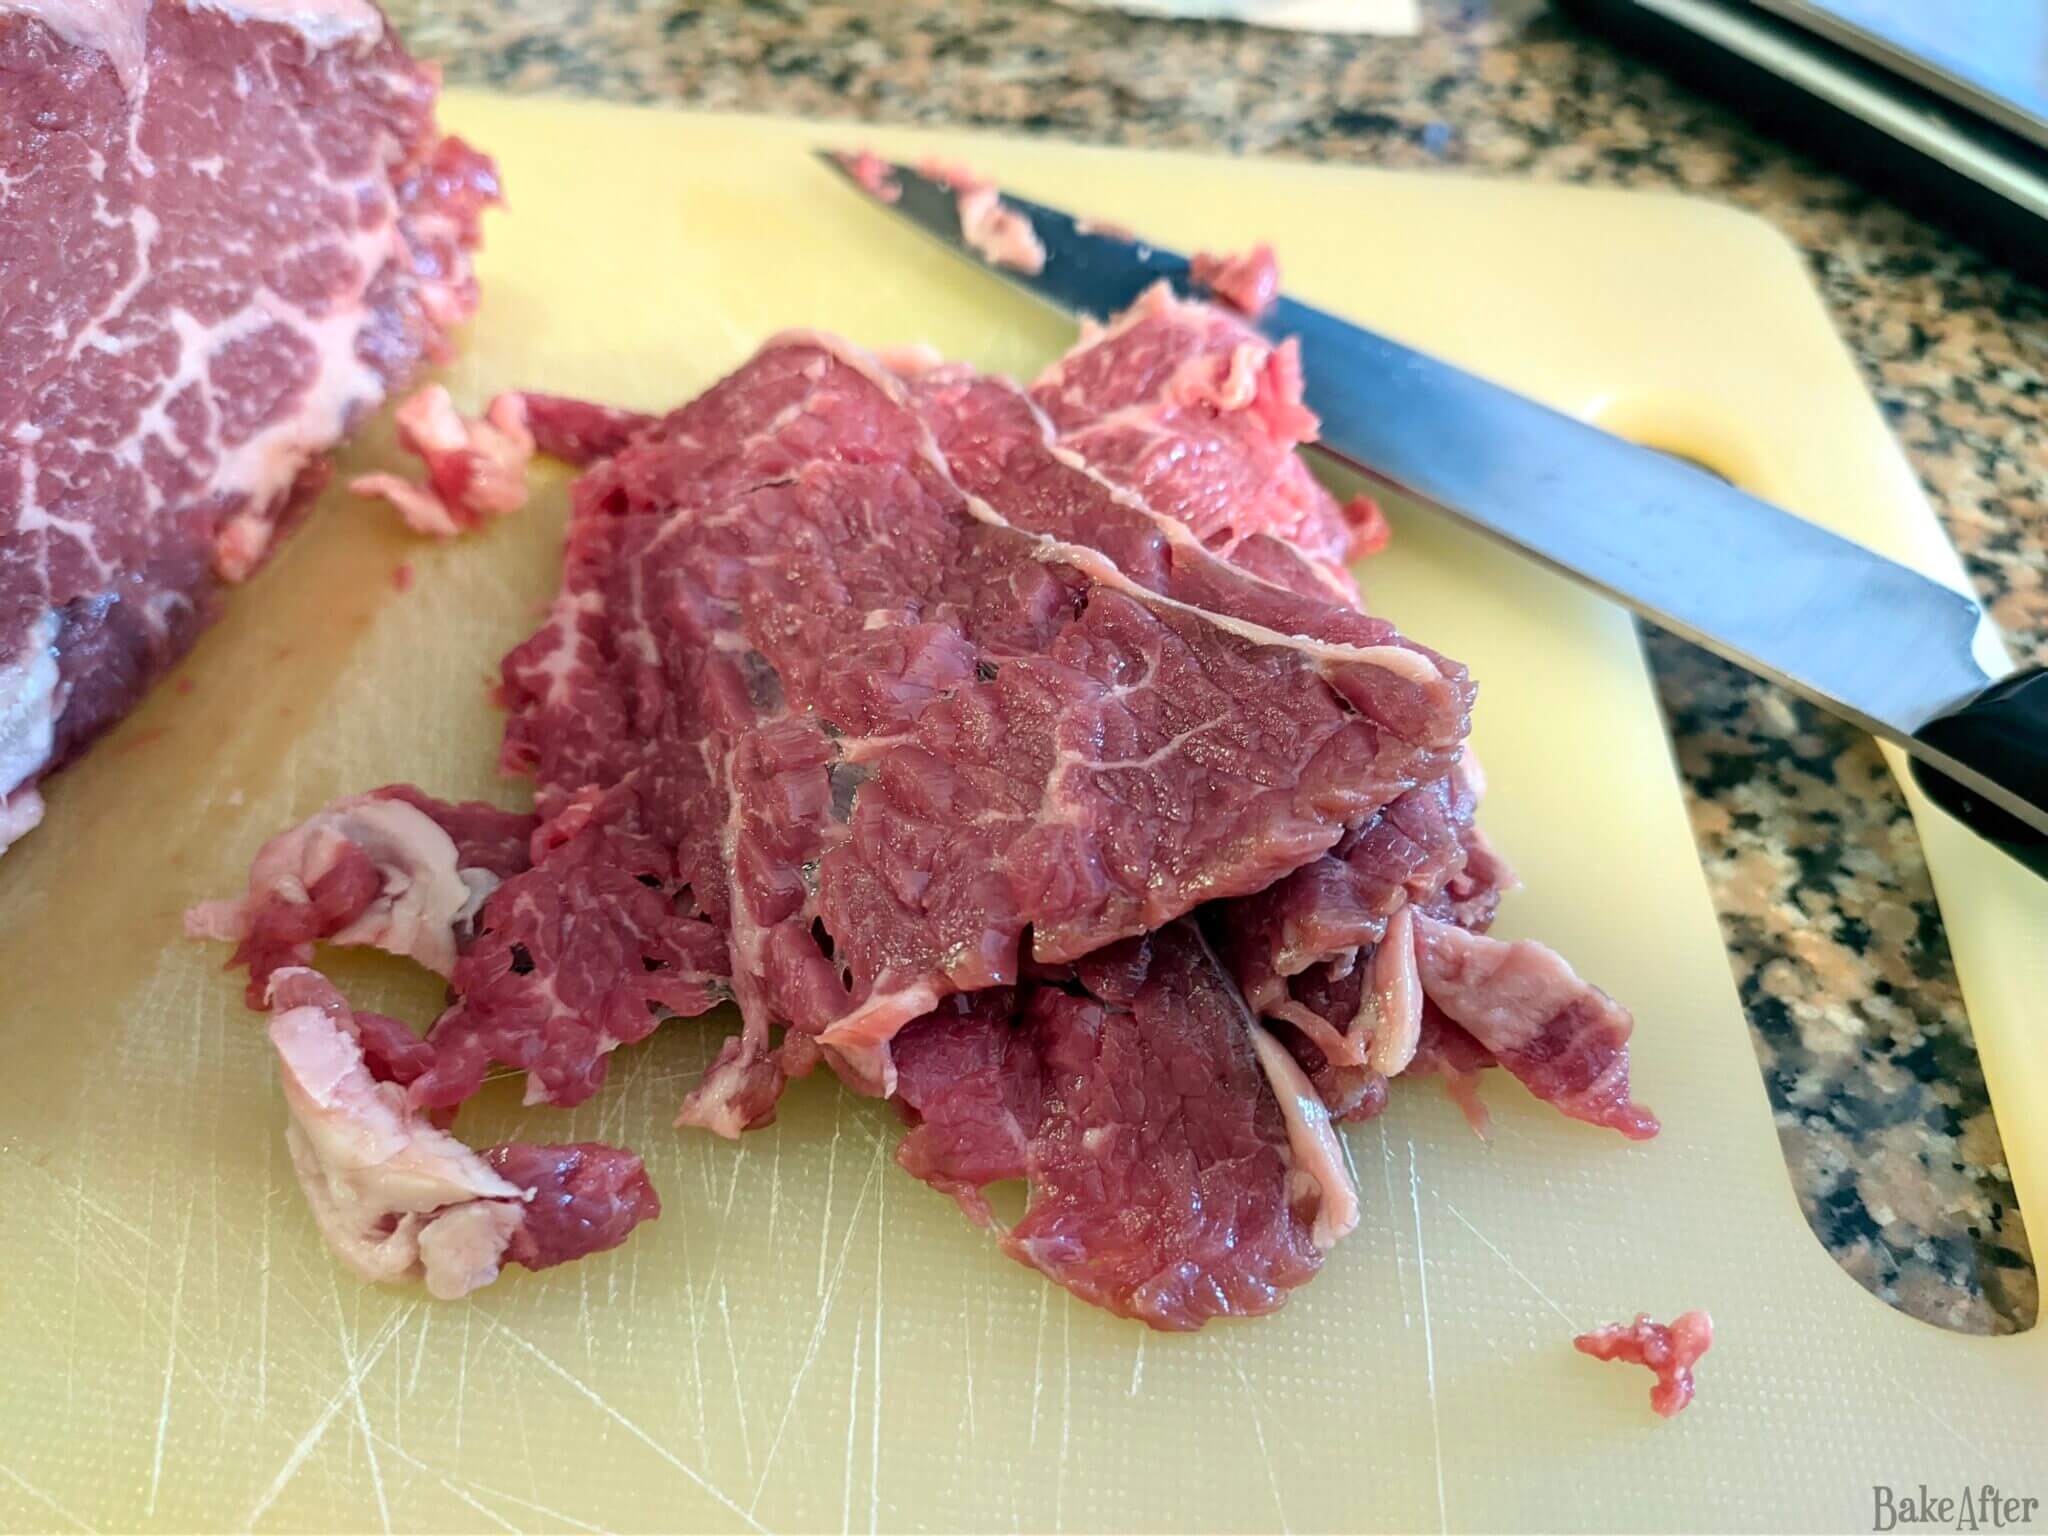
Mechanical Tenderizing is probably the most straightforward approach. This just means physically breaking down those tough muscle fibers. You can do this by pounding the meat with a meat mallet (wrap it in plastic wrap first to avoid a mess), or even scoring it lightly with a knife. The key is to cut against the grain – if you look at your steak, you’ll see lines running in one direction. Cut perpendicular to those lines, and you’re breaking up the muscle fibers that would otherwise make your steak chewy. Being the ultimate mechanical tenderizing grinding the meat aka lets make hamburguers!
Marinades are another fantastic option, especially for tougher cuts. A good marinade needs acid, think wine, vinegar, citrus juice, or even beer. The acid helps break down proteins, while the other ingredients (herbs, spices, aromatics) add flavor. But be careful with timing! A thin steak only needs 30 minutes to an hour in a marinade, while a thick piece might benefit from several hours or overnight. Go too long, and you’ll end up with mushy meat that’s lost its texture so you need to be smart about it and in case of doubt take the meat out of the marinade.
Here’s a simple marinade that works wonders: mix equal parts red wine and olive oil, add minced garlic, fresh thyme, salt, and black pepper. It’s classic for a reason. Nice flavours and super tender steat! In Portugal is very common for pork steaks, that or use beer instead of red wine.
Enzymatic Tenderizers might sound fancy, but they’re actually pretty simple. Certain fruits like pineapple and papaya contain natural enzymes that break down proteins. You can add fresh pineapple juice to a marinade, or even place slices of pineapple between pieces of meat on skewers. Just don’t overdo it – these enzymes work fast and can turn your steak to mush if you’re not careful, my rule of thumb is use the half the time or a normal marinade.
Brining is less common with steaks, but it can work wonders, especially with leaner cuts. A simple brine is just salt water, but you can add sugar, herbs, and spices. The salt penetrates the meat, seasoning it throughout while also helping it retain moisture during cooking. Like i said above just seasoning the steak with salt for 20-40 minutes before cooking is a sort of basic brine.
The Art of Temperature Control
This is where things get serious, folks. Temperature control separates the amateurs from the pros, and it’s probably the single most important factor in cooking a perfect steak.
First things first, get yourself a good instant-read thermometer. I know, I know, you want to be one of those chefs who can tell doneness by touch, and maybe someday you will be. But for now, a thermometer takes the guesswork out of it. Here’s what you’re looking for:
- Rare: 49-52°C (120-125°F) (cool red center)
- Medium-rare: 54-57°C (130-135°F) (warm red center)
- Medium: 57-63°C (135-145°F) (warm pink center)
- Medium-well: 63-68°C (145-155°F) (slightly pink center)
- Well-done: 68°C+ (155°F+) (no pink)
But here’s the crucial part, your steak will continue cooking even after you remove it from heat. This is called carryover cooking, and it can raise the internal temperature by 2.8-5.6°C (5-10°F). So if you want medium-rare, pull that steak off the heat when it hits about 52°C (125°F), do you see… especially because its important to rest the steak before cutting it.
Now, let’s talk about heat levels. High heat is your friend for developing that beautiful, caramelized crust that makes your mouth water. But the thickness of your steak determines your strategy. For steaks under an inch (2.5 centimeters) thick, you can cook them entirely over high heat, they’ll be done before the outside burns. But for thicker steaks, you want to start with high heat to get that sear, then reduce the heat or move to a cooler part of the grill to let the inside cook through (or in alternative take it to the oven of broiler).
One technique I absolutely love for thick steaks is the reverse sear. Start by cooking the steak in a low oven (around 135°C / 275°F) until it’s about 5.5-8.5°C / 10-15°F below your target temperature, then finish it in a screaming hot pan or on the grill. This gives you incredible control over doneness and ensures even cooking throughout with a thick steak!
Pan-Searing Like a Pro
Let’s get into the nitty-gritty of pan-searing, because this is probably how most of you will be cooking your steaks at home. And honestly, when done right, a pan-seared steak can be just as good as anything you’d get at a high-end steakhouse.
First, choose your pan wisely. Cast iron is king here, it holds heat beautifully and gives you that restaurant-quality sear. If you don’t have cast iron, a heavy stainless steel pan will work too. Just avoid non-stick pans for this, they can’t handle so well the high heat you need for proper searing.
Pre-heat your pan until it’s smoking hot. I mean really hot, if you flick a drop of water into the pan, it should sizzle and evaporate immediately. This is crucial for that crust formation we’re after.
Here’s where people often go wrong… they add oil too early and it burns, creating bitter flavors and smoke. Instead, add just a small amount of high-heat oil (like avocado oil or grapeseed oil) right before the steak goes in, or better yet, brush the oil directly onto the steak.
Place that steak in the pan and resist the urge to move it around. Let it sit and do its thing. You’ll hear aggressive sizzling, that’s good! That’s the sound of the Maillard reaction happening, which creates all those complex, savory flavors we love.
After about 3-4 minutes (depending on thickness), check the edge of the steak. When you can see a nice brown crust forming about halfway up the side, it’s time to flip. And flip only once! Every time you move that steak, you’re interrupting the browning process.
For the second side, here’s where you can get fancy. Add a couple tablespoons of butter, some crushed garlic cloves, and fresh herbs like thyme or rosemary to the pan. Tilt the pan and baste the steak with that fragrant butter using a spoon. This adds incredible flavor and helps the steak cook evenly, its what most chefs and restaurants do to great steaks! Its a classic for a reason!
Grilling Mastery
Grilling steaks is an art form, and there’s something primal and satisfying about cooking over open flame. But it’s also where things can go wrong quickly if you’re not paying attention.
First rule of grilling steaks: clean grates are everything. Dirty grates will make your steak stick, leave unpleasant flavors, and prevent proper sear marks. Clean them well after each use, and oil them lightly before cooking, one time i grilled a steak and i thought the grates were clean, they looked clean, but no someone had cooked fish in them, so yes i had a beautiful steak that had a strange aftertaste… clean those grates!
Temperature zones are crucial when grilling. You want one area of your grill that’s screaming hot for searing, and another area that’s more moderate for finishing thicker steaks. With a gas grill, this is easy, just set different burners to different levels. With charcoal, pile most of your coals on one side, leaving the other side cooler with a mix of hot charcoals and coal.
So here’s the technique that’ll up your grilling game: the two-zone method. Start your steak over the hot zone to get that initial sear and beautiful grill marks. For thick steaks, after searing both sides, move them to the cooler zone to finish cooking through. This prevents the outside from burning while the inside cooks, its that simple.
And please, resist the urge to press down on your steaks with a spatula! I see this all the time as well with hamburguers, and it drives me crazy. All you’re doing is squeezing out those precious juices that keep your steak moist and flavorful, stop it!
One more grilling tip: if your steak has a thick fat cap, start it fat-side down over medium heat to render some of that fat. The rendered fat will help flavor the steak and prevent flare-ups when you move to high heat for searing, also dont take it off the steaks! If you dont want the fat cap, take it out after you cooked the steak, not before!
The All Important Resting Period
This might be the hardest part of cooking a perfect steak, especially when it smells so amazing and you’re hungry. But resting your steak is absolutely crucial, and skipping this step is probably the biggest mistake I see home cooks make, yes yes including myself!
When you cook a steak, the heat drives moisture toward the center of the meat. If you cut into it immediately, all those juices will run out onto your cutting board or plate instead of staying in the steak where they belong. But if you let it rest for 5-10 minutes (longer for thicker steaks), those juices redistribute throughout the meat, and you’ll have a much juicier final result.
During this resting period, you can tent your steak loosely with foil to keep it warm, especially if its a thick cut, but don’t wrap it tightly – you don’t want to steam it and soften that beautiful crust you worked so hard to create.
Also professional chefs tend to cook the steak to amost the point that the client requested, let it rest (where like i said above the steak will cook a bit more while resting), and then bring it back to the grill quickly just to warm up the outside, so the steak arrives super hot and on point, but note that this involves a lot of experience or else this extra quick cook in the end might make your steak pass the point you wanted!
This is also a great time to make a quick pan sauce if you were cooking in a skillet. All those browned bits on the bottom of the pan are packed with flavor. Add a splash of wine or stock, scrape up those bits, maybe whisk in some cold butter, some garlic, some herbs, and you’ve got an instant sauce that’ll make your steak taste like it came from a fancy restaurant.
Common Mistakes and How to Avoid Them
Let me share some of the biggest mistakes I’ve made (and seen others make) when cooking steaks, because learning from failures is just as important as understanding the techniques.
- Using a cold pan or grill is steak suicide. If your cooking surface isn’t hot enough, you won’t get proper browning, and you’ll end up steaming your steak instead of searing it. Always preheat until the surface is properly hot.
- Moving the steak too much is another common error. I get it, you want to check on it, maybe get those perfect crosshatch grill marks. But every time you flip or move the steak, you interrupt the browning process. For most steaks, one flip is all you need.
Not accounting for carryover cooking will leave you with overcooked steaks every time. Remember, that internal temperature is going to keep climbing for several minutes after you remove the steak from heat. And yes i know that some chefs move the steak around a LOT! But they do it for technique and for particular result (like having a perfect crust), but for home cooks such as ourselfs its just a inventation for overcooking. - Cutting too soon is heartbreaking because you can have perfect technique up until this point, but if you cut into your steak immediately, you’ll lose all those juices. Be patient – good things come to those who wait and yes i know im repeating myself!
- Using the wrong oil can create bitter flavors and excessive smoke. Stick to high-heat oils like sunflower, avocado, grapeseed, or canola for searing. Save the butter or olive oil for finishing or marinades, mostly because olive oil has a particular taste, because its also a high-heat oil.
Advanced Tips from the Pros
Now that we’ve covered the basics, let me share some advanced techniques that can take your steak game to the next level.
- Dry aging at home might sound intimidating, but you can actually do a simplified version in your fridge. Wrap your steak in cheesecloth or paper towels and place it on a wire rack over a baking sheet. Leave it uncovered in the fridge for 1-3 days. This concentrates flavors and helps tenderize the meat while drying the surface for better browning. After these 3 days cook the steak, dont go over this time, because a home fridge is not the ideal place for dry aging for weeks or months!
- Compound butters are an easy way to add restaurant flair to your steaks. Mix softened butter with herbs, garlic, blue cheese, or even roasted bone marrow. Form it into a log, wrap in plastic, and chill. Slice off medallions to melt on your hot steaks.
- The caveman method is for the truly adventurous. If you have a charcoal grill, you can actually place certain cuts directly on the hot coals. It sounds crazy, but it works beautifully for thick, well-marbled steaks. The exterior gets incredibly charred while the interior stays perfectly cooked.
- Sous vide finishing gives you ultimate precision. Cook your steak in a sous vide bath to the exact doneness you want, then sear it quickly in a hot pan for that crust. This method is nearly foolproof for perfect results every time. (Because you can get online the times/temperature/doneness for the weight/thickness of the meat and you will get it perfect every single time).
Choosing the Right Accompaniments
A great steak can certainly stand on its own, but the right accompaniments can elevate the entire meal. Classic pairings exist for a reason… well they work.
- Mushrooms are a natural partner for beef. Sauté them in the same pan after cooking your steak to pick up all those flavorful browned bits. Wild mushrooms like shiitakes or oyster mushrooms add earthiness, while simple button mushrooms let the beef shine.
- Roasted vegetables provide a nice contrast to rich steak. Asparagus, Brussels sprouts, or well any roasted root vegetables all work beautifully from Potatoes to Carrots. The key is not to overseason them, you want them to complement, not compete with, your perfectly cooked steak.
- Potato preparations are classic for good reason. Whether it’s a loaded baked potato, creamy mashed potatoes, crispy roasted fingerlings, or yeah hehehe french fries! ;D Potatoes provide the perfect starchy backdrop for beef.
- Simple salads can cut through the richness of a good steak. A basic arugula salad with lemon vinaigrette, or even just fresh greens with a light dressing, provides a refreshing contrast and a nice variation, especially if you want a lighter meal but still want a nice piece of steak.
My Final Thoughts
Look, I could go on for hours about steak cookery, there are so many nuances and techniques to explore. But here’s the truth: the best way to learn is by doing. Start with these fundamentals, pay attention to what happens, and don’t be afraid to make mistakes. Every overcooked or undercooked steak is a learning opportunity.
The most important thing is to start with quality meat, control your heat, don’t overthink it, and be patient. A perfectly cooked steak is one of life’s simple pleasures, and with a little practice, you can create that magic in your own kitchen.
Remember, cooking should be enjoyable, not stressful. So pour yourself a glass of wine, take your time, and enjoy the process. After all, even a not-quite-perfect steak cooked with care and attention is usually pretty darn good.
Got questions? Made some amazing steaks using these techniques? I’d love to hear about it. The best part about cooking is sharing experiences and learning from each other. Now get out there and make some magic happen!
Discover more from BakeAfter
Subscribe to get the latest posts sent to your email.